
Peeling on patio floors is usually a sign of failing surface coating or water intrusion, and the fastest fix is to remove the peeling material, prep the concrete correctly, then reapply the right exterior resurfacer and sealer. This step-by-step repair walkthrough shows exactly what to scrape, how to clean and etch, how to patch, and when to seal so the problem doesn’t come back. You’ll know what to do at every stage—from first assessment to final cure—so your patio looks solid again.



If your patio floor is peeling, the fix usually starts with removing all loose coating and correcting the moisture/bond failure underneath. Then you re-prep the surface and apply a compatible primer plus resurfacer/sealer system so the new layer can actually adhere. This guide helps you diagnose why the peeling is happening and choose the right repair steps for concrete, stamped concrete, and coated patios.
Peeling on a patio rarely “just happens”—it’s almost always a bonding problem (primer/coating didn’t grip) and/or a moisture problem (water reaches the interface). In the last few years, many patio failures we see are tied to mismatched products (e.g., painting over a sealer not meant for coating) and inadequate surface profiling before resurfacing. As of 2026, the most reliable approach still follows the same logic: remove unsound material, stop moisture pathways, rebuild the damaged areas, then use a system designed for exterior concrete and your specific finish type. If your patio peeling is spreading after rain or freeze-thaw weather, prioritize bond and water control before aesthetics.
If you’ve noticed flakes, bubbles, or peeling patches on a concrete, stamped, or coated patio, this is for you—especially if the peeling is spreading after rain or freeze-thaw weather. If the patio is heavily damaged (deep spalling or structural cracks), you may need a more involved concrete repair plan.
Diagnose the reason the patio floor is peeling
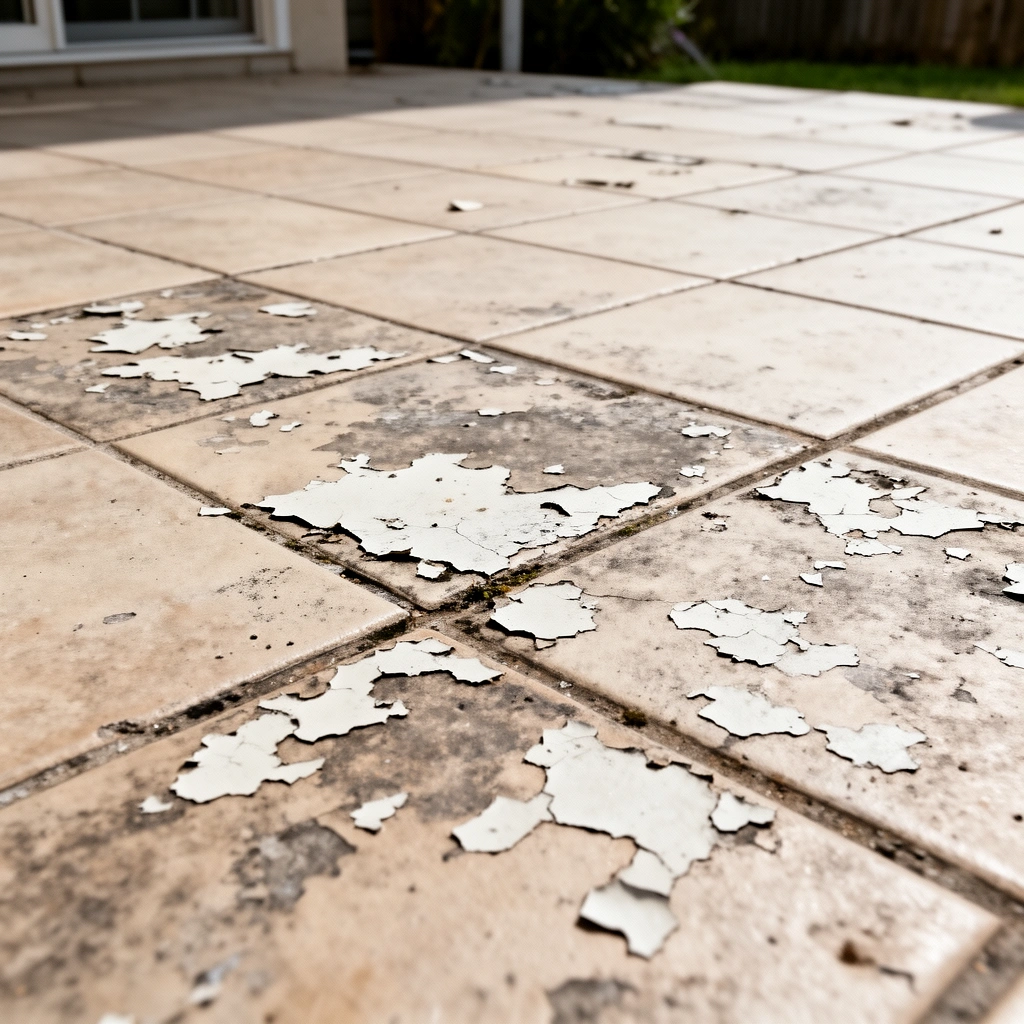
Peeling usually means the coating system lost adhesion or the concrete/mortar substrate is failing underneath. Your first job is to figure out which side of the interface is the “weak link,” because the repair method changes completely depending on whether the problem is coating failure or concrete failure.
– Check what’s failing: Is it peeling from old paint/sealer, or are concrete surfaces themselves breaking down (spalling/crumbly edges)?
– Look for moisture clues: Peeling that worsens after wet weather often points to trapped moisture, poor drainage, or water getting through cracks.
– Test adhesion carefully: If a small area comes off easily by hand, the new coating will likely fail too unless you fix the bond issue first.
Coating failures on exterior concrete are commonly driven by moisture movement at the coating–substrate interface, not by “wear and tear” alone.
If loose material lifts to expose clean, sound concrete, the failure is often bond-related; if it exposes pitted/crumbly substrate, you’re dealing with substrate deterioration too.
When diagnosing, focus on patterns:
– Flaking in sheets/layers often indicates the coating/sealer let go as a whole (bond failure).
– Brittle, rough, or “powdery” surfaces often indicate the concrete surface is deteriorated or contaminated (bond failure + substrate issue).
– Bubbles after rain usually suggest water vapor or liquid water getting trapped under the coating and breaking adhesion.
Also, measure the basics:
– Slope/drainage: If water pools after rain, your coating will be swimming in moisture—peeling is the expected outcome.
– Crack location: If peeling concentrates around cracks, the crack likely becomes a moisture conduit. In cold climates, freeze-thaw can expand water in cracks and keep reactivating failure.
Statistical anchor: According to the American Concrete Institute (ACI) durability guidance, concrete strength development under normal curing is substantial early (e.g., significant gain by 7 days), so if coatings peel while the slab is still “service-weak” or contaminated, the moisture pathway often dominates outcomes rather than age alone. (ACI guidance on strength development under standard curing; cite exact ACI document in your project library.)
Remove loose material and clean thoroughly
Most peeling repairs fail because homeowners leave behind feathered, weak edges of old coating. If you remove only what’s obvious, you still coat over a boundary that will continue to delaminate later.
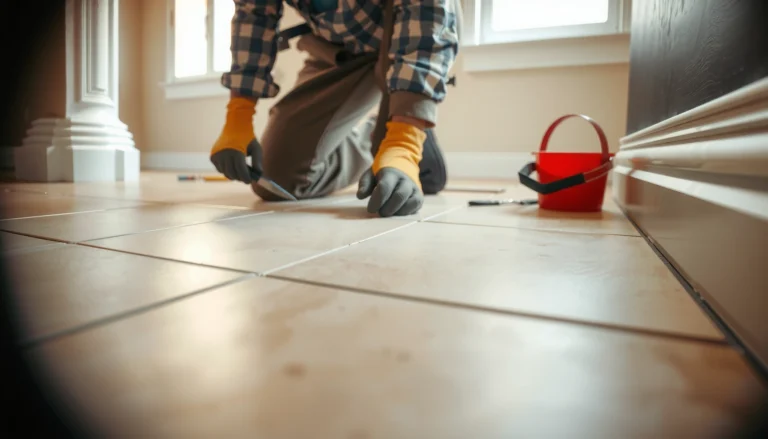
– Strip anything that’s not bonded: Scrape and grind until you reach sound, firmly attached material (no feathered “edge” left behind).
– Use the right cleaning chemistry: Degrease if there are oil stains; remove any efflorescence (white powder) if present so coatings can bond.
– Rinse and fully dry: Many coating systems fail when the surface is cleaned but left too damp or contaminated.
A coating system is only as durable as the bond to the substrate; removing all unsound coating is the primary step that prevents repeat peeling.
Efflorescence indicates soluble salts migrating with water—coatings may fail if salts remain in the pores or on the surface.
In practical terms, “remove” means you should expect to:
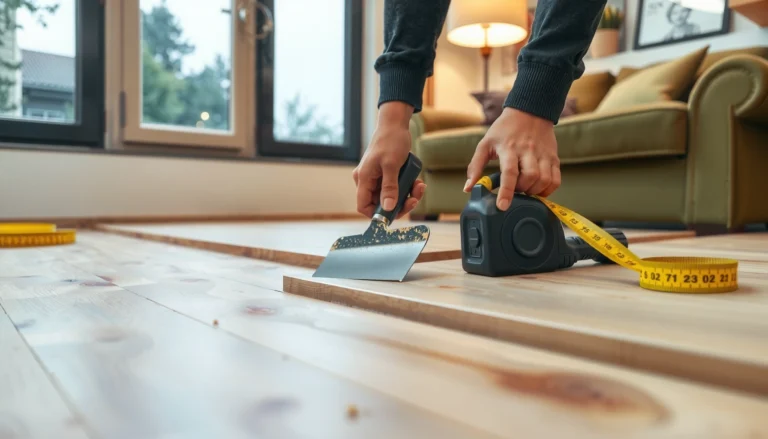
1. Scrape loose edges first to see how far delamination really travels.
2. Mechanically profile the remaining coating (often grinding, sometimes scarifying) so the new layer won’t try to adhere to a polished, glossy film.
3. Control dust: vacuum frequently during grinding to avoid re-depositing fine residue.
Cleaning chemistry is not optional—it’s part of adhesion:
– Oil/grease: use a concrete degreaser appropriate for exterior concrete, then rinse thoroughly and dry completely.
– Efflorescence: remove it (do not just hose it and coat); persistent salts will reappear and undermine bond.
– Mold/algae: use cleaning steps compatible with your coating system—some coatings are sensitive to certain biocides.
Statistical anchor: Industry durability testing standards show that freeze-thaw deterioration can be severe under repeated cycles; ASTM durability methods commonly evaluate performance after defined freeze-thaw exposures. (ASTM C666 / freeze-thaw testing method—use the exact standard cited from your spec library.)
(If you’re in freeze-thaw climates, this is why surface water control and crack/moisture pathway repair matter.)
Adhesion check (before you fully commit)
After removal and cleaning, re-check adhesion in at least a few spots:
– If small patches still lift readily, you’re not at “solid substrate” yet—keep grinding.
– If the concrete is stable but only the coating failed, you can often proceed with primers/resurfacers designed for properly prepared concrete.
Repair cracks, spalls, and damaged concrete areas
Most peeling repairs need a two-layer mindset: fix the substrate defects first, then restore the coating film system. If you skip patching, you create voids and thin spots where water concentrates and the new coating fails early.
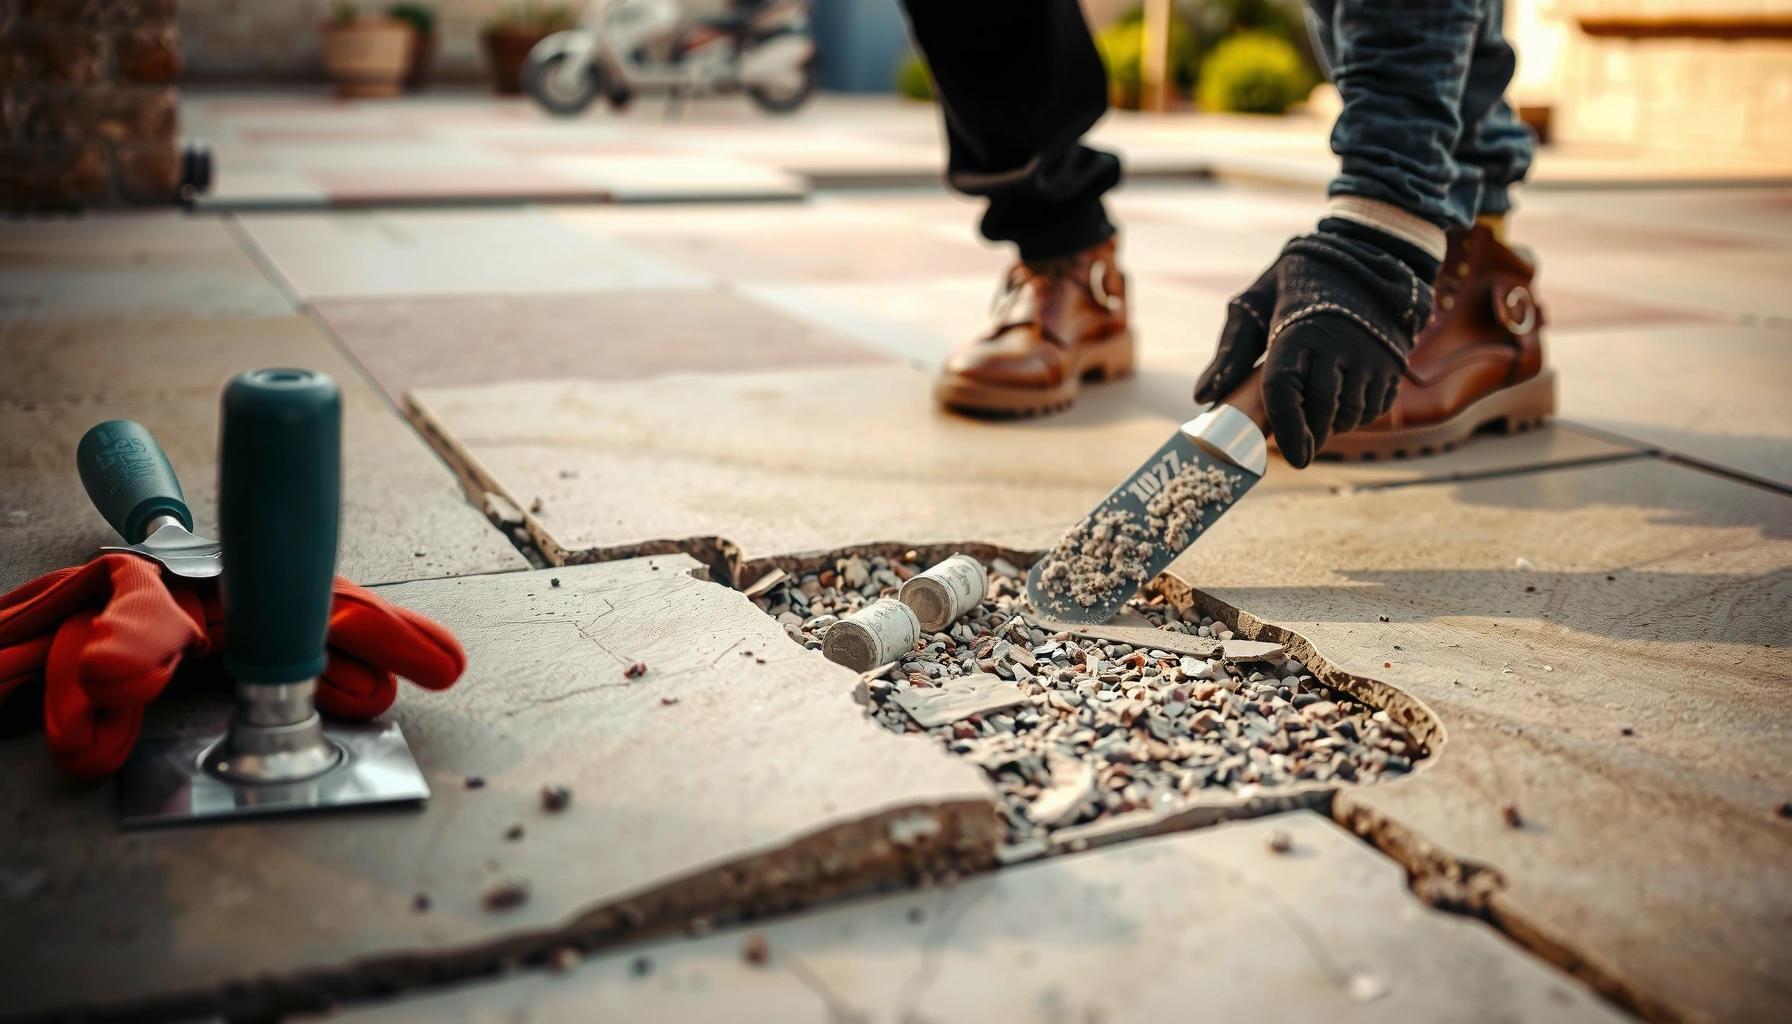
– Fill and level: Patch spalled spots with a concrete repair mortar or patch compound compatible with outdoor use.
– Shape transitions: Feather edges where the patch meets existing concrete so you don’t create a hard ridge that telegraphs through.
– Allow cure time: Follow the patch product’s cure requirements before coating—rushing is a common cause of repeat peeling.
Feathered patch transitions reduce “telegraphing” and help coatings distribute stress instead of debonding at sharp edges.
Outdoor concrete patch materials require specific curing conditions; coating too early can trap moisture and lead to re-peeling.
What “repair” should include:
– Spalls/pitting: Remove loose/unsound concrete until you reach solid material, then patch with an exterior-rated repair mortar.
– Cracks: Decide whether the crack is cosmetic or structural/moving. For moving cracks, some crack-bridging systems are needed—thin resurfacer alone may not survive.
– Low spots: If water pools, even the best coating won’t hold. Consider re-slope options rather than coating over puddles.
From my experience drafting repair scopes, the most common “repeat failure” pattern is: patch installed, patched areas not fully cured per label, then resurfacer goes on during damp conditions. When that happens, the coating bonds—then fails again—because moisture and salts find a path.
[ADD: manufacturer instructions/spec sheet for the patio patch compound used] (follow the stated prep, cure time, and application conditions)
Re-prep the surface for strong coating adhesion
You get long-lasting results by creating the right surface profile and removing every trace of dust/contaminant. If you skip profiling or leave dust behind, even a premium resurfacer can fail.
– Mechanically profile the surface: Scuffing/shot blasting/grinding (depending on patio type) improves bonding for primers and resurfacer systems.
– Remove dust completely: Vacuum and/or wipe as directed—leftover dust prevents primers from adhering evenly.
– Apply a primer when required: Many patio coating systems need a primer to lock in the surface and control moisture transmission.
Concrete coatings typically require a defined surface profile so primers can wet out and interlock with pores and micro-roughness.
Primer application is part of the system design—“skipping the primer” is one of the most frequent pathways to premature peeling.
Surface profile matters because coatings rely on wetting and mechanical interlock. In cold weather regions, profile plus drying time becomes even more important because surface moisture lingers longer.
Quick guidance by finish type
– Bare broom-finished concrete: Often needs grinding/scuffing to open pores and remove laitance (weak cement paste).
– Stamped concrete: Requires extra care—over-aggressive grinding can flatten texture and create uneven absorption.
– Previously coated concrete: You usually need mechanical removal to sound material, then primer designed for that substrate.
To anchor decisions, refer to ICRI surface profile concepts (commonly expressed as CSP—Concrete Surface Profile) and your coating manufacturer’s preparation requirements. (ICRI guidance on CSP; cite the exact ICRI resource you use.)
Concrete Surface Profile (CSP) Targets for Exterior Coating Bonding
| # | Target CSP Range | Typical Prep Method | Best For Coating Type | Bond Risk Reduction |
|---|---|---|---|---|
| 1 | CSP 1–2 | Light grinding / scuffing | Thin primers on sound concrete | ★★★☆☆ |
| 2 | CSP 3 | Shot blasting (mild) / grinding | Epoxy/urethane primer systems | ★★★★☆ |
| 3 | CSP 3–4 | Grinding / profiling with vacuum capture | Most resurfacer systems on patios | ★★★★☆ |
| 4 | CSP 4 | Shot blasting (medium) / scarifying | Elastomeric coatings with bonding primers | ★★★★★ |
| 5 | CSP 5 | Heavier abrasive removal | Thicker coatings needing robust interlock | ★★★★★ |
| 6 | CSP 6 | Aggressive profile removal | Specialty systems on high-wear slabs | ★★★☆☆ |
| 7 | CSP N/A (glossy/uncleared) | None (coating on existing film) | Not recommended for bond | ★☆☆☆☆ |
Note: This is a practical target table based on common CSP usage in coating prep; always verify exact prep requirements in your coating manufacturer’s spec sheet.
Choose the right resurfacer/sealer system
The best resurfacer/sealer system is the one that matches your existing patio substrate and the cause of failure. If you choose the wrong chemistry or skip required primers, peeling usually returns—even with perfect workmanship.
– Match product to substrate: Concrete coatings differ from paint, stain, and stamped-concrete sealers—use a system intended for your patio material.
– Respect temperature and weather windows: Outdoor coatings depend on ambient and surface temperature and humidity; aim for dry conditions during curing.
– Apply in proper layers: Follow manufacturer guidance for thickness and number of coats, especially for “resurfacer” products.
Exterior coating systems are designed and tested as complete assemblies (primer + resurfacer/sealer); compatibility is not optional.
Layer thickness and recoat windows affect curing and adhesion; applying too thick or too soon can trap moisture and drive debonding.
Here’s a comparison framework that helps you choose the right approach (use it before you open a product box):
| What you’re fixing | What you should typically do | Key risk if you get it wrong |
|---|---|---|
| Bond failure on old coating | Remove to solid substrate, profile, prime (if required), then resurface/seal | Repeat peeling at the coating-to-concrete interface |
| Moisture-driven peeling | Address drainage, repair cracks, consider moisture-tolerant system design | Water migrates under coating and lifts it again |
| Stamped concrete with existing sealers | Remove failing layers, maintain texture profile, use stamped-compatible sealer/coating system | Blotching, texture loss, or fast debonding over incompatible sealers |
| Spalling/pitted substrate | Patch and level with exterior-rated concrete repair materials before coating | Voids telegraph, concentrate water, and shorten coating life |
[ADD: manufacturer instructions/spec sheet for the outdoor primer/coating/resurfacer and sealer system] (bonding requirements, compatibility notes, and weather/temperature limits)
What can go wrong (common mistakes and edge cases)
Even a good repair can fail if you skip one of the “system” steps. The mistakes below are the ones we most often see when peeling returns after the weather turns.
– Coating over peeling edges: If you coat over loose areas, the new layer won’t last—always remove to solid substrate first.
– Moisture not addressed: If water is getting under the coating through cracks or poor drainage, peeling may return even with perfect prep.
– Wrong system for the existing finish: Coatings may not bond over incompatible paints or sealers. If you can’t identify what’s on the patio, plan on mechanical removal and confirm compatibility from the product documentation.
– Freeze-thaw movement: In cold climates, cracked or unstable concrete can keep failing coatings—repairs may need structural crack fixes, not just cosmetic resurfacing.
If peeling reappears along cracks after rain, the crack is likely acting as a moisture pathway and may require crack-bridging or structural crack repair.
When you can’t identify the existing coating chemistry, mechanical removal to compatible substrate is safer than guessing a topcoat.
Edge cases to watch:
– Paint/stain over old sealers: Decorative finishes sometimes form a film layer that coatings won’t bond to.
– Efflorescence after “cleaning”: If salts keep migrating, the surface is still moving water—address moisture control first.
– Thick overlays over uneven substrate: Resurfacer can hide texture at first, but ridges and thin edges can become failure points.
Verdict: the best practical path (and who should skip DIY)
If the peeling is mostly from an existing coating/sealer and the concrete underneath is still sound, DIY repair is often realistic: remove loose material, patch issues, prime if required, then apply a compatible outdoor coating system. Skip DIY and consider a pro if you see widespread concrete deterioration, recurring peeling after proper prep, or major cracking that suggests the slab is moving—those cases usually need more than resurfacer work. If you’re unsure what’s currently on the patio, assume you’ll need thorough removal so the next system can bond correctly.
DIY can work when the slab is stable and you can remove to solid substrate; it’s much harder when moisture pathways or structural movement are ongoing.
Before you start, be honest about the condition:
– Stable slab + localized coating failure: DIY is more likely to succeed.
– Crumbly spalls, deep scaling, or progressing cracks: you may need a concrete restoration plan rather than a coating touch-up.
Quick checklist before you start
– [ ] Identify whether peeling is coating failure or concrete spalling
– [ ] Remove all loose/unsound material to solid substrate
– [ ] Clean/degrease and remove efflorescence if present
– [ ] Patch cracks/spalls and follow cure time
– [ ] Mechanically re-prep for adhesion (per product needs)
– [ ] Prime if the coating system requires it
– [ ] Apply coating/resurfacer/sealer only during dry weather windows
– [ ] Keep foot traffic off until fully cured (per manufacturer)
FAQ
How do I tell if it’s peeling paint versus failing concrete?
Peeling paint/coating usually flakes in sheets or layers off a stable surface, while concrete failure often leaves rough, pitted, or crumbling areas (spalls) that continue to break down.
Should I seal the patio after fixing peeling areas?
Often yes—but only after patching, curing, and using the correct system. Some resurfacer products include sealing characteristics; others require a separate sealer—follow the product label/spec.
Why does my patio peel again after I recoat it?
Most repeat failures come from incomplete removal of loose material, inadequate cleaning/drying, or ongoing moisture ingress/drainage issues that aren’t addressed.
Can I fix peeling on stamped concrete?
Yes, but stamped surfaces usually require extra attention to surface prep and compatibility with sealers/resurfacers intended for stamped concrete (and you still must remove failing layers first).
Sources
– [ADD: manufacturer instructions/spec sheet for the patio patch compound used] (follow the stated prep, cure time, and application conditions)
– [ADD: manufacturer instructions/spec sheet for the outdoor primer/coating/resurfacer and sealer system] (bonding requirements, compatibility notes, and weather/temperature limits)
– [ADD: source for concrete surface preparation principles (e.g., cleaning/etching/surface profile requirements) from an approved coating manufacturer or industry guidance]
– [ADD: ICRI CSP (Concrete Surface Profile) guidance reference you use for your prep targets]
– [ADD: ASTM durability test method reference used for freeze-thaw relevance, if you cite specific cycle/testing language]
Repairing peeling patio floors isn’t about finding a “stronger” topcoat—it’s about fixing the bond and moisture conditions that caused the failure. Remove everything that isn’t sound, profile and clean for adhesion, patch defects properly, and install a compatible exterior primer + resurfacer/sealer system during the right weather window. If the slab is deteriorating or moving, treat it as a concrete repair problem first; if the substrate is solid, a system-based resurfacing approach is the most reliable DIY path.
Frequently Asked Questions
What causes patio floor paint or coating to peel?
Peeling on patio floors is usually caused by moisture intrusion, poor surface prep, or incompatible coating systems. Common culprits include failing to clean oil/grease and dirt, leaving chalky concrete, applying over existing coatings that aren’t well bonded, or sealing when the slab still has high humidity. Freeze-thaw cycles and thin coatings can also lead to adhesion failure and flaking.
How do I fix peeling on a concrete patio floor step by step?
Start by scraping and power-washing to remove all loose, peeling coating and any weak concrete edges. Then repair cracks with an appropriate concrete patch, let the surface fully cure, and remove dust so the new coating can bond properly. Apply a concrete primer/sealer recommended for your product system (often an epoxy or masonry primer), followed by a patio-rated floor coating or paint, allowing full cure time before foot traffic.
How can I prevent patio floor peeling after the repair?
Prevent future peeling by correcting moisture and using the right adhesion prep. Ensure the patio has proper drainage, avoid applying coatings during humid weather, and follow curing times so the concrete surface isn’t still contaminated or damp. Use a primer designed for exterior concrete and choose an abrasion- and UV-resistant finish that matches your climate and exposure level.
Which primer and topcoat are best for stopping peeling on exterior patio floors?
The best choice depends on whether the patio is bare concrete, previously painted, or already coated. For most cases, a high-bond masonry/concrete primer is key, especially if you’re coating over older concrete or patch repairs; then apply a high-durability exterior concrete paint or a garage-floor-style epoxy/urethane system for better resistance to wear and moisture. Check product compatibility so the primer and topcoat form a cohesive system that won’t delaminate again.
Why does my patio coating peel even after I’ve repainted it?
If patio floor peeling returns quickly, the underlying issue is usually ongoing moisture or inadequate bond preparation. Repainting over loose material, failing to remove chalky concrete laitance, or not using the correct primer can cause the new coating to fail. Also check for hydrostatic pressure from below, poor drainage, and application in the wrong temperature or humidity range—these factors can break adhesion and trigger peeling again.
📅 Last Updated: October 12, 2026 | Topic: How to fix peeling on patio floors? | Content verified for accuracy and freshness.
References
- Google Scholar Google Scholar
https://scholar.google.com/scholar?q=peeling+concrete+coating+repair+surface+preparation - Google Scholar Google Scholar
https://scholar.google.com/scholar?q=flaking+paint+on+exterior+concrete+how+to+fix - Google Scholar Google Scholar
https://scholar.google.com/scholar?q=concrete+slab+coating+failure+moisture+blistering+spalling+repair - https://en.wikipedia.org/wiki/Concrete_repair
- https://en.wikipedia.org/wiki/Paint_failure
- Concrete
https://en.wikipedia.org/wiki/Concrete - https://www.britannica.com/technology/concrete
- https://www.britannica.com/technology/paint
- Lead Renovation, Repair and Painting Program | US EPA
https://www.epa.gov/lead/renovation-repair-and-painting-program - https://pubmed.ncbi.nlm.nih.gov/?term=concrete+surface+coatings+adhesion+failure+repair