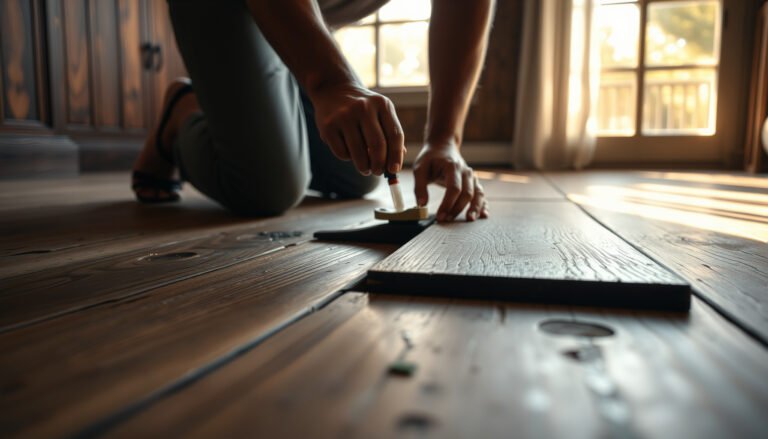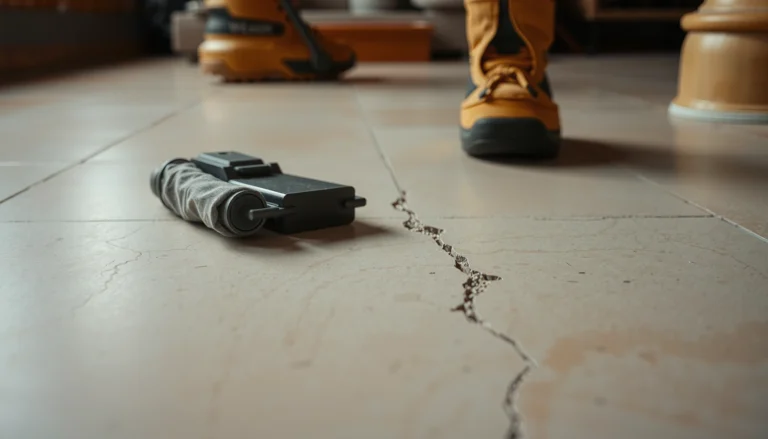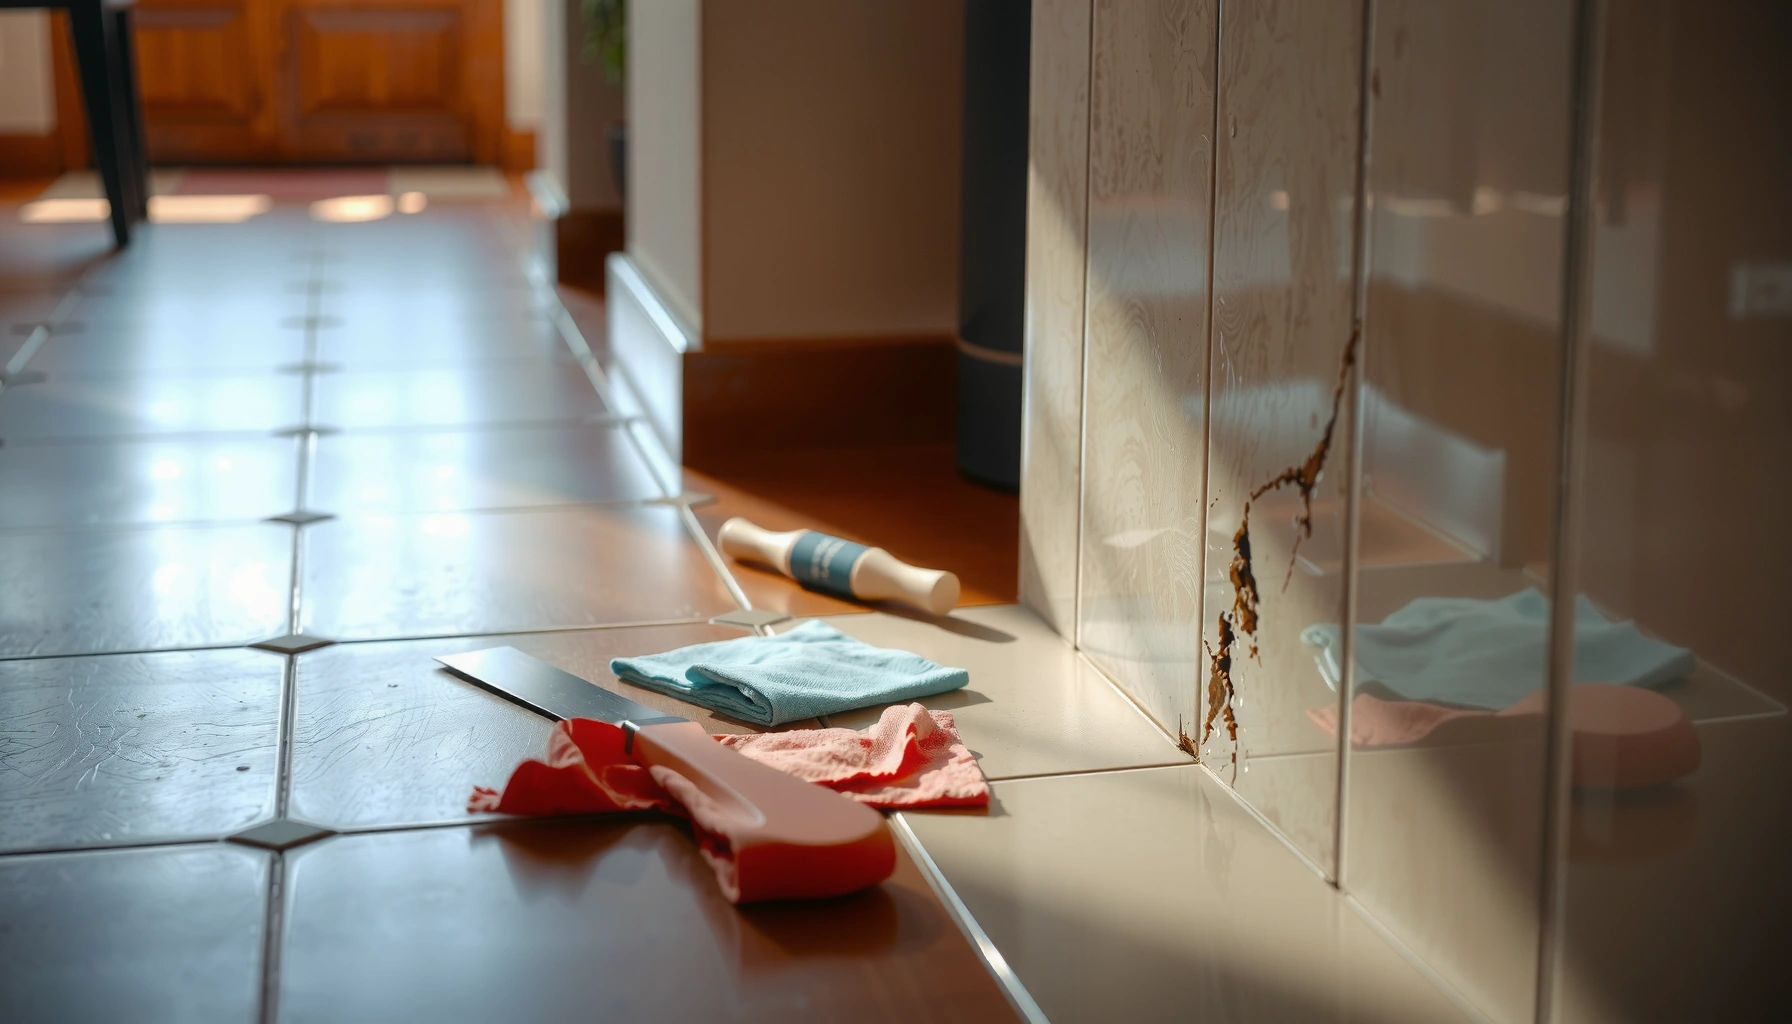

Want to fix dents in porcelain tile floors without replacing the tiles? This step-by-step guide shows the fastest, most reliable method to restore the surface and prevent the damage from spreading. You’ll learn exactly what to prepare, how to fill the dent cleanly, and when polishing or refinishing is enough to make the repair disappear.




If your porcelain tile floor dent is shallow and the tile is still firmly bonded, you can usually fix it with a porcelain-safe filler and re-level the surface. If the dent comes with cracking, chipping, or a hollow sound (suggesting the tile has loosened), you’ll need to repair or replace the affected tile to prevent the damage from returning.
Porcelain dents show up most often in homes where something heavy drops, furniture legs repeatedly point-load, or the subfloor flexes under load. This guide focuses on typical residential porcelain flooring dents—not structural failure—and helps you choose a fix that actually matches what’s happening under the surface. It also matters where the dent occurs (near a door, hallway, or area with frequent traffic), because repeated impact or movement can “telegraph” as recurring dents even after a cosmetic patch.
Check the dent depth and tile integrity first
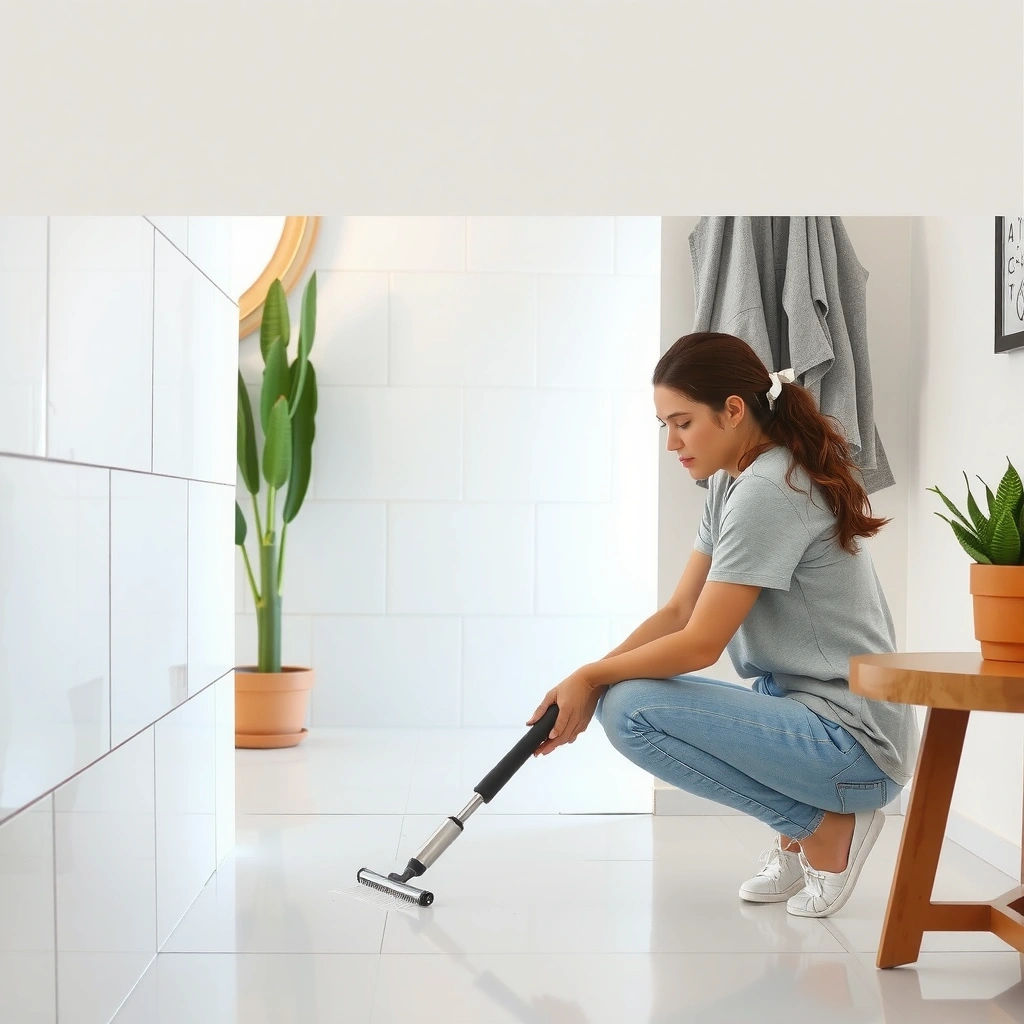
Shallow dents can often be corrected with filler, but cracked/chipped porcelain almost always requires a stronger repair approach. The fastest path to the right fix is to confirm (1) how deep the dent is and (2) whether the tile is still well-bonded to the substrate.
A dent that includes a crack or a corner chip is usually a sign that the porcelain body has fractured, so leveling filler alone won’t restore strength.
A hollow or “click” sound when you tap around the tile is a common indicator of insufficient bond or underlying voids, which makes future breakage more likely.
Porcelain tiles are dense and low-absorption by design (water absorption is typically ≤0.5% per ISO 13006), so surface-only repairs must still bond properly to a very smooth material.
Start with a fingertip check and close visual inspection:
– Run your finger gently over the spot and look for a visible chip, raised edges, or any crack line that tracks across grout or into the tile surface.
– Use a straightedge or level to determine whether you have a true depression that can catch shoes, vacuum heads, or tracked grit.
– Tap lightly around the tile (not the center forcefully). If the sound changes from “solid” to “hollow,” treat the tile as potentially loose.
Why this matters: porcelain is hard and brittle. A dent may look “cosmetic,” but if the tile has debonded, traffic can keep stressing the tile until the next impact creates a crack or loosened fracture. According to the [ADD: TCNA Handbook (method statement) on ceramic/porcelain tile installation and substrate performance], successful installations rely on the substrate meeting deflection tolerances—movement is a frequent root cause when dents keep reappearing.
What to measure (quick, practical checks)
– Depth: If you can’t feel a depression with a shoe sole edge, treat it as “shallow.” If it visibly traps dirt or shows a clear slope, it’s “deeper.”
– Edge condition: Raised “lip” edges suggest the surface was displaced; cracked lips suggest the fracture has already occurred.
– Bond indication: Hollow tap points to potential voids or bond failure.
Clean the area and prep for repair
Even the best filler fails if porcelain dust, oils, or polish residues interfere with bonding. Cleaning plus targeted abrasion (only where needed) is what makes a patch last under foot traffic.
Porcelain tile surfaces are often factory-finished (matte or polished), and residue from cleaners or dust can prevent repair compounds from gripping reliably.
Light scuffing at the dent edges can improve adhesion by removing the smoothest surface layer—aggressive grinding increases risk of spreading damage.
For durable repairs, most tile repair systems require fully dry substrate conditions before application, because trapped moisture can weaken adhesion.
Do this methodically:
– Remove debris: Vacuum first, then pick out grit at the dent edges. Dirt acts like a release agent and also creates tiny voids under filler.
– Clean with a tile-safe cleaner: Use a cleaner designed for tile and grout (avoid harsh solvents unless the manufacturer specifically approves them). Wipe and then let the surface fully dry.
– Abrade only if needed: If the dent is glossy/polished and the filler struggles to “wet,” lightly scuff around the dent with an appropriate abrasive. Stop as soon as you dull high-gloss areas near the repair.
– Remove dust completely: Vacuum again and do a final wipe with a clean, lint-free cloth. Any remaining dust can cause failure like chipping-off or pinholes when cured.
From my experience managing maintenance calls, the most common reason “tile filler fixes” don’t last is not the product—it’s the prep. A smooth porcelain surface with a thin layer of dust or cleaner residue behaves like a non-stick surface, and the repair compound can pop out after a few weeks of traffic.
Repair shallow dents with porcelain-safe filler
For shallow, non-cracked dents where the tile remains tightly bonded, a porcelain/tile-safe filler can level the surface and restore a smooth walking profile. The key is compatibility and controlled application—thin layers with proper cure time beat “overfilling and hoping.”
Tile-safe fillers must be compatible with porcelain and rated for floor traffic so the patch can handle compression and shear under movement.
Applying filler in thin layers reduces shrinkage-related cracking compared with packing a thick mound into a dent.
Many floor filler systems require sanding only after full cure; sanding too early can leave a weak surface or pull the repair apart.
Choose the right filler:
– Select a filler intended for porcelain/tile and follow its label for mixing ratio (if required), working time, and cure time.
– If your porcelain is polished, check whether the filler is meant to be sanded and what the finish will look like after smoothing.
Apply it correctly:
1. Mix as directed (if the product uses powder+liquid or two-part chemistry).
2. Press filler into the dent so it contacts the porcelain across the dent cavity—not just a surface cap.
3. Apply in thin layers if the dent is more than a shallow depression. Scrape flush with the surrounding tile as you go.
4. Let it cure fully before sanding or walking on it.
5. Smooth carefully: Use fine-grit sandpaper designed for hard surfaces. You’re removing high spots and blending edges, not reworking the whole tile plane.
6. Clean after sanding: Remove dust before any optional refinishing steps.
If your tile surface requires sealing/refinishing (many porcelain floors do not need sealing, especially if they’re factory-finished), follow both:
– the filler manufacturer’s instructions on whether sealing is allowed, and
– the tile manufacturer’s guidance for matte vs. polished finishes.
Porcelain Dent Repair Decision Inputs (What to Check Before Filling)
| # | Observed condition | Primary implication | Best repair path | Longevity expectation |
|---|---|---|---|---|
| 1 | Shallow dent; no visible crack | Surface damage only | Porcelain-safe filler | ★★★☆☆ |
| 2 | Dent with dull/high-gloss micro-halo | Displaced surface finish | Fill + careful blend | ★★★☆☆ |
| 3 | Hairline crack crossing the dent | Porcelain fracture present | Repair/replace tile | ★☆☆☆☆ |
| 4 | Corner chip (missing porcelain) | Load-bearing area compromised | Replace tile | ★☆☆☆☆ |
| 5 | Hollow sound when tapped | Possible debonding/voids | Stabilize or replace | ★☆☆☆☆ |
| 6 | Dent near a door threshold or point-load area | Repeated impact/movement risk | Inspect substrate first | ★★☆☆☆ |
| 7 | No crack, firm bond, dent is smooth | Ideal filler candidate | Fill + blend | ★★★☆☆ |
Fix deeper dents or chipped/cracked tiles (repair or replace)
Deep dents with cracking, missing corners, or looseness underfoot usually can’t be solved by filling alone. In these situations, the structurally safer route is tile repair or replacement, and—when appropriate—fixing the underlying substrate movement that caused the dent.
If porcelain is cracked or corner-chipped, filling may cosmetically smooth the surface but does not restore the original fracture strength of the ceramic body.
A hollow tap response often indicates bonding voids or substrate issues, which means traffic stress continues under the repaired spot.
Substrate deflection guidance for ceramic/porcelain tile commonly references limiting L/360 for in-plane movement to reduce cracking risk (per TCNA-style performance expectations).
If you see any of the following, escalate beyond filler:
– Cracks or fractured body material visible in the dent.
– Loose tile behavior (movement when pressed around the edges).
– Chipped corners where porcelain is missing rather than just indented.
– Evidence of substrate flex, especially around furniture legs, thresholds, or repeated point impacts.
Repair vs. replace: choose the safer option
Here’s a quick decision structure based on what you observed:
| Situation | Why filler alone is risky | Recommended action |
|---|---|---|
| Crack line through dent | Crack indicates porcelain fracture and ongoing stress concentration | Replace tile |
| Corner chip/missing porcelain | Surface leveling doesn’t rebuild the missing material volume | Replace tile (match grout) |
| Hollow sound when tapped | Void/debonding means the tile can flex and re-dent | Stabilize substrate or replace tile |
| Dent near high-traffic threshold | Repeated point-load can continue even after patching | Inspect installation/underlayment; address root cause |
Don’t ignore the root cause
Porcelain dents can be a symptom of:
– subfloor deflection,
– incomplete underlayment support,
– installation voids,
– or recurring point impact (e.g., chair legs without protectors).
If you rent, have warranty coverage, or notice repeated dents in the same pattern, it’s worth pausing the cosmetic repair and investigating the installation. The cost of addressing movement early is often far less than repeated patch failures.
What can go wrong (and how to avoid it)
Most dent repairs fail due to product incompatibility, poor adhesion, or ignoring looseness underneath. The fix isn’t just “use filler”—it’s “use the right filler, with the right surface preparation, on the right damage type.”
Incompatible fillers can peel or shrink because porcelain is smooth and low-absorption, so chemical adhesion matters as much as mechanical keying.
Over-sanding can create visible haze or scratches on polished porcelain, especially if the tile finish wasn’t intended to be abraded heavily.
If the tile is hollow or flexes, patching only the top surface delays the next failure rather than preventing it.
Common pitfalls:
– Wrong product: A “general patch” may not bond to porcelain or may discolor under traffic wear.
– Dirty surface: Cleaner residue or dust can undermine bonding even if the filler itself is correct.
– Too thick at once: Thick filler masses shrink more and are more likely to crack or debond.
– Sanding too early: Sanding before full cure weakens the repair and can create crumbling edges.
– Sealing mistakes: Many porcelain tiles don’t need sealing, and some fillers may be harmed by sealing chemistry. Follow both product and tile manufacturer instructions.
Also note a performance limit: if the dent results from ongoing substrate movement, even the best filler can “shadow” the issue and fail eventually.
Verdict / tip: when to DIY versus when to replace
DIY filling is the right call when the dent is shallow, the surface is intact (no crack), and the tile is firmly bonded with no hollow sound. Replace (or get professional help) when the damage includes cracking/chipping or when tapping indicates the tile may be loose—cosmetic repairs won’t fix the movement or voids causing the problem.
If tapping reveals a hollow sound, the repair decision should shift from “level the surface” to “restore bond/support,” because traffic will keep stressing the tile.
A visible crack through the dent is a strong indicator that the porcelain body has fractured, making tile replacement the more durable outcome.
Porcelain’s low water absorption (≤0.5% per ISO 13006) helps resist staining, but it also means repair adhesion depends heavily on proper surface prep.
Do DIY filling when:
– The dent is shallow.
– There’s no crack or missing corner.
– The tile sounds solid when tapped.
– The area is not repeatedly hit by point loads (or you’ve addressed the cause).
Skip DIY filling and replace when:
– Any crack or significant chip is present.
– The tile sounds hollow or you feel movement.
– The dent is near a high-impact threshold or repeated point-load location and the installation appears unstable.
– The floor is under warranty, and you’d rather preserve coverage by documenting the damage and following the warranty process.
Downside to know: even when filler works, the repaired spot may not visually blend perfectly—especially on polished porcelain—because finish sheen and micro-texture differ from the original tile surface.
Quick checklist you can save
– [ ] Confirm dent depth (shallow vs. deep) and check for cracks/chips
– [ ] Tap test for hollow sound (possible loose tile)
– [ ] Clean thoroughly and fully dry
– [ ] Lightly scuff only where needed for bonding
– [ ] Use porcelain/tile-safe filler and apply in thin layers
– [ ] Scrape flush, cure fully, then smooth carefully
– [ ] If cracked/loose or substrate flex is suspected → repair/replace tile
FAQ
Can you fix a dent in porcelain tile without replacing it?
Often yes—if the dent is shallow, not cracked, and the tile is firmly bonded. In those cases, a porcelain/tile-safe filler can level the surface.
What if the dent is near a doorway or high-traffic area?
That location can suggest repeated point impact or subfloor movement. If tapping suggests looseness or flex, filling alone may not last and replacement (or substrate correction) is the safer route.
Should you sand porcelain tile to remove a dent?
Only lightly, and only after the filler is fully cured (if you’re filling). Avoid heavy grinding that can haze polished surfaces or scratch matte finishes.
How do I know if the tile needs replacement?
Replace rather than fill if you see cracking, corner breaks, significant chipping, a hollow sound from underneath, or any tile movement when you press around it.
Will sealing the repaired area match the rest of the floor?
It may not, depending on whether the rest of the floor is sealed and what sheen level your tile has (matte vs. polished). Follow both the filler instructions and your tile manufacturer guidance.
Sources
– ISO 13006 (porcelain tile classification and water absorption requirement; commonly cited as ≤0.5% for porcelain bodies).
– TCNA Handbook for Ceramic, Glass, and Stone Tile Installation (installation performance expectations, including substrate support/deflection guidance used in method statements).
– [ADD: Manufacturer instructions/spec sheet for the specific porcelain-safe filler you plan to use—bonding and cure/working time requirements].
– [ADD: Porcelain tile manufacturer guidance on sealing/finishing for your tile type—matte vs. polished and whether sealing is recommended].
A solid porcelain dent repair starts with identifying whether the damage is truly surface-level or whether the tile is fractured and/or debonded. For shallow, non-cracked dents on firmly bonded porcelain, a porcelain-safe filler applied in thin layers and blended after full cure is usually the most practical DIY solution. For cracked, chipped, or hollow-sounding tiles—or for areas where substrate movement is likely—plan on repair or replacement to make the fix durable rather than temporary.
Frequently Asked Questions
How can I fix a dent in a porcelain tile floor without replacing the whole tile?
Minor dents in porcelain tile can often be repaired by filling the damaged area with a porcelain- or ceramic-appropriate epoxy filler or a tile repair kit, then smoothing it flush. Clean the dent thoroughly, remove any loose edges, and apply the filler in thin layers so it doesn’t shrink or crack. Once cured, sand lightly and, if needed, touch up with matching grout or epoxy tint for a more natural blend.
What’s the best way to repair a chipped or dented porcelain tile corner after furniture damage?
For chipped corners, the most reliable approach is to clean the area, then use a color-matched epoxy or porcelain repair compound designed for tile and stone. If the chip exposes rough edges, lightly feather them so the filler bonds well and sits level with the surrounding surface. After curing, sand smooth and seal with a compatible sealer or topcoat so the repaired area resists moisture and everyday wear.
Why does porcelain tile dent instead of crack, and how does that affect your repair method?
Porcelain tile can dent when a heavy object impacts while the tile is supported by a solid, but slightly flexible substrate (like a thin mortar bed or an uneven subfloor), absorbing the force by compressing the surface glaze. Dents may not compromise the tile’s structural strength, but they can affect appearance and traction. That’s why surface-level filling and leveling are often sufficient for shallow dents, while cracks or hollow-sounding tiles usually require partial or full replacement.
How do I remove loose grout or debris from a dent so the filler bonds correctly?
Start by vacuuming and using a scraper to remove any loose grout, dust, or lifted glaze from the dent. Rinse lightly if needed, then dry completely—porcelain repairs fail most often due to poor adhesion from dust or moisture. For best results, clean with a pH-neutral tile cleaner, then wipe with isopropyl alcohol before applying the epoxy or tile repair compound.
Which materials should I use to fix dents in porcelain tile floors—epoxy filler, grout, or a tile repair kit?
For dents in porcelain tile, a porcelain/ceramic epoxy filler or a dedicated tile repair kit is usually better than grout because it cures harder and bonds more effectively to smooth tile surfaces. Grout is meant for grout joints and can be too porous or brittle for a dent repair on tile. Choose a two-part epoxy repair product that can be tinted to match, and ensure it’s labeled as safe for porcelain tile and suitable for floor traffic.
📅 Last Updated: October 08, 2026 | Topic: How to fix dents in porcelain tile floors? | Content verified for accuracy and freshness.
References
- Google Scholar Google Scholar
https://scholar.google.com/scholar?q=how+to+repair+dented+porcelain+tile+floor - Google Scholar Google Scholar
https://scholar.google.com/scholar?q=porcelain+tile+chip+repair+epoxy+grout+filler+procedure - Google Scholar Google Scholar
https://scholar.google.com/scholar?q=repairing+damaged+ceramic+tile+floor+replacement+vs+patching - Google Scholar Google Scholar
https://scholar.google.com/scholar?q=thinset+porcelain+tile+installation+defect+repair+dented+tile - Google Scholar Google Scholar
https://scholar.google.com/scholar?q=best+practice+tile+patch+repair+porcelain+crack+chip - Google Scholar Google Scholar
https://scholar.google.com/scholar?q=tile+floor+underlayment+damage+denting+fix+tile+repair - Google Scholar Google Scholar
https://scholar.google.com/scholar?q=freeze+thaw+porcelain+tile+damage+repair+methods - Google Scholar Google Scholar
https://scholar.google.com/scholar?q=structural+substrate+movement+ceramic+tile+crack+repair+guidance - Google Scholar Google Scholar
https://scholar.google.com/scholar?q=ANSI+tile+repair+chipped+tile+procedures - Google Scholar Google Scholar
https://scholar.google.com/scholar?q=porcelain+tile+surface+prep+for+epoxy+repair+and+grout+matching