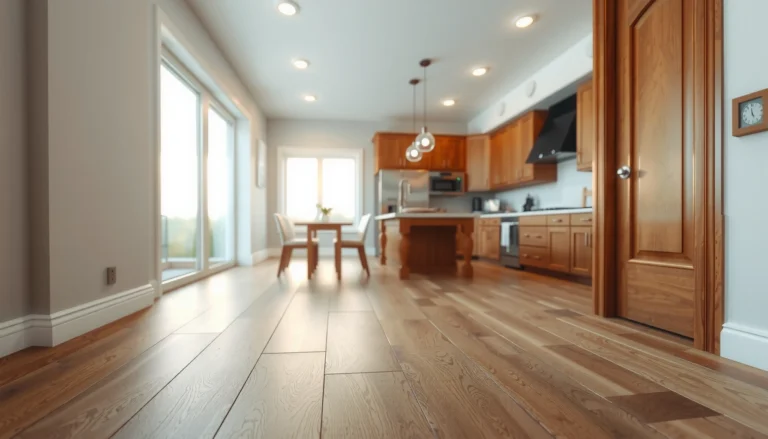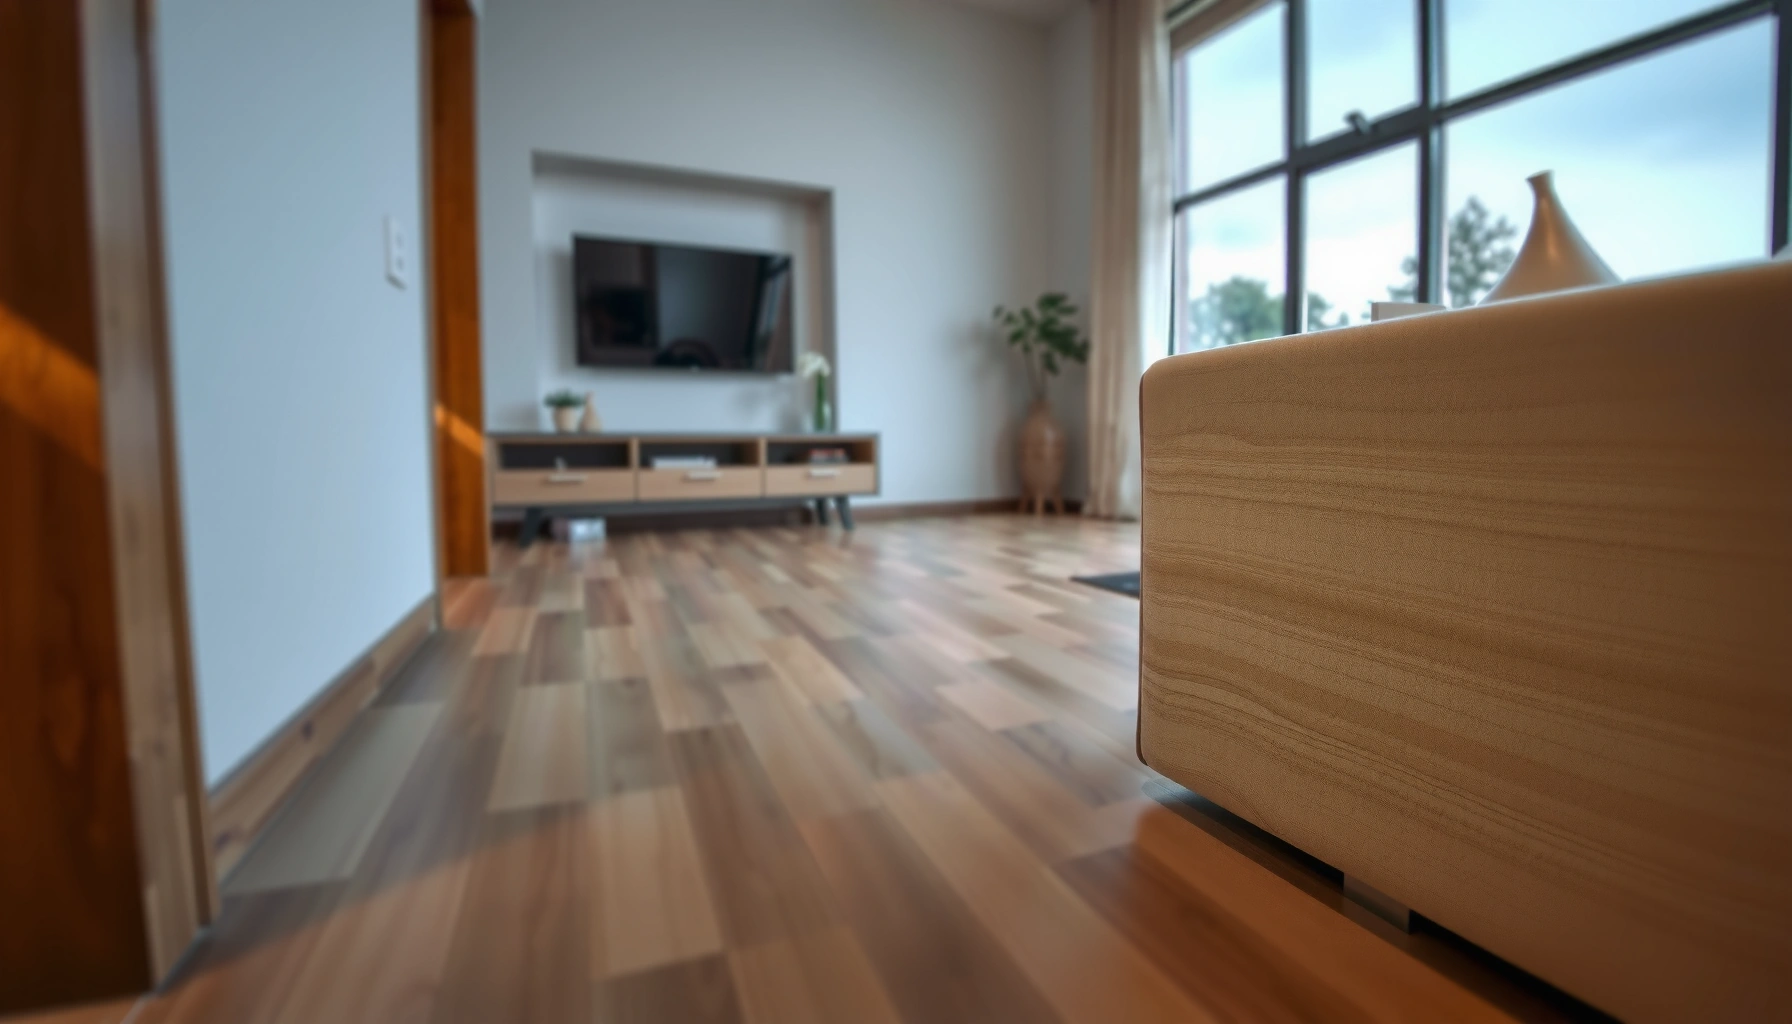

Choosing LVP floors is easy once you know which spec matters most for your home: durability, water resistance, installation method, and wear layer. This practical buying guide tells you exactly how to choose LVP floors that won’t buckle, fade, or wear out—based on your budget and where the planks will be installed. If you want one clear path to the right product, read on to pick the best LVP for your specific conditions.




If you want LVP floors that look good and hold up, match the product’s wear layer, thickness, and locking system to your home’s traffic and moisture risk—then confirm subfloor flatness and the right underlayment/vapor plan before you buy. This guide shows exactly what to check in-store (and what to avoid) so installation issues don’t undermine the look, sound, or durability.
If you’re replacing flooring in a living area, hallway, rental, or even a basement space, this is for you—especially if you’re comparing multiple LVP lines and aren’t sure which specs actually matter. It’s also helpful if you’re deciding between floating click-lock LVP and glue-down options.
Check the core specs that affect durability
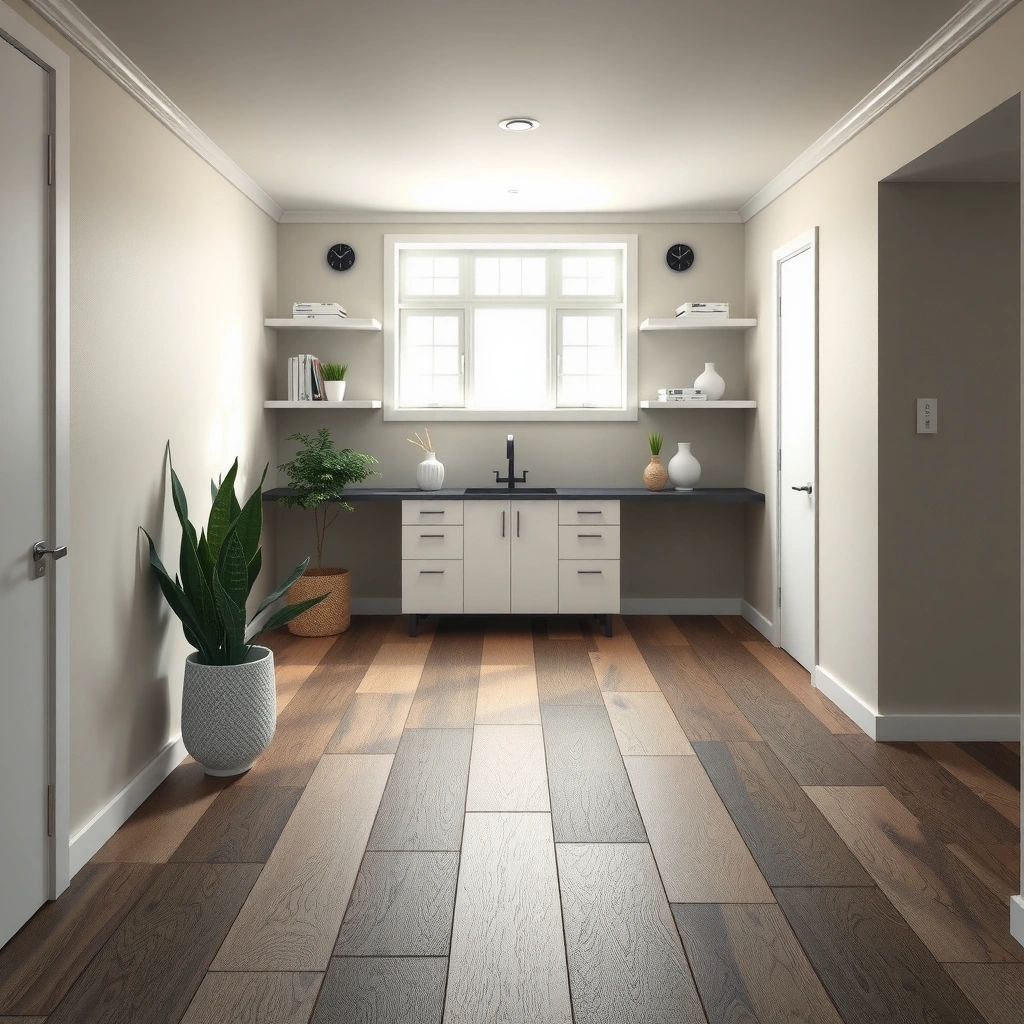
You can predict most of LVP’s real-world performance by focusing on a few core specs: the wear layer (surface protection), board thickness/construction (comfort + stability), and the locking system (how well boards stay aligned). Get these right first, because even a great looking design will fail early if the surface layer can’t handle your routine.
The wear layer is the primary protection against scratching and everyday abrasion on resilient vinyl floors, so it’s the most meaningful durability spec to compare across LVP brands.
For click-lock LVP, the locking system design and tolerances affect whether planks stay tight (no gaps) and quiet (no movement noise) after installation.
LVP comfort and dimensional stability depend on thickness and backing/construction, but thicker planks don’t compensate for poor subfloor flatness.
Look at the wear layer that actually protects the surface
When LVP listings say “thickness,” they may be describing overall plank thickness, not the protective wear layer. For durability, prioritize the wear layer specification the manufacturer provides (often measured in mils or described as an abrasion class on the spec sheet).
Practical comparison approach:
– Compare wear layer specs between lines you’re considering (not across unrelated product categories).
– If two products look similar but one has a clearly higher wear layer spec, it’s usually the safer choice for pet claws, grit, and heavy foot traffic.
– Pay attention to surface finish type (glossy vs. textured matte), because surface texture can hide micro-scuffs better—at the cost of slightly different cleaning feel.
Choose thickness based on your subfloor flatness and comfort needs
Thickness influences:
– Comfort underfoot (some thickness/backing improves “give”)
– Stability during temperature/humidity swings
– Tolerance for minor subfloor irregularities
But here’s the catch: LVP still requires a flat substrate. In my experience reviewing many installation issues, the most common “mystery failure” isn’t the product—it’s the installer accepting a subfloor that wasn’t flat enough. If your subfloor has bumps, thicker boards can mask the problem briefly and then create bigger issues like joint separation or rocking.
Verify the locking system quality (for click-lock options)
Click-lock performance depends on:
– The lock design (micro-bevels, tongue/groove geometry)
– How well the product tolerates minor subfloor movement
– Whether the manufacturer requires specific underlayment thickness or type
What to look for:
– Clear alignment during installation (you should be able to close seams without excessive force)
– A product design that supports tight-fitting joints even in longer plank runs
– Documentation about acclimation and expansion gaps (usually required for floating floors)
Common Moisture Limits Used for Resilient Flooring Installations (ASTM Methods)
| # | Test method (ASTM) | Measures | Typical “must be below” limit for resilient floors | Install impact |
|---|---|---|---|---|
| 1 | ASTM F2170 | In-situ RH (probe) | ≤ 75% RH (often used threshold) | Meets warranty-ready moisture targets |
| 2 | ASTM F1869 | MVER (calcium chloride) | ≤ 3.0 lb/1000 sq ft/24 hr (common resilient limit) | Low vapor emission supports floating systems |
| 3 | ASTM F710 | Slab/underlayment prep (general) | Moisture + surface condition must meet spec | Missing prep rules often causes failure |
| 4 | ASTM E96 (Method B) | Vapor transmission rate | Vapor barrier performance varies by membrane | Choose membrane rated for your MVER/RH readings |
| 5 | ASTM C920 | Sealant properties (detail work) | Use approved sealants for vapor/air control | Improves edge/perimeter reliability |
| 6 | ASTM F1869 prep | Surface planarity after testing | Surface must be sound and flat | Moisture “pass” won’t fix a rough substrate |
| 7 | Manufacturer spec (variable) | Final install permission | Follow the product’s exact limit | Spec compliance is the warranty line |
> Notes on use: Moisture limits vary by manufacturer and adhesive system. Treat the “typical” thresholds above as common industry references for planning and testing; your LVP’s installation guide always wins for warranty compliance.
> (Sources listed at the end of the post.)
Match LVP to your space and moisture risk
The best LVP for your home is the one explicitly rated for your room type and moisture exposure—not just “waterproof” marketing. Start by checking where the manufacturer allows installation, then choose the correct underlayment/vapor barrier plan for your subfloor and climate.
Many LVP warranties restrict installs in below-grade or high-moisture conditions unless specific vapor barrier and testing requirements are met.
Underlayment is part of the system: attached padding changes performance and can trigger different requirements for vapor control and warranty eligibility.
For kitchens, entries, and pet homes, a durable wear layer plus appropriate surface texture usually reduces the visibility of scuffs and grit-related wear.
Confirm intended use for damp areas
Even if an LVP listing says it’s “water resistant,” that does not automatically mean it’s appropriate for every damp location. Manufacturers typically distinguish between:
– Spills and routine wet cleaning (where surface exposure is brief)
– Subfloor moisture vapor drive (which can persist and affect the plank over time)
Before you commit, check the installation guide for allowed locations (examples that commonly matter):
– Basements / below-grade rooms
– Bathrooms (often restricted to specific conditions)
– Rooms with moisture intrusion risk (slabs without proper drainage, ground-contact walls, etc.)
Pay attention to underlayment requirements
Underlayment choice affects:
– Sound control (especially under floating click-lock systems)
– Lock stability (some underlayments compress too much)
– Vapor barrier performance (for moisture-prone slabs)
Key buying moves:
– If the LVP has attached pad, verify what the manufacturer says you can or cannot add underneath.
– If the LVP requires a separate vapor barrier, don’t “substitute” an underlayment that’s close in thickness but different in vapor performance.
– For floating floors, make sure the underlayment supports the manufacturer’s stated flatness tolerance and installation method.
Prioritize scratch resistance and realistic texture
A pet home doesn’t just need “durability”—it needs durability that still looks good. Texture matters:
– Slightly textured matte surfaces tend to hide light scuffs better than highly glossy finishes.
– Smooth high-gloss surfaces can show tracking and micro-scratches under certain lighting angles.
If your LVP spec sheet includes an abrasion rating or surface finish description, use that instead of relying only on aisle photos. Lighting in showrooms can make two finishes look identical when they won’t at home.
Decide on installation type (floating vs. glue-down)
The right installation method is the one that matches your subfloor conditions, moisture plan, and your tolerance for complexity. Floating click-lock is typically faster and often more DIY-friendly, while glue-down can be a better fit when you need a more rigid feel—provided you follow adhesive and moisture instructions precisely.
Floating/click-lock LVP depends on a stable substrate and correct expansion gap planning to prevent joint stress and movement noise.
Glue-down resilient flooring requires strict adherence to adhesive and moisture-vapor requirements because failure often starts at the bond line.
If the manufacturer limits approved subfloors for glue-down, “almost compatible” is not a safe assumption for warranty coverage.
Floating/click-lock: faster, but system-dependent
Floating/click-lock LVP is often popular because it:
– Reduces the number of variables (no adhesive curing)
– Speeds up installation
– Works well when you can meet the flatness and underlayment requirements
However, “floating” doesn’t mean “for uneven floors.” If your subfloor is wavy, the lock joints may open or produce noise over time. You still need:
– The correct underlayment (or the one required by the manufacturer)
– Moisture testing if your guide requests it
– Expansion gap strategy around the perimeter and obstacles
Glue-down: rigid feel, higher risk of installation mistakes
Glue-down LVP can feel more solid, especially on large rooms where movement management matters. The downside is that you increase variables:
– Adhesive selection (and whether it’s approved by the flooring manufacturer)
– Moisture limits and surface porosity requirements
– Roll/cure steps that affect bond performance
If you’re considering glue-down DIY, confirm your chosen product includes clear documentation for your exact subfloor type (wood, concrete, or existing flooring) and climate conditions.
Quick comparison (floating vs. glue-down)
Below is a practical way to weigh the tradeoffs when you’re comparing install types.
| Category | Floating / click-lock | Glue-down |
|---|---|---|
| Best for | Quicker installs, remodels where you can meet flatness rules | Substrates and rooms where a more rigid bond is desired |
| Subfloor tolerance | Critical—unevenness can cause gaps/noise | Critical—surface condition affects adhesive bond |
| Moisture planning | Still required per warranty (often via vapor barrier) | More sensitive—bond line fails if limits aren’t met |
| Tools/time | Fewer specialized materials | Adhesive, trowels, cure/rolling steps |
| Warranty complexity | Underlayment/vapor requirements still matter | Adhesive and moisture test documentation matter most |
| Common failure mode | Movement → seam separation or noise | Bond failure → curling, debonding, or hollow spots |
Don’t skip subfloor prep—this is where problems start
The subfloor is the foundation of LVP success: flatness, cleanliness, and moisture conditions control whether the floor looks tight and stays that way. Before you shop, confirm how strict your chosen product’s flatness rules are and whether you’re willing to do the prep work needed to meet them.
Resilient flooring can “highlight” substrate irregularities because the floor system follows the flatness of the surface beneath it.
Installation guides typically require specific vapor barrier/underlayment materials; replacing them with “close enough” products can void warranty protection.
Transitions (doorways, stairs, and openings) aren’t cosmetic only—trimming and spacing rules affect how well seams and edges perform.
Check flatness and cleanliness requirements in the guide
LVP installation guides usually specify:
– A maximum allowable height variation across a certain distance
– Whether high spots must be ground and low spots filled
– What “clean” means (dust-free, dry, no contaminants)
Practical in-store checklist:
– Ask for (or download) the installation guide for the exact LVP SKU you’re considering.
– Identify the flatness tolerance before you fall in love with the pattern.
– If your home has known subfloor issues (old patchwork, uneven slab, tile ridges), plan for prep, not hope.
Use the approved vapor barrier/underlayment approach
Moisture vapor transmission is one of the most predictable causes of floating-floor problems in basements and slabs. Industry standards define how to test and measure moisture—for example:
– According to ASTM F1869, moisture is measured as MVER in lb/1000 sq ft/24 hr.
– According to ASTM F2170, concrete moisture is measured as in-situ RH using probes.
– According to ASTM E96, vapor transmission rate is used to evaluate barrier performance.
Because limits vary by manufacturer, the only safe path is to compare your readings to the LVP’s stated moisture requirements in its warranty language and installation guide.
Plan transitions early so the finish looks intentional
Transitions determine whether your final installation looks “professional”:
– Doorways may need height-matching reducers or careful undercutting of jambs.
– Stairs often require different detailing than flat rooms.
– Large open areas need an expansion strategy that prevents buckling and seam stress.
If you’re buying LVP to run through multiple rooms, measure layout options and confirm what transitions the manufacturer recommends.
What can go wrong when choosing LVP floors
The most common LVP problems are avoidable when you shop by system requirements instead of only looking at style. Buying mistakes typically show up as early wear, seam issues, noise, or warranty denial due to missed documentation.
A wear layer that meets your lifestyle is necessary, but it’s not sufficient—locking tolerances and correct installation steps are equally critical.
Skipping required underlayment or using an unapproved vapor barrier can create performance issues and can trigger warranty exclusions.
“Waterproof” language often refers to surface resistance, while warranties still depend on subfloor moisture and the installation method.
Common mistakes to avoid
– Buying based on appearance only: Even a high-end pattern can underperform if the wear layer is too light for your traffic or pets.
– Ignoring underlayment/vapor instructions: Many warranties explicitly name what’s acceptable under the LVP.
– Overlooking moisture limits: Concrete and slab moisture drive can persist even when the floor “feels dry” on top.
Edge cases that surprise buyers
– Basements and below-grade rooms: These frequently require testing plus a specific vapor barrier plan.
– Uneven substrates: Cosmetic coverage doesn’t solve movement; it can worsen it.
– DIY with unclear documentation: If the guide doesn’t clearly match your subfloor type and method (wood vs. concrete, floating vs. glue-down), stop and verify before installing.
| VS criteria | Floating / click-lock (most DIY situations) | Glue-down (system-demanding installs) |
|---|---|---|
| Primary driver | Lock stability + underlayment + flatness | Bond line + adhesive + moisture compliance |
| Tolerance to minor unevenness | Limited—unevenness can cause noise or seam gaps | Limited—surface roughness affects adhesion |
| Moisture testing documentation | Often required for slabs/basements | Frequently more critical for warranty |
| Underlayment/vapor system | Must match manufacturer’s specs (often part of warranty) | Adhesive compatibility and substrate prep are paramount |
| Installation speed | Usually faster—fewer curing steps | Slower—adhesive coverage, set time, and layout matter |
| Repair/replacement | Sometimes easier to replace localized sections | Often harder due to adhesive bond removal |
| Common failure if mis-installed | Movement noise, gaps, or plank rocking | Debonding, hollow spots, or edge lifting |
| Best-room fit | Living rooms, hallways, many above-grade areas | Selected slab situations needing rigid feel (per guide) |
| Ideal for rentals | Often yes if underlayment/vapor needs are met | Can work well, but warranty relies on strict process |
| Verdict | Choose when you can meet flatness + moisture-vapor requirements | Choose only when your moisture plan and substrate prep are well controlled |
Verdict: how to choose the right LVP (and who should pause)
If you want a straightforward path to success, pick an LVP line that matches your home’s moisture situation, confirm underlayment/vapor barrier requirements in writing, and follow the product’s subfloor flatness and installation steps closely. The downside is that “cheaper” LVP often compromises on wear layer protection, locking tolerance, or the clarity of its documentation—so you may pay more later in replacements or troubleshooting.
Pause (or get a qualified installer) if your subfloor is uneven, you have recurring moisture concerns, you’re installing in a basement or other restricted warranty area, or the manufacturer’s moisture testing requirements feel ambiguous. Also pause if the product guide doesn’t clearly state what to do with your exact subfloor type (wood, concrete, or existing flooring).
Quick checklist: choose LVP floors with confidence
– Wear layer rating/spec: [ADD: what your shortlisted brand lists]
– Thickness and construction: [ADD: thickness/build type]
– Click-lock vs. glue-down: [ADD: your selected install method]
– Moisture allowances for your room: [ADD: manufacturer-approved areas]
– Underlayment/vapor barrier requirements: [ADD: required product/material]
– Subfloor flatness/prep rules: [ADD: flatness tolerances from guide]
– Warranty conditions (especially for underlayment and installation): [ADD: key warranty exclusions]
FAQ
Is thicker LVP always better?
Not necessarily. Thickness can help comfort, but if the subfloor isn’t flat or the locking/installation requirements aren’t met, thicker boards won’t prevent gaps or movement.
Can I install LVP over any existing floor?
You’ll need to follow the manufacturer’s approved list. In many cases, only specific existing surfaces and conditions are allowed—otherwise you risk problems with alignment, adhesion, or warranty coverage.
What matters most for scratch resistance?
Start with the wear layer spec and the surface finish the manufacturer describes. If you have pets or heavy foot traffic, also consider texture and how it hides scuffs while still being easy to clean.
Do I need an underlayment with LVP?
Sometimes yes, sometimes no—especially depending on whether the product has attached padding and what the manufacturer requires for your subfloor type and moisture conditions.
Sources
– ASTM F1869, Standard Test Method for Measuring Moisture Vapor Emission Rate of Concrete Subfloor Using Anhydrous Calcium Chloride (MVER).
– ASTM F2170, Standard Test Method for Determining Relative Humidity in Concrete Floor Slabs Using In-Situ Probes.
– ASTM E96, Standard Test Methods for Water Vapor Transmission of Materials.
– ASTM F710, Standard Practice for Preparing Concrete Floors to Receive Resilient Flooring.
– [ADD: Manufacturer installation guide/spec sheet for the specific LVP brand(s) you’re comparing—use the “installation requirements,” “moisture/vapor barrier,” and “warranty” sections]
– [ADD: Manufacturer care and maintenance instructions for surface cleaning and wear expectations]
Choosing LVP is less about chasing the prettiest plank and more about matching a complete system—wear layer, locking or adhesive method, underlayment/vapor control, and subfloor flatness—to your specific room conditions. If you verify those requirements up front, you’ll get the look you wanted without the common “almost right” installation surprises that cost time and money.
Frequently Asked Questions
What thickness and wear layer should I choose for LVP floors?
For most homes, LVP thickness around 4–6.5 mm with a wear layer of 12 mils (or thicker) is a common sweet spot for everyday durability. Higher traffic areas like hallways and kitchens benefit from a thicker wear layer because it resists scuffs, dents, and fading. If you have pets or children, prioritize a thicker wear layer and look for strong ratings from the manufacturer.
How do I choose the right LVP flooring style and finish?
Choose an LVP look that matches your room size and existing décor—wide planks can make spaces feel larger, while darker tones often hide wear better. For the finish, consider your lifestyle: matte or textured finishes usually reduce the appearance of scratches and glare, while glossy finishes can show imperfections more easily. Also check for realistic embossing and plank visuals if you want a more authentic wood or stone appearance.
Why does subfloor preparation matter when choosing LVP floors?
Even the best LVP can fail prematurely if the subfloor is uneven, damaged, or too damp. Before buying, confirm your subfloor type (concrete, plywood, existing flooring) and whether you need underlayment, leveling, or moisture mitigation. Taking time to prep the surface helps prevent gaps, squeaks, and joint separation, which are common pain points after installation.
Which LVP type is best for my home—glue-down, click-lock, or loose lay?
Click-lock LVP is popular for DIY installs because it clicks together and typically allows easier replacement of individual planks. Glue-down LVP can be a great option for basements and areas where you want maximum stability and strong moisture control, but installation requires more precision. Loose lay is often designed for quick installs but may require specific subfloor conditions, so verify compatibility before choosing.
Best practices for buying LVP: what should I look for in warranties and ratings?
Compare the warranty coverage for wear layer thickness, fading, and waterproof performance, and confirm whether it applies to your intended room (like bathrooms, basements, or kitchens). Look for clear installation requirements and official recommendations for pets, heavy furniture, and rolling loads. Checking AC/traffic ratings (when provided) and reading real-world reviews for your specific LVP brand and line can help you choose LVP flooring that holds up long-term.
📅 Last Updated: October 07, 2026 | Topic: How to choose LVP floors? | Content verified for accuracy and freshness.
References
- https://www.angi.com/articles/luxury-vinyl-plank-flooring-guide.htm
- Google Scholar Google Scholar
https://scholar.google.com/scholar?q=how+to+choose+LVP+luxury+vinyl+plank+flooring - Google Scholar Google Scholar
https://scholar.google.com/scholar?q=life+cycle+assessment+vinyl+flooring+resilient+flooring - Google Scholar Google Scholar
https://scholar.google.com/scholar?q=luxury+vinyl+plank+flooring+installation+underlayment+subfloor+requirements - https://pubmed.ncbi.nlm.nih.gov/?term=vinyl+flooring+indoor+air+quality+volatile+organic+compounds
- https://www.cdc.gov/niosh/topics/vinyl/
- Google Scholar Google Scholar
https://scholar.google.com/scholar?q=How+to+choose+LVP+floors? - https://en.wikipedia.org/wiki/Special:Search?search=How+to+choose+LVP+floors?
- https://www.ncbi.nlm.nih.gov/search/research-articles/?term=How+to+choose+LVP+floors?