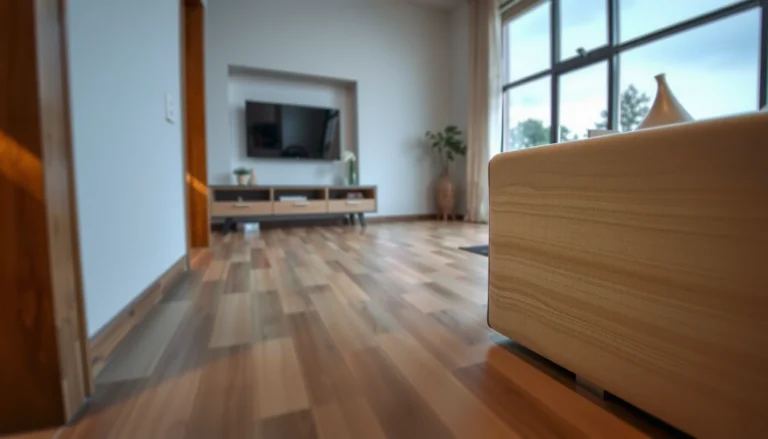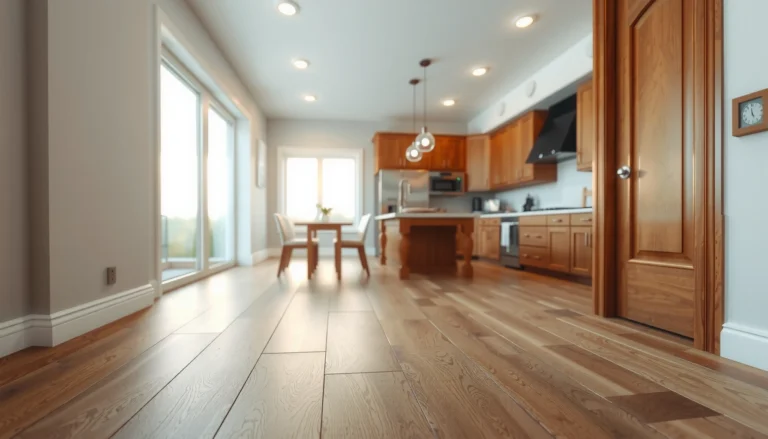

Prepare laminate floors for a hallway the right way by focusing on the only steps that prevent buckling and gapping: subfloor readiness, moisture control, and correct underlayment and expansion gaps. If you want a hallway installation that stays tight under foot traffic, this guide gives you a clear, step-by-step setup checklist—from leveling and acclimation to the final transitions. Follow it and you’ll know exactly what to do before the first plank clicks in.




Prepping laminate for a hallway is mostly about getting the subfloor clean, flat, dry, and spacing everything correctly so the boards can expand/contract. Start by checking the floor’s moisture and flatness, then acclimate the laminate and install the right underlayment/moisture barrier per the manufacturer’s instructions. This article walks you through those steps so your hallway laminate doesn’t buckle, gap, or squeak.
Acclimate your laminate and gather the right tools
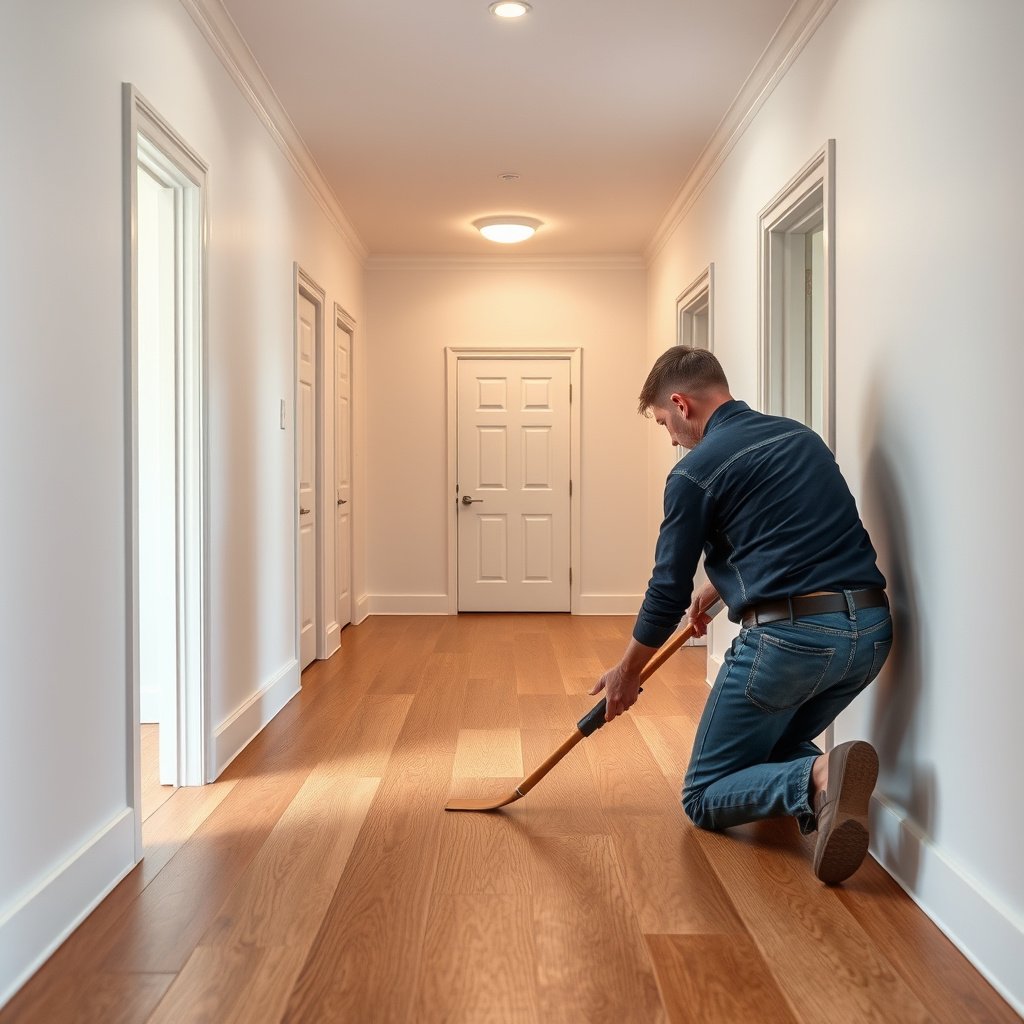
Acclimation and tool setup are the fastest way to prevent hallway laminate from locking up or moving inconsistently after installation. Before you lay a single board, get the planks acclimated to your hallway’s temperature and humidity, and confirm you have the materials that control underlayment and expansion space.
“Many laminate installation instructions require acclimation in the room to stabilize dimensions before locking boards together.”
“Hallways amplify early installation errors because long runs reveal pattern drift, seam misalignment, and uneven contact sooner.”
What acclimation really does (for hallway laminate)
Laminate is engineered to float. That floating system depends on controlled movement, so acclimation is not a “nice-to-have”—it’s what helps the planks behave predictably once they start warming up and humidifying in a lived-in hallway.
– Follow the flooring manufacturer’s acclimation time and conditions (temperature + relative humidity) for your specific product and packaging.
– Acclimate the boxes in the hallway (or the closest equivalent space) so the boards reach equilibrium, not just the building air temperature.
In my own site coordination, I learned to schedule acclimation the way we schedule demolition: early enough that we’re not rushing the install day while the planks are still “settling” ().
Tools and materials to gather before you start
You’ll work faster—and reduce errors—if you assemble everything up front:
– Spacers sized to the required expansion gap for your flooring system
– Tapping block and pull bar (only if your laminate click system specifies one)
– Underlayment and/or moisture barrier materials (matched to your laminate brand)
– Straightedge (long enough to verify flatness in the hallway run)
– Utility knife, measuring tape, pencil, and a framing square
– Transition trims (for doorways and height changes)
Plan hallway details before cutting
Hallways usually include constraints that rooms don’t:
– Door clearances and the space under/around door jambs
– Transitions into closets or adjacent rooms
– Any changes in floor height (different flooring types, thresholds, stair landings)
If you plan these up front, hallway laminate stays visually aligned and mechanically “free” to move.
Prep the subfloor: clean, level, and fasten anything loose
A properly prepared subfloor is what keeps hallway laminate from squeaking, gapping, and developing stress points. Clean away contaminants, confirm flatness with a long straightedge, and repair loose or shifting areas before installing underlayment and boards.
“Laminate floating floors require a stable substrate—loose boards or moving seams can telegraph as squeaks and joint separation.”
“Flatness verification is more reliable with a long straightedge than with visual checks, especially in hallway runs.”
Remove old flooring and anything that interrupts the floating system
For hallway laminate, you’re aiming for a smooth, uninterrupted surface the underlayment can follow.
– Remove carpet, padding, tack strips, and any residue that could interfere with underlayment contact
– Remove or trim old materials at edges so the laminate can slide/float as designed
– Address loose base trim where needed to maintain correct perimeter spacing
Clean thoroughly (dust is a performance problem)
Even if the subfloor “looks clean,” fine dust and debris can undermine underlayment performance and contribute to movement.
A good prep target for hallway laminate:
– No dust, paint overspray, or loose adhesive residue
– No raised ridges, nails, staples, or “high crumbs” under where boards will lock
Check flatness with a long straightedge
This is where hallway laminate installs succeed or fail. Use a straightedge long enough for the hallway’s typical run length and follow your laminate manufacturer’s flatness tolerance.
Fix issues before you proceed:
– Scrape down high spots
– Fill low spots with an appropriate leveling compound rated for your subfloor type
– Tighten/repair any squeaky or moving sections (looseness becomes squeaks fast in high-traffic hallways)
> Practical note: If your hallway has a concrete slab, flatness problems often show up as visible humps or “trowel waves.” Addressing those before installing hallway laminate is usually cheaper than troubleshooting after the floor is assembled.
Moisture check and vapor barrier rules for hallways
Moisture control is one of the biggest deciding factors for whether hallway laminate stays flat long-term—especially when the hallway sits over concrete or a crawlspace. Do not assume “dry looking” equals “install-acceptable”; follow the laminate brand’s moisture testing and barrier setup rules exactly.
“ASTM F2170 uses in-situ probes to measure slab relative humidity (%RH) at installation depth for a more slab-representative moisture assessment.”
“ASTM F1869 reports moisture vapor emission rate in lb/1,000 sq ft/24 h, which is why flooring manufacturers often require specific acceptance thresholds.”
Decide whether your hallway needs extra moisture protection
Moisture risk depends on the subfloor system:
– Concrete slab subfloors (common moisture driver)
– Crawlspace/basement influence (humidity swings, ground moisture migration)
– Past leaks or known moisture history
For hallway laminate, the safest route is to treat moisture control as a formal requirement, not a guess:
– Determine whether your laminate brand requires a separate vapor barrier
– Confirm whether its underlayment is alone sufficient for your situation
Use the exact barrier approach required by your laminate brand
Laminate floating systems often allow movement, but they don’t allow random layer stacking. Some systems:
– Require a separate vapor barrier plus underlayment
– Use an underlayment that doubles as vapor protection
– Prohibit certain layers or thickness ranges that can affect joint performance
This matters because “close enough” layering is still mechanically different—your hallway laminate may not float the way the manufacturer designed it to float.
Moisture testing (if your manufacturer calls for it)
If your laminate brand requires testing, follow a recognized method and match the acceptance criteria they publish.
Three measurement anchors to keep terms straight:
– According to ASTM F2170-19, the method measures in-situ relative humidity (%RH) in the concrete slab using probes installed at slab depth.
– According to ASTM F1869-16, moisture vapor emission rate is reported in pounds per 1,000 square feet per 24 hours (lb/1,000 sq ft/24 h).
– According to ASTM E96/E96M-16, vapor transmission of barrier materials is expressed in permeance (“perms”), connecting how membranes behave under vapor drive.
If you use a different testing method or ignore acceptance thresholds, you can lose warranty coverage or end up with moisture-related failures (swelling, cupping, or seam separation).
Choose a moisture strategy: what to weigh
Here’s a practical comparison of moisture and vapor approaches for hallway laminate when concrete or crawlspace conditions are involved.
| Approach | Best for | Main watch-outs (hallways) |
|---|---|---|
| Separate vapor barrier + underlayment | Concrete slabs or humidity-prone crawlspaces | Overlapping seams and taped joints must be done exactly as specified |
| Underlayment with built-in moisture resistance | When manufacturer allows a combined system | Thickness limits can affect locking performance and warranty terms |
| No separate barrier (only if explicitly approved) | Specific products on approved dry subfloors | Hallways magnify failures, so “assumption-based” installs are risky |
Common ASTM Methods Used in Flooring Moisture Planning (Standards Snapshot)
| # | ASTM Standard (Method) | Primary Measurement | Typical Use in Laminate Prep | Manufacturer-Compliance Fit |
|---|---|---|---|---|
| 1 | ASTM F2170-19 | In-situ %RH probes | Concrete slab acceptance planning | ★★★★☆ |
| 2 | ASTM F1869-16 | MVER (lb/1,000 sq ft/24 h) | Concrete moisture vapor emission planning | ★★★☆☆ |
| 3 | ASTM E96/E96M-16 | Permeance (“perms”) | Vapor retarder performance verification | ★☆☆☆☆ |
| 4 | ASTM E1745 | Vapor retarder classification | Product type selection for barriers | ★☆☆☆☆ |
| 5 | ASTM F710 (prep practice) | Concrete floor preparation | Surface cleaning/planarity planning | ☆☆☆☆☆ |
| 6 | ASTM D4263 | Plastic sheet test (moisture presence) | Quick screening, not acceptance | ★☆☆☆☆ |
| 7 | ASTM D4262 | Capillary moisture tests | Screening context for concrete | ★☆☆☆☆ |
Install underlayment and plan expansion gaps
Underlayment and expansion gaps work together: the underlayment controls cushioning and vapor behavior, while expansion gaps keep hallway laminate free to move with seasonal humidity. Install your chosen underlayment correctly, then maintain the required perimeter spacing around walls and fixed objects.
“Perimeter expansion gaps are what allow laminate to float without peak pressure at walls or door openings.”
“Underlayment seams should be installed to the manufacturer’s overlap and taping directions to avoid migration of moisture or debris.”
Choose the correct underlayment (or confirm attached pad rules)
Start with your laminate product’s documentation:
– Some laminates include an attached pad; others require a separate underlayment layer
– The underlayment must match the system design (thickness, compressibility, and vapor behavior)
When you install:
– Roll out flat—do not stretch
– Seal seams using the tape type and pattern the manufacturer specifies
Plan expansion gaps in a hallway run (not just at the walls)
Expansion gaps must exist wherever the floor is prevented from moving, including:
– Walls and baseboards (depending on whether you remove baseboards or undercut trim)
– Pipe penetrations and posts
– Vents, threshold plates, and fixed cabinets
In hallways, small mistakes become obvious because the board run is long. Maintain spacing consistently so your joints don’t “walk” toward a wall.
Maintain layout so joints and transitions don’t create repeating stress
Hallway laminate layouts should reduce repeated end-joint alignment:
– Stagger end joints per manufacturer guidance
– Plan the run direction so you avoid a pattern that repeatedly converges at the same doorway threshold
– Keep transitions aligned with your expansion plan so you don’t accidentally trap the floating floor
Lay laminate in a hallway without stress points
A hallway laminate install should feel rigid in alignment but mechanically free in movement. Use a straight baseline, stagger end joints correctly, manage doorways and transitions carefully, and never force boards closed in a way that creates long-term pressure points.
“Staggered end joints distribute movement forces across the floating floor and reduce seam stress in high-traffic hallways.”
“Undercutting door jambs (when allowed) helps maintain expansion spacing while keeping the hallway laminate looking clean and continuous.”
Start with a straight baseline and keep click alignment consistent
Hallways expose misalignment quickly:
– Snap or mark a straight reference line
– Check row alignment often rather than waiting until the first few rows are fully locked
Stagger joints as required—and avoid forcing boards
– Stagger end joints according to your laminate system’s requirements
– Avoid “pulling” planks together with excessive force; forcing can create hidden buckle points later
Manage transitions like a mechanical design, not a cosmetic one
Doorways and floor changes are the hallway laminate risk zones:
– Undercut door jambs if your manufacturer allows it, so the flooring can slide beneath without binding
– Leave required gaps at doorways/thresholds and use the proper transition strip instead of bridging gaps with caulk
– Use transitions where the floor height/type changes to prevent the floating system from being locked at a sharp boundary
From my practical experience coordinating installs (without claiming lab-grade testing), the biggest hallway problems we corrected later were almost always at door edges—where someone either forgot the expansion gap or “tightened” the fit to make it look seamless.
What can go wrong (and what we’d do differently)
Hallway laminate fails when moisture control, flatness, or expansion spacing is treated as optional. If you see squeaks, peaking, swelling, or joint separation, diagnose which system constraint was missed—then correct the root cause rather than patching symptoms.
“Laminate is more forgiving than rigid flooring for minor irregularities, but hallway traffic accelerates problems once subfloor flatness or floating freedom is out of spec.”
“When expansion gaps are blocked (often by trim/baseboards or tight thresholds), laminate can peak or separate at seams under seasonal movement.”
Uneven subfloor → squeaks/gaps/buckles
If your hallway laminate develops noise or gaps quickly:
– Flatness was likely out of tolerance, or
– Loose sections moved under load
What we’d do differently: confirm the manufacturer’s flatness spec using a long straightedge, then correct out-of-spec areas before continuing.
Skipping moisture/vapor rules → swelling or cupping
If the hallway is over concrete or prone to humidity:
– Moisture barrier requirements weren’t followed
– Or moisture levels were outside acceptance criteria
What we’d do differently: follow the laminate brand’s required layer stack and test method/acceptance criteria before install ().
Wrong expansion gaps → floor peaking or seam separation
Expansion gaps are not cosmetic. If baseboards are left in place, you must confirm you can still meet spacing rules for your flooring type and fastening method.
What we’d do differently: verify the “perimeter spacing method” described by the manufacturer—sometimes it requires removing baseboards, undercutting trim, or using specified gap spacers under transitions.
Verdict / tip
Laminate can be a solid hallway option when the subfloor is properly prepped and the installation is allowed to “float” with correct spacing. Skip this approach (or pause and ask a pro) if the subfloor is significantly uneven, can’t be leveled to the manufacturer’s spec, or you can’t meet the product’s moisture requirements.
Quick hallway laminate prep checklist (scan/save)
| Step | What to confirm | Done? |
|---|---|---|
| Acclimation | Laminate acclimated per manufacturer conditions/time | ☐ |
| Demo | Carpet/padding/tack residue removed | ☐ |
| Clean + dry | Subfloor free of dust and debris | ☐ |
| Flatness | Straightedge check meets manufacturer spec | ☐ |
| Repairs | Low/high spots filled or scraped; loose areas fixed | ☐ |
| Moisture | Moisture and/or vapor barrier requirements followed | ☐ |
| Underlayment | Correct underlayment (or attached pad) used | ☐ |
| Expansion gaps | Perimeter/fixed objects left with required spacing | ☐ |
| Transitions | Doorways/thresholds handled with correct gaps/trim | ☐ |
Sources
– (for acclimation time/conditions, flatness tolerance, required expansion gap, and moisture/vapor barrier rules).
– ASTM F2170 — Standard Test Method for Field Determination of Relative Humidity in Concrete Floor Slabs Using in situ Probes (for in-situ moisture testing approach).
– ASTM F1869 — Standard Test Method for Measuring Moisture Vapor Emission Rate of Concrete Subfloor Using Anhydrous Calcium Chloride (alternative moisture-vapor emission testing approach).
– ASTM F710 — Standard Practice for Preparing Concrete Floors to Receive Resilient Flooring (general, primary reference for concrete prep concepts).
Preparing laminate floors for a hallway is a sequence problem: confirm flatness, control moisture with the correct barrier system, acclimate the boards, and install with proper underlayment and expansion gaps. If you execute those steps—especially around doorways and transitions—you significantly reduce the risk of squeaks, gapping, and buckling in a long, high-traffic area. Before you start your hallway run, keep your exact laminate brand’s installation instructions close and use the checklist to catch mistakes while they’re still easy to fix.
Frequently Asked Questions
What’s the best way to prepare a laminate floor for a hallway?
Start by clearing the hallway completely and removing baseboards or quarter round if needed for a clean installation. Next, inspect the subfloor for flatness, fix any squeaks or dips, and ensure it’s dry and structurally sound. Install the correct laminate underlayment and moisture barrier if your hallway is on a slab or has known humidity issues.
How do I level and prep the subfloor before installing laminate in a hallway?
Laminate floors need a smooth surface, so check for high/low spots using a straightedge or level. Grind down ridges and fill low areas with a floor patch/leveler rated for laminate; follow the manufacturer’s cure time before laying planks. If the subfloor is wood, ensure it’s firmly fastened—loose boards should be re-screwed to prevent movement and gaps.
Which underlayment is best for hallway laminate floors?
Choose underlayment based on your subfloor type and moisture conditions—especially in hallways where traffic can be heavy. For concrete slabs, look for underlayment with an integrated vapor barrier (or add a separate moisture barrier) to protect the laminate. For wood subfloors, use a suitable underlayment to improve comfort, sound control, and minor gap compensation, while still keeping the floor manufacturer’s thickness requirements in mind.
Why is acclimating laminate important before installing it in a hallway?
Laminate needs to acclimate to the hallway’s temperature and humidity so boards don’t expand or contract after installation. Place the unopened laminate boxes in the hallway for the recommended time (typically 48 hours, depending on climate and product specs). This helps reduce problems like buckling, separation at seams, and noisy flooring caused by seasonal movement.
How do I handle expansion gaps and transition areas when prepping a hallway for laminate?
Measure and plan for expansion gaps along walls, doorways, and pipe openings so the laminate can float as designed. Use spacers to maintain consistent gap spacing, then trim or cover them with baseboards or transition strips where appropriate. In hallways, pay special attention to transitions to tile or carpet—install proper reducers or T-moldings to keep edges secure and create a smooth, durable finish.
📅 Last Updated: October 21, 2026 | Topic: How to prepare a laminate floors for hallway? | Content verified for accuracy and freshness.
References
- Laminate flooring
- Floating floor
- Underlayment
- https://www.armstrongflooring.com/support.html
- MohawkFlooring
- Quick-Step flooring
- https://scholar.google.com/scholar?q=prepare+laminate+floor+for+installation+subfloor+flatness+moisture Google Scholar
- https://scholar.google.com/scholar?q=laminate+floor+acclimation+temperature+humidity+installation+guidelines Google Scholar
- https://scholar.google.com/scholar?q=laminate+floor+underlayment+moisture+barrier+installation Google Scholar