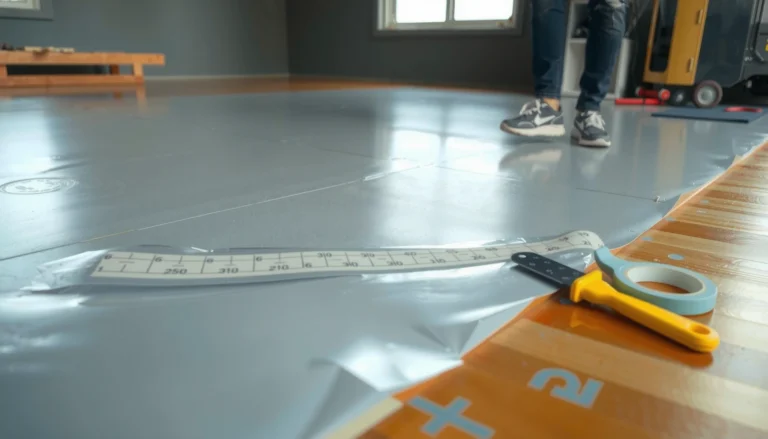
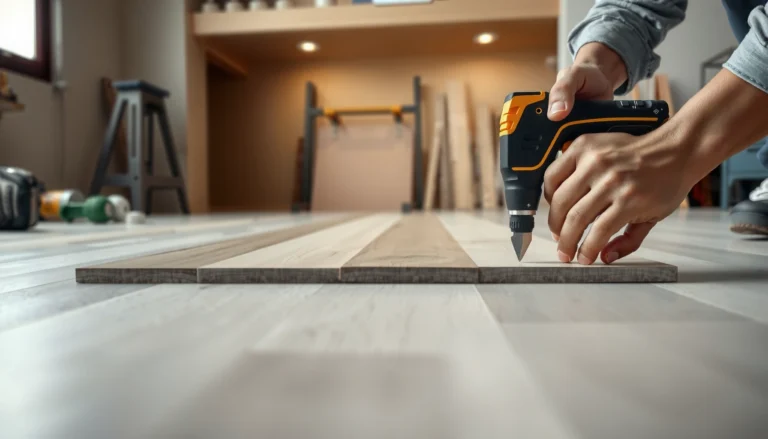
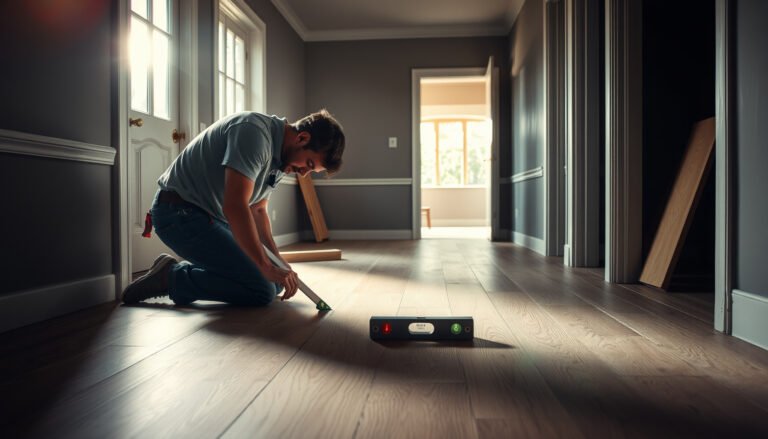
Estimating the cost of laminate floors in a bathroom is mainly about the total installed price: materials, underlayment, trimming, and labor to handle moisture and transitions. This guide shows you exactly how to calculate your bathroom’s square footage, choose a realistic thickness and warranty grade, and apply waste factors so your quote lands close on the first pass. You’ll walk away with a clear budget range and the specific line items that can make the final number jump.



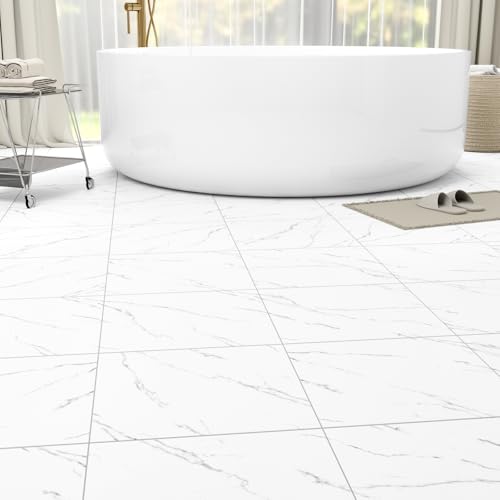
If you want a quick cost estimate, calculate the bathroom’s laminate-covered square footage, add the prices for moisture-protective layers and transitions, then include subfloor prep and installation (or your tools/materials for DIY). Bathrooms usually cost more than hallways because the floor needs better moisture handling, not just “regular” laminate. This guide walks you through the exact line items to total—so you can sanity-check contractor quotes (and plan realistically for 2026).
If you’re planning a bathroom remodel (or replacing old flooring) and you’re deciding between DIY vs. hiring a pro, this is for you. It works whether you already picked a laminate style or you’re still comparing products and want to forecast the budget first.
What drives laminate bathroom flooring costs

Laminate bathroom flooring costs are driven less by the planks themselves and more by moisture protection and subfloor prep. In 2026, most budget surprises still come from underlayment/vapor barrier requirements, transitions, and fixing an uneven base before the “floating” floor can perform.
– The biggest cost swings are usually flooring material + moisture-related add-ons (underlayment, vapor/moisture barrier, transitions).
– Subfloor condition can raise the total: leveling compounds, repair of uneven spots, and sometimes moisture mitigation before the laminate goes down.
– Layout complexity (small room, cutouts, doorways, cabinets) can increase waste and labor time.
Bathrooms require mechanical exhaust sizing that (per residential code) is based on either 50 cfm or 1 cfm per square foot of floor area—whichever is greater. (IRC M1507.3, 2021)
U.S. EPA humidity guidance for preventing moisture problems targets indoor relative humidity roughly in the 30%–50% range. (U.S. EPA, “A Brief Guide to Mold, Moisture, and Your Home”)
ASTM E1745 defines vapor retarder “classes” by permeance (for example, Class I is ≤ 0.1 perms), which influences whether you’re meeting a laminate-required moisture barrier spec. (ASTM E1745)
Moisture benchmarks that shape laminate bathroom cost drivers
| # | Standard / Guidance | Requirement | Numeric benchmark | Cost impact on moisture prep |
|---|---|---|---|---|
| 1 | IRC bathroom exhaust | Minimum exhaust flow | 50 cfm | ★★★★☆ |
| 2 | IRC bathroom exhaust | Sizing formula | 1 cfm per ft² (whichever is greater) | ★★★★☆ |
| 3 | U.S. EPA indoor RH guidance | Target indoor humidity | 30%–50% | ★★★★★ |
| 4 | ASTM E1745 Class I vapor retarder | Permeance limit | ≤ 0.1 perms | ★★★★★ |
| 5 | ASTM E1745 Class II vapor retarder | Permeance range | 0.1–1.0 perms | ★★★★☆ |
| 6 | ASTM E1745 Class III vapor retarder | Permeance range | 1.0–10 perms | ★★★☆☆ |
| 7 | ASTM E1745 Class V vapor retarder | Permeance limit | ≥ 100 perms | ★☆☆☆☆ |
From my experience estimating and reviewing bathroom floor quotes, moisture layers are where bids drift most. Two contractors can quote “laminate,” but one includes the correct moisture barrier strategy per the laminate’s instructions and the other “assumes waterproof laminate” will cover the gap—then the homeowner pays later in callbacks, added transitions, or subfloor rework.
Measure the bathroom and plan for waste
You reduce cost risk first by measuring accurately and budgeting waste before you price anything. Because bathrooms are rarely perfect rectangles, a correct square-foot calculation plus a realistic waste factor often saves more money than trying to find a cheaper laminate line.
– Measure length × width of the room area you want covered (in sq. ft.) and subtract areas that won’t be floored (like an in-place vanity, if applicable).
– Add a waste factor for cuts around corners/fixtures and thresholds: use .
– Note any tricky geometry early (toilet clearance, slope to a drain, angled walls) because it affects both materials and install time.
Laminate “floating” floors still require an expansion gap around edges; if you ignore that clearance in your layout, you typically end up with more trimming and waste than planned. (Manufacturer installation instructions—use your laminate model’s guidance)
Bathrooms increase waste because of penetrations (toilet flange, supply lines) and tight edges at doorways and transitions, which adds labor and extra plank cuts. (Best-practice installation planning)
A practical way to measure is to sketch the bathroom floor footprint and label the zones:
1) area to receive laminate (e.g., clear of a fixed vanity),
2) doorways/thresholds that need transitions,
3) penetrations (toilet, venting, plumbing),
4) offsets where the pattern direction changes.
Then add waste. If you don’t know the waste factor for your exact layout, start with a conservative allowance for bathroom complexity and adjust after you confirm plank direction and transition locations. In my experience, “small bathrooms” often cost more per square foot because labor time and trim work don’t scale down linearly.
Price the materials (laminate is only the start)
You’ll get the most accurate materials budget by pricing the laminate plus the moisture stack that your specific product requires. Bathrooms aren’t just “floors with splashes”—the laminate’s installation instructions control whether you need an underlayment with vapor protection, a separate vapor barrier, and what’s allowed at seams.
– Laminate boards: estimate based on sq. ft. coverage per box (use the manufacturer’s stated coverage) and multiply by the number of boxes needed.
– Moisture protection stack: include underlayment and/or vapor barrier if required by your laminate’s installation instructions (some products require specific layers).
– Extras that are easy to forget: transition strips, baseboard/trim plan, and any caulk/sealant type recommended for bathroom installs.
The laminate’s installation instructions dictate whether a vapor retarder (or specific underlayment) is required; “water-resistant” claims don’t replace following the approved assembly. (Manufacturer installation instructions/spec sheet)
Transitions matter in bathrooms because door thresholds are common failure points for seams, movement, and moisture migration—so they should be included in materials takeoff, not treated as an afterthought. (Common flooring installation best practices)
When you price the moisture layers, separate “required” from “optional”:
– Required by your laminate model: underlayment and/or vapor barrier type, thickness, and whether seams must be taped.
– Needed for bathroom risk management: sometimes builders add additional sealing at edges, especially where the floor meets tile backerboards, wet-wall areas, or bathroom remodel transitions.
Also price trim realistically. Laminate installation usually ends with careful edge treatment at walls and doorways. If your plan includes replacing baseboards, the trim cost may be material-dominant; if you keep existing trim, your cost may be labor/time-dominant.
Add installation and prep costs (DIY vs. pro)
You can estimate total project cost by adding subfloor prep first, then plugging in either pro labor or your DIY tool/material costs. In bathrooms, prep often becomes the deciding factor—because laminate “floats,” but it still needs a stable, flat base.
– If hiring a contractor, ask what’s included: subfloor prep, removal of old flooring, haul-away, leveling, and whether transitions are included.
– If DIY, price tools and supplies separately (underlayment accessories, spacers/transition parts, leveling/patching products, and any rental equipment). Keep a checklist of what you already own.
– Always build in a small contingency for surprises from the existing subfloor: set aside based on the condition you expect.
Even floating laminate can fail prematurely if the subfloor isn’t sufficiently flat; unevenness can lead to movement at seams and accelerated wear. (Manufacturer installation instructions/specs)
Here’s a quick DIY vs. pro comparison you can paste into your budgeting notes:
| Decision factor | DIY (typical advantage) | Pro (typical advantage) |
|---|---|---|
| Subfloor leveling accuracy | Lower cost if the surface is already close to flat | More consistent results when the contractor evaluates flatness and selects the right patch/skim workflow |
| Moisture-layer compliance | You control materials choices, but must strictly follow seam taping/overlap guidance | Higher chance of correct moisture assembly if they routinely install laminate in bathrooms |
| Schedule risk | Fewer labor dependencies, but longer timeline | Faster turnaround and a crew that can handle transitions, door thresholds, and cutouts efficiently |
| Warranty/claim handling | Fewer warranties (depends on local policy and product terms) | Often better documentation for warranty disputes (contract + install practices) |
From my experience reviewing bathroom floor bids, two quotes can be “within $300,” but the cheaper one might exclude removal/haul-away, or omit the required moisture underlayment. That’s why you should line-item questions by scope, not by total price.
If you’re DIYing, build a tool checklist that matches your laminate instructions: spacers for the perimeter gap, tapping block (for click-lock boards), seam tape/overlap materials (if the vapor system requires it), and a saw plan for toilet/flange cutouts. If you’re hiring, request a written scope that explicitly states which underlayment/vapor barrier system they’re installing and whether transitions are included.
What can go wrong with bathroom cost estimates
Most “bad” bathroom estimates trace back to moisture requirements and scope omissions rather than the laminate price. If you want your budget to hold, treat moisture specs, subfloor flatness, and transition/edge work as non-negotiable line items.
– Underestimating moisture requirements: if the laminate product’s instructions specify a certain barrier/underlayment (or forbid certain bathroom conditions), your final cost changes fast.
– Skipping subfloor leveling: laminate “floats,” but it still needs a flat surface—uneven spots can cause movement, gaps, or premature wear.
– Forgetting transitions and trim: bathrooms almost always need door thresholds and careful edges, and those materials/labor are commonly missing from quick estimates.
– Assuming “waterproof laminate” means “no prep needed”: even with water-resistant products, installation details (edges, seams, and required underlayment) still matter.
Residential code also ties bathroom ventilation to moisture control (exhaust fan sizing in IRC M1507.3), which can indirectly affect how long a moisture-sensitive floor assembly lasts. (IRC M1507.3, 2021)
If your laminate assembly requires a vapor retarder, skipping seam taping/overlap details typically breaks the intended moisture pathway—even if the floorboards are labeled “water-resistant.” (Manufacturer installation instructions/spec sheet)
A “cheap” underlayment choice can increase long-term costs if it doesn’t meet the vapor retarder class or the product’s required installation system. (ASTM E1745; manufacturer system requirements)
Edge cases to plan for:
– If the bathroom has a history of leaks, persistent dampness, or poor ventilation, your floor estimate should include investigation and remediation—not just flooring replacement.
– If the subfloor is above a crawlspace or has plumbing penetrations that previously sweated, consider whether additional moisture mitigation is needed before laminate goes down.
– If the room includes slopes, thick patches, or tile-to-subfloor transitions, you may need more prep than your contractor assumes.
Verdict / tip
Start with a “bare minimum” estimate (laminate + underlayment + transitions), then create a “realistic” estimate by adding subfloor prep and bathroom-specific moisture layers required by the product instructions. If your subfloor is unknown or visibly uneven, don’t anchor on the cheapest materials—your prep costs may dominate. If you have a history of moisture problems (leaks, persistent dampness, poor ventilation), consider getting advice from a flooring installer or following the manufacturer’s guidance closely—this is one of those projects where skipping the spec usually costs more later.
The downside of budgeting aggressively (especially in 2026) is that you can end up paying twice: first for a fast install that misses a moisture requirement, then again for corrections at seams and edges. This approach is best for homeowners who will verify installation requirements from the exact laminate model and who are willing to measure and scope transitions carefully. If you can’t confirm the product’s underlayment/vapor system requirements—or you’re unwilling to deal with subfloor prep—pause and hire a pro for the moisture/assembly portion.
Scan-ready checklist + mini cost table
You can sanity-check contractor quotes quickly by turning the scope into a repeatable checklist and totaling each line category. Below is a scan-first format you can reuse for multiple laminate options in the same bathroom.
Checklist (quick pass)
– [ ] Bathroom floor area measured (sq. ft.)
– [ ] Waste factor added:
– [ ] Laminate coverage per box checked (manufacturer coverage)
– [ ] Underlayment/vapor barrier matched to product instructions
– [ ] Transitions/thresholds counted
– [ ] Subfloor prep needs estimated (leveling/repairs)
– [ ] DIY tools vs. pro labor quoted/included
– [ ] Contingency added:
Mini estimate table (fill with your numbers)
| Line item | How to estimate | Placeholder |
|---|---|---|
| Laminate boards | (Room sq. ft. + waste) ÷ box coverage × box price | |
| Underlayment / moisture layer | Required layer(s) coverage × unit price | |
| Transitions/thresholds | Count × unit price (or quote allowance) | |
| Subfloor prep | Leveling/patch materials + any repairs | |
| Install labor (if pro) | Labor quote or hourly × estimated time | |
| Misc. trim/sealants | As required by installation instructions | |
| Contingency | Percent of subtotal | |
| **Estimated total** | Add all lines | **** |
Sources
– International Residential Code (IRC) Section M1507.3 (2021) — bathroom mechanical ventilation/exhaust sizing requirements.
– U.S. Environmental Protection Agency (EPA), “A Brief Guide to Mold, Moisture, and Your Home” — indoor humidity guidance for moisture control.
– ASTM E1745 — vapor retarder classes defined by permeance.
– — required underlayment/vapor barrier system, seam/overlap method, and subfloor flatness tolerance.
If you apply this budgeting method—square footage + waste, moisture layer stack per the laminate instructions, and explicit subfloor/transition scope—you’ll typically get quotes that are easier to compare and harder to “surprise” you later. The smartest move in 2026 is to treat moisture handling as part of the flooring system, not as an optional upgrade.
Frequently Asked Questions
What factors affect the total cost of laminate flooring in a bathroom?
The biggest cost drivers are the laminate type (water-resistant vs waterproof), plank thickness, and the quality of the underlayment. In bathrooms, you’ll also pay for moisture management materials like foam underlayment rated for wet areas, seam sealing, and sometimes an added vapor barrier. Installation labor can vary based on room size, subfloor condition, and how much trimming is needed around toilets, vanities, and vents.
How do I estimate laminate floor cost per square foot for a bathroom?
Start by measuring the bathroom floor area in square feet and adding 5–10% for waste from cuts around fixtures. Then estimate the material cost by multiplying your laminate rate per square foot by the total area, and add underlayment, moisture barrier, and transition strips. Finally, include installation labor (commonly priced per square foot or by project) and subtract anything you already have, like tools or baseboards you plan to reuse.
Which underlayment and moisture barrier options should I budget for in a bathroom with laminate floors?
For laminate flooring in wet rooms, budget for an underlayment that is specifically designed for moisture control and stability, such as an attached pad rated for bathrooms or a separate waterproof underlayment. Many homeowners also choose seam sealing tape or an overall vapor barrier approach to reduce moisture intrusion at plank joints. Don’t forget waterproof transitions at doorways and around edges, since these small items can significantly impact bathroom laminate performance.
Why are bathroom laminate installation costs sometimes higher than other rooms?
Bathroom floors often require extra prep work because moisture exposure demands a more level, clean, and dry subfloor. Installation also takes more time due to obstacles like toilet flanges, plumbing penetrations, and tighter spacing near walls and cabinets. If you choose glue-down laminate or a more robust waterproof laminate system, labor and material costs typically rise compared to standard click-lock laminate for dry areas.
What’s the best way to budget for trim, transitions, and finishing when installing laminate in a bathroom?
Include baseboards, quarter-round, or new trim if you plan to replace them, plus transition strips at entryways and between flooring types. Budget for expansion gaps and finishing details around fixtures, since laminate flooring needs room to move to avoid buckling. To get an accurate estimate, price these “extras” alongside the laminate and underlayment so your bathroom laminate total doesn’t surprise you at checkout.
📅 Last Updated: October 20, 2026 | Topic: How to estimate the cost of laminate floors in a bathroom? | Content verified for accuracy and freshness.
References
- Laminate flooring
- Underlayment
- Floating floor
- Vapor barrier
- Vapor barrier
- Cost estimate
- Unit cost
- https://scholar.google.com/scholar?q=estimate+cost+laminate+flooring+installation Google Scholar
- https://scholar.google.com/scholar?q=bathroom+laminate+flooring+moisture+requirements+underlayment Google Scholar
- https://scholar.google.com/scholar?q=flooring+cost+estimation+materials+labor+square+foot Google Scholar