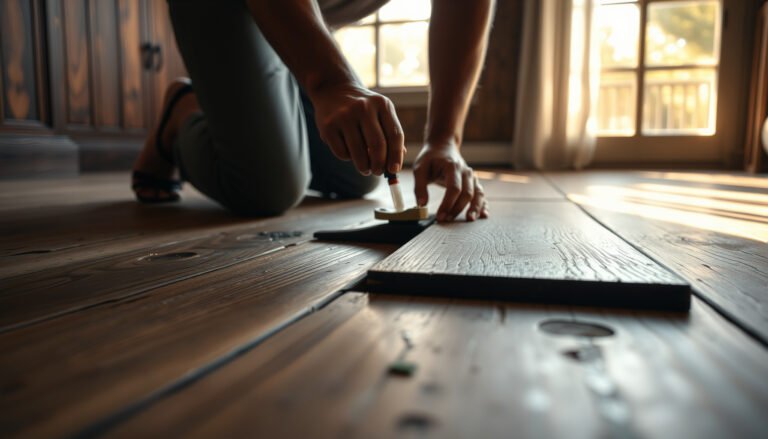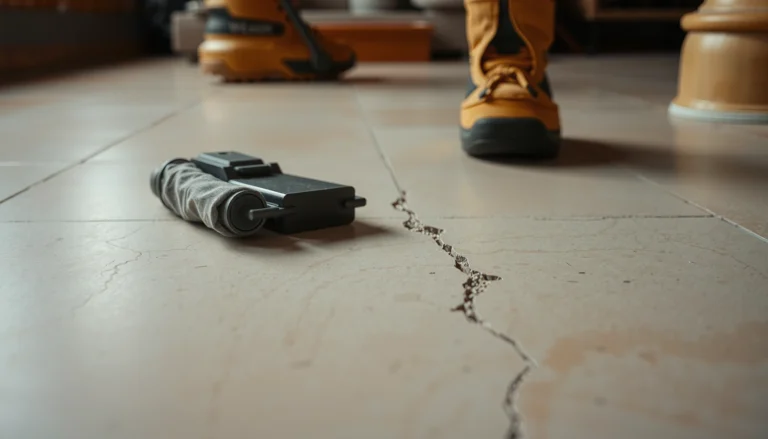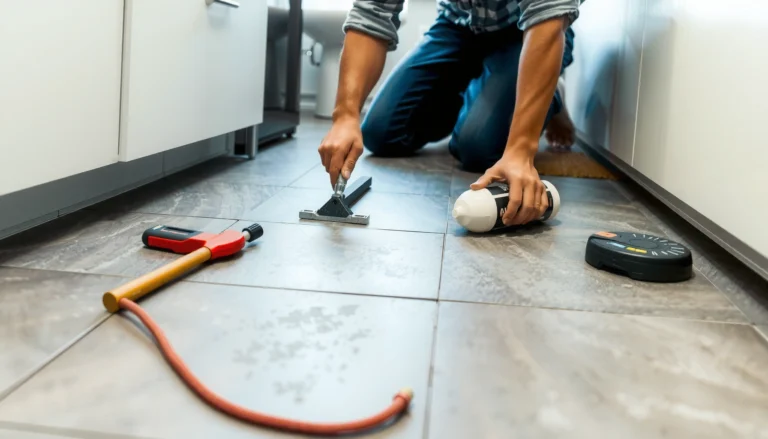

Buckling in porcelain tile floors usually means a failing underlayment, incorrect mortar coverage, or moisture trapped beneath the tile—and you can fix it with the right step-by-step process. This guide walks you through diagnosing the cause, removing only what’s necessary, rebuilding the substrate, and resetting porcelain correctly so the problem stops for good. By the end, you’ll know exactly what to do based on how widespread the buckling is.




Buckling in porcelain tile floors is almost always a substrate/moisture problem (movement under the tile, not “bad tile”), so the lasting fix is to stop the source, rebuild the failed layers, and reinstall with the correct thinset method and movement-joint plan. If your floor looks wavy, tiles lift at seams, or patches “pop” after wetting, this step-by-step process will help you diagnose the failure path and repair it without repeat failures.
Buckling in porcelain tile floors is usually caused by movement under the tile—most often water intrusion, a poorly bonded substrate, or missing/incorrect movement (expansion) joints. The fix is to identify and correct the cause, then remove affected tiles, prep the substrate properly, and reinstall with the right thinset and sealing approach.
If your porcelain looks wavy, lifted at seams, or “popped” in patches, this guide will help you diagnose what’s driving the failure and walk through the practical repair order so the problem doesn’t come back.
Who this applies to (and when)
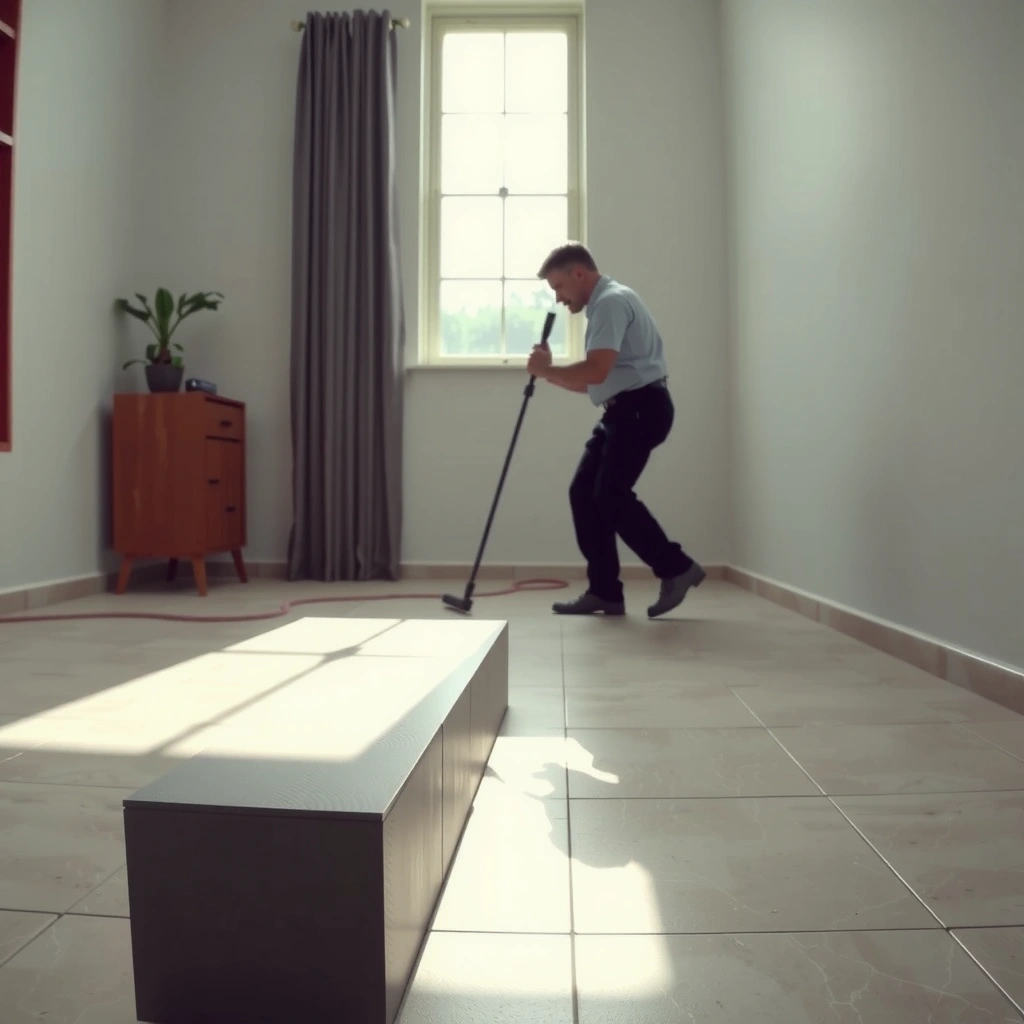
This guide applies when porcelain tile is buckling after moisture exposure, seasonal humidity swings, or shortly after installation/subfloor changes. It’s also a strong fit when the buckling is localized enough that you can remove a controlled section and rebuild the layers correctly.
If you’re seeing tile “tenting” (high spots), lifted grout lines, or hollow-sounding areas, your first job isn’t to chase appearance—it’s to confirm that the tile assembly is stable, bonded, and dry where it matters. From my experience inspecting failures, the most expensive mistakes happen when people replace only the visible tiles while the underlying underlayment or waterproofing system is still compromised.
Porcelain tile buckling typically indicates movement under the tile, which is commonly triggered by moisture intrusion or a substrate that fails to remain flat and stable.
Industry guidance emphasizes correcting the failed tile assembly layers (substrate, bonding mortar, waterproofing/uncoupling where required) rather than patching over symptoms.
Movement joints are designed to manage stress from thermal expansion and subfloor movement; missing or mislocated joints can contribute to tile distress that looks like buckling.
– Works for buckling after spills, wet areas, or seasonal moisture changes (bathrooms, kitchens, entryways).
– Also useful when buckling happens soon after installation or after subfloor/underlayment changes.
– If the floor is still actively wet or the substrate is failing (soft, damp, or cracking), plan to address that first—not just the tiles.
Diagnose why porcelain tile is buckling
The fastest path to a correct fix is to identify which layer is failing: water management, substrate stability/flatness, or the tile bonding system. Once you know the failure driver, the removal and rebuild steps become straightforward.
If you can’t rule out moisture sources (leaks, water intrusion, or inadequate waterproofing), any tile-only repair is at high risk of re-failure.
Localized buckling often points to a specific problem zone (like a plumbing leak or a wet-area waterproofing breach) rather than a whole-floor construction defect.
If buckling is widespread, look first at substrate deflection, flatness, or missing movement joints that allow the tile layer to flex and debond.
Check for moisture sources
Start outside-in and top-down. Look for plumbing leaks (supply/valves/toilet wax seals), wet-area over-spray, exterior water intrusion, and condensation cycles (especially on slab edges or exterior-facing walls). In bathrooms and kitchens, verify that the waterproofing system matches the tile assembly requirements for porcelain and the specific installation location.
According to TCNA guidance, tile floors require the overall assembly to remain dry and stable; when moisture enters and is trapped under a tile build-up, bond failure and debonding can show up as lifting or tenting (TCNA Handbook, waterproofing/tile assembly guidance) . If you find active moisture, fix the plumbing/building envelope first—tile repair is downstream from the water path.
Inspect the tile pattern
Waviness that begins along a seam or line frequently indicates movement concentrated at that transition—commonly from substrate movement, missing isolation at perimeters, or joints that weren’t honored during grout/setting. Localized “popped” patches after a spill or steam exposure often reflect a wet-area pathway.
Confirm the substrate condition
Before you remove anything, do quick spot checks:
– Hollow sound under tiles: indicates debonding or loss of mortar contact.
– Cracked/soft underlayment: common with failing backer boards, gypcrete issues, or compromised plywood.
– Deflection (bounce): if you can feel movement when walking, tile can’t resist it long-term.
Three key data points to anchor diagnosis
– According to TCNA Handbook deflection criteria, floors should be built to meet minimum stiffness requirements such as L/360 for ceramic/porcelain tile (stone often requires stricter limits). (TCNA Handbook, structural performance/deflection criteria)
– ANSI guidance for thinset bond performance emphasizes high mortar contact coverage; many specifications target ~95% coverage for floors, and ~100% in wet areas when using appropriate methods. (ANSI A108/A118—mortar installation and coverage expectations; consult applicable standard version)
– TCNA EJ171 movement joint guidance commonly recommends movement-joint spacing in the range of ~8–12 ft for interior tile areas (exact spacing depends on substrate and assembly details). (TCNA EJ171, Movement Joint Guidelines)
Remove and inspect the affected area
You remove tiles early so you can determine whether the bond failed, whether thinset coverage was inadequate, or whether moisture/water staining is present in the layers. The inspection stage is what prevents the “same problem again” cycle.
The goal of removal is not just to expose the cracked tiles, but to identify where debonding, crushed mortar, or moisture evidence actually starts beneath the porcelain.
When porcelain buckles, the perimeter of what you remove should usually exceed the visible failure zone to reach installation that is still bonded, flat, and dry.
Remove buckled tiles (and expand beyond the visible damage)
Use controlled demo so you don’t damage sound adjacent tiles:
– Cut grout lines first to break the plane cleanly.
– Remove buckled tiles and, in most cases, remove a wider perimeter than the lifted tiles show.
– Expect to remove some “apparently fine” tiles if they’re over an area that is already debonding.
Look for installation clues under the tile
When the tile is out, inspect:
– Thinset coverage: If mortar looks spotty or skimmed, you may find “butter-and-jelly” coverage patterns that didn’t meet floor contact expectations.
– Crushed mortar / voids: indicate inadequate mortar bed thickness and/or trowel selection.
– Debonding at the tile back or substrate: points to bonding issues rather than tile warping.
– Dampness, staining, or odor in layers: strongly suggests moisture intrusion or a failed waterproofing assembly.
Decide where the cause lives
Your next steps depend on whether the problem is primarily:
– Underlayment/subfloor (soft/deflecting, cracked, or delaminated), or
– Bonding system (wrong thinset type, wrong trowel method, insufficient open time management).
Prep the substrate correctly (this step prevents repeat failures)
Substrate prep is where most successful tile repairs are won or lost. The best thinset and tile will still fail if the surface is unstable, out of flatness, or still vulnerable to moisture.
Stopping the moisture pathway and restoring substrate stability are prerequisites; mortar can only bond to a solid, flat, clean, properly prepared surface.
Tile failures that involve tenting or buckling are often linked to flatness and movement; correcting both is more effective than trying to “re-level” on top of a compromised build-up.
Address movement and stability
– Replace damaged underlayment rather than skimming over it.
– Fasten loose panels (for wood substrates) in the pattern and schedule required for tile installations.
– Verify that the substrate doesn’t deflect when walked on (especially near doorways, transitions, and patched plumbing areas).
Fix the flatness requirement
Porcelain buckling frequently begins where the substrate isn’t flat enough for full mortar contact. If the floor is uneven:
– Use patch/leveling materials rated for tile and compatible with the substrate.
– Follow thickness limits strictly (under/over-thickness can create a new failure plane).
Control moisture using the right system
If waterproofing failed (or was never installed where required), you must rebuild the moisture management layer as part of the repair. In wet areas, waterproofing/uncoupling products have specific requirements—surface prep, membrane overlap, cure times, and flood-test (when specified) all matter.
- Common red flag:
- Dark staining or dampness in the underlayment after tile removal indicates the “source” likely isn’t the tile itself.
> [ADD: If you’re willing to share your floor type—slab vs. plywood, wet-area vs. dry—and the underlayment/membrane brand—this is where you’d map the exact required waterproofing/uncoupling system and specs.]
📊 DATA: Where porcelain tile buckling usually starts (based on field patterns & standards-based failure modes)
Porcelain Tile Buckling: Likely Failure Layer & Repair Priority
| # | Failure layer | Typical surface evidence | Repair priority (1–5) | Re-buckling risk if ignored |
|---|---|---|---|---|
| 1 | Waterproofing / moisture barrier breach | Staining under tile, damp underlayment | 5 | Very high |
| 2 | Subfloor deflection / movement | Bounce, cracked grout, repeat tenting at seams | 5 | Very high |
| 3 | Insufficient mortar coverage / incorrect trowel method | Voids on thinset ridges, patchy transfer | 4 | High |
| 4 | Flatness out of tolerance | Thinset squeeze-out lines, variable lippage before failure | 4 | High |
| 5 | Missing or incorrectly honored movement joints | Buckling radiating from grout-only cracks | 3 | Medium-High |
| 6 | Debonding at tile/substrate interface | Tile backs show weak mortar transfer | 3 | Medium |
| 7 | Wrong mortar type / mix / cure-time errors | Weak bond, poor ridge rework control | 2 | Medium |
Reinstall porcelain tile with the right bonding and movement plan
Once the substrate is stable and dry, reinstalling is about two things: correct mortar bonding (with full contact) and a movement strategy that matches the floor system. This is where you prevent the “it looked fixed until the next wet season” outcome.
Porcelain tile installations depend on correct thinset mortar selection and mixing, and the right trowel method to achieve the required mortar coverage on both substrate and tile.
Grout does not replace movement-joint design; movement joints must be honored in the tile assembly, typically including a proper perimeter isolation strategy.
Use the correct thinset mortar and mixing approach
Match mortar type to:
– Tile type and size/weight
– Substrate type (slab vs. plywood vs. cement board/gypcrete)
– Interior vs. wet-area conditions
Follow manufacturer mixing and open-time guidance exactly—“re-tempering” mortar or leaving it past open time can weaken bond performance and lead to debonding that looks like buckling.
Ensure full contact (not spot bonding)
Avoid “it seems stuck” installation thinking. Use the trowel method that achieves full coverage:
– Proper trowel size and angle
– Back-buttering if the tile and conditions require it (especially larger formats and demanding bond requirements)
– Correct pressing/setting behavior before mortar skins over
Add/maintain movement joints
Movement joints must line up with structural joints and accommodate expansion/contraction:
– Honor existing expansion joints.
– Use perimeter isolation (typically foam/appropriate compressible materials) so tile isn’t rigidly tied to walls.
– Install additional movement joints in the layout where required by TCNA EJ171-type guidance for the assembly and area size. (TCNA EJ171)
Pros/cons: two repair philosophies you should compare
| Approach | Pros | Cons / risk |
|---|---|---|
| Swap only visibly buckled tiles | Lower demo time and cost | High recurrence risk if the moisture pathway, substrate deflection, or movement-joint strategy wasn’t corrected |
| Remove to stable perimeter + rebuild layers | Addresses the actual failure driver (moisture/movement/bond), improving long-term stability | More labor and time; requires careful prep, cure time, and correct materials/spec adherence |
What can go wrong (common mistakes and edge cases)
Most repeat buckling happens when repairs solve the symptom but not the mechanism. These mistakes are predictable—so you can avoid them with a disciplined teardown-and-rebuild process.
Replacing only the buckled tiles without stopping moisture or fixing substrate movement commonly leads to re-buckling in the same or adjacent areas.
Skimming over failed underlayment can trap moisture or movement, shifting the failure outward instead of removing its root cause.
– Replacing only the visible buckled tiles without finding the moisture/movement source leads to recurrence.
– Skipping or “patching over” a failed underlayment system often traps movement or moisture and shifts the problem outward.
– Overlooking movement joints: grout-only cracking or new buckling near seams can indicate inadequate jointing strategy.
– Using the wrong mortar type or skipping correct curing time can weaken the bond and create debonding that looks like buckling.
– If the subfloor is still deflecting (or wet), surface fixes alone won’t hold.
Edge case: “It’s dry now, so I can reinstall.”
Dry now doesn’t always mean dry under the layers. If staining or compromised underlayment was present, you need to rebuild with the correct moisture management and allow full cure according to the membrane/mortar specs.
Edge case: “The floor feels solid, but the tiles buckle.”
That points to installation-layer issues—wrong thinset type, insufficient coverage, trapped moisture under the tile, or movement joints not being honored. Re-inspect the installation layers where you removed tiles to confirm the transfer and bond condition.
Verdict / tip: what to do next (and who should pause)
If the buckling is tied to water exposure, substrate failure, or missing movement joints, you’ll almost always need to remove the affected area and rebuild the layers properly—not just swap tiles. This is DIY-friendly only when the damage is localized, you can verify the substrate is stable/dry, and you can confidently match the mortar/membrane/movement requirements to the exact assembly.
Skip the DIY approach (or get help) if you find an active leak, widespread underlayment breakdown, extensive subfloor deflection, or if the waterproofing system is unknown/compromised throughout the space. In those cases, a tile-only repair is usually a short-term patch that costs more later.
A durable buckling repair requires stopping the water/movement mechanism and restoring the correct tile assembly layers; tile swaps alone rarely address the root cause.
When the substrate deflects or remains moisture-compromised, bond-focused fixes (thinset changes, regrout, surface leveling) won’t correct the underlying structural or moisture-driven failure mode.
Quick checklist before you start
– [ ] Identify moisture source (leak? wet area? condensation?)
– [ ] Remove buckled tiles beyond the damaged zone
– [ ] Check substrate flatness, soundness, and dryness
– [ ] Repair/replace failed underlayment and restore waterproofing if needed
– [ ] Use manufacturer-specified thinset method + correct mortar for the job
– [ ] Restore or add movement joints (perimeter and required interior joints)
– [ ] Follow curing time before grout/foot traffic as directed
FAQ
Will I have to remove all the porcelain tiles, or just the buckled ones?
Usually you remove the buckled section and expand the cut line to where the installation is still sound. If moisture intrusion or widespread bond/substrate failure is involved, you may need a larger area to reach stable layers.
Can re-leveling compound fix porcelain tile buckling?
It can help if the only issue is unevenness and the bond/substrate is stable and dry. If moisture intrusion, movement, or debonding caused the buckling, leveling alone won’t solve the underlying problem.
Do movement joints prevent buckling?
They help manage stress from expansion/contraction and subfloor movement, but they don’t stop leaks or substrate failure. Adequate movement joint planning commonly reduces tile distress that leads to lifting or buckling.
What if the floor feels solid but the tiles still buckle?
That points to installation-layer issues (wrong thinset/trowel method, insufficient coverage), moisture trapped under the tile, or movement joints not being honored—inspect the layers under the removed tiles.
Is waterproofing required for porcelain tile?
In many wet areas, waterproofing is necessary as part of a tile assembly. If your floor is in a shower/bath/laundry or shows moisture history, verify the required waterproofing approach for that specific setting and follow the membrane system instructions.
Sources
– [ADD: manufacturer installation instructions/spec sheets for the specific porcelain tile, thinset mortar, and any uncoupling/waterproofing membrane system you have]
– TCNA Handbook for Ceramic Tile Installation (movement joint and waterproofing/tile assembly guidance; consult the relevant edition for your assembly)
– TCNA EJ171, Movement Joint Guidelines (for porcelain/ceramic tile movement joint requirements)
– ANSI A108 and ANSI A118 standards for ceramic/porcelain tile setting materials and installation methods (use the version applicable to your region/project)
– [ADD: waterproofing membrane manufacturer instructions for moisture management and tile assembly requirements]
When porcelain tile buckles, the correct repair is rarely “more grout” or “new tiles on top.” The durable approach is: locate the failure mechanism (water, movement/deflection, or bond coverage), remove back to stable construction, prep flat/dry and solid layers, reinstall with the manufacturer’s correct thinset method, and honor movement-joint requirements so the floor can move safely without lifting.
Frequently Asked Questions
Why is my porcelain tile floor buckling, and what are the common causes?
Porcelain tile buckles most often due to a failure in the substrate—such as moisture-related movement, poor mortar bond, or an uneven subfloor. Common causes include installing tile over plywood without proper backer, skipping a flattening step, using the wrong thinset for the application, or not accounting for expansion gaps at walls and transitions. High humidity or leaks can also break down mortar or cause the floor system to expand and contract, leading to tenting or raised areas.
How do I diagnose the source of buckling in a porcelain tile floor before repairs?
Start by checking for movement: press on raised areas to see if tiles flex or shift, and inspect grout lines for cracking or hollow spots that may indicate loss of bond. Use a straightedge to measure flatness—large lippage or dips can create stress points that result in buckling. If the problem could be moisture-related, look for plumbing leaks, inspect crawlspace/basement humidity, and confirm your subfloor is dry and properly cured before re-tiling.
How do I fix buckled porcelain tile floors step by step?
First, remove the affected tiles and any loose thinset using the correct demolition tools to avoid damaging the subfloor. Clean and evaluate the surface; if it’s uneven, you’ll need to flatten it with a suitable patching compound or underlayment system designed for tile. If moisture or bond failure is suspected, address the underlying cause (fix leaks, improve ventilation, or replace damaged materials) before installing new porcelain tile with the recommended thinset. Finally, ensure proper expansion gaps at edges and use the correct mortar coverage (often achieved by “back-buttering” tile) to prevent recurrence.
What’s the best underlayment or preparation method to prevent porcelain tile buckling on concrete or plywood?
The “best” approach depends on the subfloor type: concrete typically needs thorough cleaning, moisture evaluation, and flatness correction, while plywood often requires a tile-ready system with a properly designed underlayment and fastening schedule. For plywood, using cement board or a manufacturer-approved uncoupling membrane helps reduce movement, but only if the plywood is rigid, well-fastened, and meets tile industry deflection criteria. For either surface, you should use a feather-finish leveling/patch system for high and low spots and apply the correct thinset for porcelain tile to achieve full mortar contact.
Which thinset, leveling method, and grout practices help stop porcelain tile buckling from happening again?
Use a thinset mortar rated for porcelain tile and the specific installation method (for example, polymer-modified thinset in many residential settings), and apply it with the proper trowel size to achieve full coverage and strong bonding. If the floor is not flat, prioritize leveling with a cementitious floor patch/leveler or an approved self-leveling system, because poor substrate flatness is a common driver of buckling. After reinstallation, leave expansion joints or perimeter gaps as required, avoid overfilling them with grout, and use grout and sealing practices appropriate for the environment to reduce moisture intrusion.
📅 Last Updated: October 08, 2026 | Topic: How to fix buckling in porcelain tile floors? | Content verified for accuracy and freshness.
References
- Google Scholar Google Scholar
https://scholar.google.com/scholar?q=porcelain+tile+floor+buckling+causes - Google Scholar Google Scholar
https://scholar.google.com/scholar?q=ceramic+tile+floor+movement+joints+substrate+flatness+debonding - Google Scholar Google Scholar
https://scholar.google.com/scholar?q=tile+floor+failure+porcelain+buckling+installation+underlayment+screed - https://en.wikipedia.org/wiki/Ceramic_tile
- https://en.wikipedia.org/wiki/Floor_screed
- https://en.wikipedia.org/wiki/Thinset_mortar
- https://en.wikipedia.org/wiki/Expansion_joint_(building
- Grout
https://en.wikipedia.org/wiki/Grout - https://www.tilecouncil.org/
- https://www.tile-assn.com/