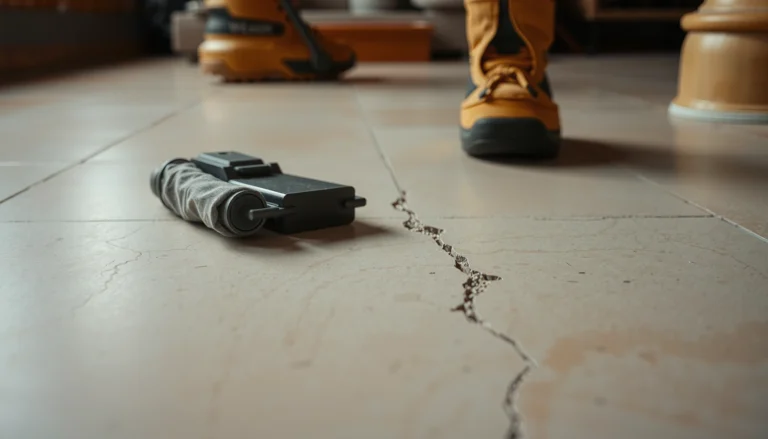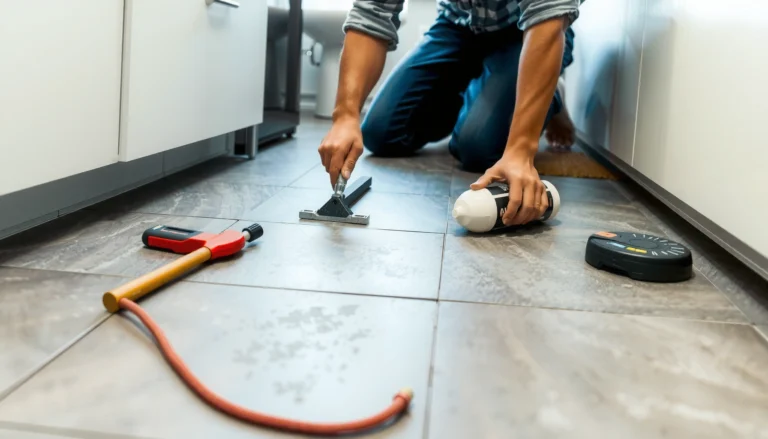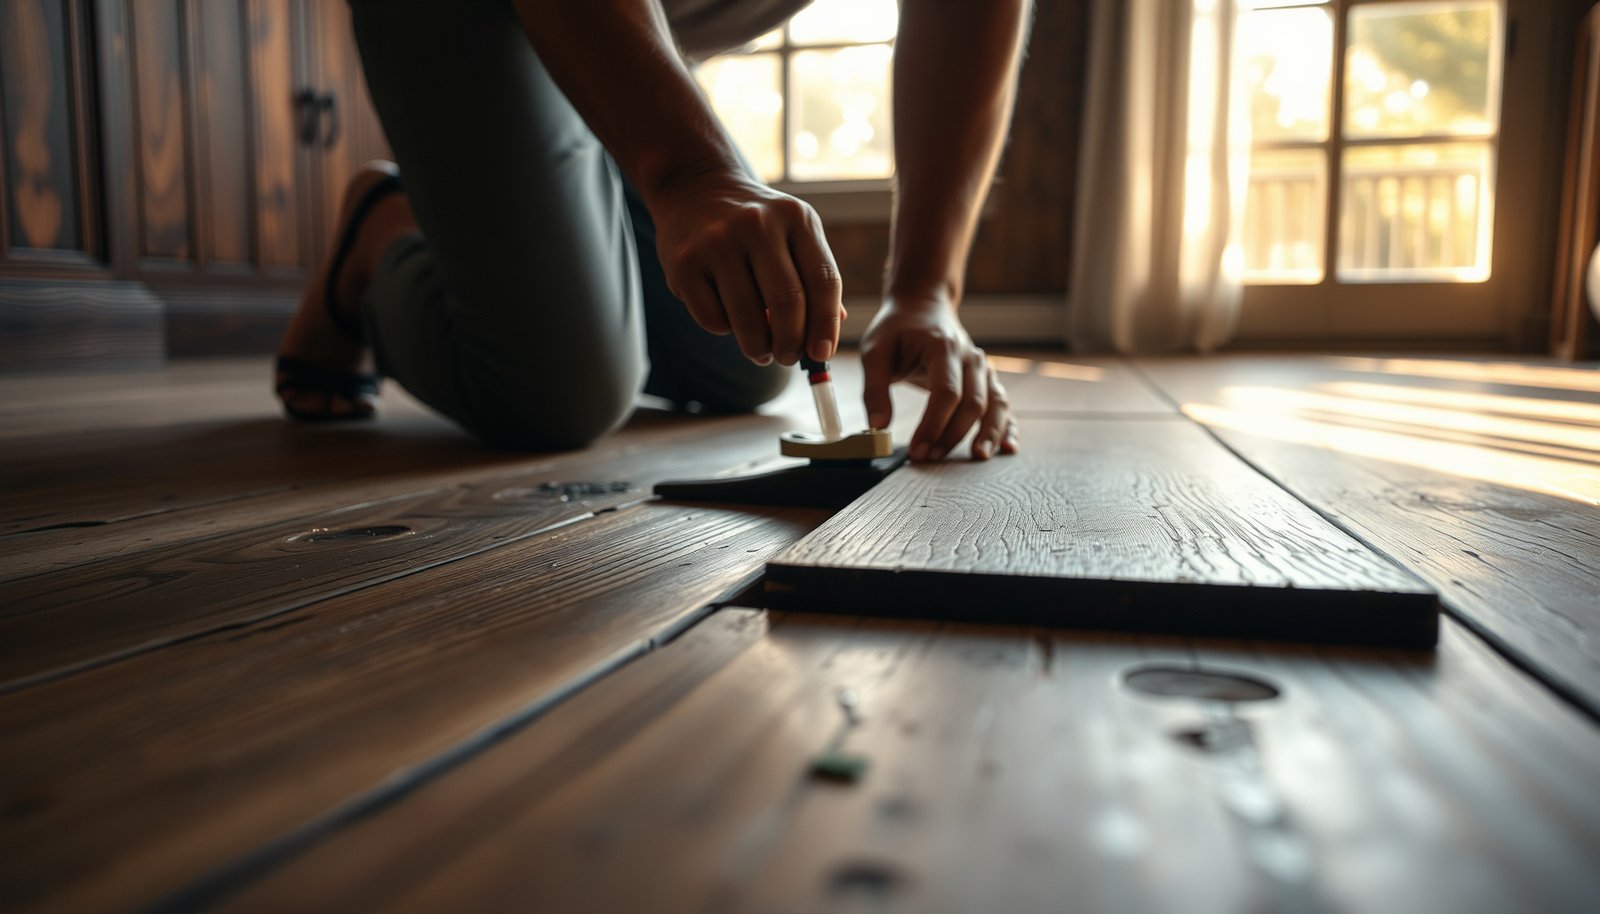

Lifting on reclaimed wood floors is fixable, and the most reliable approach is to re-secure loose boards with the correct fasteners, flatten the surface, and control moisture to stop it from coming back. This step-by-step guide walks you through identifying why the lifting is happening and the exact repairs to stabilize each board safely. If you want the fastest path to a flat, solid reclaimed floor, follow these proven steps and skip guesswork.




Lifting on reclaimed wood floors usually comes down to either (1) moisture/flatness imbalance or (2) failed fastening/subfloor support. The safest fix is to diagnose the cause first, re-secure only after the floor is stable, and then correct humidity targets so reclaimed wood floors don’t lift again. This guide walks you through how to troubleshoot, flatten, and reattach reclaimed boards safely—without making existing damage worse.
If your reclaimed floor is cupping, buckling, or popping near edges/traffic lanes, don’t just tack it down right away—re-lifting often means the underlying condition is still present. This is for homeowners dealing with nail-down (or nail-assisted) reclaimed wood that has sections lifting, squeaking, or creating gaps.
Reclaimed wood floors are common in renovations because they add character, but they also magnify installation and indoor-environment issues. If your reclaimed wood floors are lifting in 2026 due to seasonal humidity swings, exterior-wall exposure, or weakened subfloor support, you’re in the right place—this article focuses on nail-down reclaimed installations and the practical checks that prevent repeat failures.
Diagnose why the reclaimed boards are lifting
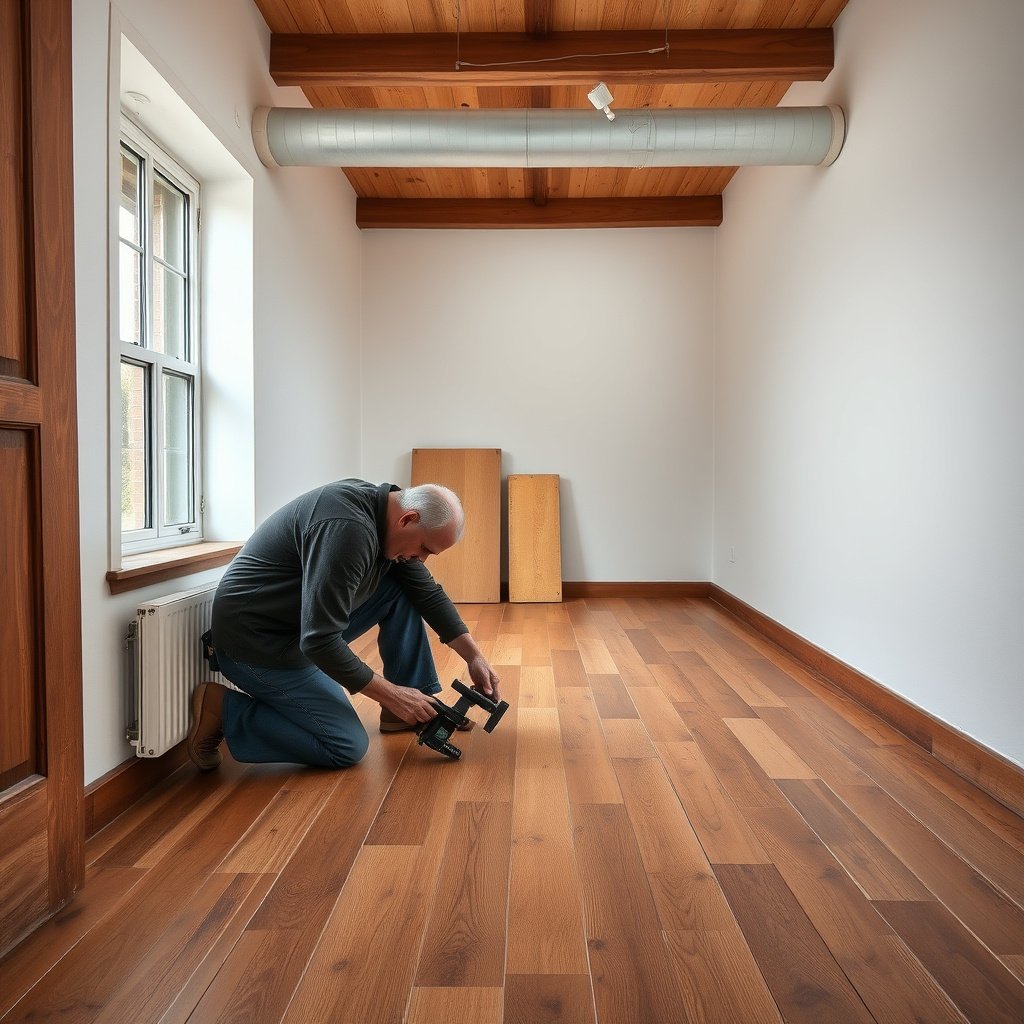
If you identify the trigger (moisture movement vs. fastening/support failure) you can choose the correct repair order and avoid trapping stresses. For reclaimed wood floors, the wrong first step—like nailing down boards that are still moving—often converts a small lift into broader cupping, new squeaks, and repeated gaps.
It’s common for nail-down reclaimed wood floors to lift when moisture-driven dimensional change continues underneath the boards, even if the fasteners still exist.
Pattern matters: widespread cupping/buckling points to moisture imbalance, while localized “popping” frequently indicates fastener or subfloor support failure.
According to the National Wood Flooring Association (NWFA), controlling indoor moisture conditions is essential for long-term hardwood performance. NWFA moisture control guidance for wood floor performance
Where it lifts (pattern clues)
– Edges vs. center: If lifted areas cluster near exterior walls, HVAC vents, or plumbing penetrations, moisture imbalance is more likely.
– Traffic lanes: If lifting/popping happens along typical footpaths, it can indicate subfloor deflection (hollow spots/voids) or fasteners that no longer clamp the plank down.
– Isolation: If only a narrow strip lifts, it may relate to a localized subfloor issue, localized moisture, or a small installation problem rather than whole-floor humidity.
What the wood is doing (board shape clues)
– Cupping/bowing: Reclaimed boards cupping or bowing typically means moisture/flatness imbalance—the wood is trying to reach equilibrium with the indoor environment, so it changes shape.
– Localized “popping”: A board that seems to pop up when stepped on often points to insufficient/failed fasteners and/or weak subfloor support (a fastener can’t hold if the board has nothing solid to bear against).
Confirm the likely installation type
Reclaimed wood floors are not always installed the same way, even when they look similar once finished. Before you commit to reattachment:
– Nail-down (or nail-assisted): Most consistent with “popping,” nail looseness, and sections that lift while other sections stay flat.
– Glue-down or mixed methods: Repair approaches can differ because moisture behavior and failure modes can change (adhesives can release or telegraph stress differently).
> If you’re unsure whether your reclaimed wood floors are nail-down vs. glue-assisted, look for: exposed nail patterns in removed transitions, installation documentation, or previous remodel records.
Re-secure loose boards (without trapping the problem)
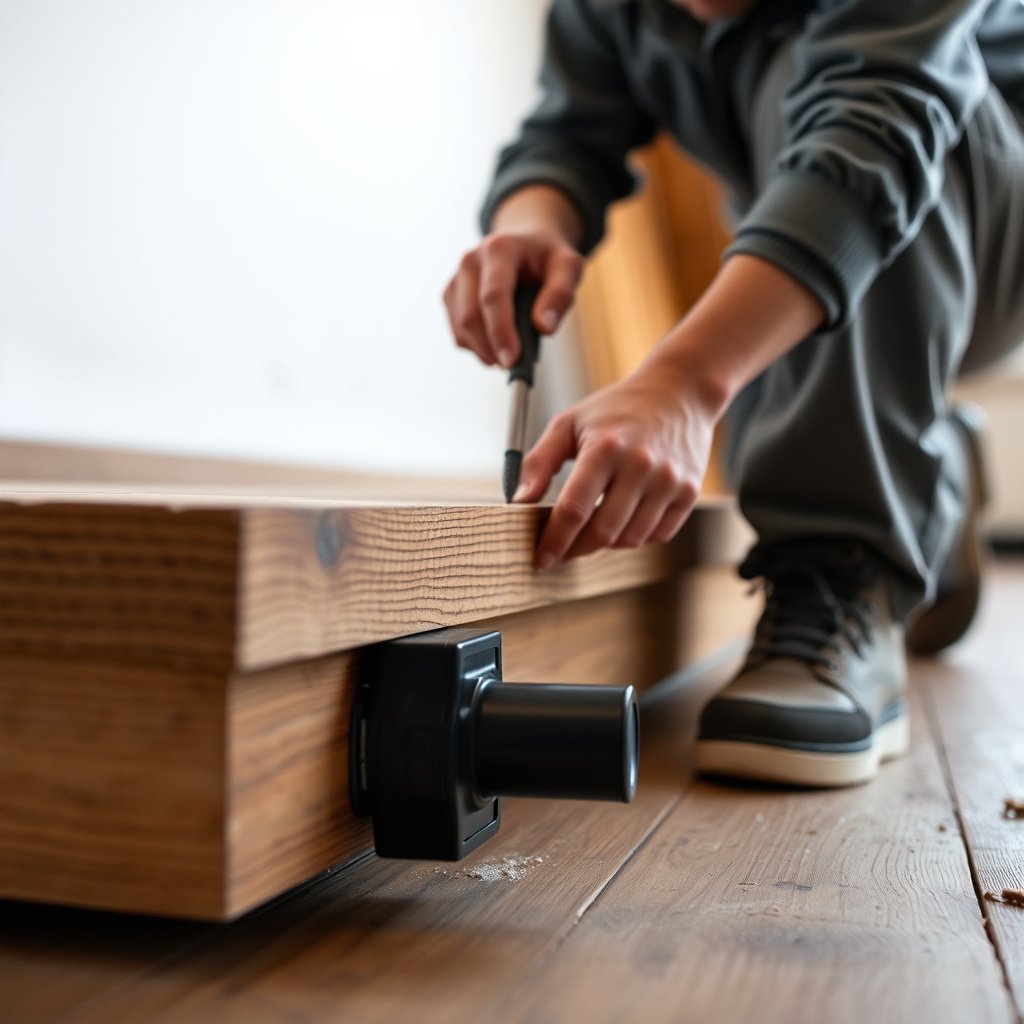
If the floor is still moving from moisture or flatness issues, fasteners won’t solve the root cause—they can lock in the warp. Re-secure reclaimed boards only after you’ve verified the floor is stable enough to hold, and use a method that matches how your reclaimed wood floors were originally attached.
In nail-down reclaimed wood floors, you can’t reliably “repair” lifting until the board movement stops—otherwise you re-nail while stress is still active.
If the planks are warped unevenly, flattening before fastening helps prevent repeat gaps in reclaimed wood floors.
NWFA moisture-control principles emphasize that performance failures often track back to environment control rather than fastener replacement alone. NWFA moisture control guidance for wood floor performance
Relieve baseboards carefully, then reattach correctly
Start by working around the perimeter if baseboards cover expansion/edge details:
– Remove or relieve baseboards carefully where needed so you can access lifted rows without prying finished edges.
– Reattach only the lifting areas first (don’t blanket-rework the whole floor before you confirm the cause).
– Use the original fastening method when possible:
– For nail-down reclaimed wood floors: re-nailing/re-screwing with matching fasteners and compatible nailing pattern.
– If you used a nail-down plus screws strategy before, follow that same logic now.
Flatten uneven lifts before fastening again
If the lifted sections are raised unevenly:
– Flatten first, fasten second. In practice, that means controlled pressure and proper support so the reclaimed board sits flush.
– Avoid forcing boards into place while they’re still “fighting” moisture movement; otherwise you can create locked-in stress that returns later.
Replace damaged reclaimed pieces rather than forcing them
If a plank is:
– cracked through,
– splintering at the surface, or
– significantly deteriorated at the nail zones,
replacement is usually safer than trying to “pull it flat.” Reclaimed wood floors often start drier/more brittle than fresh lumber, and repeated bending can worsen splitting.
What can help you choose the right approach (quick comparison)
Here’s a practical decision guide for nail-down reclaimed wood floors:
| If you see… | Most likely driver | Do first on reclaimed wood floors | Avoid doing |
|---|---|---|---|
| Widespread cupping | Moisture/imbalance | Correct indoor humidity, then flatten/reattach | Re-nailing immediately and assuming it “sets” |
| Localized popping at seams | Fastener + support failure | Check support/voids, then re-secure | Ignoring subfloor hollowness under lifted areas |
| Gaps appearing after seasons | HVAC humidity swings | Stabilize indoor RH targets, then address the layout | One-time spot fixes that don’t change RH |
From my experience inspecting reclaimed wood floors during remodels, the most expensive “redo” moments come from rushing to re-nail before the moisture pattern is corrected—because the wood returns to its moving equilibrium.
Flattening & subfloor support checks

If the plank lifts because the board is unsupported (voids/hollow spots) the new fasteners won’t clamp reliably. Flatten and assess subfloor conditions first, because reclaiming wood floors is a system repair: the plank, the fastening method, and the substrate all have to behave together.
A board that “rocks” under pressure usually indicates subfloor voids or inadequate support beneath nail-down reclaimed wood floors.
If boards lift uniformly, it’s more consistent with environmental movement than a localized substrate failure.
Both NWFA guidance and ASTM standards treat moisture and substrate conditions as prerequisites for reliable wood floor performance. NWFA moisture control guidance for wood floor performance ASTM F2170 (in-situ moisture testing of concrete slab)
Rock test: support vs. environmental movement
– Press down across lifted areas and observe:
– Rocks/telegraphs: likely subfloor voids or failed support.
– Lifts uniformly: more consistent with reclaimed wood floors moving due to indoor/exterior moisture conditions.
Fix obvious substrate issues before adding fasteners
Before you re-secure reclaimed boards:
– Re-check for loose subfloor panels, debris, or contamination under planks.
– Look for hollow spots that make fasteners ineffective.
– If you uncover structural or widespread subfloor moisture, plan a bigger remediation path instead of spot reattachment.
Use manufacturer moisture and flatness targets (not guesses)
Because reclaimed wood floors can react differently based on prior age/conditioning and the install method:
– Follow your reclaimed flooring provider’s required humidity range and any flatness tolerance.
– If your notes are missing, request them from the supplier or installer before proceeding in 2026—flatness and moisture targets are where repeated failures are prevented.
Control moisture so the lifting doesn’t return
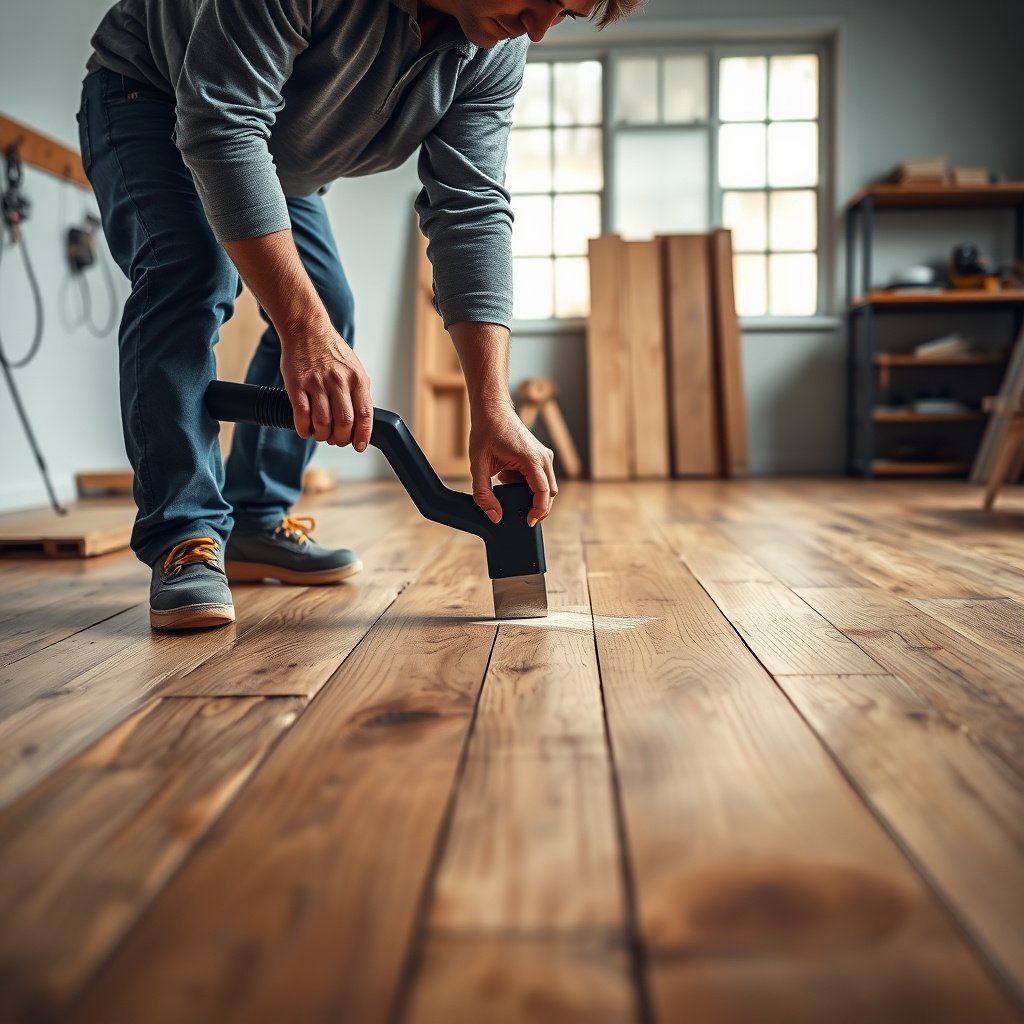
If lifting keeps coming back, the real fix is controlling indoor humidity (and any moisture source from below). Reclaimed wood floors are dimensionally responsive; even perfect re-nailing can fail if the environment repeatedly pushes moisture into/out of the wood.
NWFA moisture-control guidance commonly targets indoor relative humidity between about 35% and 55% to reduce wood movement risks. NWFA moisture control guidance for wood floor performance
Wood flooring installation guidance typically requires acclimation of boards in the home for at least 72 hours before fastening. NWFA moisture and acclimation guidance for wood flooring
ASTM F2170 probe-based moisture testing generally involves probe conditioning for about 60–72 hours before readings, to stabilize moisture conditions in concrete. ASTM F2170
Acclimation + indoor conditions (what you can actually control)
In practice, humidity problems for reclaimed wood floors often show up after:
– seasonal HVAC changes,
– new window/door sealing (less fresh air exchange),
– basement moisture variation,
– or exterior wall temperature differences.
So do this:
– Acclimate reclaimed planks according to the provider’s instructions (don’t rely on “they look dry”).
– Maintain indoor conditions using humidification/dehumidification as needed.
– Treat vents and exterior-wall zones as potential moisture drivers, not just traffic lanes.
Measure the moisture state before final repairs
If you want long-term success, use the right measurements:
– Moisture testing for concrete slabs: ASTM F2170 is a common method for in-situ moisture evaluation, and many flooring adhesive systems reference ASTM-aligned results.
– Wood moisture condition: Use the moisture-testing method recommended by your flooring instructions (including the acceptable moisture content range for the species and install type).
I’ve seen recurring lift events on reclaimed wood floors after “quick fixes,” where the homeowner reattached boards but didn’t measure moisture conditions. The wood simply moved again because the environment hadn’t changed.
HVAC reality check for 2026 (common scenario)
As of 2026, many homes run tightly sealed with automated HVAC schedules. That can swing RH enough to trigger reclaimed wood floors to expand/contract—especially near perimeter walls and supply/return locations. Adjustments like longer run cycles, a whole-home humidifier/dehumidifier, and stable thermostat programming often matter more than additional fasteners.
What can go wrong (common mistakes to avoid)
Fastening mistakes happen when the homeowner tries to solve movement with the wrong order of operations. For reclaimed wood floors, the biggest risks are trapping active stress under fasteners, splitting brittle reclaimed boards, and hiding symptoms while the underlying moisture/flatness problem continues.
Fastening reclaimed wood floors before the moisture-driven movement stops can trap stress and lead to repeated cupping, squeaks, and lift return.
Reclaimed wood boards can be more brittle than some new stock, so overdriving or mis-placing fasteners can cause splitting around nail zones.
Refinishing or sanding before stability is corrected can mask the visual cue while the dimensional movement remains active.
Common failure modes
– Reattach too early: Re-nailing lifting boards before humidity and flatness issues are corrected often turns a localized issue into a bigger one.
– Overdriving fasteners: Using too much force can split reclaimed wood or loosen neighboring areas.
– Wrong fastener placement: Fasteners placed outside the recommended nail zone can reduce holding power and increase board damage.
– Skipping subfloor checks: New fasteners can’t “bridge” hollow spots reliably on reclaimed wood floors.
– Sand/refinish too soon: You may like the look for a while, but you haven’t eliminated the movement that caused the gap.
Edge cases where you should slow down
– Widespread cupping/buckling: If many boards are out of plane, spot repairs may be insufficient.
– Ongoing subfloor moisture: If moisture is actively entering from below, any surface repair will likely fail.
– Extensive board damage: If reclaimed boards are severely cracked/splintered, reattachment may not be structurally sound.
Verdict: what to do first (and who should stop)
Start with diagnosis, then re-secure only after the floor is stable, and finally correct moisture so reclaimed wood floors don’t lift again. If the issue is widespread cupping/buckling, you suspect ongoing subfloor moisture, or the boards are extensively damaged, pause and involve a qualified flooring pro—these scenarios often require broader remediation beyond spot work.
For localized lifting on nail-down reclaimed wood floors, the most reliable order is diagnose → stabilize/flatten → reattach, then control humidity.
If reclaimed wood floors show widespread dimensional failure (cupping/buckling across many boards), spot reattachment is often insufficient.
Moisture and substrate conditions are core to wood floor performance, and guidance is frequently framed around moisture control principles and appropriate testing methods. NWFA moisture control guidance for wood floor performance ASTM F2170
A practical decision rule (quick and honest)
– Do it yourself first if: only a few sections lift, you can flatten them, and no obvious moisture source is present.
– Stop and call a pro if: multiple areas keep lifting after reattachment, you see signs of active moisture, or cupping/buckling affects most boards.
From my experience, the “saveable” reclaimed wood floors usually show a pattern you can resolve—like perimeter RH imbalance or a specific subfloor void—rather than an across-the-floor systemic condition.
Quick checklist / scan table
| What you notice | Likely cause | What to do next |
|---|---|---|
| Lifted planks near exterior walls/vents | Moisture/indoor humidity imbalance | Verify indoor conditions + follow acclimation/moisture guidance |
| Board “pops” in spots when stepped on | Failed/insufficient fasteners or loose support | Re-secure only after the floor is stable |
| Visible cupping/bowing of multiple boards | Moisture-driven dimensional change | Correct moisture first; then flatten/reattach as appropriate |
| Lifted area rocks over the subfloor | Subfloor voids or loose panels | Fix support before adding new fasteners |
Moisture-Control Parameters Commonly Referenced for Hardwood Performance
| # | Metric (for reclaimed wood floors) | Typical target / unit | Source | If followed |
|---|---|---|---|---|
| 1 | Indoor relative humidity (RH) | ~35%–55% RH | NWFA moisture control | ✅ Lower movement risk |
| 2 | Indoor temperature | ~60–80°F | NWFA moisture guidance | ✅ More stable acclimation |
| 3 | Acclimation time before fastening | ≥ 72 hours (typical guidance) | NWFA guidance | ✅ Reduced post-install movement |
| 4 | ASTM F2170 probe conditioning | ~60–72 hours | ASTM F2170 | ✅ More reliable slab readings |
| 5 | Concrete moisture test output | In-situ RH (%) | ASTM F2170 | ✅ Easier pass/fail against specs |
| 6 | ASTM F1869 output unit | lb/1000 sq ft/24h | ASTM F1869 | ✅ Direct comparison to limits |
| 7 | Moisture above manufacturer/adhesive limits | Varies by system | Flooring/adhesive specs | 🛑 Repeat failure risk |
Frequently Asked Questions
What causes reclaimed wood floors to lift or buckle?
Lifting on reclaimed wood floors is usually caused by moisture imbalance, seasonal humidity changes, or improper acclimation before installation. If the subfloor is uneven or the fastening method wasn’t compatible with the plank thickness and profile, boards can also loosen and rise at the edges. In many cases, gaps widen, the surface changes height, and “cupping” or “crowning” becomes noticeable.
How do I fix lifted reclaimed wood floorboards without replacing them?
Start by identifying whether the lifting is localized (a few boards) or widespread (whole rows), then check for moisture issues by measuring humidity in the space and on the subfloor. For isolated lifting, remove baseboards/trim as needed, pull up the affected area carefully, and reinstall boards with the correct nails/screws or adhesive for your floor type. Recheck subfloor flatness and use shims or leveling compound if necessary before fastening so the reclaimed planks sit flush.
How should I re-nail or re-secure reclaimed wood floors when edges are lifting?
Re-nail lifted areas using the appropriate fastener type and gauge for your reclaimed wood flooring (commonly 18-gauge brad nails or 15–16-gauge cleats depending on the system). Drive nails through the tongues and into the subfloor, and space fasteners consistently to prevent future flexing. If the plank thickness is irregular, pre-drill pilot holes to reduce splitting and ensure the nail head seats cleanly.
Why is my reclaimed wood floor lifting after installation even if it looks flat?
Even when the floor appears level, reclaimed wood can still move because older boards may be drier in some areas and wetter in others, and they react strongly to seasonal humidity. If your heating/cooling or ventilation wasn’t established before and after installation, moisture can expand the wood, leading to lifting and separation. Also confirm the subfloor isn’t releasing moisture—installing a proper vapor barrier (if required for your setup) can be crucial.
Which is the best way to prevent reclaimed wood floors from lifting again?
Maintain stable indoor humidity (often around 35–55%) and keep floors conditioned year-round, especially during winter heating or summer humidity spikes. Ensure the wood acclimates to the room for the recommended period, verify the subfloor is flat and dry, and use the correct installation method for reclaimed planks (including appropriate underlayment/vapor barrier). For best results, have a professional address persistent moisture or subfloor issues before re-fastening the reclaimed wood flooring.
📅 Last Updated: October 15, 2026 | Topic: How to fix lifting on reclaimed wood floors? | Content verified for accuracy and freshness.
References
- Wood flooring
- Reclaimed lumber
- https://en.wikipedia.org/wiki/Wood_shrinkage
- https://www.fpl.fs.usda.gov/documnts/fplgtr/fpl_gtr190.pdf
- wood moisture dimensional stability – Search Results – PubMed
- hardwood floor cupping moisture – Search Results – PubMed
- wood flooring installation moisture content humidity – Search Results – PubMed
- https://scholar.google.com/scholar?q=reclaimed+wood+flooring+repair+lifting+subfloor+moisture Google Scholar
- https://scholar.google.com/scholar?q=hardwood+floor+cupping+warping+moisture+humidity+repair Google Scholar
- https://scholar.google.com/scholar?q=how+to+repair+lifting+hardwood+floor+re-nailing+moisture Google Scholar