
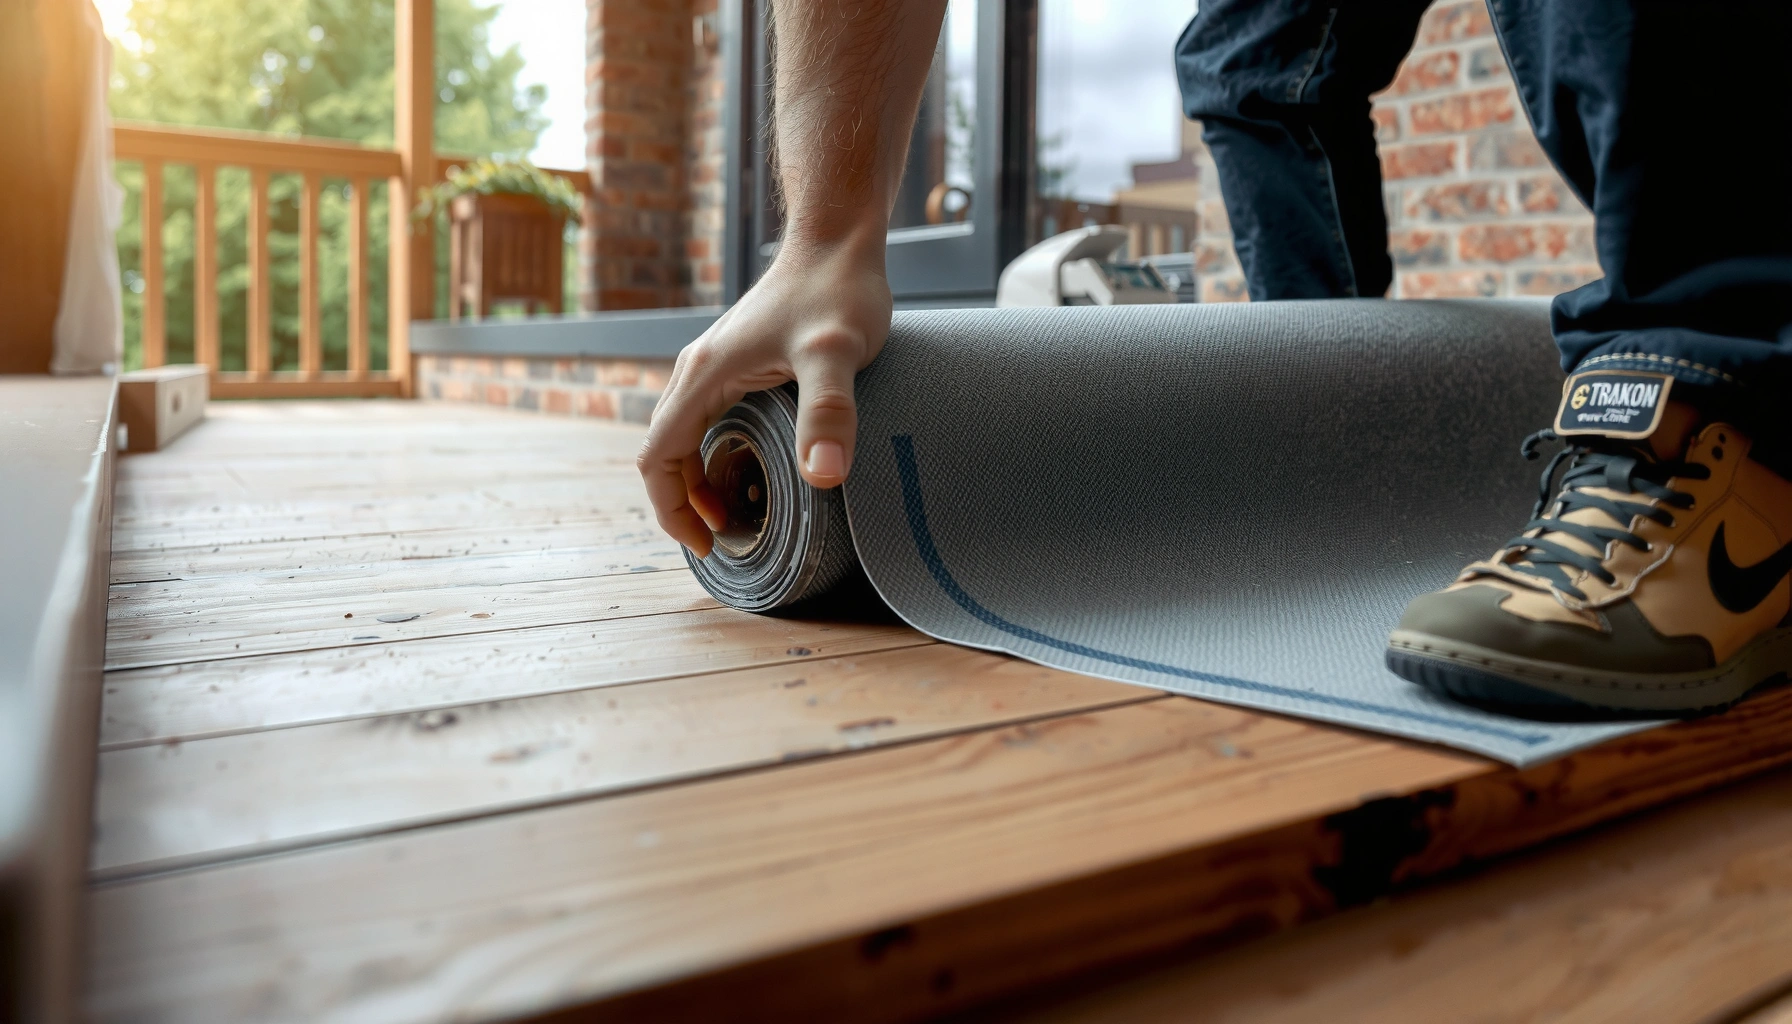

Want to know how to install underlayment under patio floors correctly? This step-by-step guide walks you through the fastest, most reliable method for installing underlayment—covering prep, seam layout, fastening or taping, and cleanup—so the job stays flat and leak-resistant. Follow these instructions and you’ll finish with a patio surface that’s properly cushioned, protected from moisture, and ready for your final flooring.
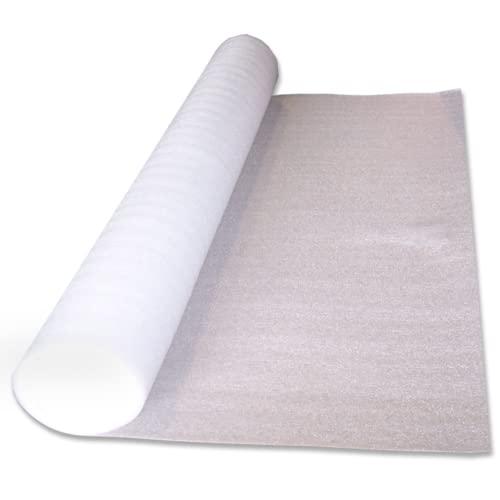



If you want a quieter, smoother patio floor, install underlayment by prepping the base, laying the correct underlayment type in the right orientation, and sealing seams as recommended by the manufacturer. Start by confirming your patio surface (concrete, pavers, sleepers, or slab) and choosing an underlayment made for exterior moisture conditions, then follow the installation steps below. This guide will walk you through what to do in what order, plus what commonly goes wrong.
If you’re upgrading a patio with tile, stone-look flooring, vinyl, or another “floating” or modular floor system, underlayment can help with comfort, leveling, and moisture control. This is especially relevant for outdoor spaces where rain intrusion, temperature swings, and ground moisture can affect performance.
Underlayment isn’t one universal product—it’s a system component. The “right” installation depends on whether you’re working with an exterior tile assembly (mortar bed or membrane) versus a floating/modular floor build-up that needs a separate vapor-control strategy. In the sections below, we’ll keep the steps practical and match common patio substrates to what the underlayment and floor manufacturers typically require.
Choose the Right Underlayment for Your Patio Setup
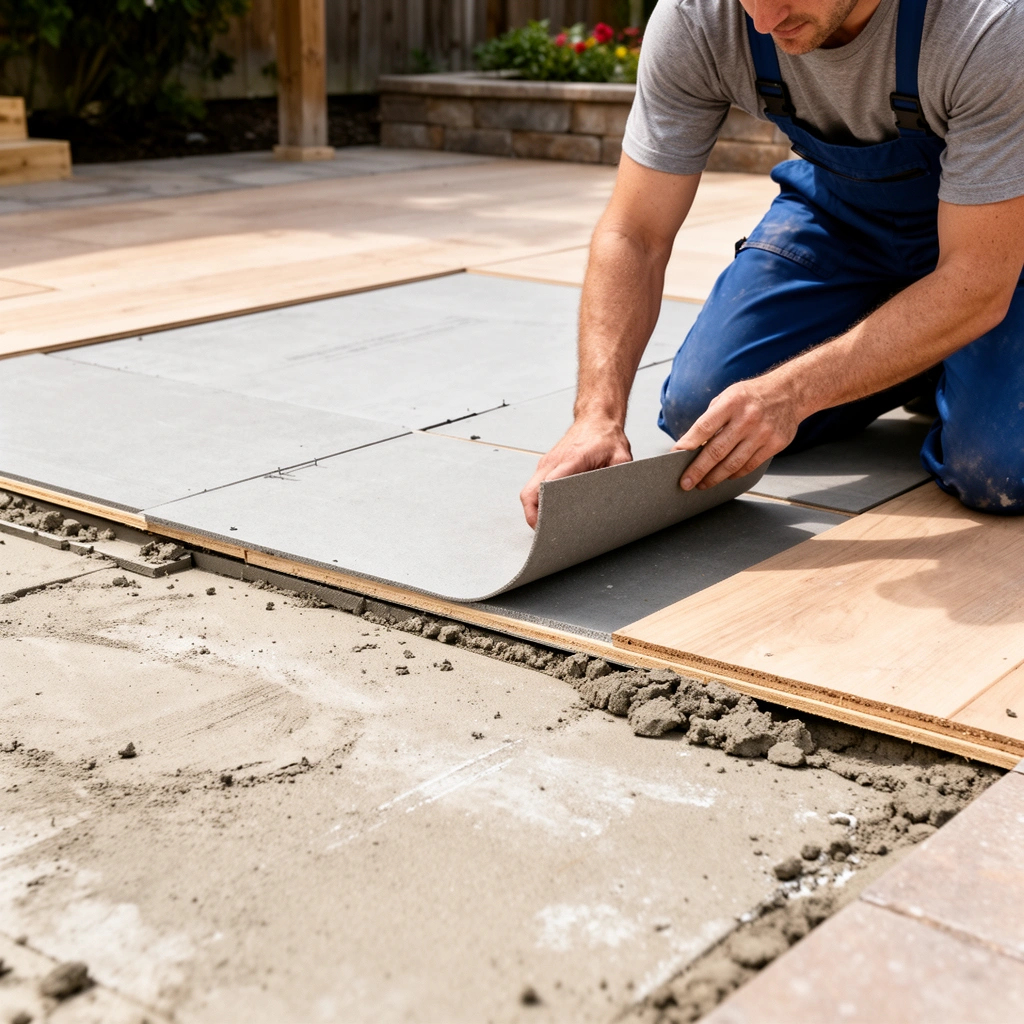
The best underlayment choice is the one that matches both your patio floor type and the outdoor moisture risk. If your patio is exposed to standing water, freeze-thaw, or ground vapor, you need exterior-rated moisture control—not an indoor underlayment that was never designed to live outside.
Before you buy or open boxes, treat this decision like a compatibility check, not a “comfort upgrade.” Tile assemblies and floating floors manage moisture differently: tile systems often depend on a dedicated membrane layer and correct thinset/mortar selection, while floating systems rely more on dimensional stability, decoupling (if required), and vapor control.
Outdoor-rated vapor control often depends on permeability (how much water vapor passes through), which is commonly expressed in “perms” under ASTM E96 and classified for barrier sheets under ASTM E1745.
ASTM E1745 Class I vapor retarders are typically defined as having a permeance of ≤ 0.1 perm, which is a major reason some exterior assemblies specify “Class I” barriers.
Match the underlayment to the patio floor system
– Match underlayment to the patio floor type (tile/mortar bed vs. floating/modular systems) and whether it’s designed for exterior use.
– Confirm moisture needs: many outdoor systems require a vapor/moisture barrier layer or an underlayment that includes one—don’t assume indoor underlayment is suitable.
– Check thickness and compatibility so it doesn’t interfere with transitions, door clearances, or the floor’s recommended assembly height.
– [ADD: underlayment thickness requirement from your product/specs if known]
A quick reality check: if your patio floor manufacturer specifies a maximum build-up height (common where doors, steps, or neighboring surfaces create tight clearances), adding extra foam or decoupling layers can cause rubbing, incorrect expansion-gap behavior, or poor transitions.
Know what “moisture control” means for your system
– For floating/modular floors, vapor control is usually about slowing moisture movement through the slab/base so the floor doesn’t feel “mushy,” gap, or degrade faster.
– For exterior tile, underlayment may be part of a larger waterproofing/uncoupling strategy—but often, it’s not a substitute for the membrane, mortar, or system components required by the tile installer manual.
Conversion notes you can use while reading specs
According to ASTM E96/E96M, permeance (“perms”) is a measure of water vapor transmission rate; by definition, 1 perm = 1 grain of water/(hour·square foot·inch of mercury). (ASTM E96/E96M)
This matters because many “outdoor underlayments” vary wildly in how much vapor they allow through.
Exterior Vapor-Barrier Classes Used for Underlayment/Moisture Control (ASTM E1745)
| # | ASTM E1745 Class | Typical Perm Target | Moisture-Risk Match for Patios | Barrier Performance |
|---|---|---|---|---|
| 1 | Class I | ≤ 0.1 perm | High ground vapor / frequent wetting | ★★★★★ |
| 2 | Class II | 0.1–0.3 perm | Moderate vapor risk | ★★★★☆ |
| 3 | Class III | 0.3–1.0 perm | Light-to-moderate exposure | ★★★☆☆ |
| 4 | Class IV | > 1.0 perm | Usually not ideal for damp slabs | ★☆☆☆☆ |
| 5 | Polyethylene sheet (Class I use case) | Often ≤ 0.1 perm* | Moisture-heavy climates | ★★★★☆ |
| 6 | Composite membrane (system-defined) | Varies by product | When specs require “membrane” | ★★★☆☆ |
| 7 | Foam underlayment without vapor control | Often higher perm | Needs separate barrier | ★☆☆☆☆ |
Perm performance depends on thickness and test data from the specific product. Always match the vapor class and test report to what the patio/floor system calls for. (ASTM E1745)
(Note: This table summarizes vapor-barrier classes used to judge underlayment and moisture control. Your floor and underlayment manufacturer’s documentation still governs for your exact assembly.)
Prep the Patio Base (This Is Where Most Problems Start)
The fastest way to prevent underlayment failures is to prep the substrate until it’s clean and correctly flat/dry. Underlayment can smooth minor imperfections, but it cannot fix dirty surfaces, significant dips, or chronic moisture—those show up as hollow spots, movement, and premature wear.
This section matters because most patio flooring callbacks come from base issues: dust on concrete, sand or rocking pavers, leftover adhesive, or patch compounds that haven’t fully cured. If you want a quiet, stable floor, you treat the base like part of the finished assembly.
A vapor/moisture strategy is only as good as its sealing—dust, moisture, and contamination can prevent membranes and tapes from adhering properly.
Many flooring failures originate at the edges and seams: if the base is dirty or damp, the moisture barrier can bridge incorrectly or lift over time.
Clean, repair, and flatten
– Clean thoroughly (remove dust, paint overspray, old adhesive residue, and debris) and repair cracks or low spots as directed by your flooring/underlayment instructions.
– Make sure the surface is flat enough for the system—use a straightedge and address high/low areas before installing anything.
– Allow the base to dry fully after washing or patching; trapped moisture can cause separation, moldy odors, or bond issues depending on materials.
Concrete substrates
On concrete, pay extra attention to:
– Curing/patch compatibility: patch materials often require full cure times before coverings go down.
– Surface texture: some membranes require a clean, smooth surface for proper adhesion.
Pavers, sleepers, and pedestal builds
On pavers or sleepers, underlayment installation is often about support stability more than “softness.” If individual units rock, the underlayment can’t stop movement—it can only limit noise.
[ADD: substrate-specific flatness tolerance from your underlayment/specs if known]
Moisture risk check (quick and practical)
– If you see perennial damp areas, consider correcting drainage before you lay anything.
– If water pools, stop and address slope, weep holes, or installation above standing-water risk—many “moisture barriers” are not designed for continuous submersion.
Measure, Plan Layout, and Dry-Fit the Layers
The cleanest-looking, most reliable install comes from planning sheet/strip direction and seam locations before you commit. When underlayment seams are placed where foot traffic, wind-driven rain, or water run-off repeatedly hits, problems show up earlier.
A good layout also reduces the temptation to over-stretch sheets or force cutouts around obstacles, both of which increase seam failures.
Dry-fitting helps you confirm correct orientation (many underlayments have a “this side up” layer) and prevents reversing the seam/lap strategy.
Outdoor floors expand and contract; leaving designed movement space at edges is safer than pinning the underlayment tight everywhere.
Plan seams, overlaps, and expansion behavior
– Measure the patio area and plan how the underlayment sheets/strips will run to minimize cuts and keep seams manageable.
– Dry-fit pieces to confirm orientation and seam placement before fastening or taping anything.
– Plan around expansion gaps and edges—outdoor floors typically need room to move.
Practical seam placement tips
– Avoid seams crossing high-traffic pivot points (stairs/ramps) or areas where water runs directly.
– Use the manufacturer’s overlap or butt-joint approach. Don’t “guess” seam rules based on indoor installs.
[ADD: exact overlap/butt-joint rule from your underlayment product instructions]
Install the Underlayment Correctly (Cut, Lay, Seal, Secure)
Install underlayment by following its “this side up” direction and using only the seam system it specifies. In exterior conditions, seam failures are usually seam-material failures—tape and sealant must match the underlayment and survive temperature swings and moisture.
If your underlayment allows it, you secure it only as directed. Over-fastening can puncture moisture barriers; under-fastening can cause wrinkles that telegraph into the finished floor.
Using the wrong seam tape/adhesive is a common cause of moisture intrusion because the adhesive compatibility determines long-term bond under UV and thermal cycling.
Correct orientation matters because exterior underlayments often combine vapor control with drainage or abrasion layers that function only in the specified direction.
Cut and lay with correct orientation
– Lay underlayment with the correct side up (follow the printed direction on the product) and overlap or butt joints based on the manufacturer’s instructions.
– Tape or seal seams only with the recommended tape/sealant system—wrong products can lift or fail when exposed to moisture and temperature changes.
– If your underlayment allows it, secure it as directed (for example, staples or adhesive only where permitted). Avoid over-fastening in ways that create bumps or puncture the moisture barrier.
Tooling notes (what to prep)
– A utility knife with a fresh blade for clean cuts
– A measuring tape and chalk line/marker that won’t interfere with adhesives
– A roller (if the manufacturer calls for it) to ensure membrane/tape contact
Sealing seams outdoors: the “compatibility rule”
As a baseline principle: vapor-control layers behave like membranes—small gaps can become water pathways when wind-driven rain is involved.
[ADD: manufacturer’s seam sealing method (e.g., width of tape strip, recommended overlap, cure time)]
Deal With Edges, Corners, and Transitions
Edges and transitions are where exterior underlayment systems either perform for years or fail early. Your goal is to keep the moisture control continuous while also leaving the right perimeter movement room so the finished floor doesn’t buckle or separate.
Corners collect stress (expansion, contraction, foot impacts), so you handle them with clean folds or trimmed pieces—not packed scraps or wrinkled overlaps.
Perimeter movement gaps protect floating and modular floors from temperature-driven expansion that can otherwise cause tenting or edge lift.
Transitions must follow the flooring system’s method; generic caulk can unintentionally lock a panel and break the designed movement behavior.
Keep underlayment flat and the perimeter “free to move”
– Fold/trim edges cleanly and keep underlayment from bunching at corners; make smooth transitions at door thresholds, steps, and borders.
– Maintain any required perimeter gap so the finished patio floor can expand and contract without buckling.
– If you’re tying into existing surfaces, use the transition method recommended by your flooring system (not generic caulk unless specified).
[ADD: perimeter gap requirement from your specific flooring instructions]
Transitions to consider
– Door thresholds and sliding doors
– Steps and stair noses
– Border trims along walls or planters
– Adjacent patios, walkways, or existing flooring levels
What Can Go Wrong (Common Patio Underlayment Mistakes)
Underlayment failures are usually preventable: they come from mismatched products, poor base prep, unsealed seams, or ignoring movement. If you get those four categories right, you avoid most long-term problems in outdoor installations.
Here are the specific failure modes to watch for—especially after the first heavy rain, freeze-thaw season, or period of direct sun.
Indoor underlayments can have permeance and bonding performance that degrade outdoors, especially during UV exposure and repeated wet/dry cycles.
Most “mystery odors” after install trace back to moisture pathways that developed at seams or edges, not at the center field of the patio.
The most common mistakes
– Using the wrong product: indoor-rated underlayment or non-rated moisture barriers can break down outdoors or fail under standing water.
– Skipping base prep: uneven concrete/pavers under the underlayment can lead to hollow spots, cracking (for tile), or premature wear (for rigid floors).
– Improper seams: failing to seal/tape joints correctly is a frequent cause of moisture intrusion and odor buildup over time.
– Ignoring movement: not leaving expansion gaps or installing too tightly against edges can cause lifting or separation as temperatures change.
A few limits of this guide
– This article explains general best practices, but it can’t replace the exact instructions for your underlayment and patio flooring assembly.
– If your system is an exterior tile build-up, you may need membrane/waterproofing components and mortar specifications that go beyond “underlayment.”
[ADD: your flooring assembly type and any mandatory membrane/tolerance specs from its manual]
Verdict / Tip
Underlayment under patio floors is usually worth doing when your flooring system calls for it and you choose an outdoor-rated product with proper moisture handling. The downside: if you pick an incompatible underlayment or skip careful base leveling and seam sealing, you can create issues that are harder (and more expensive) to fix after the finished floor goes in.
If your patio base is severely cracked, chronically wet, or you’re unsure what your flooring system requires, it may be better to pause and verify the manufacturer’s installation requirements first—or have a pro inspect before installing.
Quick Scan Checklist (Save This)
– [ ] Confirm underlayment is rated for exterior use and your floor type
– [ ] Verify moisture/vapor barrier requirements per manufacturer instructions
– [ ] Clean, repair, and flatten the patio surface
– [ ] Dry-fit underlayment; plan seam placement and cut lines
– [ ] Lay with correct orientation; seal/tape seams as specified
– [ ] Maintain perimeter expansion gaps and handle transitions properly
FAQ
Do I need underlayment under a patio tile floor?
It depends on the tile system. Some outdoor tile assemblies require specific underlayment/membranes, while others rely on a mortar method—check your tile and installation instructions to match the required layers. [ADD: source for your tile system’s layering requirements if known]
Can I install underlayment over uneven pavers?
Generally, major unevenness should be addressed first. Underlayment can help with comfort and minor imperfections, but it typically won’t compensate for significant dips or rocking joints. [ADD: minimum flatness tolerance from your underlayment/specs if known]
What’s the best way to seal underlayment seams outdoors?
Use the tape/sealant combination the manufacturer recommends for exterior moisture exposure. If you use an “equivalent” product, you risk seams lifting or leaking over time.
Should underlayment be fastened or left floating?
Follow the underlayment instructions for your specific product and patio floor system. Some require fastening; others must remain free to perform as designed—don’t assume one method fits all.
How long does the base need to dry before installing underlayment?
Dry time depends on the patching/cleaning method and local conditions. If you recently repaired or washed the substrate, follow the cure/dry guidance from your patch compound and follow the underlayment/flooring instructions. [ADD: exact cure/dry guidance from your products if known]
Sources
– ASTM E1745, Standard Specification for Water Vapor Retarders Used in Contact with Soil or Granular Fill Under Concrete Slabs
– ASTM E96/E96M, Standard Test Methods for Water Vapor Transmission of Materials
– [ADD: manufacturer installation instructions for your specific underlayment product (sheet seams, overlap/butt rules, sealing method, exterior rating)]
– [ADD: manufacturer installation instructions for your specific patio flooring system (tile/membrane requirements, flatness tolerances, expansion gap guidance)]
– [ADD: substrate preparation guidelines from the underlayment or flooring manufacturer (cleaning, moisture conditions, patching/repair expectations)]
If you take nothing else from this: treat underlayment as a moisture-and-compatibility system, not a “quick layer.” Get the base clean and flat, choose an exterior-rated product that matches your floor type, and seal seams exactly—those choices determine whether your patio stays quiet, level, and reliable through real outdoor seasons.
Frequently Asked Questions
What underlayment is best for installing under patio floors?
The best underlayment depends on whether your patio floor is on concrete, over soil/gravel, or over a wood subfloor. For concrete slabs, a moisture-resistant underlayment or waterproof membrane helps prevent dampness issues and improves comfort. If your patio is over a slab that gets frequent freeze-thaw, choose an underlayment rated for exterior use and designed to handle temperature swings. For pavers or floating patio flooring, look for a compatible leveling layer plus an underlayment made for outdoor patio applications.
How do I install underlayment under patio floors over concrete?
Start by cleaning the concrete thoroughly and repairing any cracks, spalling, or high spots so the underlayment lies flat. Roll out the underlayment with the manufacturer’s recommended overlap (often 4–6 inches) and tape the seams with the specified underlayment tape to create a continuous barrier. If the product requires it, add a protective moisture barrier layer before the underlayment. Finally, install your patio floor system directly on top, ensuring expansion gaps are maintained around the perimeter.
How do I prepare the surface before laying underlayment for an outdoor patio floor?
Proper surface preparation is critical to avoid wrinkles, shifting, and moisture trapping under the patio floors. Remove dust, dirt, paint overspray, and loose debris, then check flatness and correct uneven areas with approved patching or leveling compound. Allow any wet concrete to cure fully and verify moisture conditions if the underlayment is moisture-sensitive. Make sure the area is dry before installation and follow the product’s temperature and curing guidelines.
Why do patio flooring manufacturers recommend underlayment, and what problems does it prevent?
Underlayment under patio floors can improve comfort, reduce minor movement, and help protect your flooring from moisture. A quality moisture barrier reduces the risk of mold, mildew, and adhesive failure when conditions are humid or damp. It can also buffer small subfloor imperfections that might otherwise cause squeaks, cracking, or premature wear. Using the correct underlayment for your patio flooring type helps maintain warranty coverage and long-term performance.
Which underlayment type should I choose for a floating patio floor installation?
For a floating patio floor, choose an underlayment designed for floating installations with proper seam overlap and puncture resistance. Look for an underlayment labeled suitable for outdoor or exterior patio use if it’s exposed to moisture or humidity. If your patio flooring is sensitive to water, select a waterproof or vapor-barrier underlayment to prevent moisture migration. Ensure you keep perimeter expansion gaps and that the underlayment is fully compatible with your specific patio flooring system to avoid buckling or lifting.
📅 Last Updated: October 12, 2026 | Topic: How to install underlayment under patio floors? | Content verified for accuracy and freshness.
References
- https://en.wikipedia.org/wiki/Underlayment
- https://en.wikipedia.org/wiki/Cementitious_backer_unit
- https://en.wikipedia.org/wiki/Tile_backer_board
- Waterproofing
https://en.wikipedia.org/wiki/Waterproofing - https://en.wikipedia.org/wiki/Thinset
- Concrete slab
https://en.wikipedia.org/wiki/Concrete_slab - https://en.wikipedia.org/wiki/Interlocking_concrete_paver
- Google Scholar Google Scholar
https://scholar.google.com/scholar?q=how+to+install+underlayment+under+patio+tile - Google Scholar Google Scholar
https://scholar.google.com/scholar?q=exterior+tile+underlayment+waterproofing+membrane+installation - Google Scholar Google Scholar
https://scholar.google.com/scholar?q=paver+patio+base+layer+sand+setting+bed+installation+guide


