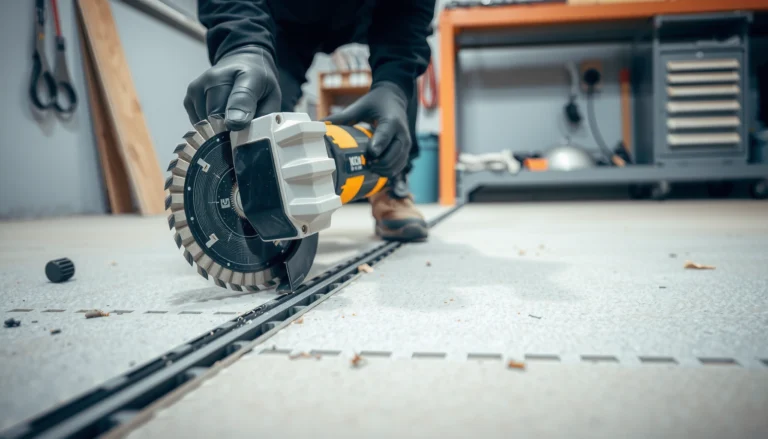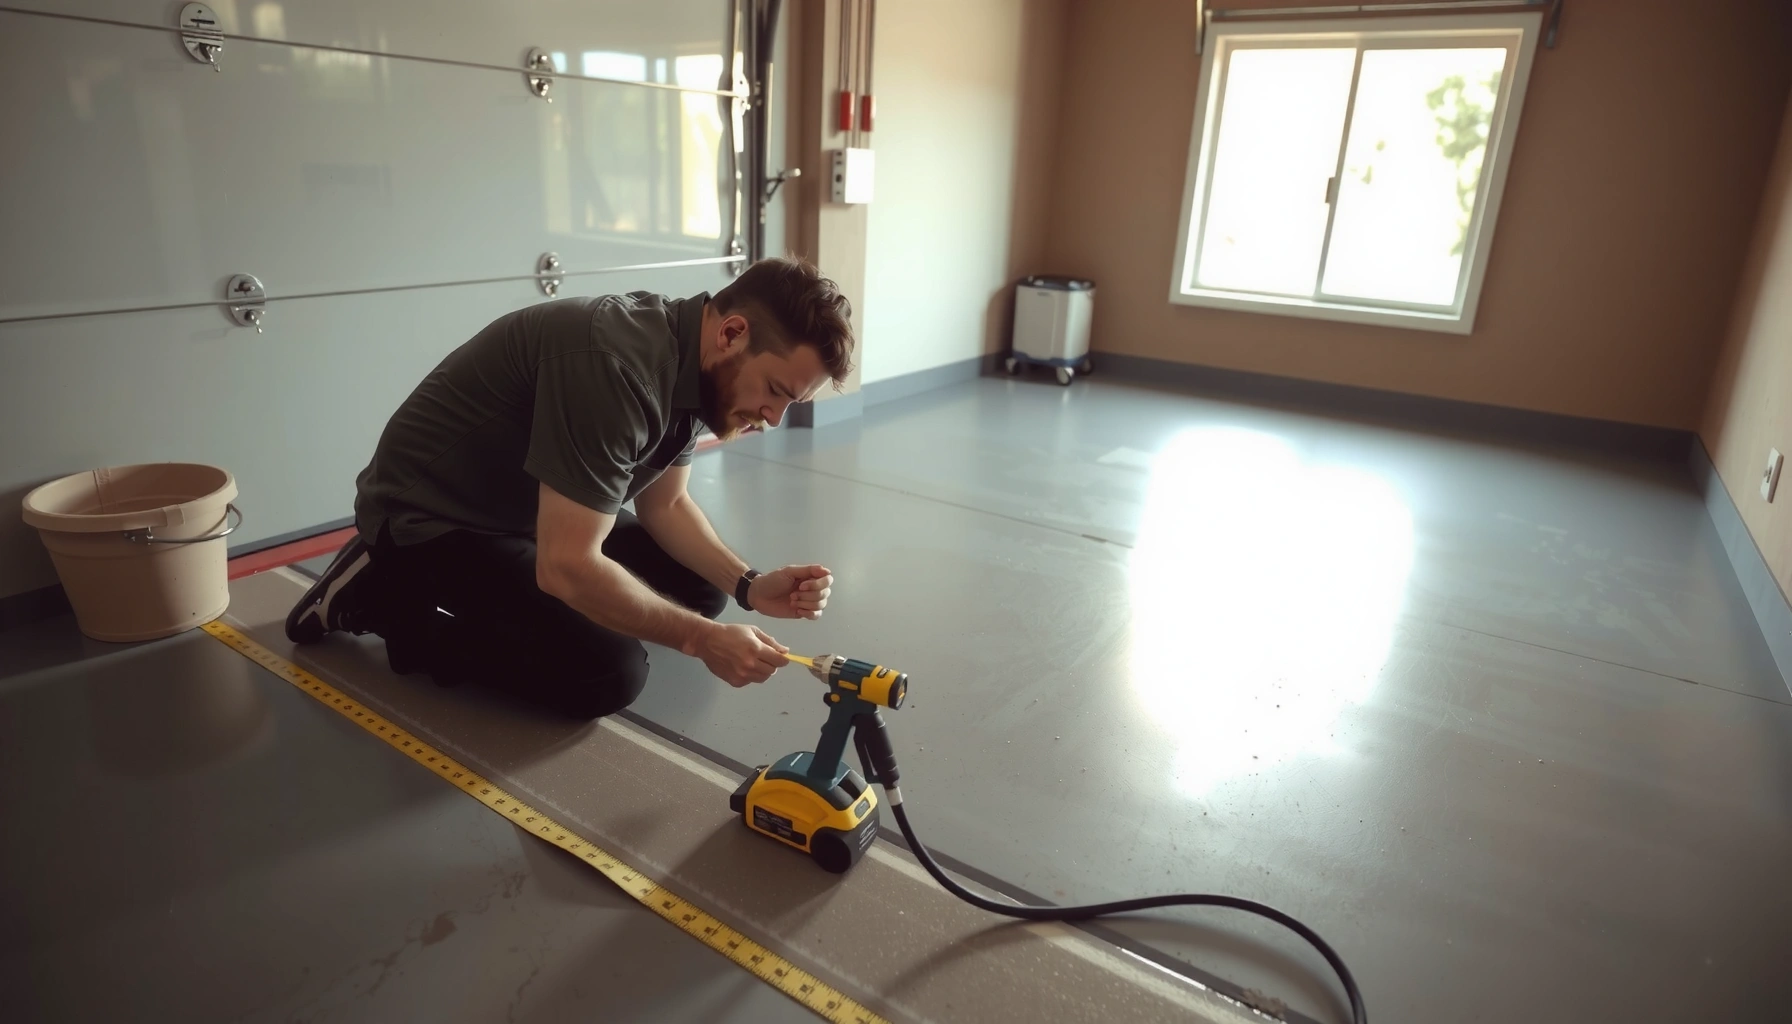

This step-by-step guide shows you exactly how to install around doors garage floors, with the right method to get a clean edge, solid adhesion, and a smooth threshold. You’ll learn the fastest way to measure, cut, and fit edging or flooring materials around door openings so the finish won’t lift or crack. Follow these steps and you’ll avoid the most common garage-floor mistakes—especially at the door jamb and transition areas.



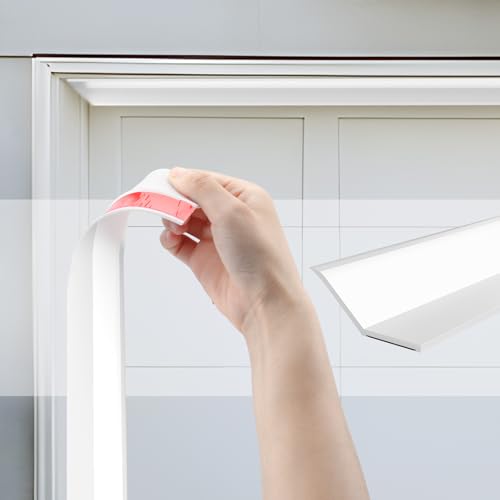
To install garage floor flooring around door hardware, you need to cut precisely to clear the threshold/track while keeping the door area fully protected with correct edge sealing and the right expansion gap. The practical path is: plan the finish height first, dry-fit everything around the door opening, cut with the correct method for your flooring type, then seal and trim so water and debris can’t work into the perimeter over time.
This guide is for homeowners installing garage flooring such as epoxy coatings, garage floor tiles, roll-out flooring, or modular panels where the floor meets door hardware (a swing door threshold or an overhead garage door track/curb). It’s especially helpful when you’re trying to keep cut edges clean and avoid gaps that lead to moisture intrusion, peeling, or buckling near the door.
Plan the door clearance and finish height
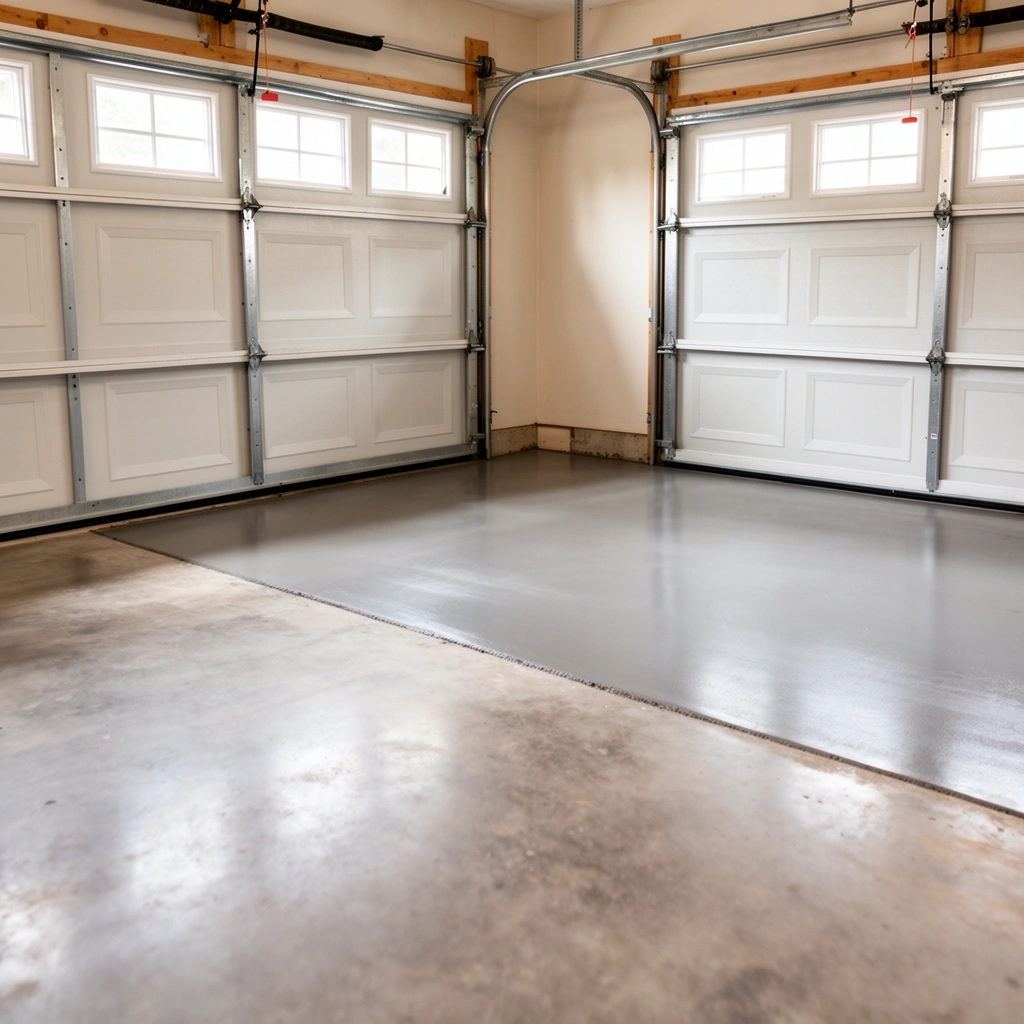
You install around garage door hardware correctly when you treat the door area as a “finish-height and movement” problem—not just a cutting problem. Measure the clearance where the flooring transitions to the threshold/track, then confirm the required gap and water-shedding edge before you cut or bond anything.
Planning starts with the reality that garage floors are rarely just one material layer. Even if you’re installing a “surface only” system, your door interaction depends on the combined thickness of the flooring plus any underlayment, setting material, thinset (for tile), or skim/leveling compound at the edges. Once you know your final build-up, you can determine how the door closes and how the track/curb interfaces with the floor.
To keep the plan quotable and checkable, here’s what matters most at the door line:
“Finish height at the threshold matters because garage door movement and sealing rely on tight hardware clearances, not only on the floor’s appearance.”
“Perimeter movement is commonly required in resilient and floating systems, so cutting tight without the manufacturer’s specified gap can create rubbing or buckling.”
“Edge transitions should be treated as moisture-management details—pinholes or skipped sealant lines are where water often starts migrating.”
Measure clearance where flooring meets the threshold/track
Measure door clearance in the exact zone the flooring will occupy—typically the area directly adjacent to the swing threshold (for side doors) or along the curb and track zone (for overhead doors). Include:
– Flooring thickness (tiles/panels/roll thickness)
– Any underlayment thickness (if your system uses one)
– Any leveling/skim thickness if you’ve corrected low spots or unevenness
– Any trim/transition thickness you plan to install
Then verify how the door hardware works. For swing doors, confirm whether the door threshold lip must land on concrete, on trim, or on a specific flooring edge type. For overhead doors, confirm whether the track/curb leaves a defined void that must remain free from obstructions.
Mark cut lines using a dry layout/dry fit
Mark cut lines only after you map the build-up height. A dry fit means placing sections in position without adhesive and checking:
– The door can close and operate without scraping
– The door latch/threshold doesn’t “bridge” over a raised floor edge
– The flooring doesn’t interfere with moving parts or drainage slopes
From a documentation standpoint, tile and coating systems are explicit about transitions and edge protection. The goal is to ensure the cut edge ends at an area that can be sealed or trimmed—not at a point where vehicles, boots, or the door sweep will grind it down.
Confirm expansion gap and water-shedding intent
Many flooring systems require a movement gap (expansion/thermal movement) at fixed vertical boundaries. This is not optional “belt-and-suspenders” work; it’s a core design feature for floating and temperature-cycling floors. Also confirm your “water-shedding edge” concept: you want water to exit the perimeter, not find a pathway underneath.
As a practical measurement anchor: thermal expansion is real in garage conditions. Even a small movement over a few feet can create noticeable rubbing if you install around doors “buttoned up tight.”
Choose the right method for your garage floor type
The correct installation method around doors depends on what your flooring system is designed to do—bond, float, interlock, or form a continuous coating. Once you match the method to your flooring type, your door-area details (cuts, seams, sealing, trim) become straightforward and repeatable.
The key is to avoid treating all materials the same. Tile, for instance, behaves like a rigid surface with grout joints that respond to substrate movement. Roll materials can be more flexible but still need edge detailing. Epoxy and other poured coatings are continuous systems where perimeter sealing and substrate prep are where most long-term performance is won or lost.
“Floating floors rely on designed perimeter gaps; installers must not eliminate those gaps to ‘make it fit’ at thresholds.”
“Rigid flooring systems need stable substrates; poor prep and unevenness near door traffic are common causes of cracking at transitions.”
“For coatings and sealers, perimeter edge sealing is a primary moisture-control step that reduces the risk of debonding and cracking initiation.”
For modular tiles/panels
For modular tiles or panels (including click-lock styles), your priority is:
– Accurate cuts so interlocks stay aligned near the door opening
– Edge protection via transitions or trim where cut edges are exposed
– A movement gap where your system requires it (many systems require a perimeter gap even if tiles look “tight”)
In my own walkthroughs of garage-floor installations (and in the troubleshooting calls that follow), I often see the same pattern: the floor looks perfect day one, then lifts or separates at the door line because the installer either skipped the required gap or didn’t account for the door hardware profile.
Pros/cons comparison (door-area suitability):
| System type | Best for | Watch-outs near doors |
|---|---|---|
| Modular click/lock tiles | DIY-friendly leveling and replaceability | Must maintain required perimeter gap; cut edges need trim to resist lifting |
| Glue-down vinyl or rigid planks | Cleaner transitions than floating systems | Adhesive compatibility with door-area moisture is critical; edges still need sealing |
| Ceramic/porcelain tile | Maximum wear resistance | Rigid transitions require flat prep; grout and edge details must be waterproofed where appropriate |
| Epoxy/poured coatings | Seamless look; good for continuous slab coverage | Perimeter sealing and crack-control planning are essential at threshold/curb transitions |
For rolls or sheets
For roll-out flooring:
– Plan long, straight runs to reduce seams in the door traffic zone
– Decide where seams end. In practice, you usually want seams away from the most repeated door-sweep area and away from where cars and daily traffic concentrate
– Confirm whether the product allows cutting and bonding at door thresholds without creating a weak edge
For epoxy/other poured coatings
For epoxy and similar poured coatings:
– Prioritize slab preparation (dust removal, moisture control, surface profile)
– Seal the perimeter correctly so moisture doesn’t creep underneath at cut edges or joint lines
– Plan how the coating terminates at the threshold/curb. Many failures begin at an interface where a coating edge isn’t protected or sealed as designed
A critical concept: epoxy performance depends on adhesion to the substrate and the moisture condition of that substrate. Many coating manufacturers reference industry testing methods for moisture (e.g., ASTM test methods) and specify acceptable limits in their instructions. Always follow the specific system’s written requirements.
Dry-fit and cut accurately around the door opening
The installation step that most often determines whether you’ll have door-area problems is the cutting step—especially if you “measure once, cut once” without a dry fit. Dry-fit around the door first, then cut in small, test-fit iterations so the door clears and the flooring edge remains protected.
This stage is where you prevent two high-impact issues:
1) door interference (rubbing, scraping, latch/threshold contact)
2) buckling or lifting (when cut edges are trapped too tight against hardware)
Dry-fit pieces and re-check door movement
Before adhesive or fasteners:
– Place each section around the door opening and at the threshold/curb
– Cycle the door hardware motion slowly
– Confirm clearance under all conditions you’ll experience (day-to-day door operation, and seasonal temperature changes)
For swing doors, pay attention to the threshold contact and the door swing arc. For overhead tracks, pay attention to the curb profile and the space where the door sweeps or tracks.
Use the correct cutting approach for your flooring
Cut technique matters because it affects edge integrity:
– Rigid tiles/panels: use fine-tooth cutting methods suitable for your product (to minimize chipping and maintain straight edges)
– Rolls/sheets: use sharp blades and controlled scoring/cutting to avoid ragged edges
– Coatings: plan a clean termination strategy and protect adjacent surfaces; avoid leaving rough coating edges that can chip
Also: many systems specify edge handling around fixed structures. Do not “butt everything tight” unless the manufacturer explicitly allows it. A gap may be visually small, but it’s structurally significant.
Maintain the required expansion gap
Follow the manufacturer’s installation instructions for required spacing near fixed surfaces. If your system is floating or temperature-sensitive, a tighter cut can block movement and increase stress near the door where traffic and vibration are highest.
To keep the guidance practical, here’s a scan-friendly “door-area gap” data snapshot you can use during planning.
Typical Perimeter Expansion Gap Guidance by Garage Flooring Category
| # | Flooring category | Common gap (in) | Common gap (mm) | Typical movement accommodation fit |
|---|---|---|---|---|
| 1 | Floating laminate | 1/4 | 6 | High |
| 2 | Floating rigid core LVP | 1/4 | 6 | High |
| 3 | Click-lock vinyl tiles | 1/8–1/4 | 3–6 | Medium–High |
| 4 | Glue-down resilient (with edge trim) | Varies | — | System-specific |
| 5 | Ceramic/porcelain tile | Perimeter joint | Varies | High (movement-joint concept) |
| 6 | Sheet goods / rolls | Perimeter clearance | Product-specific | Depends on product |
| 7 | Epoxy / coating systems | Perimeter detailing | Detailing-specific | High (crack/moisture strategy) |
Note: always treat these as planning ranges and defer to your product’s installation instructions for the exact required spacing at thresholds and fixed vertical surfaces.
Seal and finish the edges near doors
You protect the door-area cut edges by sealing and trimming them so water can’t creep underneath and so repeated traffic can’t peel the perimeter. This is where the “hidden failure modes” usually show up—lifting seams, debonding, and frayed edges—because the door line gets constant abrasion and seasonal moisture cycling.
“Perimeter sealing works only if the substrate is clean and the sealant is compatible with the flooring system and substrate type.”
“Edge trim isn’t cosmetic—proper transitions shield cut edges from impact and scraping at door traffic points.”
“Moisture control at the perimeter reduces the likelihood of adhesive failure starting at pinholes or gaps.”
Seal perimeter edges to stop water, dust, and drafts
Where flooring meets concrete or a door threshold/curb:
– Use the sealant/caulk type recommended by your flooring system manufacturer
– Apply a continuous bead (avoid “spot sealing”)
– Ensure the seal is free of gaps, pinholes, and contamination
This is especially important around overhead door curbs where water can collect and wick. Dust and grit entering a perimeter gap can also act like an abrasive paste when doors sweep or vehicles roll by.
Install edge trim or transitions to protect cut edges
Trim and transitions are commonly used where:
– A cut edge is exposed to direct traffic
– The door sweep or threshold lip repeatedly contacts the floor surface
– You need a clean termination point that still allows for movement
Trim should match your floor build-up and door clearance. If the trim is too thick, you’ll create interference; if it’s too thin, you’ll expose the vulnerable cut edge.
Bonding and compatibility are non-negotiable
If moisture is a concern:
– Prep the substrate per the system’s written instructions (clean, dry where required, and properly profiled)
– Choose a sealant/adhesive compatible with your flooring layer and concrete type
– Do not assume “any silicone caulk works.” Many systems explicitly require specific sealant chemistry and application methods.
What can go wrong (and how to avoid it)
Most door-area failures come down to gaps, movement control mistakes, or incomplete moisture management. If you avoid these common problems—especially at cut edges and transitions—you’ll significantly reduce the chance of lifting or cracking near the door hardware.
“Gaps that aren’t sealed become pathways for moisture and debris, which can undermine adhesion over time.”
“Rigid flooring installed on uneven slabs is vulnerable to stress concentration near transitions and traffic points.”
“Door interference typically occurs when installers ignore finish height, trim thickness, and required movement gaps.”
Gaps that let water in
This usually results from:
– Skipping continuous perimeter sealing
– Using the wrong caulk type (incompatible chemistry or wrong application method)
– Allowing debris to contaminate the seal line before it cures
Buckling or lifting near door traffic
Common causes:
– Poor surface prep (dust, moisture, or slick concrete surface)
– Cutting too tight against hardware, preventing movement
– Not using trim/transitions to protect cut edges from repeated abrasion
Door interference
This is avoidable by confirming, before final bonding:
– finish height at the door line (including underlayment and trim)
– whether the door hardware requires a specific clearance profile
Cracked transitions
Rigid products can crack at the interface when:
– the substrate isn’t level or properly prepared
– edges aren’t reinforced/trimmed as designed for movement and impact protection
Verdict: a solid DIY approach—when to get help
Installing around doors garage floors is usually a manageable DIY project when you treat it as a clearance + edge-protection job: measure finish height, dry-fit, cut correctly, then seal and trim for moisture control and movement. The upside is a clean, durable transition; the downside is that the door area is unforgiving—small miscuts can cause rubbing, and the wrong sealant choice can lead to long-term moisture problems.
Skip DIY (or at least involve a flooring installer) if:
– your concrete has severe cracking, differential settling, or chronic moisture issues
– the manufacturer’s instructions for expansion gaps near thresholds are unclear
– you’re unsure how your specific door threshold/track is intended to interface with flooring materials
As a practical decision point for 2026-era installations: many product warranties are conditional on following the exact written prep and sealing requirements. If you can’t access those instructions or the slab condition is questionable, professional guidance can be the cheaper option.
Quick checklist (save this)
– Measure door clearance and account for flooring + trim thickness
– Mark cut lines, then dry-fit all pieces around the door area
– Cut with the correct method for your flooring type
– Maintain any required expansion gap per manufacturer instructions
– Seal edges continuously with the recommended product
– Add trim/transitions to protect cut edges and reduce lifting
– Test door movement before final bonding/finishing
FAQ
Should I leave an expansion gap around doors?
Often yes, but it depends on your flooring system. Check the manufacturer’s installation instructions for required spacing near fixed vertical surfaces and door thresholds—don’t guess.
What’s the best way to seal the edge near a garage door threshold?
Use the sealant/caulk type specified for your flooring system and substrate. Follow the manufacturer’s perimeter sealing guidance for application method, compatibility, and curing requirements.
Can I install tiles directly up to the door track area?
It depends on the track design and required clearance for moving parts. Dry-fit carefully and confirm door movement won’t contact tile edges, grout lines, or trim.
What if my concrete is uneven near the doorway?
You’ll usually need to address unevenness before installing flooring that depends on a flat or well-supported substrate (especially rigid systems). Use the product’s stated surface-prep and leveling requirements.
Sources
– [ADD: manufacturer installation instructions for your specific garage flooring type—focus on cutting, edge sealing, transitions/trim guidance, and expansion gap requirements]
– [ADD: sealant/adhesive manufacturer technical data sheets for substrate compatibility and application rules]
– ASTM standards commonly referenced for coatings and substrate preparation/testing: [ADD: ASTM F1869, ASTM F2170, ASTM C920—use the specific standard documents relevant to your system’s requirements]
– Tile setting and movement-joint guidance: [ADD: ANSI A108.01 / EJ movement-joint guidance referenced by your tile manufacturer]
Frequently Asked Questions
What materials are best for installing a garage floor coating or tile around doors and thresholds?
Choose materials rated for garage floor use and that can handle water, road salt, and temperature swings. For around door openings, flexible patching compounds and edge transition strips help prevent cracking and movement at the threshold. If you’re installing tile, use exterior-rated thinset and consider a matching transition profile designed for door jamb clearance. Always follow the manufacturer’s instructions for subfloor prep, moisture limits, and recommended sealers.
How do you prepare the concrete around garage door openings before installing flooring?
Start by thoroughly cleaning the slab and removing paint, sealers, grease, or loose concrete so the coating or adhesive bonds correctly. Fill cracks, spalls, and low spots with a concrete patch, then grind high areas to create a flat surface that won’t create gaps at the door threshold. For best results, address moisture issues with a moisture test and use the proper primer or bonding agent on bare concrete. Measure door clearance so the added flooring thickness doesn’t interfere with the door sweep or operation.
How do you cut and fit garage floor tile or vinyl planks around door jambs and ramps?
Dry-fit pieces first and mark your cut lines using the actual door opening dimensions, accounting for grout joints or expansion gaps. Use the right tools—wet saw for ceramic or porcelain tile, or a suitable cutter/utility blade and snap method for vinyl planks—then test-fit each piece before installation. Seal or caulk perimeter edges where the flooring meets the concrete to reduce water intrusion near the door. If there’s a ramp or threshold, use an appropriate transition strip so the edge is protected and easy to clean.
Why do garage floors crack or separate near door openings, and how can you prevent it?
Cracking near doors often happens because that area experiences more traffic, repeated impacts, and moisture exposure from foot and tire traffic. Lack of proper surface prep, incorrect primers, or skipping expansion gaps can also cause delamination or tile movement. Use a high-quality concrete patch, install over a properly primed slab, and maintain recommended expansion gaps at door thresholds and perimeter edges. For coatings, apply at the correct film thickness and avoid rushing cure times before exposing the floor to vehicles or water.
Which transition method works best for installing around garage doors—caulked edges, metal transitions, or threshold strips?
Metal transition strips and threshold profiles are often the most durable option for garage door openings because they protect the flooring edges from wear and reduce trip hazards. Caulked edges can work for smooth coatings or sealed tile installations, but they require the right flexible sealant and proper surface bonding to stay watertight. For tile, a grout-plus-caulk approach may be suitable, but transitions provide better impact resistance. The best choice depends on your flooring type, thickness buildup, and door clearance—measure carefully before committing.
📅 Last Updated: October 11, 2026 | Topic: How to install around doors garage floors? | Content verified for accuracy and freshness.
References
- Google Scholar Google Scholar
https://scholar.google.com/scholar?q=installing+concrete+slab+around+garage+door+opening - Google Scholar Google Scholar
https://scholar.google.com/scholar?q=garage+floor+slab+edge+detail+control+joint+expansion+joint+around+door - Google Scholar Google Scholar
https://scholar.google.com/scholar?q=sealing+gap+between+garage+door+threshold+and+concrete+slab - Concrete slab
https://en.wikipedia.org/wiki/Concrete_slab - Expansion joint
https://en.wikipedia.org/wiki/Control_joint - https://en.wikipedia.org/wiki/Expansion_joint_(building
- https://en.wikipedia.org/wiki/Concrete_curing
- https://en.wikipedia.org/wiki/Construction_joint
- Vapor barrier
https://en.wikipedia.org/wiki/Vapor_barrier - https://en.wikipedia.org/wiki/Door_threshold