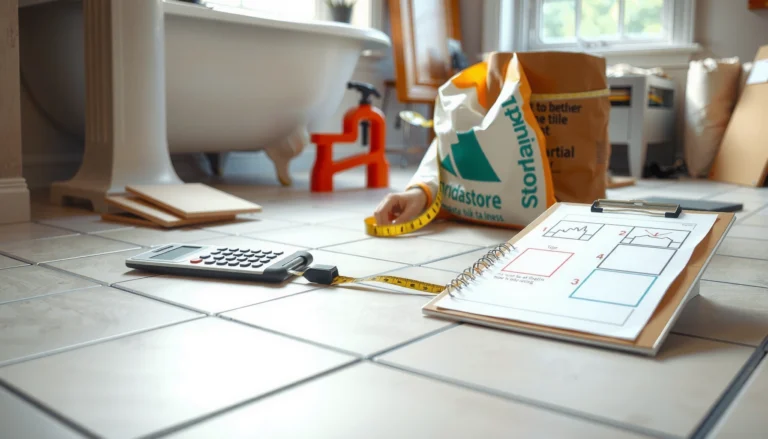
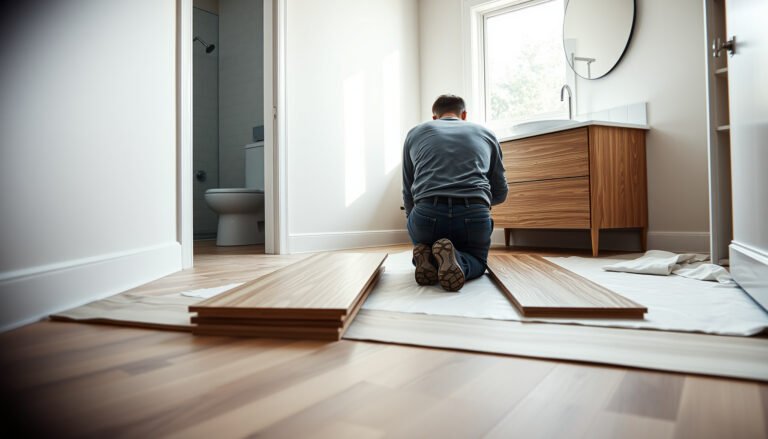
To level hardwood floors before installing hallway flooring, the best approach is to first identify the floor’s highest and lowest spots, then correct them with a compatible leveling compound or underlayment designed for subfloor conditions. Use a straightedge and laser to measure the unevenness, followed by careful prep—cleaning, drying, and addressing any loose or damaged boards—so the hallway surface stays flat. When you follow that sequence, you prevent gaps, squeaks, and uneven transitions that show up quickly in high-traffic hallways.




Leveling a hallway subfloor before you install hardwood is the best way to prevent ridges, joint telegraphing, and those annoying “clicking” transitions later. If your hallway floor isn’t flat within the manufacturer’s tolerance, the new hardwood can mirror those imperfections over time—especially in high-traffic paths and at doorway edges.
If you’re planning to install hardwood in a hallway (especially over concrete, plywood, or older subfloors), this is for you. It’s also useful when you’ve noticed squeaks, uneven transitions at doorways, or you can feel ridges when walking the space.
Check flatness first (and where it matters)
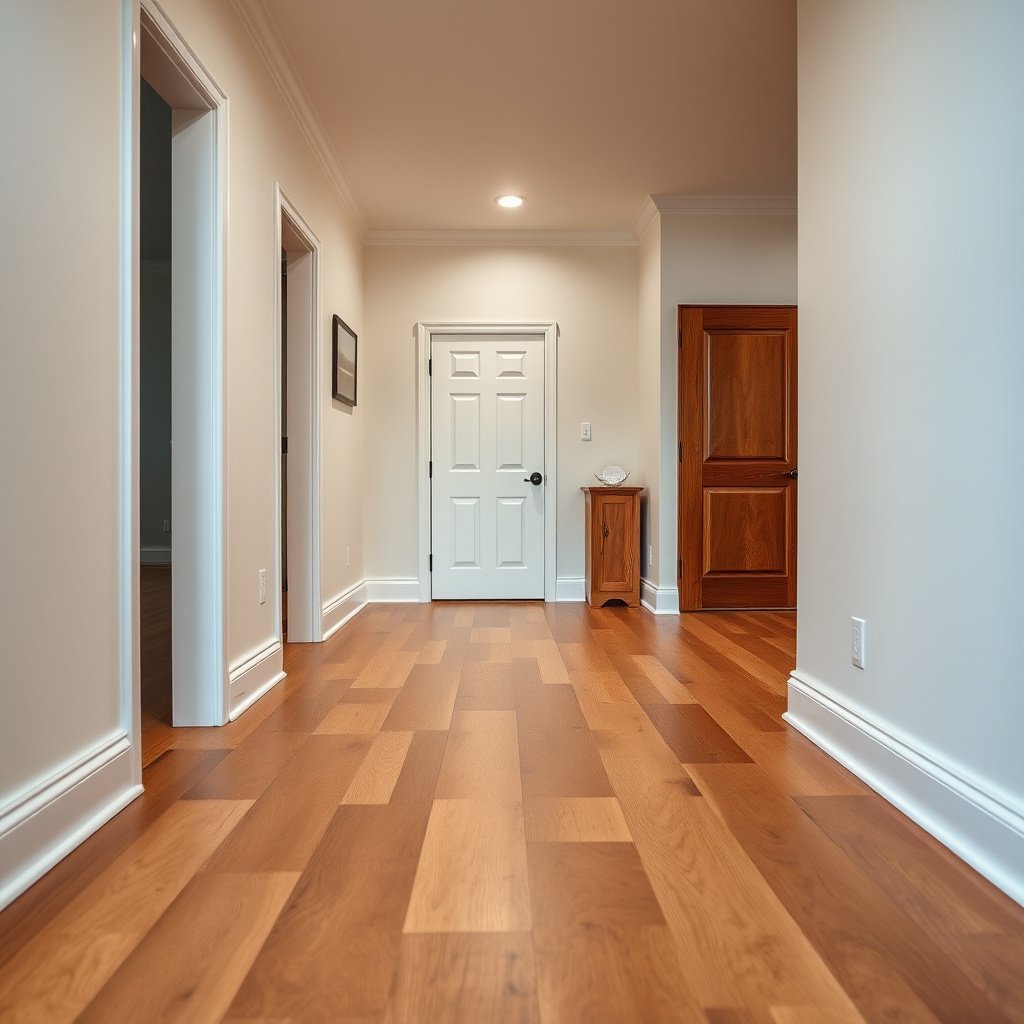
The fastest way to decide whether your hallway needs leveling is to measure flatness with a long straightedge and focus on doorways and transitions. Hardwood flooring cares about flatness, not just “it looks level,” because boards lock into a plane as they’re installed.
NWFA installation guidance commonly targets a maximum subfloor flatness deviation of 3/16 in. over a 10 ft span for wood flooring.
ASTM E1155 is used to quantify floor flatness using standardized measurement approaches with straightedges and reference points across a defined span.
Door thresholds and hallway-to-room transitions are frequent trouble spots because small waves become visible gaps or lips once hardwood strips are fastened.
– Use a straightedge (or a 6–10 ft level) to find high and low spots across the hallway length. If you want repeatable results, use the same span consistently—typically 6 ft for localized checks and 10 ft for a broader “whole run” evaluation.
– Mark problem areas with chalk/marker and measure the depth of lows with feeler gauges or a measuring stick. When you record results, write down (1) the location (e.g., “2 ft from the entry threshold”) and (2) the deviation in inches or millimeters. In my experience, good documentation is what prevents rework during hallway hardwood installation.
– Pay extra attention to door thresholds, transitions near walls, and areas that look “level” visually but aren’t flat under a straightedge. Visual flatness can fool you; hardwood gaps often appear right where the straightedge first shows a crown or dip.
Flatness targets you can compare while you work
The table below helps you translate common “inches of deviation” into millimeters and decide whether you’re within a typical wood-flooring flatness tolerance (3/16 in. over 10 ft as referenced in NWFA-style guidance).
Subfloor deviation levels vs. typical wood-floor flatness target
| # | Deviation (in.) | Equivalent (mm) | Meets 3/16 in. / 10 ft target? | Confidence for hardwood installation |
|---|---|---|---|---|
| 1 | 1/32 | 0.79 | Yes | ★★★★★ |
| 2 | 1/16 | 1.59 | Yes | ★★★★☆ |
| 3 | 1/8 | 3.18 | Yes | ★★★★☆ |
| 4 | 3/16 | 4.76 | Yes | ★★★☆☆ |
| 5 | 1/4 | 6.35 | No | ★★☆☆☆ |
| 6 | 5/16 | 7.94 | No | ★☆☆☆☆ |
| 7 | 3/8 | 9.53 | No | ★☆☆☆☆ |
Note: Your hardwood flooring manufacturer may specify tighter or different flatness tolerances. Always follow the hardwood installation guideline you’re using (see Sources).
Prep the subfloor before leveling
The right leveling outcome starts with removing anything that can interfere with adhesion or allow movement under hardwood flooring. Before you pour compound for hallway hardwood installation, you have to stabilize the surface and fix the root causes of movement.
Self-leveling compounds only perform as intended when the subfloor is clean, sound, and properly prepared for the product’s required bond surface.
Any loose subfloor panel, failing fastener, or active squeak can turn a “flat” floor back into an uneven one after hardwood installation.
– Remove carpet tack strips, old adhesive residue, paint, and any loose or squeaky materials that could shift later. Even thin, brittle adhesive ridges can create texture transfer under hardwood flooring.
– Clean the surface thoroughly and (if required by your leveling product) scarify smooth areas for better bonding. Many leveling systems rely on mechanical “tooth” plus primer; skipping it risks weak bond lines at high-load points in a hallway.
– Fix structural movement (loose subfloor panels, failing joists, active squeaks) before you add any self-leveler or patch. Leveling compound can’t correct a rocking subfloor—when hardwood flooring is installed over movement, you’ll often see joint separation and squeaks return.
What “sound and stable” means for hallway hardwood
For practical purposes, your hallway subfloor is ready for leveling when it meets three conditions: it doesn’t flex when you press firmly, it doesn’t shift under a straightedge, and it’s securely fastened enough that walking loads stay within the allowable joist/subfloor deflection and fastener spacing.
Remove high spots instead of trying to “level up” everything
The most efficient leveling strategy is to remove crowns/high points first, then only fill the lows. If you try to “build up” everywhere, you increase compound thickness, cure stress, and the chance of cracking or poor bond.
Grinding localized high spots reduces the total thickness of leveling material needed and helps protect hallway hardwood from engineered shrinkage and stress at thick pour areas.
After grinding or sanding, you should remove dust completely because residual fines can reduce adhesion of patching and self-leveling products.
– If you have localized high areas, grind/sand them down to reduce how much compound you’ll need. Use this approach when a straightedge shows a few crowns rather than a uniformly wavy slab.
– Keep dust under control (shop vac + appropriate PPE) since sanding residue can affect adhesion. In practice, a good vacuum with the correct dust shroud often matters as much as the blade or sanding disk for maintaining bond quality under hardwood flooring.
– Re-check flatness after grinding—small changes can move the “problem line” across the hallway. This matters in hallway runs because your reference line changes as highs are corrected.
Patch vs. self-leveler: when each makes sense
If you’re deciding what to use for low areas in hallway hardwood installation, here’s a parseable comparison focused on how they behave over uneven substrates.
| Feature | Feather-finish / patch | Self-leveling underlayment/compound |
|---|---|---|
| Best for low depth | Small dips, spot corrections | Broader, widespread low areas |
| Application method | Trowel/float, feather to edges | Mix + pour + spread to level |
| Edge tapering | Designed to feather out | May require damming at perimeter |
| Risk from incorrect thickness | Lower when kept in product range | Higher if poured outside approved depth |
| Time to re-check flatness | Often quicker for localized fixes | Requires full cure before hardwood |
| Bond sensitivity | Depends on proper substrate prep | Highly dependent on primer and surface profile |
| Common failure mode if rushed | Feather edges crumble or show texture | Delamination or debonding at bond line |
| Best for hallway logistics | When you can section off and patch | When you’re batching and managing pour time |
| Material waste | Lower for small areas | Can be higher if you overshoot areas |
| Best For (summary) | Targeted hardwood hallway spots with measurable lows | Full-run corrections where the straightedge shows widespread dips |
Fill low spots with the right material and method
Low-area correction is what turns a “nearly flat” hallway into a consistent plane for hardwood flooring. The key is matching compound type, thickness range, and cure requirements to your substrate and the depth of the lows.
Feather-finish patch products are formulated for spot and edge tapering, while self-leveling underlayment products are designed to flow and equalize larger low zones.
Most leveling systems specify approved minimum/maximum thickness, primer requirements, and cure conditions—those limits are what determine whether hardwood flooring will feel solid after installation.
– For shallow dips, use a patch/feather-finish compound that matches your subfloor type (wood vs. concrete) and thickness range. If the straightedge shows a small low pocket, a feathered patch is usually more controllable than trying to pour and feather compound.
– For larger, widespread low areas, use a self-leveling underlayment/compound designed for floor leveling. In 2026 hallway hardwood installs, this is especially common when the entire run shows a gentle wave or after removing an old finish that left uneven profiles.
– Follow the product’s mixing instructions exactly, spread with the recommended tools, and protect the hallway from drafts that can affect curing. Even when the mix is correct, airflow and temperature swings can change set characteristics and surface quality for hallway hardwood installation.
Acclimate, prime (if needed), and verify again before hardwood
Before you install hallway hardwood, confirm the leveling layer is cured (and primed if required) so moisture and surface strength are stable. Then do one last flatness pass—because the final straightedge check is what prevents rocking boards at doorways.
Many self-leveling compounds require primer to achieve a reliable bond on porous or dusty substrates before hardwood flooring is installed.
Hardwood flooring should not be installed until the leveling compound is fully cured per manufacturer instructions to avoid dimensional movement after installation.
A final straightedge check across the entire hallway run verifies there are no new highs, ridges, or missed transitions created during leveling.
– Confirm the leveling compound is fully cured per the manufacturer’s instructions before installing hardwood. “Walkable” does not always mean “ready for flooring”—check the spec for floor installation readiness.
– Use the correct primer/drying steps if the leveling product requires priming for bond. This step is substrate-specific (for example, concrete vs. plywood) and is spelled out in the leveling product’s instructions.
– Do a final straightedge check across the whole hallway and around doorway areas so your hardwood installs without rocking or “lipping.” This is where small remaining deviations often become visible after the first row is fastened or clicked in.
What can go wrong (common mistakes to avoid)
Leveling fails most often when the underlying issue isn’t fixed, the wrong material is used, or the curing window is ignored. If you troubleshoot these problems early, you protect hardwood flooring performance for years—especially in narrow hallways that take constant foot traffic.
If the subfloor has structural movement (loose panels, failing joists), adding leveling compound alone will not stop squeaks or prevent future joint separation in hardwood flooring.
Skipping cleaning and prep steps can cause delamination, even when the surface looks smooth after leveling.
– Using too much compound to correct a problem that should be fixed by structural work (wobbling subfloor, loose joists). If your subfloor shifts when you press it, leveling is a bandage, not a solution.
– Skipping cleaning or prep steps—patches and self-levelers can delaminate if they don’t bond properly. Dust control and primer compatibility aren’t optional details; they’re the bond system.
– Not matching thickness and product type to the depth of the low areas (overbuilding can crack; underbuilding won’t flatten). Always measure lows first—then follow the approved thickness range in the product spec.
– Installing hardwood before the leveling material has fully cured, which can trap moisture or cause movement after installation. In 2026, manufacturers are still explicit about cure and readiness; those instructions should be treated as part of the hardwood installation system.
High spots: grind or overbuild?
Here’s a quick “VS” view of the most common decision during hallway hardwood prep.
| Criteria | Grind high spots | Overbuild with compound |
|---|---|---|
| Effect on total material volume | Reduces compound needed | Increases volume/thickness |
| Surface profile control | Keeps work localized | Expands pour area |
| Bond risk from thick layers | Lower bond-line stress | Higher chance of mismatch stresses |
| Crack potential | Lower when within thickness limits | Higher if beyond approved thickness |
| Time to re-check flatness | Iterative but controllable | Cure timing slows iteration |
| Dust/cleanup burden | Higher upfront dust control | Less grinding dust, more pour cleanup |
| Likelihood of “new highs” | Minimal if measured and rechecked | Possible from uneven spread or trowel work |
| Best use case | Localized crowns | Widespread lows (not highs) |
| Impact on hardwood warranty risk | Generally aligned with standard prep | May conflict with approved leveling methods |
| Verdict | Choose grinding when you have measured high spots. | Choose compound when you have measured low spots. |
Verdict / tip: worth doing, but don’t ignore structure
Leveling before installing hallway hardwood is usually the right move because it prevents gaps, squeaks, and visible ridges—but it only works if the subfloor is stable and properly prepped. If you suspect joist issues, significant subfloor movement, or moisture problems, handle those first (or stop and get professional assessment). If your hallway only has minor cosmetic unevenness, a targeted patch may be enough—avoid pouring or building up broadly when you don’t need to.
Quick checklist (scan before you start)
– [ ] Straightedge check completed; highs/lows marked
– [ ] Loose panels/joists/squeaks corrected before leveling
– [ ] High spots ground/sanded; re-measured
– [ ] Low spots filled with the correct patch or self-leveler
– [ ] Proper prep/prime done (per product instructions)
– [ ] Full cure time allowed before hardwood installation
– [ ] Final straightedge verification across hallway and doorways
Sources
– National Wood Flooring Association (NWFA) – Installation Guidelines for Wood Flooring (subfloor flatness guidance)
– ASTM E1155 – Standard Test Method for Determining Floor Flatness Using a Flatness Reference
– ASTM F2170 – Standard Test Method for Determining Relative Humidity in Concrete Floor Slabs Using in situ Probes
If you take one lesson into your hallway hardwood plan in 2026, make it this: measure flatness carefully, stabilize the subfloor first, then level only what’s actually low. Done this way, your hallway flooring system has a much better chance of staying quiet, tight, and visually consistent for the long run.
Frequently Asked Questions
How do I check if my hallway subfloor is level before installing hardwood floors?
Start by cleaning the hallway and using a 6–10 ft level or a long straightedge to identify high and low spots. Mark dips with painter’s tape and record measurements (even small variations matter when installing hardwood flooring). If you’re working over a concrete slab, also check moisture levels because unevenness can be caused by swelling or curing issues that should be addressed before leveling. Taking notes now helps you choose the correct leveling method and materials.
What’s the best way to level a concrete subfloor before installing hallway hardwood?
For concrete, the most common approach is to grind high spots and fill low areas with a concrete floor self-leveling underlayment (follow the manufacturer’s thickness limits). If the surface has significant ridges, you may need more prep work like additional grinding or patching before pouring leveling compound. Use a primer recommended for self-leveling products to improve adhesion, and plan your pour so you can complete it before it starts to set. After curing, sand or scrape as needed and re-check flatness before installing hardwood flooring.
Which leveling method works best for plywood or OSB subfloors in a hallway?
On wood subfloors, “leveling” is usually done by correcting flatness rather than relying only on compound. Use shims and properly secure any loose boards, then add additional subfloor panels (like underlayment-grade plywood) if you have broad dips. For minor irregularities, you can sand high spots and then use a thin patch or feather-finish product for small low areas. This approach helps prevent squeaks and ensures your hardwood floor has a stable, level surface for proper installation.
Why does leveling matter before installing hardwood floors in a hallway?
Hardwood floors require a flat, properly leveled base to prevent gaps, uneven boards, and premature wear on the tongue-and-groove joints. If the hallway has slopes or dips, you may also notice rocking planks, squeaking, or a finished look that doesn’t align with doorways and transitions. In addition, an unlevel subfloor can affect how well the click-lock or nail-down system locks in place, leading to costly repairs later. Proper floor leveling before installing hardwood flooring helps you achieve a smooth, professional finish.
How much should a hallway floor be out of level before I need to level it?
Many hardwood installation guidelines use flatness tolerances—commonly around 1/8 in over 6 ft, though your specific hardwood manufacturer instructions may vary. Measure the floor across the hallway length with a long straightedge to find the worst areas, not just the overall slope. If you exceed the tolerance, you’ll typically need to grind high spots, fill low areas, or address structural issues before installing hardwood flooring. When in doubt, follow the flooring brand’s tolerance requirements and re-check flatness after leveling.
📅 Last Updated: October 16, 2026 | Topic: How to level a hardwood floors before installing hallway? | Content verified for accuracy and freshness.