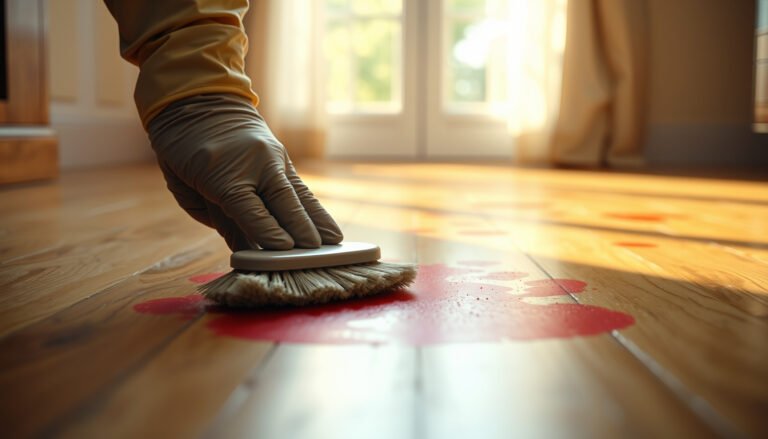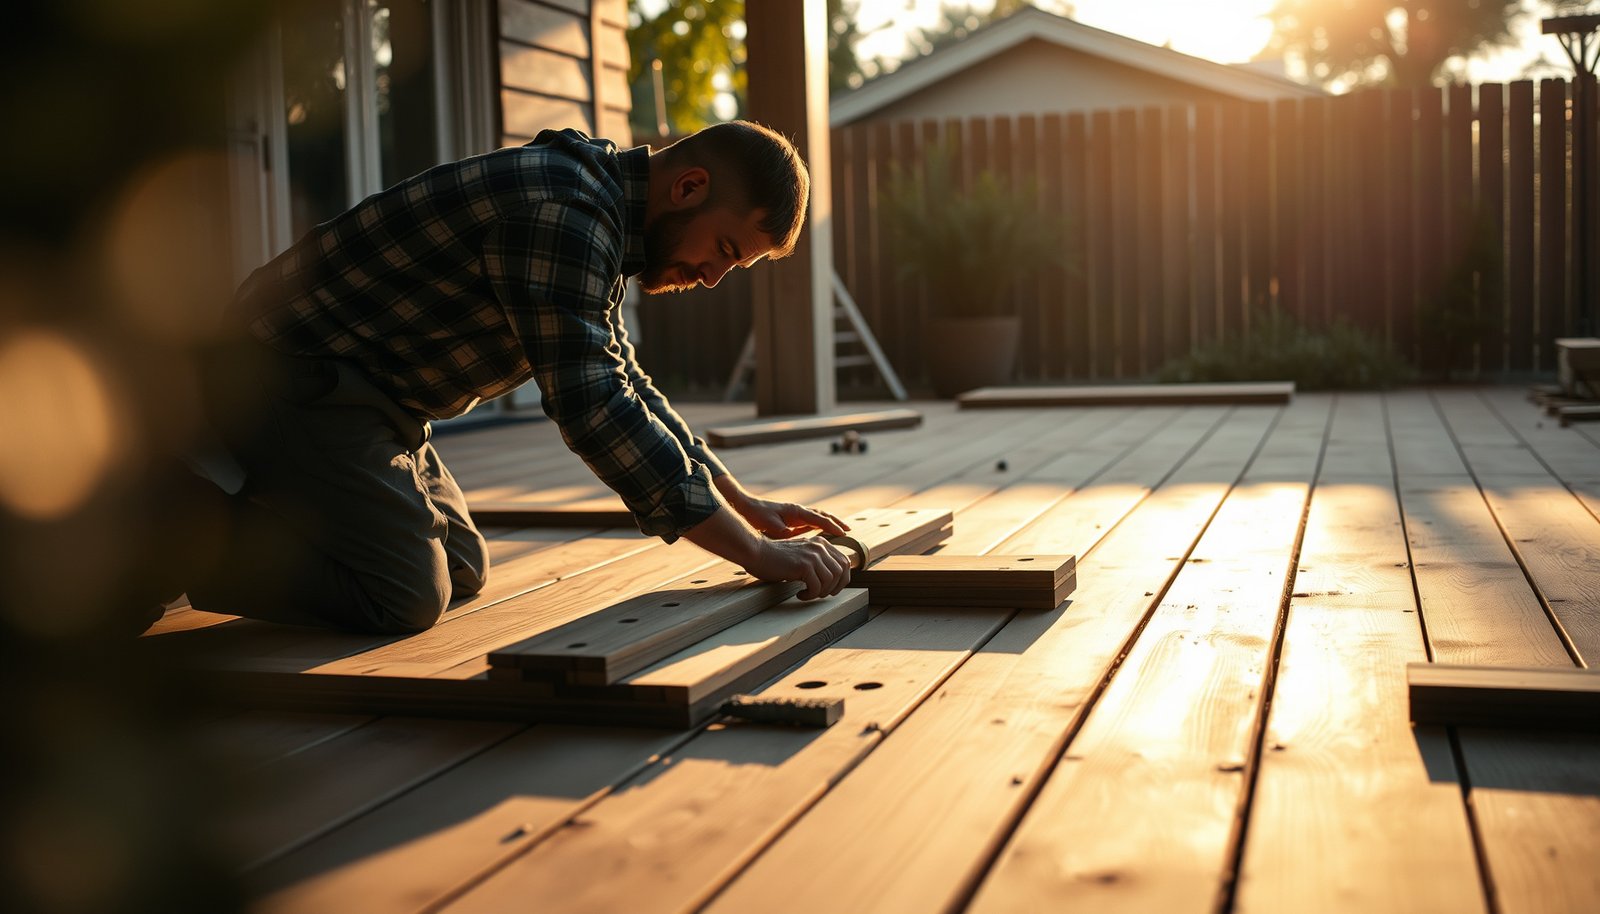

Replacing hardwood floors in a patio is a practical DIY win when you use the right materials and prep the subfloor correctly. This step-by-step guide shows you exactly how to remove damaged boards, repair the base, install patio-suitable hardwood, and finish for weather and moisture protection. Follow it closely and you’ll get a durable, good-looking patio surface that holds up instead of warping or separating.




Replacing hardwood floors on a patio is mostly a “prep the surface + use exterior-rated materials + manage water” job. Remove the old boards, repair the patio’s substructure and moisture control, then install outdoor hardwood with the right spacing, fastening, and finishing so the floor doesn’t cup, gap, or rot quickly.
If your patio sees rain, condensation, or any standing moisture, don’t assume your existing “hardwood” is suitable for the exterior environment—interior-grade planks fail fast outdoors. This applies to both full tear-outs and partial board replacements where you’re only fixing damaged or warped areas.
Who this is for / when it applies: This guide is for homeowners and contractors planning a patio hardwood replacement where the existing surface is wood decking or wood planks over a substructure. It’s most helpful when you’re exposed to frequent wet/dry cycles (freeze-thaw in particular) and you want fewer repeat failures.
Plan the replacement (materials, layout, and drainage)
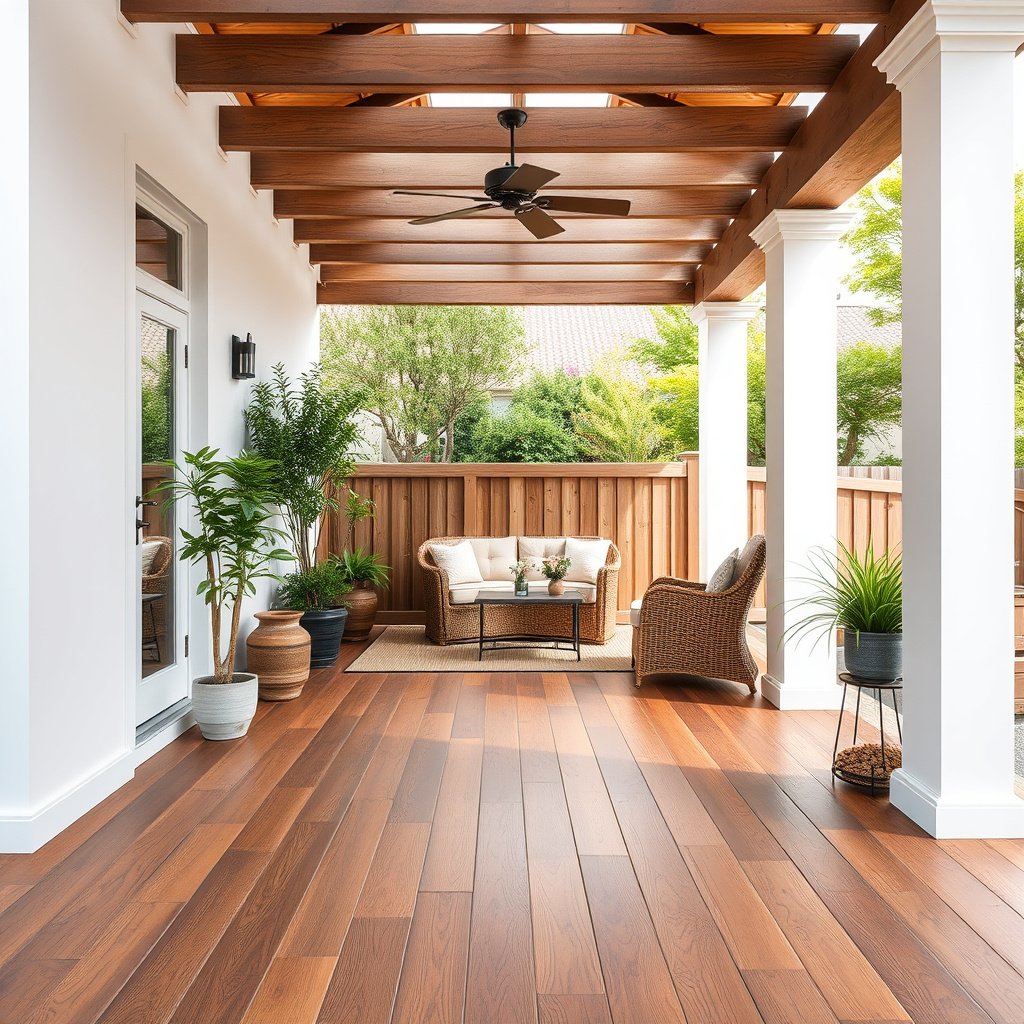
Plan your patio hardwood replacement by locking in three things early: the correct outdoor-rated flooring system, a drainage strategy, and an installation layout that allows seasonal wood movement. If you skip one of those, the “best” hardwood boards still won’t perform.
Outdoor wood flooring systems rely on correct subfloor moisture control and drainage; otherwise water migrates underneath and drives cupping and fastener corrosion.
For exterior installations, manufacturers typically specify expansion gaps and approved fasteners as part of the warranty-requiring system design.
Building drainage requirements commonly call for sloping exterior surfaces to shed water rather than hold it against the wood assembly.
Confirm the existing build-up and drainage path
Start by documenting what’s actually under your current patio hardwood replacement. Look for:
– Joists or framing (spacing, bearing points, and whether any members are sagging)
– Subfloor decking or sheathing
– Moisture layer(s): membranes, flashing, tar paper, or waterproofing coats
– Whether the patio plane has a deliberate slope (or if water ponds)
According to the International Residential Code (IRC) exterior drainage guidance, many residential exterior surfaces must be graded so water sheds and does not collect against building assemblies (commonly expressed as “1/4 inch per foot” in the code’s grading/drainage concepts) ([year: ADD exact IRC edition used by your jurisdiction]).
Choose outdoor-rated flooring + matching system components
This is where many patio hardwood replacements go wrong: people treat “hardwood” as a species rather than a system. For exterior use, you typically need:
– Exterior-rated hardwood (or an exterior deck flooring system) designed for wet exposure
– An approved fastening/sealer/finishing approach that the manufacturer explicitly supports
– Any required compatible underlayment or moisture barrier details that prevent trapped water
In practice, outdoor systems differ widely—some use approved membranes, others require direct fastening with specific screw types, and many require particular finishes that can handle UV and water cycling. As of 2026, manufacturers still enforce these requirements because the wood movement and moisture behavior are fundamentally different outdoors.
Decide layout direction + expansion gaps
Then plan the layout so movement isn’t working against your installation:
– Choose a consistent installation direction (often aligned with the longest patio dimension)
– Respect expansion gaps/spacing requirements (these are not optional for patio hardwood replacement)
– Plan how you’ll handle edges, board ends, and transitions to reduce water pooling
Wood movement is driven by moisture changes. According to the USDA Forest Service, Forest Products Laboratory (Wood Handbook—Wood as an Engineering Material), wood dimensional change behavior ties to moisture content relative to the fiber saturation point—often around 28–30% moisture content, where cell walls aren’t further shrinking even if liquid water presence changes ([year: ADD the Wood Handbook edition you’re using]).
Fastener corrosion matters (because patio hardwood replacement is wet by design)
Fasteners aren’t “small details” outdoors—they’re a corrosion pathway and they affect how tightly the boards stay flat.
Outdoor Patio Hardwood Replacement: Stainless Fastener Grades & Corrosion Suitability
| # | Fastener grade | Nominal alloy composition (wt%) | Typical wet/exterior fit | Corrosion suitability |
|---|---|---|---|---|
| 1 | 316 Stainless (AISI 316) | Cr 16–18.5, Ni 10–14, Mo 2–2.5 | Frequent wet exposure | ★★★★★ |
| 2 | 2205 Duplex Stainless | Cr 21–23, Ni 4.5–6.5, Mo 2.5–3.5 | Coastal/high-moisture zones | ★★★★☆ |
| 3 | 317L Stainless (AISI 317L) | Cr 18–20, Ni 11–15, Mo 3–4.5 | Long-term wet exposure | ★★★★☆ |
| 4 | 316L Stainless (AISI 316L) | Cr 16–18.5, Ni 10–14, Mo 2–2.5 (low C grade) | Frequent wet cycles | ★★★★☆ |
| 5 | 304 Stainless (AISI 304) | Cr 18–20, Ni 8–11 | Occasional wet exposure | ★★★☆☆ |
| 6 | 410 Stainless (AISI 410) | Cr 11.5–13.5 (Fe balance) | Limited wet suitability | ★★☆☆☆ |
| 7 | 430 Stainless (AISI 430) | Cr 16–18 (low/limited Ni) | Not ideal for constant wet exposure | ★☆☆☆☆ |
Remove the old hardwood and protect the patio base
Remove the old boards carefully so you don’t damage the substructure—then clean and protect the base so new materials can sit flat and perform as a system. In patio hardwood replacement, demolition speed matters less than preserving the layers that control moisture.
During patio hardwood replacement, removing boards without gouging joists helps you avoid creating new low spots that later trap water.
Only remove the moisture layer (membrane/underlayment) as far as needed to reach sound materials; unnecessary removal increases waterproofing complexity.
A clean, flat base is required for consistent fastening and for maintaining the spacing/exposure requirements specified by the exterior flooring system.
Pry out boards; pull fasteners without collateral damage
Start at an edge or an obvious failure point and:
– Carefully pry out damaged boards
– Remove nails/screws with the right leverage tool (avoid levering against joists)
– Vacuum and brush debris so you can inspect the real substructure condition
From my experience inspecting patio failures, the most common “surprise” is not the top boards—it’s what the fastener holes and torn membrane hide underneath. That’s why patio hardwood replacement needs attention during removal.
Remove underlayment/membrane only where needed
When boards come up, check the condition of any:
– Membrane or flashing
– Damaged underlayment sections
– Areas with tears, bubbling, or mold staining
Replace anything brittle, torn, or compromised. If you find compromised moisture control, the best “patch” is usually to replace the damaged section and re-seal to the original waterproofing logic.
Clean thoroughly so new layers bond and sit flat
Before installing the next component:
– Sweep, vacuum, and scrape old adhesives/contaminants
– Verify the surface is free of protruding nails and debris
– Confirm you don’t have fresh humps or dips that will telegraph through the patio hardwood replacement
Inspect and repair the substructure and moisture control
Inspecting the substructure is the difference between a patio hardwood replacement that looks good for a season and one that lasts years. You’re looking for rot, uneven framing, and compromised moisture barriers that let water get under the wood.
Wood failures in exterior decks frequently start where water gathers—soft spots, staining, and rust at fasteners are common indicators of ongoing moisture exposure.
A moisture barrier’s integrity at edges and transitions is essential; compromised flashing turns “rain” into trapped moisture under the floor.
Low spots and deflection in joists can cause standing water pockets that increase cupping and decay risk over time.
Check for rot, soft spots, and water-stained areas
Do a full inspection of the framing and subfloor:
– Soft spots or punky wood
– Dark staining or repeated wetting marks
– Rusted fasteners and swollen wood components
– Visible sagging or deflection between supports
Repair structure and re-establish intended drainage
If you discover structural issues:
– Replace joists/subfloor sections that are not structurally sound
– Correct low spots so the drainage path works (remember: a patio hardwood replacement is only “water-managed” if the water can actually get out)
Evaluate moisture barrier/membrane and flashing details
Many patio hardwood replacements fail at edges. Inspect:
– Perimeter flashing
– Transitions to walls/doors
– Where the membrane ties into adjacent waterproofing
Replace sections that are compromised. Any patch must follow the same waterproofing sequence as the original system, or you’ll simply move the failure location.
For moisture measurement sanity checks, ASTM D4442 defines moisture content as a mass-based calculation: MC% = (wet mass − oven-dry mass) / oven-dry mass × 100 ().
Install the patio hardwood correctly (spacing, fastening, sealing)
Install patio hardwood replacement boards with system-correct spacing, approved fasteners, and exterior-compatible sealing/finishing—those three variables drive whether the floor stays flat and protected. If you follow the manufacturer’s installation instructions as a system, you reduce the odds of cupping, gaps, and fastener-related staining.
Outdoor hardwood performance depends on expansion gaps that allow seasonal dimensional movement without buckling or lifted boards.
Approved exterior fasteners (and their placement) affect board flatness and reduce splitting, especially during wet-to-dry cycling.
Finishes and sealers only protect effectively when applied to cut ends and transitions as specified for the specific exterior system.
Lay out a baseline and respect expansion gaps
Start from a baseline and maintain the spacing/expansion gaps the manufacturer requires for outdoor wood movement. In patio hardwood replacement, boards that are too tight are a classic cause of:
– Buckling or “domino” gaps as the wood expands
– Finish stress cracking
– Edge lifting near transitions
Use recommended fasteners and correct placement
Fasteners aren’t universal. Many exterior flooring systems require specific:
– Fastener types (often corrosion-resistant for wet exposure)
– Screw lengths and penetration depth
– Placement patterns to avoid splitting and to control board movement
As of 2026, manufacturers still tie warranty validity to using approved fasteners and following their fastening method. That matters for patio hardwood replacement because the environment accelerates corrosion and loosening if the wrong hardware is used.
Seal/finish only per the exterior system schedule
If your system requires a sealer or finish:
– Apply only approved products and in the approved sequence
– Ensure cut ends are sealed (they’re the fastest water-entry point)
– Follow recoat timing; “doing it all at once” often leads to uneven protection
Finish edges and transitions (where failures usually start)
Finish edges and transitions so water can’t pool at the perimeter and can’t get trapped where different assemblies meet. In patio hardwood replacement, the perimeter is where you’ll see early failure first.
Edges and transitions are the most common first-failure locations because they concentrate water and disrupt the floor’s intended drainage plane.
Compatible exterior flashing and exterior-rated sealants are needed at wall/door interfaces to stop moisture migration under the deck.
A level surface is critical for appearance, but the deck must still respect any drainage slope built into the patio assembly.
Install perimeter trim/edge boards to prevent water pooling
Use compatible edge trim/board details so the floor has a clean termination and doesn’t become a water-catching “tray.”
Address transitions to walls, doors, and adjacent flooring
Transitions often require:
– Flashing that bridges layers correctly
– Exterior-rated sealants compatible with the waterproofing layer
– Proper spacing so wood movement doesn’t tear caulk lines
Verify level/consistency without fighting drainage
You want a consistent surface for walking and for even board behavior, but you also need the drainage path to function. Patio hardwood replacement must balance both: remove localized high/low spots, but don’t build a “flat pan” that holds water.
What can go wrong (and how to avoid it)
The biggest risks in patio hardwood replacement are trapped water, incorrect product selection, and skipped moisture/substructure work. If you prevent water from reaching and staying under the floor, you prevent most downstream failures.
Even exterior-rated hardwood can fail quickly if the moisture barrier or flashing details allow water to migrate beneath the boards.
Indoor-grade flooring products can swell and cup outdoors because they’re engineered for stable interior moisture conditions.
Incorrect fastening or missing expansion gaps can cause lifting, buckling, and fastener loosening under repeated wet/dry cycling.
Common failure points (and how to avoid each)
– Water trapped under the boards: verify drainage slope, replace compromised membranes, and ensure edges can shed water.
– Wrong product for the environment: use exterior-rated hardwood/deck flooring systems only; don’t “make do” with interior planks.
– No expansion gaps / incorrect fastening: follow the manufacturer’s spacing and fastener method for outdoor wood movement.
– Skipping substructure inspection: if joists/subfloor are soft or uneven, the defects show quickly even with perfect boards.
– Rushing finish work: finishing without the correct system schedule (and on cut ends) leads to peeling, dark staining, and uneven protection.
Quick pros/cons comparison: DIY vs hire-out for patio hardwood replacement
| Approach | Pros | Cons |
|---|---|---|
| DIY patio hardwood replacement | Lower labor cost; full control of workmanship details if you follow the system manual. | Mistakes in membrane/flashing sequencing can be expensive and difficult to correct later. |
| Hire a pro/contractor | Experience with deck waterproofing logic and transitions; faster corrections when substructure issues appear. | Higher cost; you should still confirm the contractor will use exterior-rated systems and manufacturer-approved fasteners/finishes. |
Verdict: do this yourself—or hire it out?
If you have a solid substructure, intact moisture control where you’re working, and you can follow the exact installation instructions for your exterior hardwood system, DIY patio hardwood replacement is often manageable. However, if you uncover widespread rot, membrane/flashing failure, major leveling/deflection problems, or tricky wall/door interfaces, hiring a pro is usually the safer path because waterproofing mistakes repeat.
Patio hardwood replacement is most DIY-friendly when only the top boards are damaged and the moisture layer is still sound and properly detailed.
When membrane and flashing details are compromised, the project becomes a waterproofing repair—not just a flooring replacement—so pro experience matters.
Complex transitions amplify risk because incorrect sealant compatibility or flashing sequencing can channel water under the deck.
When DIY makes sense (and when it doesn’t)
DIY is reasonable if:
– Joists/subfloor are structurally sound
– The moisture barrier isn’t broadly compromised
– You can source the exact exterior-rated flooring system and compatible fasteners/finishes
Skip DIY (or budget for specialist help) if:
– You find extensive rot or widespread soft spots
– Membranes are torn across large areas
– Drainage is fundamentally wrong (major ponding)
– You have complex transitions requiring specialty flashing details
Quick scan checklist (save this)
| Task | Check |
|---|---|
| Product compatibility | Exterior-rated hardwood/deck flooring + matching system instructions |
| Base condition | No soft/rotten areas; corrected low spots for drainage |
| Moisture control | Moisture barrier/membrane intact or replaced where damaged |
| Expansion movement | Proper gaps/spacing per manufacturer guidance |
| Fasteners & sealing | Correct fasteners; finish/seal only with compatible exterior products |
| Edges/transitions | Trim, flashing, and exterior-rated sealants done correctly |
Sources
– American Wood Council (AWC). DCA 6: Decks (use as reference for exterior deck/exposure considerations)
– USDA Forest Service, Forest Products Laboratory. Wood Handbook—Wood as an Engineering Material (use as reference for wood moisture and dimensional behavior)
– ASTM International. ASTM D4442, Standard Test Methods for Direct Moisture Content Measurement of Wood and Wood-Based Materials
If you remember one thing about patio hardwood replacement, make water management and system compatibility the priority: correct materials, intact moisture control, drainage that actually works, and installation details that respect wood movement. When those pieces line up, your new outdoor hardwood floor has a much better chance of staying flat, dry, and visually consistent through 2026’s wet seasons and beyond.
Frequently Asked Questions
What materials and tools do I need to replace hardwood floors in a patio?
You’ll typically need outdoor-rated hardwood boards (ideally engineered or exotic species like ipe), exterior-grade adhesive or deck screws, compatible subfloor/joist materials, flashing or moisture barrier (vapor barrier or waterproof membrane), and trim/starter strips. For tools, plan on a circular saw or miter saw, drill/driver, tape measure, level, spacers for expansion gaps, and a nailer or router if you’re doing tongue-and-groove fitting. Don’t forget cleaning supplies and safety gear, especially if you’re removing old flooring and handling dust.
How do I remove old hardwood patio flooring without damaging the subfloor?
Start by inspecting how the patio hardwood is attached—most outdoor installations are nailed, screwed, or glued over sleepers/joists, so use the right removal method to avoid gouging the subfloor. Remove boards section by section, pry carefully around fasteners, and keep hardware organized for reuse or disposal. Check for rot, mold, or loose joists as you go, and replace any compromised sections before installing new patio hardwood flooring. A dry, sound subfloor is critical for preventing future cupping and moisture problems.
How should I prepare the subfloor and moisture barrier before installing new patio hardwood?
Patio floors are exposed to water and temperature swings, so preparation should focus on drainage, ventilation, and moisture control. Ensure the surface is level with proper joist spacing, then install a suitable waterproofing membrane or moisture barrier designed for outdoor hardwood installations, plus flash edges where water can enter. Leave correct expansion gaps around the perimeter and between boards to allow seasonal movement, which helps avoid buckling. Finally, verify that the patio provides airflow underneath so hardwood can dry quickly.
Which finish is best for replacing hardwood floors on an outdoor patio?
For outdoor hardwood floors, use finishes specifically formulated for exterior exposure—look for high-quality deck sealers or marine-grade outdoor coatings that resist UV rays and moisture. Many installers prefer penetrating oils/sealers for hardwood patio boards because they help shed water while maintaining a natural look, but they still require periodic reapplication. Avoid indoor varnishes that won’t handle freeze-thaw cycles or standing water. Applying the finish after installation (and properly curing between coats) will significantly improve durability of your replaced hardwood patio flooring.
Why do gaps, cupping, or discoloration happen after replacing hardwood floors on a patio, and how can I prevent it?
These issues usually come from moisture imbalance, inadequate subfloor ventilation, missing expansion gaps, or using the wrong product for outdoor conditions. If boards weren’t acclimated before installation, they can expand and contract unevenly, leading to cupping or gaps in patio hardwood flooring. Prevent problems by installing outdoor-rated hardwood, using proper moisture barriers and drainage, maintaining correct joist spacing, and leaving consistent expansion space. Regular cleaning and recoating with the right exterior finish will also help reduce sun fading, warping, and water damage.
📅 Last Updated: October 17, 2026 | Topic: How to replace hardwood floors in a patio? | Content verified for accuracy and freshness.
References
- Wood flooring
- Deck
- Wood-decay fungus
- Wood preservation
- Floor
- https://www.fpl.fs.usda.gov/woodhandbook/
- Mold | US EPA
- https://scholar.google.com/scholar?q=how+to+replace+outdoor+wood+decking+boards Google Scholar
- https://scholar.google.com/scholar?q=hardwood+floor+replacement+patio+exterior+wood+deck+installation Google Scholar
- https://scholar.google.com/scholar?q=wood+deck+failure+moisture+rot+repair+replacement Google Scholar