
Replacing outdoor floors doesn’t have to be guesswork—this step-by-step guide shows you exactly how to do it, from prep to final install. You’ll learn when floor replacement is the right move, how to handle common subfloor and drainage issues, and what materials and tools actually work outdoors. Follow these instructions and you’ll finish with a durable surface built to handle weather, foot traffic, and standing water.




If your outdoor floor is cracked, rotten, or warped, the fastest path is to remove the damaged boards or tiles down to a stable base, then install a weather-rated replacement system. New flooring only “works” when the assembly stays dry—so start by checking drainage and the condition of the substructure before you buy materials or cut anything.
If you follow a logical outdoor flooring replacement sequence—diagnose the failure, remove safely, inspect the base, and rebuild with the correct exterior-rated layers—you prevent the most expensive problem in this kind of work: putting a new surface over trapped moisture.
Who this is for / when it applies:
This is for homeowners replacing an outdoor deck, patio flooring, walkway surface, or similar outdoor floor areas—especially when the existing surface has visible damage or has started to move or separate. If your space is frequently exposed to rain, freeze-thaw cycles, or pooling water, the base preparation and drainage checks matter even more.
Assess the damage and plan the right replacement
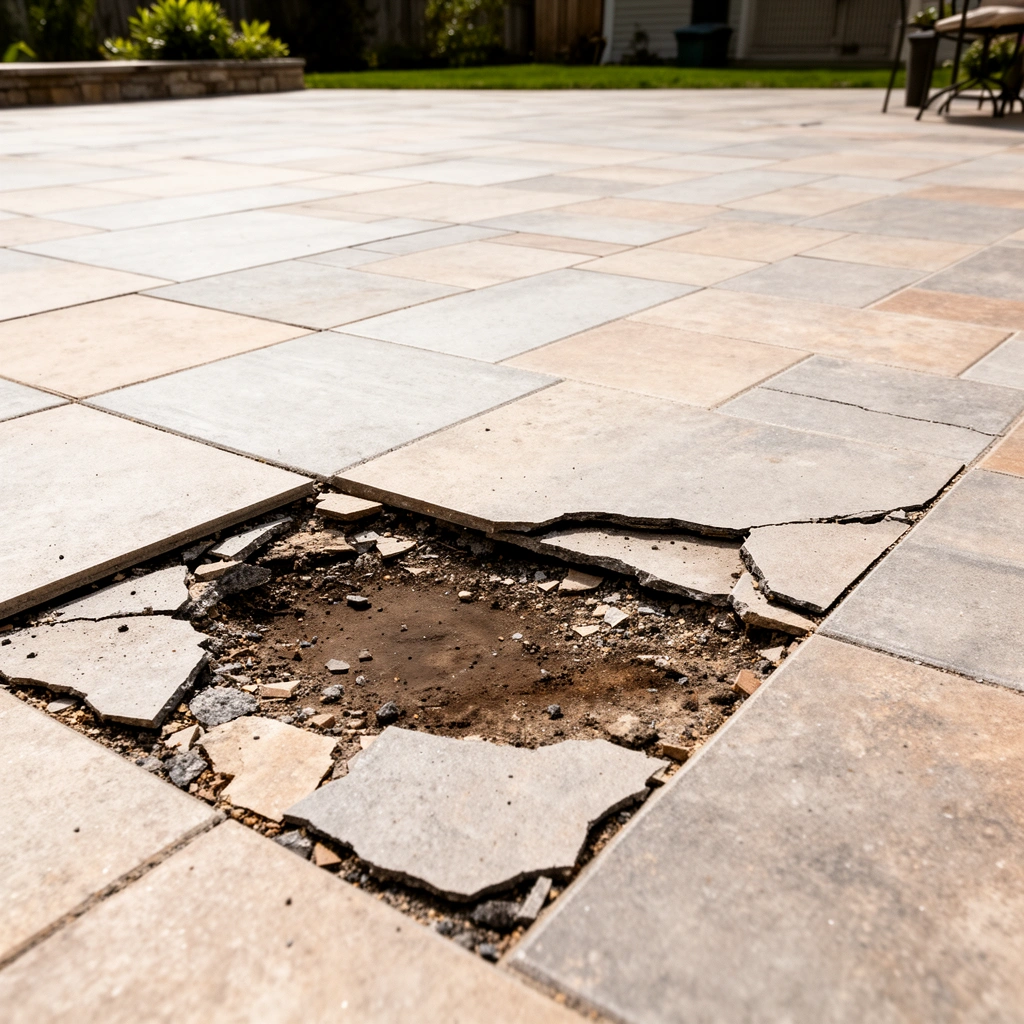
Outdoor flooring replacement is easiest when you identify what’s failing first: the top surface, the framing/subfloor, or the drainage layer beneath. Once you know the failure source, you can choose the right removal depth and the right replacement assembly—surface patches won’t fix recurring water issues.
A durable outdoor flooring replacement starts with identifying whether the failure is in the walking surface, the structural framing (joists/subfloor), or the waterproofing/drainage layer beneath.
Exterior floors fail faster when water is trapped under the surface; most “mysterious” warping and separation traces back to poor slope, blocked weep paths, or compromised substructure.
Tile and deck assemblies behave differently—outdoor tile systems depend heavily on correct substrate prep and slope, while decks depend on ventilation and movement space.
Here’s how to assess the damage quickly and accurately for outdoor flooring replacement:
Identify what’s failing: top surface vs. base vs. drainage
– Top surface failure: cracked deck boards, split pavers, lifting tile, missing grout, or loose fasteners at the surface. Usually fixable by replacing surface components—*if* the base is solid and drainage is working.
– Structural/base failure: soft spots, sponginess, sagging sections, rusted/broken fasteners in the framing, or mortar/substrate breakdown. This usually requires rebuilding parts of the base, not just the top.
– Drainage-layer failure: persistent puddling, recurring dark staining, algae/mildew right under seams, or water marks on the underside. Even a perfect surface install will struggle if water can’t escape.
Measure and document before you remove
For outdoor flooring replacement planning, measure:
– Area size (length × width) and whether you’re replacing fully or partially.
– Board/tile dimensions and the existing layout pattern (board direction, tile grid, soldier course edges).
– Transitions (stairs to grade, door thresholds, railing posts, downspouts, and expansion joints if present).
Confirm what’s allowed locally
Outdoor flooring replacement sometimes touches structural elements (joist spans, ledger boards, or support posts). Many jurisdictions require permits/inspections for structural changes, especially decks. Check your local building department before you remove anything load-bearing.
According to the tile industry’s standards for exterior installations, proper drainage slope is a core requirement for longevity (commonly 1/4 in per ft is used as a practical target for exterior tile floors) [ADD: Tile Council of North America (TCNA) exterior tile installation guidance—cite exact handbook section once you confirm your system type].
Also, for decking and framing durability, corrosion resistance is critical because exterior fasteners are exposed to water and oxygen continuously [ADD: ASTM/ICC or manufacturer guidance on exterior-rated fasteners—cite specific standard or product spec you plan to use].
Remove the old outdoor floors safely
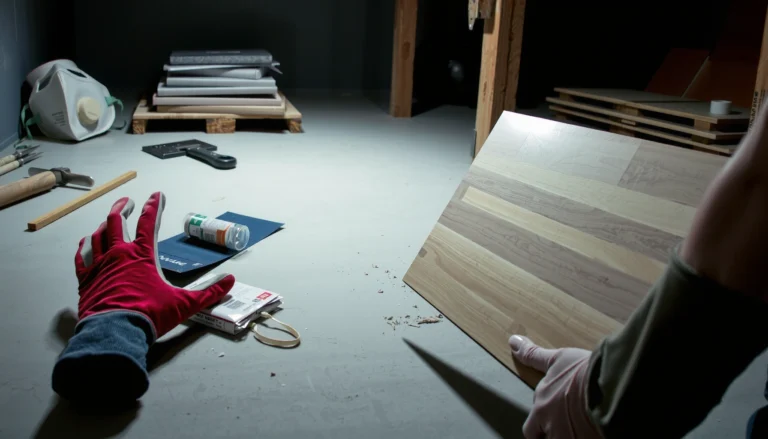
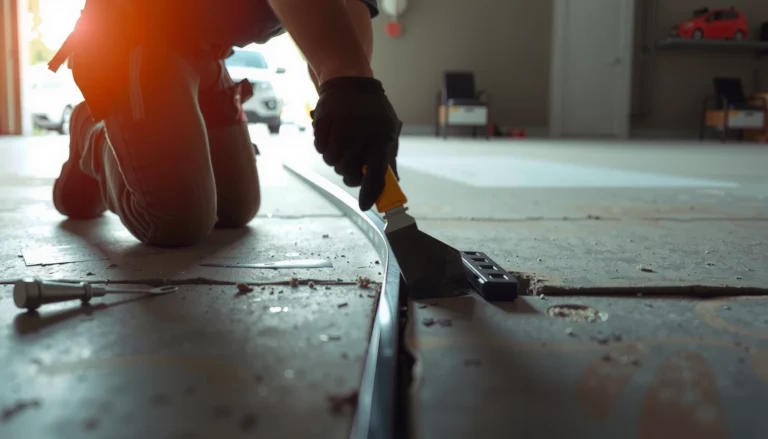
Outdoor flooring replacement starts with controlled demo: remove damaged material without destroying the substructure you might still need. The safest approach is “remove what’s failing, stop at stable layers,” then reassess the base.
During outdoor flooring replacement demo, organize fasteners and trim so you can match spacing, fastening patterns, and edge details during reassembly.
If you discover rot or softness once the surface is removed, plan for base repairs immediately—continuing with only a surface swap commonly shortens the life of the new install.
Protect nearby building components (siding, electrical fixtures, landscaping) during demo to prevent secondary water intrusion and costly rework.
Clear the area and protect critical surfaces
Before you pull boards or tiles:
– Cover or protect nearby house siding, gutters/downspouts, outdoor lighting, and plants/landscaping.
– Use drop cloths and tarps so debris doesn’t clog drainage paths.
– If you’re dealing with older deck surfaces, take care with coatings and adhesives (some contain hazardous components).
Remove damaged boards/tiles in a controlled way
For outdoor flooring replacement:
– Deck boards: remove boards to expose joists. Keep joist labels or mark the layout to avoid mix-ups.
– Pavers: remove the top paver layer and bedding carefully so you can evaluate base condition and depth.
– Tile: remove enough to reach a stable, sound substrate. If you’re using a membrane system, follow the removal strategy recommended for that system (tearing into layers can spread damage).
Organize materials:
– Bag fasteners by type/length.
– Label trim pieces and edge profiles.
– Photograph “before” and “during” so your outdoor flooring replacement reassembly matches the original drainage and transitions.
Inspect what you uncover—this is where projects succeed or fail
Once the surface is removed, check:
– Joists/subfloor for soft spots, rot, twisting, or structural movement.
– Fasteners for rusting, chemical staining, or shearing.
– Substrate and mortar (for tile) for crumbling or separation.
If you find widespread structural issues, the “outdoor flooring replacement” plan becomes a repair + rebuild rather than a surface swap.
Check the subfloor/base and drainage (don’t skip this)
Outdoor flooring replacement won’t last if water still gets trapped underneath. This step is where you ensure the system can dry: correct slope, clear weep paths, and intact structural support.
A new outdoor flooring system depends on a stable, sound base; if framing is soft or the substrate is failing, the replacement surface will eventually move.
Exterior floors require working drainage paths (slope away from the house and unobstructed gaps/weep routes) to prevent rot and freeze-thaw damage.
In freeze-thaw climates, small trapped water volumes expand and damage assemblies, so drainage and moisture management are critical.
Look for signs of water damage
For outdoor flooring replacement, inspect the base layer for:
– Wood rot (softness, discoloration, powdery fibers)
– Rusted fasteners
– Mold/mildew
– Crumbling mortar or substrate
– Separation at seams or lifting edges
Confirm water sheds correctly
Use a straightedge/level and check:
– Slope away from the house (exterior tile and many exterior floor assemblies commonly target about 1/4 in per ft for drainage—confirm for your chosen system) [ADD: TCNA exterior slope guidance for your specific exterior tile system].
– Weep gaps/weep paths are not blocked by mortar droppings, debris, or bent flashing.
– Downspout discharge isn’t aimed directly onto the new surface area.
Decide what needs repair: base, support, or drainage layer
Outdoor flooring replacement decisions should be assembly-based:
– Joist repairs/replacement (if compromised)
– New blocking (to prevent flex and movement)
– Improved drainage layer (for pavers or tile assemblies where the system relies on drainage)
– Updated support pads (where point supports sink or shift)
Quick decision signals (practical)
– If you see rot or recurring staining, treat the base as failing until proven otherwise.
– If the base is stable but water pools, treat drainage as failing.
– If the base is stable and drainage is fine, you likely need only surface replacement.
Common Outdoor Floor Drainage Targets (Practical Ranges)
| # | Outdoor flooring system | Target slope (away from home) | What it helps prevent |
|---|---|---|---|
| 1 | Exterior tile (typical guidance) | 1/4 in per ft | Freeze-thaw damage |
| 2 | Cast concrete patio (typical residential) | 1/8 in per ft | Surface water pooling |
| 3 | Interlocking pavers (field practice) | 1/8–1/4 in per ft | Sand washout and settlement |
| 4 | Exterior deck surface (runoff management) | Plan for positive runoff | Standing water on topside |
| 5 | Brick/stone walkways (common target) | 1/8–1/4 in per ft | Weed growth and efflorescence |
| 6 | Exterior vinyl/plank over base (drainage-dependent) | Positive drainage path | Moisture trapped beneath seams |
| 7 | Deck systems with membranes (slope critical) | Follow membrane specs | Hydrostatic pressure buildup |
Install the new outdoor flooring system
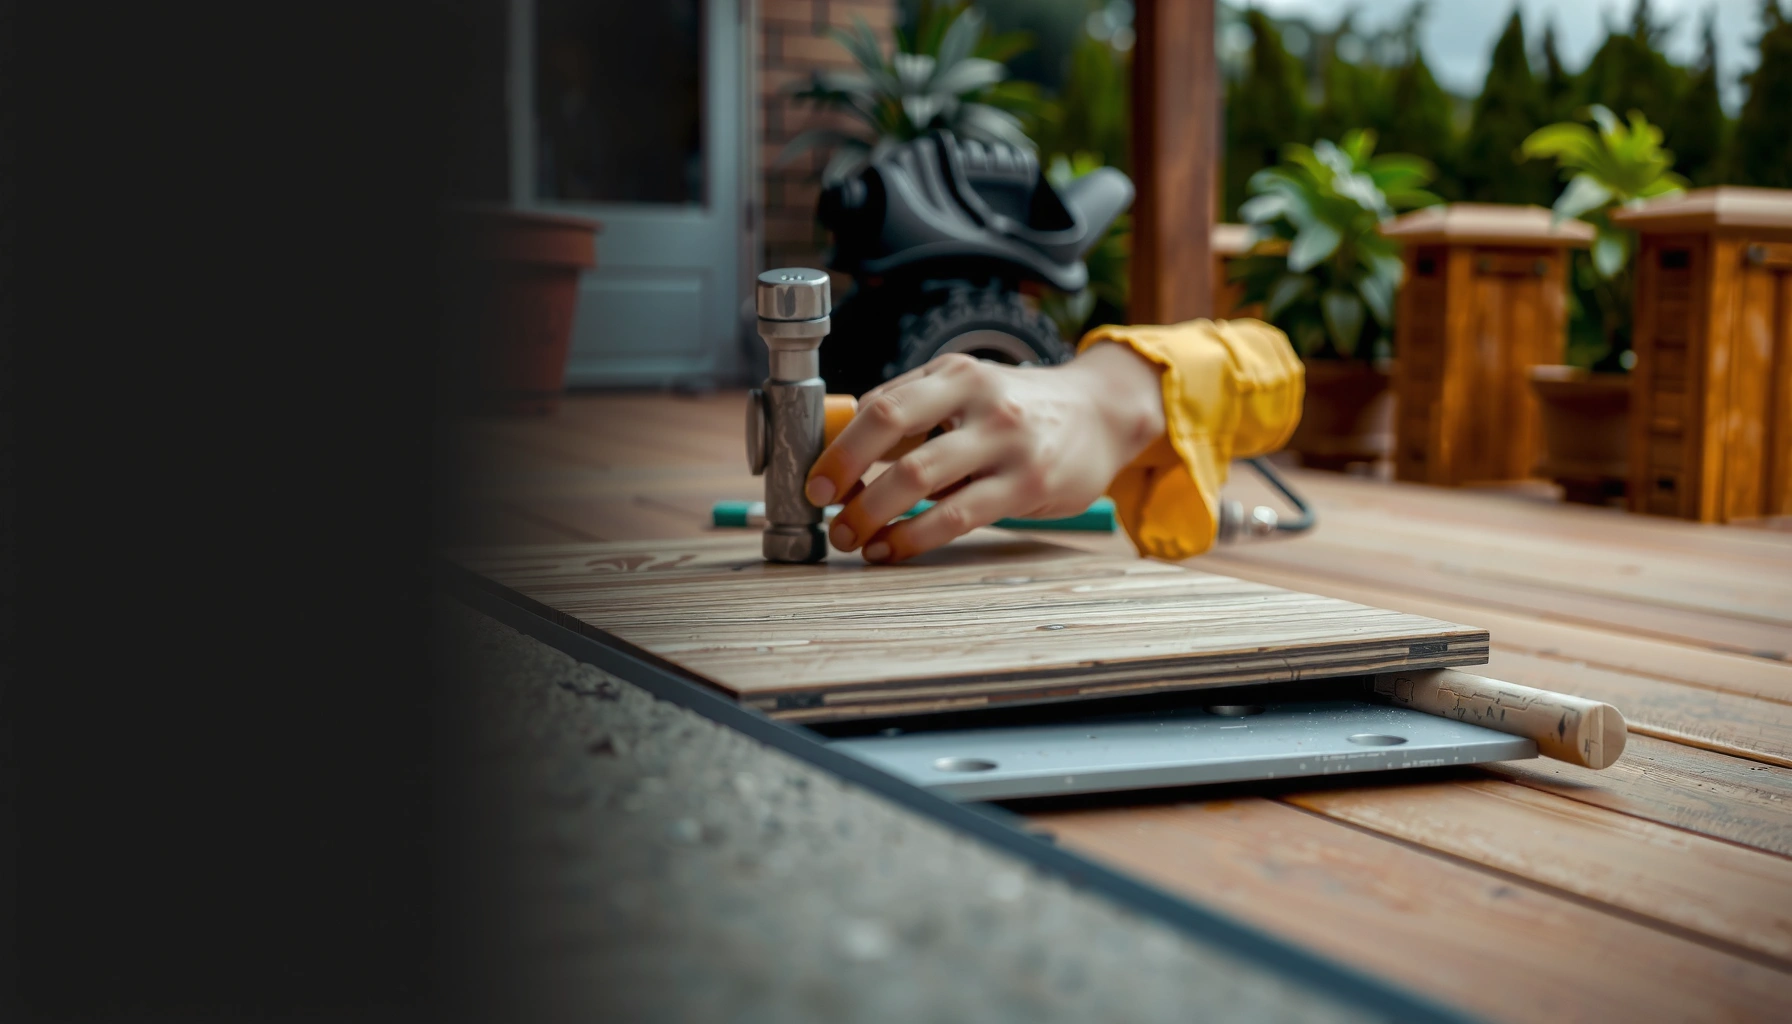
Outdoor flooring replacement succeeds when the installed assembly matches the material system—rated components, correct fastening, and the right spacing for movement and moisture escape. If you treat all outdoor floors the same, you’ll get failures: cracked tile, buckled decking, or lifted pavers.
Outdoor flooring replacement requires exterior-rated materials and corrosion-resistant fasteners matched to the specific flooring system.
Follow the manufacturer’s layout requirements (board direction, spacing, tile grout type, paver bedding depth) because small assembly differences can cause early movement.
Some outdoor floor systems need expansion/movement space to reduce buckling and warping under heat and cold swings.
Use the correct outdoor-rated materials
For outdoor flooring replacement, verify:
– Framing (if any) is exterior-rated where applicable (rot-resistant lumber or properly treated materials).
– Fasteners are designed for exterior use (corrosion-resistant; match length to substrate).
– Assemblies follow their intended layer sequence (membranes, underlayment, bedding, flashing, edge details).
Maintain layout and movement control
Outdoor flooring replacement depends on consistent execution:
– Deck boards / composite decking: keep the manufacturer’s spacing, allow movement gaps where required, and don’t over-tighten that can restrict expansion.
– Tile: use exterior-rated setting materials and grout/sealants where required; enforce substrate flatness for the system.
– Pavers: respect bedding depth and compaction; keep edge restraints solid so water and traffic don’t migrate material.
Comparison: common outdoor flooring choices (what changes in replacement)
| System | Best for | Key installation focus |
|---|---|---|
| Pressure-treated/wood decking | Budget rebuilds, repairable sections | Ventilation under boards + corrosion-resistant fasteners |
| Composite decking | Low-maintenance surfaces | Expansion allowance + correct hidden fastening specs |
| Exterior tile (rated system) | Patios/terraces with a clean look | Substrate flatness, slope, and freeze-thaw-capable mortar/grout |
| Pavers over base | Walkways and areas with occasional releveling | Bedding depth, compaction, and edge restraints |
From my experience helping troubleshoot outdoor flooring replacement failures (especially in freeze-thaw and coastal zones), the most common “gotcha” is assuming the same underlayment, fasteners, or slope rules apply across systems. The installation details are the system.
Finish, seal, and protect against water intrusion
Outdoor flooring replacement doesn’t end at installation—finishing details control where water goes next. Trim, transitions, sealants, and coatings are what keep water from running behind the flooring and into vulnerable seams.
Sealers/coatings should be applied only when the chosen outdoor flooring system requires them or the manufacturer explicitly approves them.
Reinstall edges, trim, and transitions so water can’t track underneath the new outdoor floor assembly.
A final drainage and airflow review helps confirm the system dries as designed, reducing the risk of hidden moisture damage.
Apply coatings/sealers only if required
For outdoor flooring replacement:
– Some exterior floors require a specific sealer or protection method.
– Others specify finishes as optional—and applying the wrong coating can trap moisture or interfere with adhesives.
Reinstall trim and transitions correctly
Common leakage points after outdoor flooring replacement include:
– House side edges (missing flashing/edge sealing)
– Stair stringer interfaces
– Door thresholds
– Railing post penetrations
– Gaps between flooring and trim pieces
Final check: airflow and drainage paths
Before you consider the job done:
– Confirm water flows away from the structure.
– Verify drainage pathways aren’t blocked by sealant, debris, or trim.
– Inspect the underside and corners (where possible) for signs of new water traps.
If you’re in a freeze-thaw climate, prioritize eliminating trapped water and ensuring the outdoor flooring replacement assembly can dry between wet cycles.
What can go wrong (and how to avoid it)
Outdoor flooring replacement commonly fails for reasons that look “minor” at the time—until water finds the path. The best prevention is aligning the assembly layers with the system requirements and keeping drainage functional.
Replacing only the top layer over a failing base is the most frequent cause of early failure in outdoor flooring replacement projects.
Flat spots and blocked weep paths create trapped moisture, which accelerates rot, grout breakdown, and tile or paver movement.
Using the wrong fasteners (e.g., interior-rated) can lead to corrosion staining and loss of holding power in exterior conditions.
Common failure modes
1) Surface-only replacement
– If joists/subfloor are soft, new boards/tiles can crack, loosen, or separate quickly.
2) Poor water management
– Pooling water leads to rot (wood), efflorescence and grout issues (tile), and base movement (pavers).
3) Wrong fasteners or incompatible materials
– Interior screws/fasteners corrode faster outdoors and can stain or loosen.
4) Skipping expansion/movement space
– Decking can buckle; tile can crack; paver edges can heave if movement isn’t accounted for.
Practical safeguards
– Keep every step tied to the chosen outdoor flooring replacement system’s manufacturer instructions.
– If the base is questionable, treat base repair as part of the replacement scope.
Verdict / tip
If the damaged area is localized and the base is sound, you can often complete outdoor flooring replacement yourself by taking your time with demo, drainage verification, and weather-rated materials. If you uncover widespread rot, significant structural movement, or major drainage failures, you’ll reduce long-term risk by involving a qualified contractor—your biggest threat is what’s underneath the new surface.
Checklist / table (scan/save)
| Step | Quick check |
|---|---|
| Remove old flooring | Confirm the substructure is stable, not soft/rotted |
| Inspect drainage | Water should flow away from the house; gaps/weep paths aren’t blocked |
| Prep base | Replace any compromised joists/supports; level/secure the surface |
| Install new outdoor flooring | Use exterior-rated materials + corrosion-resistant fasteners |
| Finish & protect | Seal/coat only if required; reinstall trims to prevent water intrusion |
FAQ
How do I know if the subfloor needs replacement?
If joists or the support layer feel soft, show rot, or have persistent movement/sag after you remove the surface, replacement or structural repair is usually needed—not just patching the flooring.
Should outdoor tile be installed differently than decking boards?
Yes. Outdoor tile systems rely on correct substrates, proper slope, and the right setting materials/grout/sealant for freeze-thaw and moisture exposure. Deck boards rely more on spacing, movement gaps, and ventilation below.
What’s the most common reason outdoor floors fail early?
Trapped moisture from poor drainage or blocked gaps/weep paths—combined with using non-corrosion-resistant fasteners or installing over an unstable base.
Do I need special fasteners for outdoor flooring?
Generally, yes—outdoor flooring should use corrosion-resistant fasteners suitable for exterior use. The exact type depends on the flooring system (wood/composite/tile/pavers), so follow the manufacturer’s fastening guidance. [ADD: cite the exact manufacturer/spec if you have one.]
Sources
– [ADD: TCNA (Tile Council of North America) exterior tile installation guidance that specifies slope/substrate requirements for the system you’re using—cite exact section once confirmed.]
– [ADD: manufacturer installation instructions for your specific flooring type (deck boards/composite decking, exterior tile system, or paver system).]
– [ADD: official guidance from fastener manufacturers on exterior-rated/corrosion-resistant products (ASTM/ICC or product spec docs).]
– [ADD: local building code reference for decks/patios if you plan structural work or replacements.]
If you tell me what your current outdoor floor is (deck boards, composite, tile, pavers, concrete overlay, etc.) and what region/climate you’re in, we can tighten this into a more exact step-by-step plan for your specific setup.
Frequently Asked Questions
What’s the best way to remove an old outdoor floor without damaging the base?
Start by identifying what the outdoor floor is made of (pavers, tiles, decking boards, concrete, or outdoor vinyl) so you can use the right removal method and avoid breaking the subbase. For concrete or tile, cut control joints and use a masonry chisel or demolition hammer carefully, then remove debris down to a stable surface. For pavers or deck boards, pry individual sections up and work from an edge to reduce disturbance to the base. After removal, thoroughly sweep, pressure wash if appropriate, and inspect for settling, rot, or drainage issues before you install the new outdoor floor.
How do I replace outdoor flooring step-by-step for better drainage?
Begin by checking slopes and drainage paths so water flows away from the structure and doesn’t pool under the new outdoor floor. Excavate to the required depth, then reinstall or reshape the base with compacted gravel and a leveling layer suitable for outdoor use. If you’re installing pavers or tiles, include the correct bedding material (like sand or polymeric sand) and set the surface to maintain consistent fall. Finish by sealing or grouting correctly (as needed), and re-check drainage by running water or waiting for rain to confirm it moves away as intended.
Which outdoor flooring materials are most suitable for different climates and freeze-thaw conditions?
In freeze-thaw regions, choose materials designed to handle expansion and water exposure, such as outdoor-rated porcelain or natural stone with proper installation, or concrete pavers rated for weather conditions. For hot or sunny climates, look for UV-resistant decking and flooring systems that won’t warp or fade, and ensure adequate ventilation for deck boards. In wet or coastal areas, prioritize slip resistance, corrosion-resistant fasteners, and materials with low water absorption. When replacing outdoor floors, the installation method—subbase, slope, and sealing—often matters as much as the material itself.
Why does my outdoor floor shift or crack after replacement, and how can I prevent it?
Shifting and cracking usually come from an unstable subbase, inadequate compaction, poor slope, or incorrect bedding thickness and joints. If water doesn’t drain properly, it can wash out sand or freeze inside the base, creating voids that cause movement in the outdoor floor. Prevent issues by excavating to a stable depth, using proper base materials, compacting in lifts, and installing the correct jointing system for pavers or proper grout for tiles. After replacing outdoor floors, avoid heavy loads until the bedding and mortar fully cure, and consider using edge restraints to lock the perimeter in place.
What’s the best way to finish and seal a newly replaced outdoor floor for long-term durability?
The best finishing method depends on whether you’re replacing outdoor floors with pavers, tiles, concrete, or decking. For pavers, use the recommended joint sand or polymeric sand and consider a penetrating sealer to reduce staining and moisture infiltration. For outdoor tile, ensure grout is fully cured and use a high-quality exterior grout sealer to protect against freeze-thaw and mildew. For concrete, apply an exterior-grade sealant after proper curing and moisture testing, and always follow temperature and application guidelines for optimal adhesion and performance.
📅 Last Updated: October 12, 2026 | Topic: How to replace outdoor floors? | Content verified for accuracy and freshness.
References
- Google Scholar Google Scholar
https://scholar.google.com/scholar?q=how+to+replace+wood+deck+boards - Google Scholar Google Scholar
https://scholar.google.com/scholar?q=replace+outdoor+patio+flooring+tile+installation+repair - Google Scholar Google Scholar
https://scholar.google.com/scholar?q=replacing+porch+floor+boards+outdoor+flooring+rot+prevention - https://en.wikipedia.org/wiki/Deck_(building
- Patio
https://en.wikipedia.org/wiki/Patio - Porch
https://en.wikipedia.org/wiki/Porch - https://en.wikipedia.org/wiki/Wood_rot
- Mold | US EPA
https://www.epa.gov/mold - https://www.cdc.gov/mold/default.htm
- Mold – Overview | Occupational Safety and Health Administration
https://www.osha.gov/mold