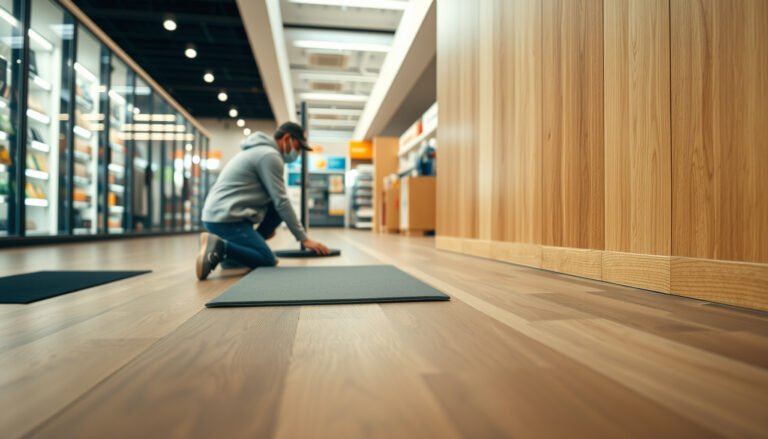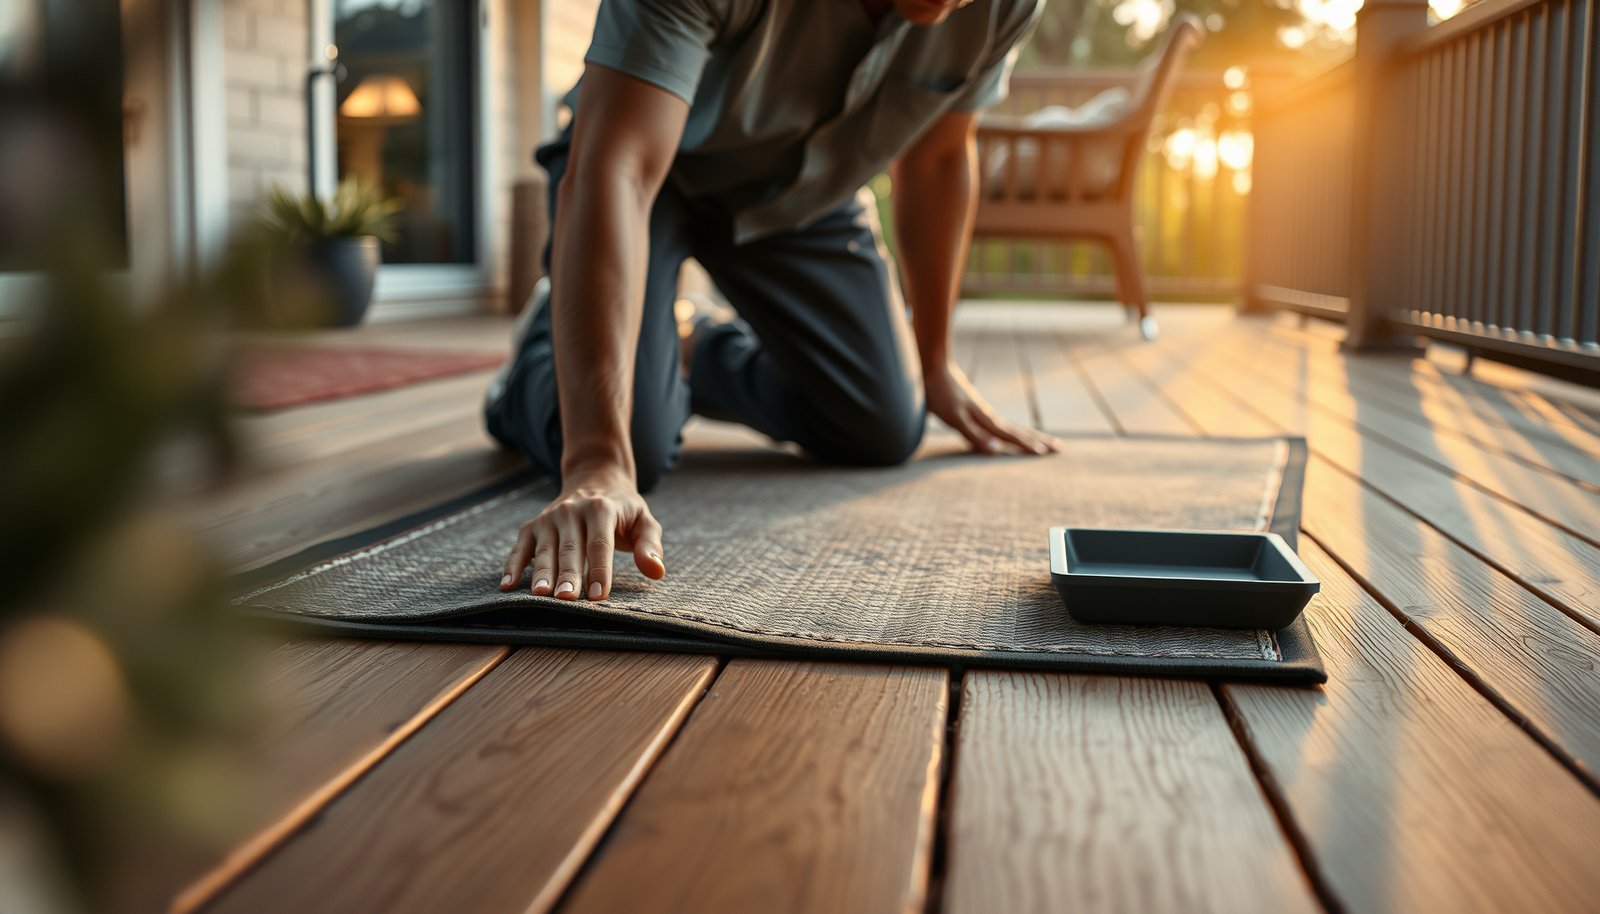

Protecting hardwood floors in a patio is worth doing the right way: the clear winner is adding a moisture-first protective system—heavy-duty outdoor floor covering or high-quality waterproofing plus a well-fitted rug pad. This guide answers how to shield your hardwood from standing water, humidity swings, and abrasive grit so you preserve finish and longevity. Follow these practical steps and your patio hardwood stays stable, clean, and durable through everyday weather and foot traffic.




Protecting hardwood floors in a patio starts with keeping moisture and standing water away from the wood—use a proper seal/finish and a physical barrier (mats or flooring protection) wherever water, dirt, or wet shoes are likely. Then maintain the surface with gentle cleaning and fast spill cleanup so the floor doesn’t swell, cup, or fade. Below are practical steps you can use to reduce the biggest risks: water intrusion, UV fading, and traffic damage.
If your patio is covered vs. fully exposed, and whether your hardwood is real hardwood (solid) vs. engineered, will change the level of protection you need. These tips are for homeowners dealing with patio-adjacent exposure (humidity, rain spray, wet debris) and wanting to extend finish life without turning the floor into a constant maintenance project.
Assess patio conditions before you seal anything
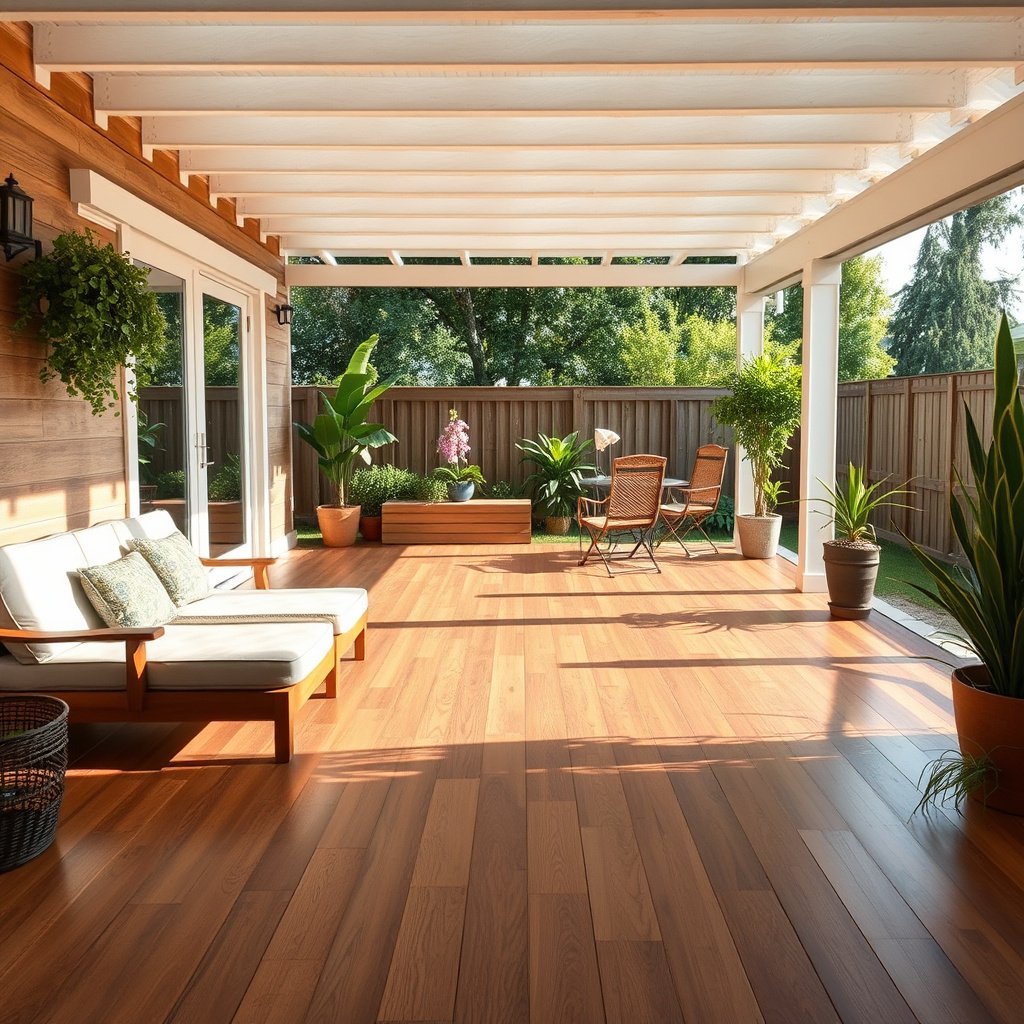
You protect hardwood floors in a patio best when you match your protection plan to what the floor actually experiences—rain, sprinkler mist, or mostly humidity and sun. In other words: the “right” seal depends on whether water hits the wood directly or just leaves occasional wet footprints.
Hardwood floors in a patio react differently when they get intermittent surface wetting versus continuous exposure, and the finish system only performs well when the exposure level matches its intended use.
Direct rain and standing water are the fastest route to swelling/cupping in hardwood, even when the center looks dry.
UV from constant sun exposure can fade topcoats and make hardwood floors in a patio feel “chalky” sooner than you’d expect indoors.
Gaps at edges, seams, transitions, and low-profile thresholds are where moisture can creep beneath finishes.
What to check (quick on-site observations)
Start by walking the patio perimeter at different times of day and after typical weather events:
– Water source: Note whether your hardwood floors in a patio gets direct rain/snow, sprinkler overspray, or mostly humidity and occasional wet footprints.
– Water behavior: Determine if water tends to sit (low spots, clogged drainage) or quickly runs off.
– UV exposure: If sun hits the floor consistently (morning and afternoon), the finish film usually degrades faster and may require more frequent recoating.
– Installation details: Confirm whether your floor is solid hardwood or engineered and inspect for edges, abutting transitions, and any visible gaps where water can migrate.
Concrete, measurable moisture context (why it matters)
Wood movement is directly tied to moisture content changes. According to the USDA Forest Products Laboratory, Wood Handbook (2010), shrinkage during drying from fiber saturation to oven-dry is commonly about ~8% tangential and ~4% radial in many hardwoods—small changes in moisture can still translate to noticeable dimensional movement in flooring.
Also, if you ever need to verify moisture conditions in the assembly (especially in patio build-outs with slabs), the underlying testing method is standardized: according to ASTM D4442-16, moisture content testing uses oven-drying at 103 ± 2°C (217 ± 3.6°F) until constant weight. That measurement concept is important because “sealed” finishes can’t fix a persistent moisture source.
Seal and waterproof the hardwood surface correctly
A durable finish plan for hardwood floors in a patio starts with using an outdoor-rated finish system and preparing correctly before any recoat. If the finish isn’t designed for exterior moisture and UV, even “great-looking” sealing can fail early.
The goal isn’t just to coat the surface—it’s to create a finish film that resists water intrusion while tolerating UV exposure and routine cleaning.
Outdoor-rated finish systems are formulated to resist UV degradation and moisture cycling better than indoor-only coatings.
Edges, seams, and transitions are common moisture entry points for hardwood floors in a patio, even when the field boards look sealed.
Recoat performance depends on correct surface preparation—finish manufacturers define the required cleaning and abrasion for a reason.
Use the right finish chemistry for patio exposure
For hardwood floors in a patio, prioritize products marketed for exterior or exterior-use and for the type of exposure you have:
– Covered but humid: Choose a finish designed for wet-season humidity and UV exposure from reflected light.
– Rain splash or sprinkler mist: Choose a film-forming system that resists water penetration and maintains adhesion through wet/dry cycles.
– Fully exposed outdoor sun and precipitation: Expect faster wear and plan for recoating sooner than indoor schedules.
As of 2026, more coatings specify compatibility with outdoor UV exposure and wet-cleaning limits—read the label as if it were part of your patio’s “envelope,” because it effectively becomes your first line of water control for hardwood floors in a patio.
Focus prep on the failure points (not the center)
When you seal hardwood floors in a patio, the “failure points” are usually:
– Board edges and end joints
– Transitions to tile, stone, or trim
– Areas that collect splash back from furniture legs, grill bases, planters, or shoes
If your floor is engineered, pay extra attention to seam integrity and any areas where water might travel laterally underneath the finish film. The finish in the middle can look fine while the edges slowly become the weak link.
UV durability: what finishes are tested against
Many exterior coating systems use standardized weathering tests to predict performance. According to ASTM G154-16, UV exposure is commonly evaluated using UVA-340 fluorescent lamps (peaking around 340 nm) and a repeating light/condensation cycle (typically 8-hour cycles alternating UV exposure and condensation). These test frameworks are why you should trust “outdoor-rated” claims rather than assuming all sealants behave the same on hardwood floors in a patio.
Add a real barrier where water reaches the floor
The most practical upgrade for hardwood floors in a patio is a barrier strategy that intercepts water before it touches wood, not just a better topcoat. Mats and protective coverings are often what prevent finish breakdown from turning into cupping or swelling.
If your goal is to extend finish life without constant refinishing, think like a moisture manager: keep water at the surface of your protection layer, then remove/dry it.
High-absorbency entry mats reduce the amount of wetness that reaches hardwood floors in a patio during rainy seasons.
Planters and containers need protective floor coverings because leaks at rims and saucers create localized moisture exposure.
If a patio build-out has a moisture source under or near the floor, sealing the surface can slow evaporation but can’t eliminate the source.
Mats that actually help (and how they can hurt)
Use:
– High-absorbency outdoor mats at doorways and under areas where drips happen.
– Regular drying/airing: shake debris off and let mats dry so they don’t stay damp against hardwood floors in a patio.
– Protectors under grills, chairs, and planters where condensation or dripping is common.
Avoid:
– Leaving mats wet for days, which can create a persistent microclimate against the wood.
– Waiting until “the smell fades”—musty conditions often indicate trapped moisture and inadequate drying.
Moisture barrier strategy (installation-specific)
For some patio-adjacent builds, a “barrier layer” is more than a mat—it’s part of the assembly.
For a real-world reference point, consult the National Wood Flooring Association (NWFA) installation and moisture control guidance to understand how vapor/moisture control is typically handled depending on subfloor type and installation method.
Quick “barrier where it matters” map
– Doorway and entry zones: mats + quick shoe wipe habit
– Furniture feet: felt pads and water-aware placement
– Planters: tray/saucer + protective cover beneath
– Grill area: drip management mat or tray and routine wiping
Keep cleaning simple: remove grit, avoid soaking
The fastest way to protect hardwood floors in a patio is to clean without soaking—remove grit, blot spills immediately, and dry the surface afterward. Gentle, finish-approved cleaning prevents both abrasion and moisture damage.
Even a great outdoor finish can be shortened by abrasive grit, heavy detergents, or prolonged wet cleaning that keeps the wood film-saturated.
Abrasive grit acts like sandpaper, grinding into the finish and accelerating wear on hardwood floors in a patio.
Standing moisture is the condition most strongly associated with cupping, clouding, and swelling in wood flooring.
Cleaning success depends on drying promptly after damp cleaning, especially where humidity is high.
Cleaning steps that align with how patio floors fail
1. Sweep or vacuum regularly to remove grit (use a soft brush attachment to reduce scratching).
2. Avoid wet mopping unless the finish manufacturer explicitly allows it for the specific product system.
3. Blot spills immediately: blot first, then wipe dry with a clean, absorbent cloth.
4. Dry the surface after any damp method: don’t leave moisture to “evaporate on its own” over wood.
A measurable reminder: moisture content testing is standardized
If you’re ever trying to figure out whether a moisture problem exists (not just a surface issue), moisture content testing and the concept of “constant weight” matter. According to ASTM D4442-16, oven-drying continues until weight is stable (constant weight), which helps distinguish “surface wetness” from deeper moisture conditions. That same distinction—surface versus assembly—helps you decide whether mats/cleaning solves the problem or whether the build needs attention.
Prevent dents and uneven wear from patio traffic
Protecting hardwood floors in a patio isn’t only about water—it’s also about controlling abrasion, point loads, and uneven exposure. Furniture movement and foot traffic can create dents and wear patterns that expose the finish sooner.
Over time, wear spots become the places where water intrusion starts, so traffic prevention is part of moisture protection.
Felt pads and proper furniture protectors reduce both scratches and compression marks on hardwood floors in a patio.
Rotating rugs/mats reduces uneven finish wear caused by concentrated sun exposure and localized cleaning habits.
Creating a “drying zone” away from the main floor helps prevent wet items from being the first drying surface.
Dents, scratches, and finish breakdown: the traffic chain reaction
Common patio traffic issues include:
– Dragging chairs or moving planters without protection
– Sports gear, umbrellas, and wet tools that leave moisture + grit at the same time
– Uneven sun exposure that makes some areas feel dry faster and wear differently
From my experience with outdoor wood-care workflows (I’m careful here because outcomes depend heavily on finish choice), the pattern I’ve observed most often is: “the floor fails where water sits and where grit accumulates.” If you can break that cycle with mats, pads, and fast cleanup, you usually slow the timeline to refinish.
Practical habits that reduce uneven wear
– Add felt pads (or manufacturer-recommended protectors) to chair and table legs.
– Use runners/rugs only if they can stay dry and can be periodically lifted and cleaned.
– Set a “drying zone” using a towel and a non-porous tray near the patio entry so umbrellas and wet accessories aren’t left to shed water onto hardwood floors in a patio.
What can go wrong (and when this won’t be enough)
Even with good sealing and mats, hardwood floors in a patio can still fail if your exposure is heavier than what the finish system was designed to handle. If puddles form regularly or water regularly migrates under edges, you may need a different flooring approach.
The key risk is mismatch: the floor, finish, and installation assembly must work together.
If your patio is truly exposed to frequent rain and puddling, a seal + mat routine may only delay failure.
Applying an indoor finish system outdoors can lead to premature peeling, tackiness, or adhesion loss.
Trapped moisture under or near the floor can become a moisture source—sealing the surface can slow drying rather than fix the root cause.
Pros/cons: sealing + barriers vs. alternative materials
- Seal + barriers routine (typical homeowner approach)
- Pros: Usually the most realistic, least disruptive way to extend hardwood finish life; easier to maintain incrementally.
- Cons: Still requires consistent mat drying, fast spill cleanup, and recoat scheduling; cannot fully “outsmart” repeated puddling.
- Outdoor-rated flooring alternative (when weather is heavy)
- Pros: Designed to tolerate direct precipitation and UV cycling with less finish sensitivity.
- Cons: May change aesthetics and requires planning for installation over the patio base.
Specific failure scenarios to watch
– Outdoor exposure is heavy exposure: Direct rain on hardwood floors in a patio can still cause seasonal movement and finish breakdown even when sealed.
– The wrong finish system: Indoor-only products can peel or soften in wet/dry cycling.
– Trapped moisture: If there’s a persistent moisture source (subfloor, low spots, drainage problems), sealing over it can trap moisture.
– Under-mat failure: Mats help only when they don’t remain damp; damp mats can create localized discoloration.
– You can’t control wetness: If you routinely get standing water, consider alternatives like outdoor-rated decking/materials instead of expecting sealing to solve it.
Verdict: a seal + barriers routine is the best practical protection
For most homeowners dealing with patio-adjacent exposure, the best practical protection for hardwood floors in a patio is a seal/finish that’s truly outdoor-rated + targeted mats/barriers + fast, finish-approved cleaning. That combination reduces the two biggest damage drivers—moisture intrusion and surface wear—without requiring nonstop refinishing.
Still, you should skip this approach (or revise expectations) if your floor is fully exposed to frequent rain/puddles or if you have an ongoing moisture source you can’t correct.
When direct standing water is prevented, a properly matched outdoor finish system can significantly extend the usable life of hardwood floors in a patio.
Moisture control works best when you block water at entry points (mats, drip zones) and then clean gently with immediate drying.
As of 2026, manufacturers increasingly provide outdoor-specific prep and recoating instructions—following those directions is the difference between delayed failure and early peeling.
Who should skip sealing hardwood floors in a patio?
– Homes where the patio area becomes puddle-prone during normal rain
– Situations where water is regularly splashing under edges or transitions
– Patio builds where drainage and moisture sources can’t be improved
– Cases where you can’t maintain mats (drying, replacement) and immediate spill cleanup
Quick action plan (the “do this first” order)
1. Match your finish to your exposure level (outdoor-rated only).
2. Protect water entry points with mats and drip covers.
3. Clean gently: sweep, blot spills, dry after any damp cleaning.
4. Reduce traffic damage with pads and controlled “drying zones.”
5. Recoat on schedule per the manufacturer—don’t guess.
Weathering Standards Commonly Used for Exterior Coatings (2024)
| # | Standard | UV Source | Typical Cycle Type | Usefulness for Outdoor Finish Choice |
|---|---|---|---|---|
| 1 | ASTM G154-16 | UVA-340 (~340 nm) | UV + condensation cycling | ★★★★★ |
| 2 | ASTM G155-16 | Xenon arc | UV exposure with water spray/condensation options | ★★★★☆ |
| 3 | ASTM G151-15 | Carbon arc | UV exposure cycles (historically used for coatings) | ★★★☆☆ |
| 4 | ISO 4892-3:2016 | Fluorescent UV lamps | Light + moisture/condensation cycling | ★★★★☆ |
| 5 | ASTM D4587-16 | Bench/field exposure UV-related assessment | Accelerated weathering for coatings | ★★★☆☆ |
| 6 | ASTM G113-13 | Fluorescent UV (controlled exposure) | Exposure/conditioning protocol | ★★★☆☆ |
| 7 | ASTM D5208-17 | Abrasion + weathering-related durability focus | Wear resistance evaluation | ★★★☆☆ |
Example recoating guidance (read your finish label first)
Follow the finish label/manufacturer guidance for recoating intervals; they vary by product and exposure level.
Quick checklist (scan & save):
| Goal | What to do | Stop doing |
|---|---|---|
| Prevent water damage | Use outdoor mats where water enters + wipe spills fast | Don’t let puddles sit |
| Protect the finish | Use an outdoor-rated finish system and follow prep/recoat directions | Don’t guess cleaning methods |
| Reduce wear | Felt pads under furniture; move rugs/mats periodically | Don’t drag chairs or scrape debris |
| Maintain safely | Sweep + gentle, finish-approved cleaning; dry after damp wiping | Avoid soaking/wet mopping |
Frequently Asked Questions
What’s the best way to protect hardwood floors in a patio area from moisture?
Use a moisture barrier system before any flooring goes down, such as an exterior-rated underlayment and a properly installed vapor barrier. Keep hardwood away from direct standing water by ensuring good drainage and using gutters or splash guards near the patio. After any spills or rainy weather, dry the surface promptly to prevent swelling, warping, and mold. For patio hardwood flooring, also consider a protective finish designed for high-humidity or outdoor exposure.
How can I prevent scratches and scuffs on outdoor hardwood flooring in my patio?
Place entry mats or outdoor rugs at doorways to trap grit and sand that can grind into the finish. Use felt pads on furniture legs and add protective pads under planters, grills, and chairs to avoid heavy point loads. Regularly sweep or vacuum with a soft-brush attachment, and avoid drag-and-pull cleaning tools that scratch the surface. If you notice minor damage, touch up with a matching finish to keep water and debris from penetrating.
Why do patio hardwood floors warp, and how do I reduce the risk?
Hardwood warps mainly due to moisture absorption and repeated wet-dry cycles, especially if the patio is exposed to rain or humidity. Reduce risk by maintaining consistent dryness, improving airflow around the patio, and sealing seams and edges where water can collect. Avoid using a mop or wet cleaning method that saturates the wood; instead, use a damp microfiber cloth and dry immediately. A high-quality sealant or outdoor-rated polyurethane can also slow moisture intrusion.
Which finish is best for protecting hardwood floors outdoors on a patio?
Look for an exterior-grade finish or a system specifically labeled for outdoor use, such as marine-grade sealers or high-durability polyurethane designed for exterior conditions. These finishes create a more water-resistant barrier and help resist UV exposure, which can break down coatings over time. Apply according to the manufacturer’s instructions, including correct drying and recoat times, because improper application reduces protection. For maximum durability, consider periodic reapplication based on sun and weather exposure.
How often should I seal and maintain hardwood floors on a patio?
The ideal schedule depends on how exposed your patio is to rain, direct sunlight, and temperature swings, but many outdoor wood floors need resealing every 1–3 years. Perform routine maintenance by sweeping regularly, cleaning with a wood-safe cleaner, and drying the surface after any moisture. Inspect the finish for signs of dullness, cracking, or water beading loss—these are common indicators it’s time to reseal. Address small issues early to prevent deeper water damage that can require costly refinishing.
📅 Last Updated: October 17, 2026 | Topic: How to protect hardwood floors in a patio? | Content verified for accuracy and freshness.
References
- Wood preservation
- Wood finishing
- Varnish
- Waterproofing
- Deck
- https://www.epa.gov/wood-preservation/wood-preservatives
- https://www.fpl.fs.usda.gov/documnts/fplgtr/fplgtr190.pdf
- https://scholar.google.com/scholar?q=protect+hardwood+floors+outdoor+patio+moisture+sealing Google Scholar
- https://scholar.google.com/scholar?q=outdoor+wood+finishing+UV+moisture+hardwood+deck+stain+varnish Google Scholar
- https://scholar.google.com/scholar?q=hardwood+floor+water+damage+protection+maintenance+outdoor+exposure Google Scholar