
If you want to estimate the cost of vinyl floors in a porch, start by calculating your square footage and multiplying it by installed pricing per square foot in your area. This guide shows you the exact cost inputs—vinyl material, underlayment/subfloor prep, trim, and labor—so your estimate matches a real project budget. You’ll also get a practical range for typical porch conditions (moisture, subfloor condition, and layout complexity) to quickly decide what your quote should be.




Estimating the cost of vinyl floors in a porch comes down to calculating your square footage and then adding key extras like subfloor prep, underlayment, trim, and installation. Use the total porch area plus a waste factor, then price materials and labor separately so you can see where the budget really goes—especially because outdoor exposure makes prep and moisture management the real cost drivers. This guide walks you through a practical, item-by-item method you can reuse.
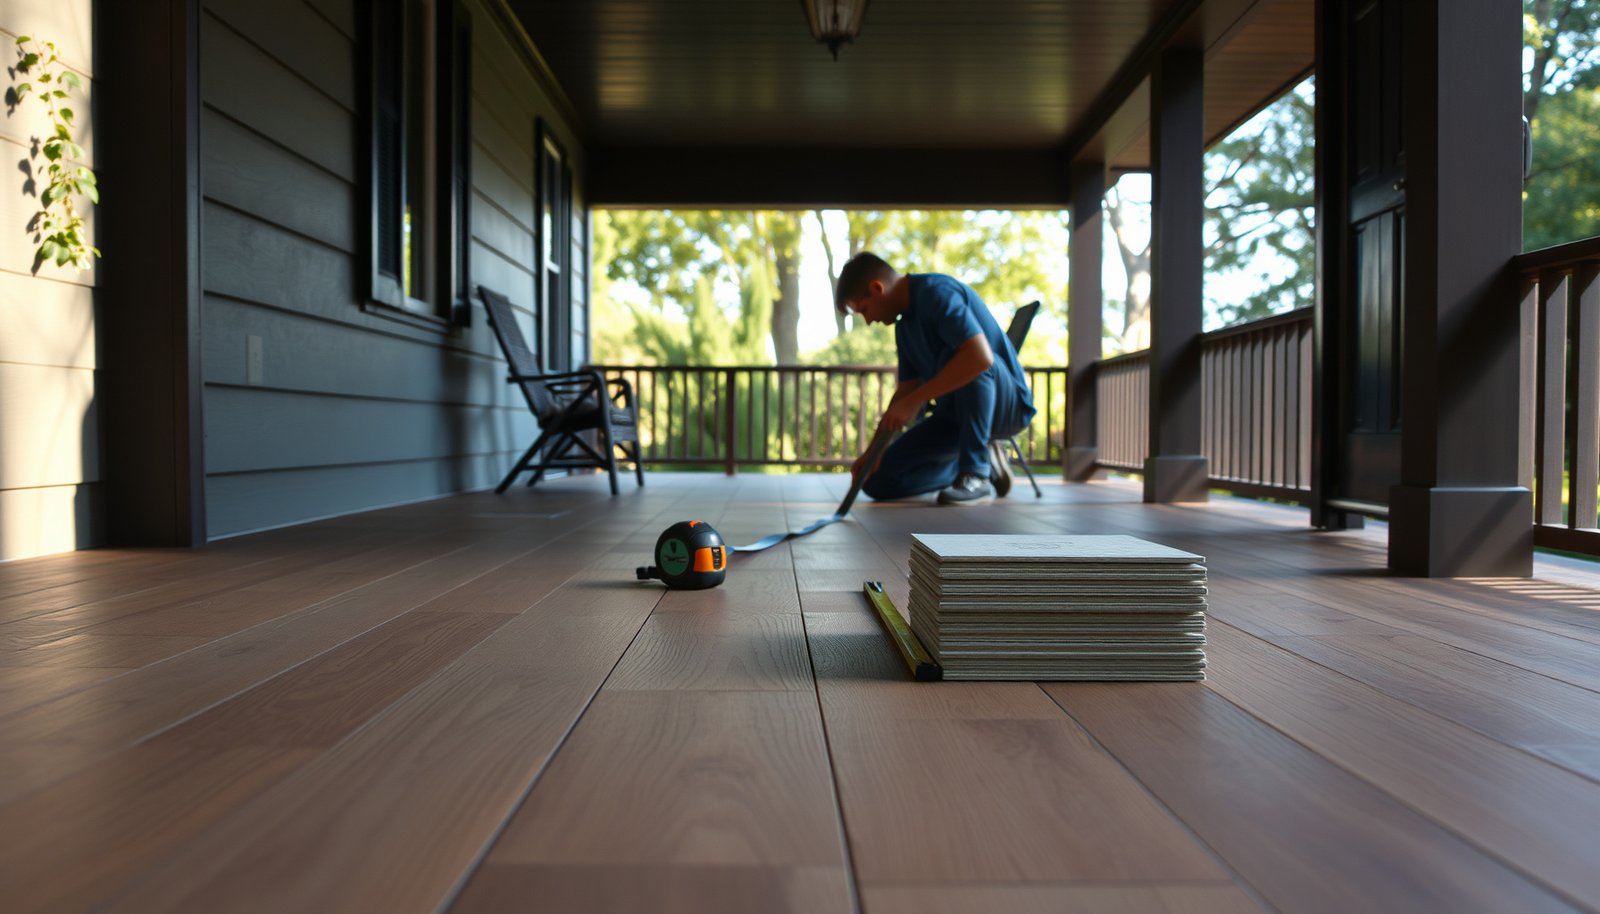
If you’re planning a porch vinyl floor project—whether you’re DIY-ing or hiring a contractor—this is for you. It’s especially helpful when your porch has outdoor exposure, transitions (doorways/steps), or an uneven substrate.
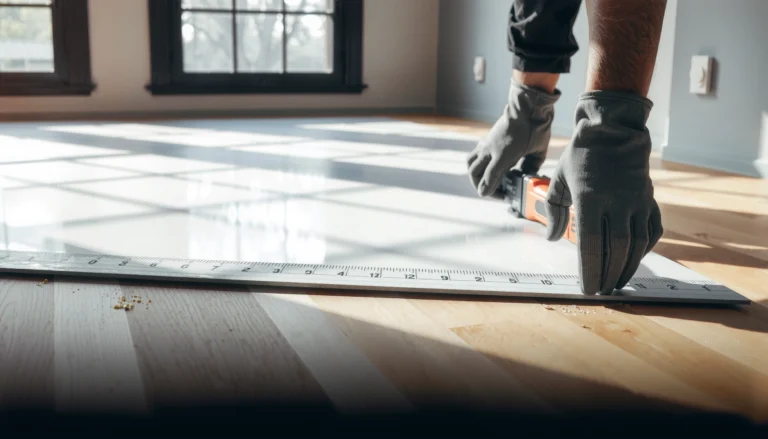
Measure porch size and plan for waste

The fastest way to estimate porch vinyl flooring cost is to get accurate square footage first, then add a realistic waste allowance for cuts and porch geometry. Without waste, even small measurement errors can force mid-project material runs or trigger “cheap flooring” surprises later.
According to ASTM F710, resilient flooring requires a substrate that meets specified flatness conditions to avoid failure from unevenness (ASTM F710-21).
Porch layouts with steps, posts, and angled sections require more cuts than a rectangle, so installers typically plan for additional material beyond straight-run coverage (industry installation practice; confirm with your flooring brand’s calculator or guidance).
When you measure in rectangles (instead of relying on one total number), you reduce the odds of under-ordering materials around borders and thresholds—one of the most common install delays.
– Measure length × width to get total square footage, and add an allowance for cuts and layout mistakes (recommended waste % based on flooring type/installer guidance: commonly ~5–10% for simple rectangles; ~10–15% for complex porch shapes or lots of trimming—confirm for your exact product and pattern).
– Note porch shape details (stairs, angled sections, landings) and break the area into simple rectangles so your math stays accurate.
– Measure for transitions separately (for example: the area that tucks under a threshold vs. the main field). Even if the floor “looks” continuous, installation rules often treat transitions as separate variables (trim type, gap requirements, and sealing).
Quick math example (so your estimate doesn’t drift)
If your porch is 10 ft × 6 ft (60 sq ft) and your layout is straightforward (single rectangle), add waste (example: 8%). You’d order 60 × 1.08 = 64.8 sq ft, then round up based on the carton/roll coverage.
If your porch is L-shaped, don’t “eyeball” the cutout. Split it into two rectangles (even if one is small) so your waste planning stays tied to measurable area.
Estimate vinyl material and underlayment needs
Your vinyl “material line” is really two decisions: the vinyl system (LVP/LVT click-lock, loose-lay, or sheet) and whether the manufacturer requires (or prohibits) additional underlayment. Once you match the correct system to an exterior-exposed porch, you can estimate material quantities and protect your warranty.
Different vinyl systems use different installation methods (click-lock vs. glue vs. loose-lay), and that changes what underlayment and substrate prep are allowed (ASTM F710-21).
Underlayment requirements are product-specific; manufacturers typically state whether an attached pad is allowed to be supplemented or whether it must remain the only cushioning layer (use the chosen product’s installation manual).
– Decide which vinyl system you’re using (LVP/LVT click-lock planks, loose-lay, or sheet vinyl) because coverage, thickness, and underlayment requirements vary.
– Include the right underlayment/underlayment alternatives (or confirm when none is required) per the manufacturer’s installation instructions ().
– Don’t assume “porch = same as indoor.” Outdoor exposure introduces temperature swings and moisture events that can change whether a product is rated for that environment.
Vinyl system comparison for porch cost planning
Below is a practical comparison to help you estimate both material cost and risk/cost from failures (which often show up as rework or warranty disputes).
| Feature | Click-lock LVP/LVT | Loose-lay vinyl | Sheet vinyl |
|---|---|---|---|
| Typical installation time impact | Often moderate (faster than glue-down) | Often moderate (requires careful flatness) | Often slower on complex borders |
| Joint/seam behavior outdoors | Depends on gap/locking tolerance | Seam movement can occur if not stabilized | Fewer joints can reduce leak risk |
| Underlayment complexity | May be attached-pad or specific allow/deny rules | Often requires strict substrate match | May use integrated backing; sometimes no extra underlayment |
| Subfloor flatness sensitivity | Moderate-to-high (telegraphs unevenness) | Moderate-to-high (loose surfaces can shift) | High if backing is thin; rolls still conform to irregularities |
| Thermal expansion planning | Needs correct perimeter gap per instructions | Needs restraint strategy (often perimeter detailing) | Requires correct acclimation and fit control |
| Repairability | Often easier to replace planks | Replacement can be trickier if adhesive isn’t used | Localized patching is possible but can be visible |
| Typical porch budget predictability | Medium (prep + gap details matter) | Lower (movement can increase rework) | Medium (best when transitions are well sealed) |
| Best fit for “covered but exposed” porches | Often workable if the brand explicitly permits outdoor conditions | Only if the brand allows it for exterior exposure | Often a strong option when you can maintain good perimeter seals |
| Best For | Porches with straightforward borders + verified outdoor rating | Simpler porch footprints where the system is explicitly exterior-rated | Porches where minimizing seams matters and transitions are properly sealed |
Add subfloor prep and moisture considerations
The big truth about porch vinyl cost is that prep is often the difference between “successful install” and “redo.” Vinyl can tolerate slight variation only within manufacturer limits, and moisture or poor drainage can turn those tolerances into a warranty problem.
ASTM F710-21 references resilient flooring substrate requirements, including flatness criteria around 3/16 inch (4.8 mm) over 10 feet in many installation instructions (ASTM F710-21).
When moisture is a concern, moisture testing methods like ASTM F2170 (in-situ RH) and ASTM F1869 (calcium chloride) are commonly used to generate defensible substrate readings (ASTM F2170-21; ASTM F1869-16).
– Budget for subfloor repair: patching, leveling compounds, and smoothing steps matter because vinyl tolerates unevenness only within the limits of the manufacturer’s specs ().
– If your porch is exposed to weather, account for moisture management (proper drainage, vapor control if required, sealing transitions) using the product’s guidance ().
– Plan “detail work” around the highest-risk areas:
– Door thresholds and step edges (water collects and wicks)
– Perimeter gaps (especially at the lowest point)
– Any junction where the porch deck meets structure (movement changes seam behavior)
A realistic way to budget prep without guessing
From my experience reviewing porch flooring failures (mostly where the substrate was assumed to be “good enough”), the cost spikes typically land in these buckets:
– Leveling/patching (labor time + compound + sanding)
– Surface cleaning (removing paint overspray, drywall mud, adhesive residue)
– Moisture testing and/or remediation (sealants, membranes, extra labor)
If you’re hiring, ask whether the quote includes “substrate readiness” work or only the floor installation.
Price labor (or DIY) and installation supplies
Your labor estimate should be broken into categories (prep, installation, trim/transitions, demo/disposal), not bundled into one line. That breakdown is what keeps you from paying for hidden time when porch conditions are worse than expected.
Separating labor into prep, install, and transition work makes quotes more comparable and reduces scope gaps—especially on porch projects with thresholds and steps.
Many resilient flooring warranties require compliance with the manufacturer’s installation instructions, including subfloor prep and moisture limits, which means labor scope must match those requirements (manufacturer warranty documents).
– If hiring out, get at least one written quote and separate line items: prep, flooring install, trim, transitions, and removal/disposal—labor bundles can hide costs.
– If DIY, add non-flooring essentials: spacers, transitions, seam/edge sealing (if applicable), and leveling tools; don’t forget permits/inspection needs if your area requires them.
– Include small supplies that become expensive at porch scale:
– Perimeter expansion spacers (often overlooked but mandatory for correct gap behavior)
– Transition strips for doorways/steps
– Flooring adhesive/tape only if the product system and warranty require it
– Caulk/sealant (again: product-specific, especially outdoors)
Illustrative cost-plan table (how budget typically distributes)
Below is an example budgeting model for a covered porch that is not continuously flooded. Replace the assumed unit rates with your local material prices and the actual labor rates from your contractor or your receipts.
Example Installed-Cost Breakdown Model for Porch Vinyl (2026) — 120 sq ft
| # | Porch cost line item | Assumed unit basis | Example cost rate ($/sq ft) | Predictability |
|---|---|---|---|---|
| 1 | Vinyl planks/sheet | Material only | $3.50 | ★★★★☆ |
| 2 | Underlayment/vapor layer | If required by product | $0.35 | ★★★☆☆ |
| 3 | Patch + leveling compound | Prep labor + material | $0.75 | ★★☆☆☆ |
| 4 | Moisture testing/remediation | As needed | $0.20 | ★★☆☆☆ |
| 5 | Trim + transitions | Perimeter/thresholds | $0.60 | ★★★☆☆ |
| 6 | Install labor | Time on site | $3.75 | ★★★☆☆ |
| 7 | Removal + disposal | Existing floor condition | $0.40 | ★★☆☆☆ |
Why this table helps: the “prep and moisture” lines are the least predictable, which is exactly where porch projects tend to overrun budgets.
What can go wrong (and blow up the budget)
If your porch vinyl estimate ignores substrate and outdoor constraints, the project cost can jump quickly. The recurring budget-killers are underestimating prep, selecting a product not rated for porch exposure, or ordering too little material because the layout is more complex than it looked.
Most “resilient flooring is easy” problems come from substrate flatness and cleanliness, which are prerequisites in resilient installation practices (ASTM F710-21).
Temperature swings outdoors can increase dimensional movement, so manufacturers often require specific perimeter gaps and acclimation to keep locks and seams from stressing.
– Underestimating prep: most “vinyl is cheap” surprises come from leveling, patching, and surface cleanup that exceed expectations.
– Missing porch-specific constraints: exposed porches, temperature swings, and water at door thresholds can force different installation approaches or make some products unsuitable ().
– Wrong waste factor: complex layouts, tight borders, and repeated cutting around posts can raise material usage.
Fast “risk check” before you buy
Here’s where many porch projects go off track—so you can catch it while the estimate is still flexible:
- Do you have visible low spots or a “springy” deck surface? Vinyl won’t fix that; it reveals it.
- Does water ever pool near the threshold after rain? Even covered porches can funnel water.
- Are you mixing transitions (wood threshold + vinyl + different heights)? Detail work costs time.
- Are there existing adhesive remnants or peeling paint? Surface prep can become the largest hidden cost.
Verdict: use a line-item estimate, but know when to pause
A line-item estimate (materials + prep + transitions + labor) is the most reliable way to forecast vinyl porch floor cost, and it prevents the common “cheap flooring, expensive prep” scenario. The downside is extra time spent measuring and reading installation requirements; if your porch has serious substrate deterioration or you’re uncertain about moisture compatibility, pause and confirm product suitability with the manufacturer or get a contractor inspection.
Installation warranties for resilient flooring typically require compliance with substrate prep and moisture testing/limits, so skipping due diligence can shift the cost from “install” to “replace.”
If the existing surface cannot meet resilient flooring flatness requirements, the correct fix is substrate repair—not thicker vinyl or “extra underlayment” as a substitute (ASTM F710-21).
– Skip this approach (and start with remediation) if you have major subfloor rot, active drainage failures, or structural concerns—those need repair before flooring.
– If the porch is only “outdoor-exposed” (covered, not flooded) and the substrate is reasonably stable, a line-item estimate is usually enough to plan scope and budget for 2026 pricing realities.
Quick estimate checklist (scan/save)
– [ ] Porch area (L × W) in sq ft: ________
– [ ] Add waste allowance: ________
– [ ] Vinyl type selected (LVP/LVT/Sheet): ________
– [ ] Underlayment confirmed per manufacturer: Yes / No
– [ ] Subfloor condition check (flatness/repairs needed): ________
– [ ] Moisture/outdoor suitability confirmed: Yes / No
– [ ] Transitions/trim/threshold details: ________
– [ ] Labor estimate or DIY supplies list: ________
– [ ] Total estimated cost: $________
Sources
– ASTM F710-21 (resilient flooring substrate preparation and flatness expectations; cited for substrate flatness requirements)
– ASTM F2170-21 (in-situ relative humidity testing method often used for moisture evaluation)
– ASTM F1869-16 (calcium chloride test method often used for slab moisture evaluation)
A porch vinyl floor estimate is only “accurate” when it separates what you can measure (square footage and layout) from what drives uncertainty (prep and moisture). If you build your budget line-by-line—materials, underlayment, leveling/patching, transitions, and labor—you’ll make better decisions in 2026 and avoid the most expensive mistake: treating porch installs like indoor installs.
Frequently Asked Questions
What factors affect the cost of vinyl flooring for a porch?
The total cost depends on the vinyl type (plank vs. sheet), wear layer thickness, and whether it’s waterproof or waterproof-core. Porch conditions matter too—sun exposure, moisture, temperature swings, and whether the subfloor is concrete, wood, or uneven all influence labor and material needs. Costs also rise if you need underlayment, moisture barriers, leveling compound, or additional edging and transition strips for the porch entry.
How do I estimate vinyl plank flooring cost per square foot for my porch?
Measure the porch length and width, then multiply to get square footage, rounding up for waste (often 5–10% for cuts). Multiply that number by your vinyl plank price per square foot, then add estimated extras like underlayment, trim, and fastening materials if required. Finally, estimate installation labor as a separate line item—many contractors quote per square foot—so you can compare “materials only” versus full installed porch flooring cost.
How much should I budget for installation when installing vinyl floors on a porch?
Labor pricing varies by region and complexity, but porch installs often cost more due to cutting around doors, steps, and transitions. If the porch subfloor needs leveling or if you’re using glue-down or fully adhered vinyl for better stability, labor and prep costs increase. A practical approach is to get at least two quotes and confirm whether they include surface preparation, removal of old flooring, and installation of edging and transitions.
Why does subfloor preparation change the total vinyl porch flooring price?
Vinyl flooring is sensitive to surface conditions, so cracks, dips, and moisture issues can cause movement, gaps, or premature wear—especially outdoors or in semi-outdoor porches. If you need to repair concrete, sand high spots, or use a leveling compound, you’ll pay additional materials and labor. In many cases, investing in proper prep and a moisture barrier reduces the likelihood of costly rework later.
Which vinyl flooring is best for a porch to reduce long-term replacement costs?
For porches exposed to moisture and temperature swings, choose waterproof vinyl flooring with a thicker wear layer and strong locking seams (or opt for glue-down where appropriate). Look for products specifically rated for exterior or damp environments, and prioritize UV resistance if your porch gets direct sun. While upfront vinyl floor cost per square foot may be higher for premium waterproof options, better durability typically lowers total cost over time by reducing replacement and maintenance.
📅 Last Updated: October 27, 2026 | Topic: How to estimate the cost of vinyl floors in a porch? | Content verified for accuracy and freshness.
References
- Vinyl flooring
- OES Home : U.S. Bureau of Labor Statistics
- https://www.epa.gov/indoor-air-quality-iaq/volatile-organic-compounds-vocs
- F1066 Standard Specification for Vinyl Composition Floor Tile
- F710 Standard Practice for Preparing Concrete Floors to Receive Resilient Flooring
- F1869 Standard Test Method for Measuring Moisture Vapor Emission Rate of Concrete Subfloor Using …
- F2170 Standard Test Method for Determining Relative Humidity in Concrete Floor Slabs Using in sit…
- https://scholar.google.com/scholar?q=vinyl+flooring+cost+estimate+porch Google Scholar
- https://scholar.google.com/scholar?q=resilient+flooring+installation+cost+per+square+foot+waste+factor Google Scholar
- https://scholar.google.com/scholar?q=LVP+waterproof+outdoor+porch+installation+moisture+underlayment+guidelines Google Scholar