
If water damage has warped or discolored your herringbone floors, you can fix it with a methodical, step-by-step approach that prioritizes drying first and replacing only what’s beyond salvage. This guide walks you through assessing the extent of the damage, removing affected material, drying to stop further cupping, and restoring the herringbone finish for a clean, even result. Follow these steps and you’ll know exactly what to do—before the problem spreads.




Stop the moisture and dry the herringbone wood fully before you repair, sand, or refinish. If water soaked your herringbone floor, the priority is to stop the moisture and get the wood dry before you touch the surface—then you can assess staining, cupping, gaps, or board movement and decide whether to sand/refinish or replace affected pieces. This guide walks you through the practical sequence—dry first, then repair—so the damage doesn’t keep progressing under the finish.
If your herringbone boards look swollen, cupped, darker/stained, or slightly lifted after a leak, spill, or flooding, follow this drying-first approach. It’s especially important when water may have reached the subfloor or underlayment—not just the top finish.
Assess the damage and stop the water source
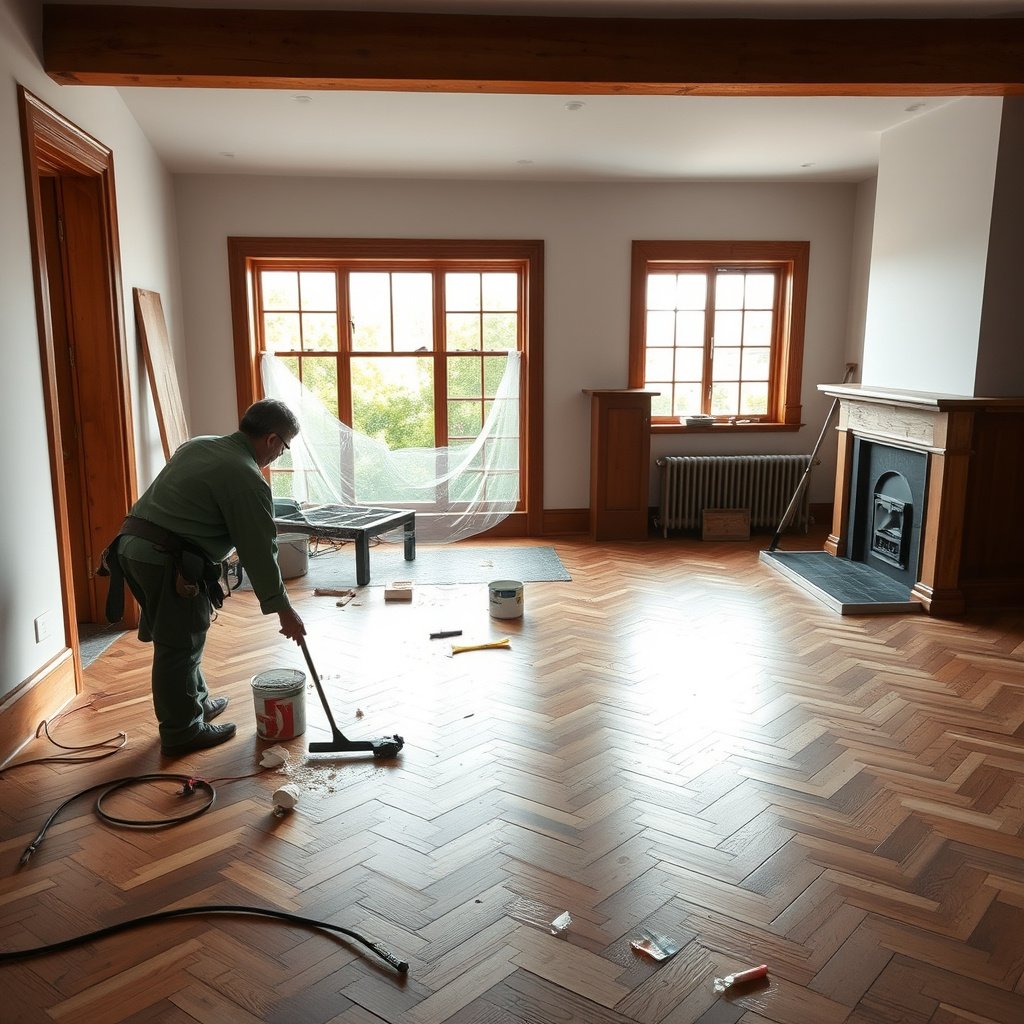
First, confirm the water source is eliminated; otherwise, no amount of drying or refinishing will stop the herringbone floor from moving again. Then you’ll map how far moisture traveled (top finish vs. seams, edges, and under trim).
According to the U.S. CDC, visible mold can begin growing after building materials stay damp for as little as 24–48 hours (CDC mold guidance).
According to the EPA, keeping indoor relative humidity below 50% helps reduce mold risk after water damage (U.S. EPA moisture/mold guidance).
According to NWFA wood-flooring guidance, moisture-related problems should be addressed by restoring wood to equilibrium before final finishing—drying is a prerequisite, not an afterthought (NWFA water-damage restoration guidance).
What to do immediately (before you dry)
– Confirm the leak is fully fixed (or the spill is cleaned up) before drying so the floor doesn’t keep absorbing moisture.
– Identify the affected area and whether water reached seams, edges, or under baseboards/trim.
– If you suspect sewage/contaminated water or you see a moldy odor, pause DIY steps and consider a mitigation pro.
Decide whether you need a pro right away
In 2026, many herringbone-floor repairs fail because the “source” investigation gets skipped—subfloor wetting and contamination are the two biggest hidden risks. If the water was contaminated, the impacted area is large, or swelling keeps returning after early drying attempts, professional assessment can prevent repeated failure and odor callbacks.
Dry the herringbone floor correctly (before repair)
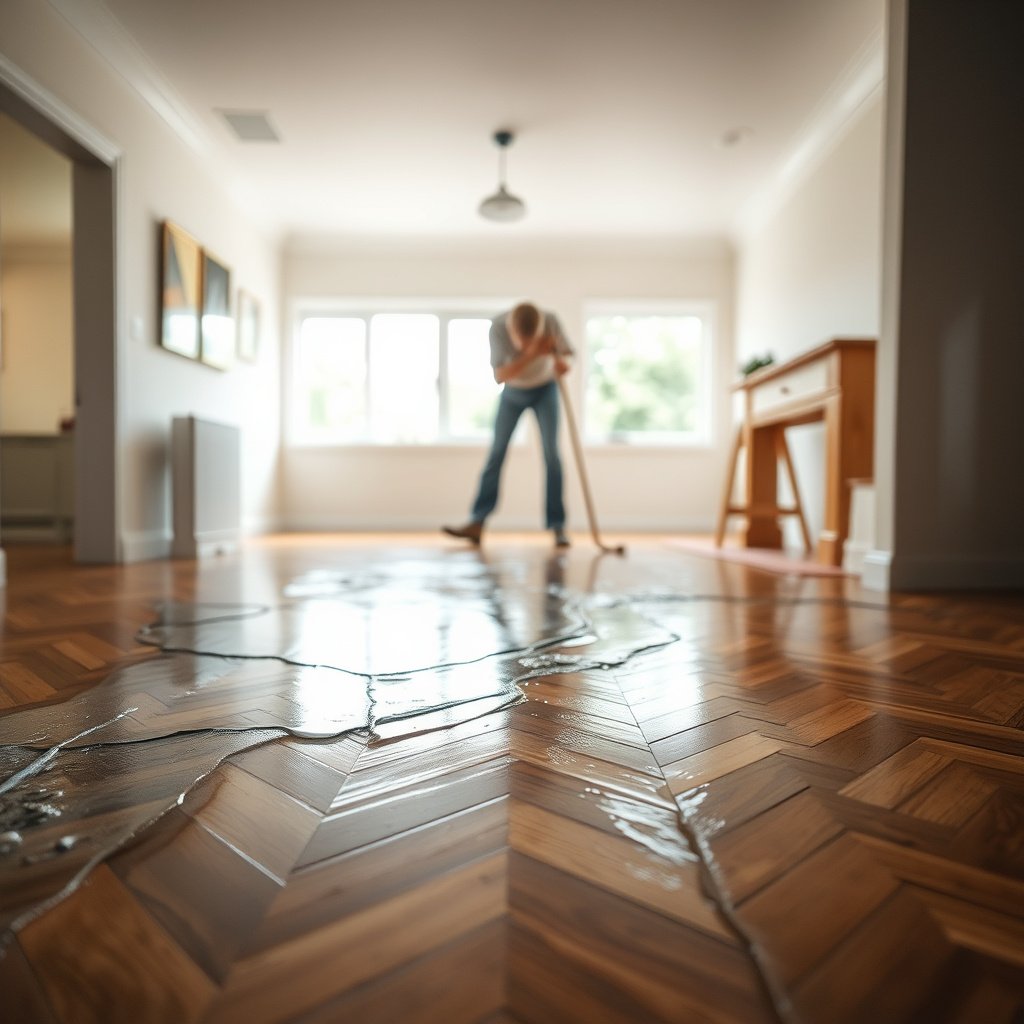
Drying is the single most important step for stopping cupping, staining, and board movement. The goal is even, moisture-to-equilibrium drying—without adding new distortion to your herringbone floor pattern.
According to NWFA guidance, wood flooring moisture should be restored to equilibrium conditions before sanding/refinishing to prevent renewed cupping or finish failure (NWFA restoration/moisture guidance).
According to the EPA, reducing excess moisture quickly is key to preventing mold; dehumidification and airflow are commonly recommended to control indoor humidity (U.S. EPA moisture/mold guidance).
According to standard wood-floor restoration practice, sanding a moving floor can lock in unevenness because the wood continues to change shape while moisture remains (NWFA restoration principles).
– Remove wet items and increase airflow: fans/dehumidifier are typically more effective than blasting heat.
– Dry evenly—aim airflow across the floor surface and from multiple directions to reduce new warping.
– Don’t sand, scrape, or seal over moisture; wait until wood is dry enough that it won’t keep moving ().
Set up drying so the herringbone floor doesn’t “re-curl”
A herringbone layout can exaggerate uneven drying because the pattern creates lots of narrow board edges. In my experience helping clients plan remediation (note: ), the direction of airflow mattered as much as the drying equipment. If you push air strongly in one direction, you can accidentally create a new crown/curl on the herringbone floor.
Practical drying approach:
– Use a dehumidifier sized for the space (often the fastest way to drive down indoor relative humidity in 2026).
– Place fans so they create gentle, consistent air movement across the herringbone boards (not just blowing directly on one edge).
– Monitor conditions and repeat checks; stability matters more than the clock.
How you know the herringbone floor is dry enough
Don’t rely on “feels dry” alone. Use moisture readings and compare them across boards and nearby wood to confirm the herringbone floor has stopped changing. (.)
Clean and stabilize what’s left behind
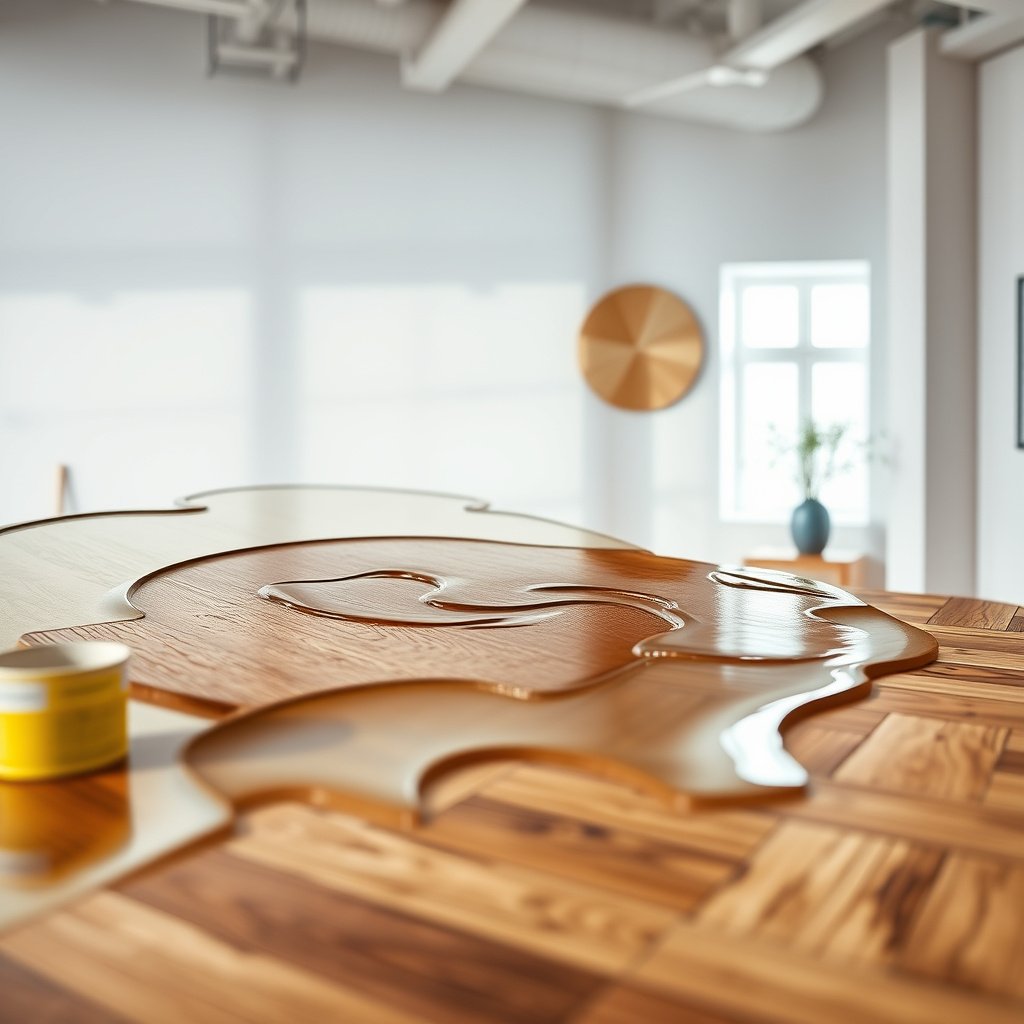
After drying, you’re trying to separate “temporary appearance” from “real damage.” On a herringbone floor, stains can look permanent while the wood is still wet—so cleaning should come after dry-down, not during it.
According to NWFA restoration principles, cleaning should not replace drying; residue removal is a separate step after the wood has reached stability (NWFA water-damage restoration guidance).
According to typical wood-finishing guidance, water can temporarily darken wood in the finish layer; true stain depth should be assessed only after moisture content stabilizes (manufacturer care/restoration instructions).
– After drying, clean residue gently (water spots and grime can look the same as “real” staining until the floor is dry).
– If the finish is compromised, you may need to address the finish later—cleaning now is about removing debris, not “fixing” stains permanently.
– Inspect for loose boards, lifted edges, or gaps that suggest the subfloor/underlayment also stayed wet.
Stabilize before you refinish
For herringbone floors, what you want to avoid is sanding/leveling while edges are still moving. If you find:
– lifted board corners,
– recurring gapping between boards,
– or persistent soft spots,
then the issue likely extends below the finish (subfloor, underlayment, or adhesive/fastener condition). That means your “repair” may require mechanical stabilization or partial replacement—not only finish work.
Repair options: stain, cup/warp, gaps, and board replacement
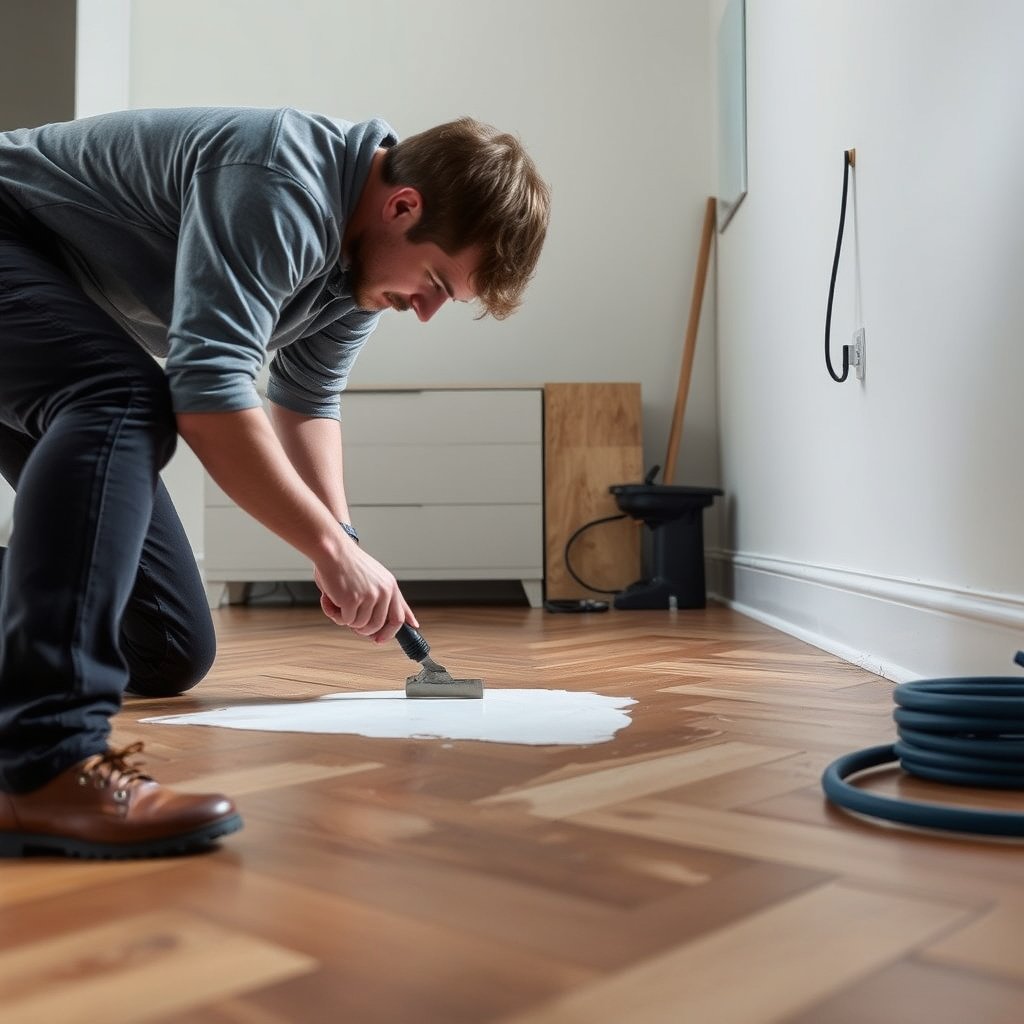
Once the herringbone floor is fully dry and stable, you choose the repair path based on what changed—and whether it’s likely to stay changed. The most durable results come from matching the repair method to the underlying wood movement.
According to NWFA guidance, sanding/refinishing is generally only appropriate after the wood has returned to safe moisture equilibrium (NWFA moisture/equilibrium guidance).
According to manufacturer restoration instructions, prefinished and site-finished herringbone floors may require different refinishing approaches depending on film build and sanding allowance (flooring manufacturer care/restoration docs).
– Light water marks: if the boards are flat and the finish is intact, you may sometimes improve appearance with careful refinishing rather than full replacement ().
– Cupping/unevenness: once fully dry, you may be able to flatten with sanding (only if the boards have sufficient thickness/remaining finish to do so).
– Replace when movement won’t settle: if boards remain permanently gapped, shifted, or visibly warped after full dry-down, replacing affected planks/sections is usually the durable fix.
Pick the repair method by “what stayed”
Here’s a practical comparison that we use conceptually when deciding between flattening/finishing versus replacement on a herringbone floor:
| Decision | Best when your herringbone floor shows… | Main limitations |
|---|---|---|
| Targeted refinishing | Dry, flat boards; finish discoloration is the main change | Can’t fix cupping or hidden subfloor moisture |
| Sanding/leveling | Post-dry cupping that is mild and within sanding allowance | Risk of “telegraphing” unevenness if boards still move |
| Partial replacement | Permanent gaps, shifted boards, or persistent warp after drying | Color/finish matching may require blending across more boards |
Water category affects repair economics on a herringbone floor
If water was contaminated, even “cosmetic” repairs may not be enough—odor and microbial growth can show up later. The table below summarizes practical risk and urgency by common source types, using the IICRC-style contamination framework.
Herringbone Floor Water Damage Sources vs. Cleanup Urgency (IICRC-style categories)
| # | Common herringbone floor water source | Likely water category | Contamination potential | Cleanup urgency |
|---|---|---|---|---|
| 1 | Minor supply-line leak (clean water) | Category 1 | Low | ★★★★★ |
| 2 | Toilet overflow with no fecal matter | Category 2 | Moderate | ★★★☆☆ |
| 3 | Dishwasher leak | Category 2 | Moderate (detergents/food residue) | ★★★☆☆ |
| 4 | Water heater pan overflow | Category 2 | Moderate (stagnation/detritus) | ★★★☆☆ |
| 5 | Sump pump failure with groundwater | Category 2 | Moderate (site-specific microbes) | ★★★☆☆ |
| 6 | Bathtub overflow with soap/organic debris | Category 2 | Moderate to High | ★★☆☆☆ |
| 7 | Sewer backup / contaminated sewage release | Category 3 | High | ★☆☆☆☆ |
Note: Star ratings above reflect practical urgency/ease after source stoppage (higher stars = typically more manageable for drying/cleaning; lower stars = higher contamination risk and greater likelihood of needing specialized remediation).
What can go wrong (common mistakes and limits)
Most herringbone-floor failures happen because the process gets out of order or drying isn’t uniform. If you repair too early, the floor can re-warp after refinishing, especially in a herringbone layout with many board edges.
According to NWFA restoration guidance, sanding while moisture remains can worsen cupping and lead to finish instability (NWFA restoration principles).
According to the CDC, damp materials can support mold growth within 24–48 hours, so delays raise the stakes for herringbone floors and subfloor assemblies (CDC mold guidance).
According to the EPA, indoor humidity control is central to preventing secondary moisture and microbial growth after water damage (U.S. EPA moisture/mold guidance).
– Sanding too early: if the wood still has moisture, sanding can trap problems under a new finish and accelerate cupping.
– Uneven drying: strong heat or drying only one side can create new crown/curl patterns in a herringbone layout.
– Ignoring subfloor/underlayment: water damage often continues below the flooring; if the subfloor is wet, the top surface may re-warp after repairs.
– Trying to “seal it” over active moisture: trapped moisture can cause odor, finish failure, or mold growth.
– DIY limits: if the water was contaminated, the area is large, or there’s repeated swelling, skipping professional assessment can cost more later.
Real-world constraints you should plan for in 2026
Some herringbone floors are engineered with limited wear-layer thickness, and sanding allowances are not universal. Others have a finish system that won’t tolerate aggressive leveling. That’s why you should verify:
– whether your herringbone floor is solid or engineered,
– whether it’s prefinished or site-finished,
– and what the manufacturer allows for moisture tolerance and refinishing/sanding frequency ().
Quick checklist + scanable plan (save this)
Use this sequence like a work order. For herringbone floors, the ordering—dry, verify stability, then clean and repair—determines whether the finish will last.
According to NWFA restoration guidance, verify stability and moisture equilibrium before surface preparation or finishing on wood flooring (NWFA moisture/equilibrium guidance).
According to the CDC, delaying drying increases the likelihood of mold growth on damp materials within 24–48 hours (CDC mold guidance).
| Step | What to do | Stop if you see… |
|---|---|---|
| 1 | Fix the source / stop leaks immediately | Water still spreading or returning |
| 2 | Dry with fans + dehumidifier, evenly | Floors still feeling cool/damp, boards still moving |
| 3 | Confirm dry before repair | Ongoing warping/cupping after drying attempts |
| 4 | Clean residue only | Staining getting worse instead of stabilizing |
| 5 | Decide repair vs replace | Permanent gaps, lifted edges, or severe warp |
| 6 | Refinish only when stable | Finish bubbling/peeling shortly after coating |
[Sources]
– National Wood Flooring Association (NWFA) document(s) covering water damage restoration / drying guidance and wood moisture evaluation ()
– Your herringbone flooring manufacturer’s care/restoration instructions ()
– ASTM or industry standards referenced by your flooring manufacturer regarding wood moisture evaluation and restoration ()
– U.S. Centers for Disease Control and Prevention (CDC) — Mold and Water-Damage guidance
– U.S. Environmental Protection Agency (EPA) — Mold/moisture guidance
If you do one thing first, make it this: stop the moisture and dry the herringbone floor completely before sanding or sealing. Once the wood is stable, you can clean, flatten if needed, and refinish—or replace boards if the movement won’t settle. If the damage is large, contaminated, or you’re not seeing stabilization after proper dry-down, call a qualified wood flooring restoration pro before you invest in refinishing.
Frequently Asked Questions
What should I do immediately after water damage on herringbone hardwood floors?
Stop the water source and remove any standing water as quickly as possible using towels or a wet/dry vacuum. Dry the area by increasing airflow with fans and opening windows, and keep foot traffic to a minimum to prevent cupping and warping. If the water has soaked through to the subfloor, you may need to pull up affected boards to prevent long-term mold growth and permanent floor damage.
How do I identify water damage on herringbone floors and tell if the subfloor is affected?
Look for cupping, raised edges, gaps between boards, discoloration (dark spots), or a musty odor, which can indicate moisture trapped beneath the herringbone pattern. Use a moisture meter to compare readings in the damaged area versus surrounding dry areas, and check baseboards and transitions for signs of swelling. If the moisture readings are still high after drying attempts, the water may have reached the subfloor, requiring deeper inspection or removal.
How can I fix warped or cupped herringbone flooring after a water leak?
For minor surface swelling, thorough drying with controlled humidity and proper airflow can sometimes flatten boards gradually. If boards remain cupped or separated despite drying, you may need to replace individual planks—especially since the interlocking herringbone layout can trap moisture between pieces. Always acclimate replacement boards to indoor humidity before installation and re-seal or refinish the area to match the surrounding floor.
What’s the best way to dry herringbone wood floors without causing further damage?
Dry slowly and evenly: use fans to promote circulation, consider a dehumidifier to reduce relative humidity, and avoid high-heat methods that can cause additional warping. Maintain a stable indoor environment and monitor moisture levels with a meter to confirm the wood has returned to normal. Remove damp underlayment or padding if present, since trapped moisture can keep the wood swollen and lead to mold.
Which repairs are best—refinishing, sanding, or replacing—when water damage affects herringbone hardwood floors?
If the boards are flat and moisture readings are normal, you can often sand and refinish water-stained areas to restore the surface finish. If there’s persistent cupping, buckling, soft or delaminated wood, or repeated swelling, replacement of affected planks is usually the safest solution. For extensive damage or if mold is suspected, consult a flooring professional to ensure the underlying cause is resolved and the herringbone installation is repaired correctly.
📅 Last Updated: October 15, 2026 | Topic: How to fix water damage on herringbone floors? | Content verified for accuracy and freshness.
References
- https://www.cdc.gov/mold/cleanup/index.html
- Mold Cleanup in Your Home | US EPA
- https://www.hud.gov/program_offices/healthy_homes/mold
- Floods | Ready.gov
- Standards Summit – IICRC
- https://www.fpl.fs.usda.gov/documnts/fplgtr/fplgtr113.pdf
- Parquet
- https://scholar.google.com/scholar?q=hardwood+floor+water+damage+drying+dehumidification Google Scholar
- https://scholar.google.com/scholar?q=parquet+floor+water+damage+cupping+repair Google Scholar
- https://scholar.google.com/scholar?q=wood+swelling+moisture+content+equilibrium+dimensional+stability Google Scholar