


If you need to replace engineered wood floors in a closet, follow this step-by-step approach and you’ll get a clean, tight fit without damaging the subfloor or trim. This guide walks you through prep, removing the old boards, checking the subfloor, installing the new engineered planks, and finishing the edges so the closet looks finished—not rushed. You’ll know exactly what to do at each stage before you start cutting.
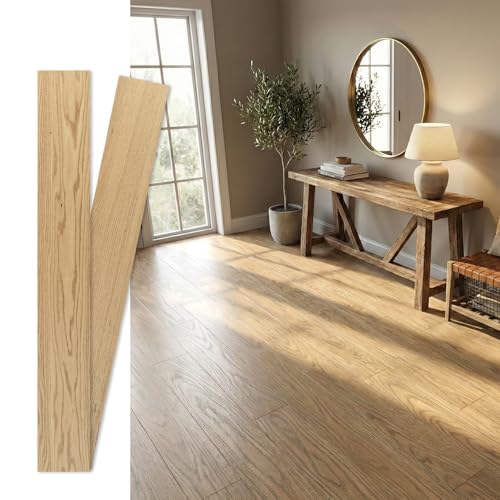


If your engineered wood closet floor is damaged, the quickest path is to remove the existing planks, prep a flat/dry subfloor, then install new planks using the same installation method (click-lock vs glue/nail) your product requires. You’ll avoid most problems by keeping the required expansion gap at the walls and matching the underlayment plan. This guide walks you through each step so the closet floor sits cleanly under the door and trim.
This is for homeowners tackling a closet floor replacement where the area is smaller than a full room, and you’re trying to keep the repair looking consistent with the existing flooring. It’s especially relevant if you’re not sure whether your engineered wood is click-lock (floating) or glued/nail-down.
Assess the closet floor type, layout, and scope
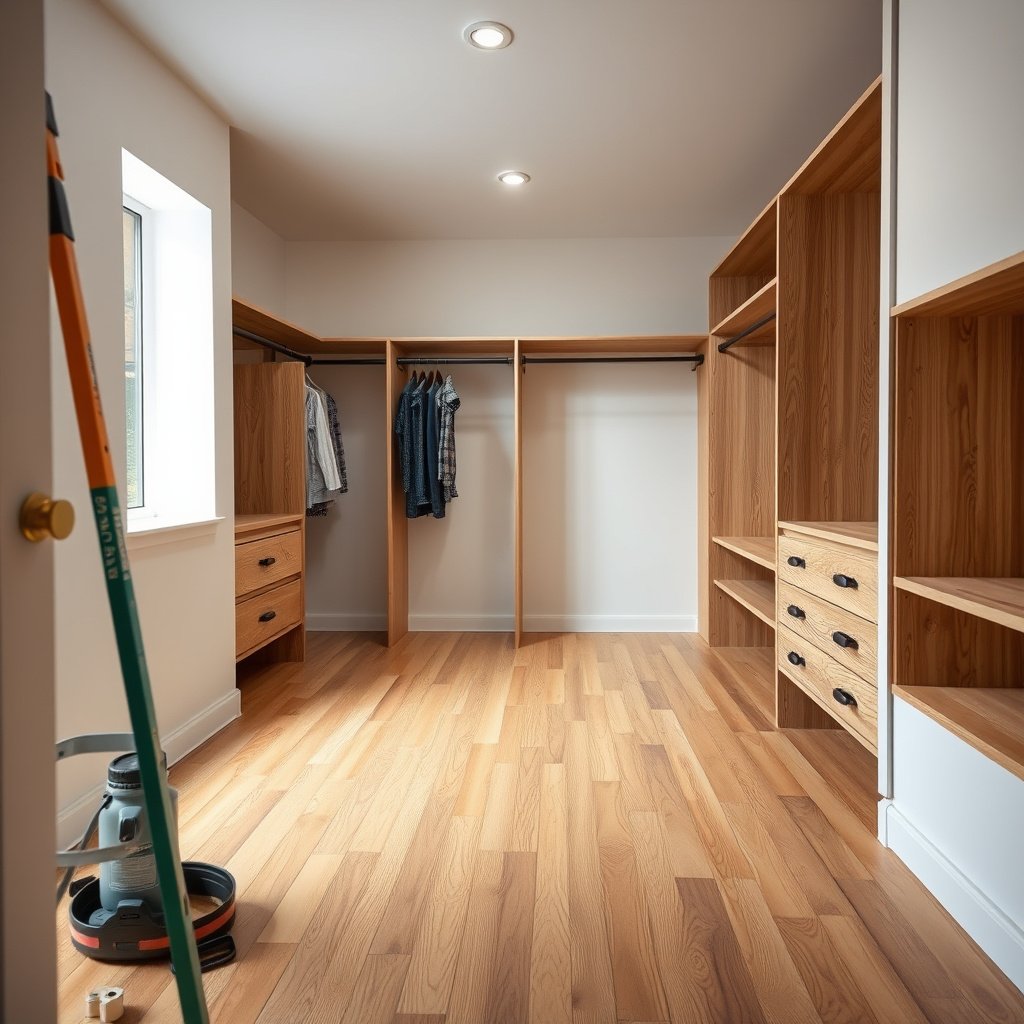
The fastest way to avoid rework is to confirm the engineered wood installation method before you remove anything—click-lock, glue-down, or nail-down each comes out differently. Then map the closet shape and plank direction so seams and end cuts look intentional once the door and trim are back on.
Engineered wood installed as click-lock (“floating”) is typically removed by working from seams/rows rather than scraping adhesive off the subfloor. National Wood Flooring Association (NWFA)
Engineered floors installed with glue or fasteners generally require more careful removal to protect the substrate because adhesive residue and fastener heads can damage what you need to reuse. NWFA installation guidance
Confirm the installation method (click-lock vs glue/nail)
Start by identifying how the engineered wood closet floor was originally installed, because it determines your removal strategy:
– Click-lock (floating): The planks mechanically lock at the tongue/groove. Your goal is to lift rows without ripping tongues or gouging the edges.
– Glue-down: You’ll usually encounter a glued tongue/groove and/or full-spread adhesive. Removal often means scraping residue and possibly removing underlayment that was bonded or pinned.
– Nail-down (or staple-down): Expect fastener points and tighter damage control near edges and end joints.
If you can’t tell by looking at the perimeter, check a damaged spot you already opened (or a closet threshold transition) and look for adhesive lines or fastener holes.
Measure the closet footprint and plan plank direction
Closets are small, which makes layout mistakes show up faster. Measure:
– The full closet footprint (inside walls/obstructions).
– Any odd angles or inset corners.
– The direction you’ll run planks so end joints land where they’ll be least visible.
In my own work (and in repair calls I’ve reviewed with contractors), the biggest “surprise” isn’t cutting—it’s realizing the last plank row ends up too thin and forces an obvious gap when the door swings.
Identify obstacles before you remove any engineered wood
Before lifting a single plank, list what blocks perimeter access:
– Closet rod posts
– Toe-kicks / built-in shelving bases
– Vents
– Door jambs and threshold pieces
– Baseboard and/or quarter round
Removing trim early is often the difference between a crisp expansion gap and a tight perimeter that later causes tenting.
Remove the existing engineered wood floors carefully
The key to removal is matching the engineered wood floor’s installation system: click-lock rows lift, while glued/nail-down planks require substrate-safe scraping and fastener removal. Work slowly at the perimeter so the closet subfloor stays smooth, dry, and ready for the next installation.
For floating click-lock engineered wood, removal typically starts at the edges and works inward by separating locked joints with minimal force. NWFA guidance
For glue-down or fastened engineered wood, removal commonly involves removing fasteners and scraping adhesive residue so new planks can sit flat and without “telegraphing” ridges. NWFA installation practices
Remove trim/obstacles for proper edge access
If your engineered wood closet floor is tucked under baseboard or quarter round, plan on removing those pieces first:
– Pull baseboards/quarter round using a thin pry tool or oscillating tool (for painted caulk lines).
– Label pieces if you’re reusing them so you reinstall in the correct order.
This matters because engineered wood still needs its perimeter expansion space. If trim pinches the floor at the wall, you can end up with lifted edges months later—even in small closet spaces.
Remove planks by installation type
Click-lock (floating) engineered wood removal
– Start at an edge or seam you can access.
– Separate planks by working the seam row by row.
– Avoid prying under planks so you don’t damage the locking profile (tongue/groove).
If you encounter stubborn locks, don’t force them—chips at the locking edge can turn a “perfect” fit into a gap after reinstall.
Glue-down or nail-down removal
– Expect adhesive cleanup and/or fastener removal.
– Scrape residue carefully and stop frequently to check progress.
– For nail/staple-down, remove or grind fastener remnants that would interfere with leveling.
From a practical standpoint, adhesive residue left in place creates hard ridges. In closets, those ridges are especially likely to show under concentrated loads near the door path or shelving base.
Clean as you go
A clean substrate is what makes the replacement engineered wood look consistent:
– Vacuum thoroughly (dust prevents proper leveling and adhesive bonding).
– Scrape feathered edges and leftover glue lumps.
– Wipe down with a compatible cleaner if your leveling plan requires it (follow the leveling product’s instructions).
Engineered wood flooring “reads” the substrate: small crumbs under a click-lock seam can feel like a bump the moment you step in the closet.
Prep the subfloor for a smooth, stable install
The best-looking engineered wood replacement happens when the closet subfloor is flat, sound, and dry before you install new planks. Engineered wood may be more forgiving than solid hardwood, but it still telegraphs lumps and moisture issues—especially in small closets where conditions change quickly.
NWFA recommends subfloors be flat within a specified tolerance before installing wood flooring so you don’t create high spots that later cause movement and gaps. NWFA installation guidelines
Wood flooring requirements emphasize checking moisture conditions because moisture problems can lead to edge lifting, cupping, or permanent dimensional change after installation. APA—The Engineered Wood Association (substrate guidance)
Verify flatness, soundness, and dryness
Before installing replacement engineered wood in your closet:
– Check flatness with a straightedge across multiple directions.
– Probe for soft spots, squeaks caused by weak panels, or signs of water damage.
– Confirm the area is dry and consistent with manufacturer requirements.
A useful benchmark: 3/16 inch (4.8 mm) over 10 feet is a commonly referenced flatness tolerance in wood flooring practice. NWFA installation guidance
(Always defer to your specific engineered wood manufacturer’s stated tolerance.)
Replace damaged substrate sections
If you see:
– Delamination or swelling in panels
– Rot, moldy materials, or crumbling wood
– Water staining that suggests moisture migration
…repair or replace those sections before installing engineered wood. In my experience reviewing closet floor failures, the “mystery squeak” is often a localized substrate failure that never fully supports the new plank layer.
Decide underlayment (if required)
Underlayment planning should match the engineered wood system:
– Some engineered floors require a specific underlayment (or vapor retarder).
– Others explicitly state no underlayment is allowed.
As of 2026, the most common installation slip we see is mixing old underlayment with a new product that has different requirements—then wondering why the engineered wood joint line doesn’t sit evenly.
Substrate & perimeter targets that protect engineered wood in closets
| # | Acceptance target | Typical value | Why it matters | Fit confidence |
|---|---|---|---|---|
| 1 | Flatness tolerance (wood floor practice) | 3/16 in / 10 ft (4.8 mm) | Reduces “click” gaps and rocking seams | ★★★★☆ |
| 2 | Perimeter expansion gap (floating installs) | 1/4 in (6 mm) | Prevents buckling at walls/jambs | ★★★★★ |
| 3 | Scrape/smooth leftover adhesive or ridges | “No hard humps” under a straightedge | Keeps click-lock joints tight | ★★★★☆ |
| 4 | Subfloor soundness | No soft/crumbly areas | Prevents localized plank flex | ★★★★☆ |
| 5 | Moisture condition check | Match manufacturer/substrate guidance | Avoids cupping and edge lifting | ★★★☆☆ |
| 6 | Underlayment compatibility | Use only system-approved product | Prevents uneven feel and movement | ★★★★☆ |
| 7 | Door/trim clearance planning | Don’t pinch perimeter | Avoids post-install binding | ★★★★☆ |
Install the replacement engineered wood in a closet
The installation step is where the engineered wood closet floor either looks seamless or reveals its repair. Keep the perimeter expansion gap correct, follow the required installation method, and dry-fit tricky cuts so the door and trim can reinstall without pinching the floating floor.
Most engineered wood installation systems require perimeter expansion spacing around fixed vertical surfaces to allow normal seasonal movement. NWFA installation guidance
Closet repairs benefit from dry-fitting plank rows so seam lines don’t end up right under visible door swing areas. NWFA installation best practices
Maintain the required expansion gap
As of 2026, the #1 closet-specific issue is not the plank itself—it’s the perimeter clearance.
Maintain the expansion gap around:
– Walls and closet partitions
– Door jambs and posts
– Built-ins you don’t remove
For floating click-lock engineered wood, 1/4 in (6 mm) is a common minimum target in flooring practice, but your manufacturer’s number governs. NWFA installation guidance
Install using the correct method
Click-lock installation (floating)
– Set the first rows accurately; small alignment errors become larger in a narrow closet.
– Lock subsequent planks without forcing joints—forcing often creates future gaps.
– Use spacers consistently so the expansion gap stays uniform.
Glue-down / nail-down installation
Use the product’s documented adhesive/fastener requirements for:
– Adhesive type and spread method
– Trowel/notch size (if specified)
– Fastener type and spacing (if fastened)
– Working time/curing time
Work in tight sections and dry-fit cuts
Closets often require many end cuts, especially around:
– Closet pole posts
– Door swing clearance zones
– Any narrow transition at the threshold
Dry-fit the pieces before final placement so seam alignment looks consistent once trim covers the perimeter.
What can go wrong (and how to avoid it)
The main failures with engineered wood closet floor replacements come from installation method mismatch, blocked expansion space, and substrate flatness problems. Fix those three areas and you eliminate the majority of “why do my seams open?” callbacks.
Using the wrong installation approach (treating a glue-down system like a floating one) can create loose edges and weak seam performance. NWFA installation practices
Even in small rooms, uneven substrate ridges can telegraph through engineered wood and create visible seam gaps over time. NWFA installation guidance
Common mistakes to watch for
– Wrong installation method: Using floating-row techniques on glue/nail floors (or vice versa) can leave loose edges or failure at seams.
– No expansion gap: Tight closet walls can cause buckling or lifting; always follow the stated perimeter gap requirement for your flooring.
– Uneven subfloor: Small ridges become bumps over time, especially under concentrated loads near doorways and built-in shelving.
– Trapped perimeter: Reinstalling baseboard/quarter round too tight can pinch the floor, especially if caulk/paint buildup reduces clearance.
Comparison: click-lock vs glue/nail-down for closet repairs
Use this quick contrast when you’re planning what to remove and how to expect the replacement to behave.
| Factor | Click-lock (floating) | Glue-down / nail-down |
|---|---|---|
| Removal reality | Often row-by-row; less substrate damage if done gently. | Typically requires adhesive/faster residue cleanup and careful fastener removal. |
| Perimeter behavior | Expansion gap is critical; floor can move as a unit. | Still needs perimeter accommodation; movement is reduced but not eliminated. |
| Common symptom | Open seams if edges were forced or substrate isn’t flat. | Loose planks or failed bond if residue/adhesive conditions are wrong. |
| Best use case | Repairs where you can access edges and want easier future service. | Spaces where manufacturer allows rigid installation and moisture conditions are controlled. |
Verdict / tip: When DIY makes sense (and when to stop)
If the closet is small, your engineered floor type is clear, and the subfloor is in good condition, DIY replacement is usually manageable. The biggest downsides are tight tolerances (closet doors/trim make mistakes harder to hide) and removal risk (glued/nail-down boards can damage the subfloor if you rush).
Skip the DIY approach (or bring in a flooring pro) if you find:
– Major subfloor damage, chronic moisture, or staining that suggests a deeper issue
– Fastener/adhesive conditions you can’t identify confidently
– You’re matching an existing floor pattern where seam alignment is critical and the closet isn’t wide enough to “hide” adjustments
NWFA emphasizes following the manufacturer’s installation method and substrate requirements because engineered wood performance depends on the system being installed as specified. NWFA installation guidelines
APA guidance highlights that engineered wood products still rely on properly prepared substrates for dimensional stability and long-term performance. APA—The Engineered Wood Association
Quick checklist (print or save):
| Step | Yes/No |
|---|---|
| Identify flooring type (click-lock vs glue/nail-down) | ☐ |
| Remove trim/obstacles needed for perimeter access | ☐ |
| Clear debris and scrape/smooth any leftover adhesive/fastener residue | ☐ |
| Verify subfloor is flat, solid, and dry | ☐ |
| Use correct underlayment/no-underlayment per manufacturer | ☐ |
| Maintain perimeter expansion gap around all fixed surfaces | ☐ |
| Dry-fit cuts near posts/doorways before final placement | ☐ |
| Reinstall trim/transition pieces without pinching the floor | ☐ |
Frequently Asked Questions
What tools and materials do I need to replace engineered wood floors in a closet?
You’ll typically need a circular saw or oscillating multi-tool, pry bar, utility knife, measuring tape, spacers, a miter saw (if needed), and a straight edge. For materials, plan on new engineered wood planks, underlayment if required by your flooring type, transition strips, and the correct fastening method (wood flooring nails, staples, or subfloor-rated adhesive—depending on your installation). Have wood filler, matching stain/finish (if your closet isn’t prefinished), and painter’s tape ready for a clean final look.
How do I remove the old engineered wood flooring in a closet without damaging the subfloor?
Start by clearing the closet and removing the baseboards or trim carefully to access the edges of the engineered wood. If it’s a floating click-lock floor, pry up from a corner and work in sections; if it’s glue-down or nailed, use a floor scraper and oscillating tool to lift planks without gouging the subfloor. After removal, scrape off leftover adhesive, check for squeaks or damaged plywood, and repair any soft spots with patching compound or by replacing compromised subfloor sections.
How do I choose the right installation method for engineered wood floors in a closet?
The “best” method depends on whether your engineered wood is click-lock, nail/staple, or glue-down designed. Closets often have less airflow and can be prone to humidity swings, so confirm the manufacturer’s instructions for moisture limits and acclimation time. If you’re installing over a slab, ensure you use the correct moisture barrier or underlayment; if the subfloor is uneven, leveling compound may be needed for a flat surface that won’t cause gaps or joint stress.
What’s the best way to handle transitions, vents, and tight walls when replacing engineered wood in a closet?
Measure the closet width and plan plank direction so seams don’t end up too close to door openings or high-traffic thresholds. Use spacers to maintain the recommended expansion gap around walls and any built-in features, then cut planks accurately with a saw and template for closet corners. For vents, closet duct covers, or electrical cutouts, cut oversize openings and finish the edges cleanly, ensuring you don’t block airflow or compromise trim that will later cover the gap.
Why is acclimating and leveling the subfloor important when replacing engineered wood floors in a closet?
Engineered wood floors can expand or contract with temperature and humidity, so acclimating the planks in the closet area helps prevent gapping and buckling after installation. A closet subfloor must be flat—any dips or high spots can cause click-lock joints to fail or nail-down boards to flex. Before installing, verify moisture conditions, address unevenness with appropriate leveling methods, and follow manufacturer guidance so your new engineered wood installation stays tight and durable.
📅 Last Updated: October 19, 2026 | Topic: How to replace engineered wood floors in a closet? | Content verified for accuracy and freshness.
References
- Engineered wood
- Wood flooring
- Underlayment
- Floor
- Silica, Crystalline – Overview | Occupational Safety and Health Administration
- Lead – Overview | Occupational Safety and Health Administration
- https://www.epa.gov/lead/renovation-repair-and-painting-program
- https://scholar.google.com/scholar?q=engineered+wood+floor+installation+moisture+subfloor Google Scholar
- https://scholar.google.com/scholar?q=engineered+wood+flooring+removal+underlayment+adhesive Google Scholar
- https://scholar.google.com/scholar?q=hardwood+floor+installation+guidelines+engineered+flooring Google Scholar


