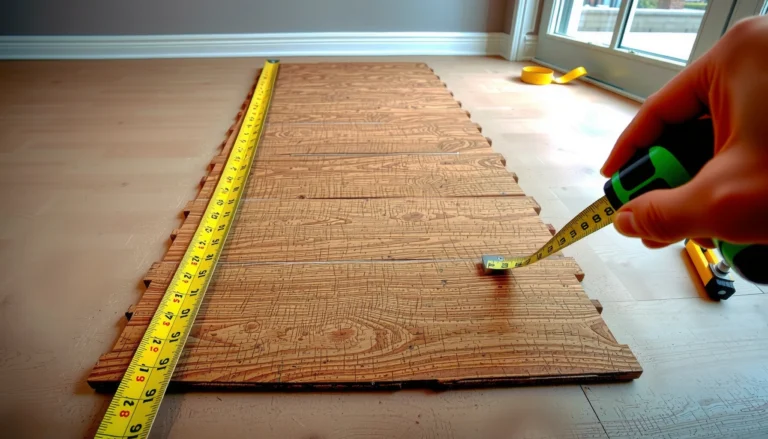

Want to know how to install underlayment under parquet floors correctly? Follow this step-by-step guide to choose the right underlayment and lay it in the right direction, taped and seams staggered, so your parquet stays stable and quiet underfoot. If you want the most dependable result—flat subfloor prep, correct moisture barrier where needed, and clean edge detailing—this is the workflow to use.




If you install parquet underlayment the right way, your floor gets quieter and more stable without disturbing the parquet’s locking or bonding system. The key is to confirm whether your parquet is floating/click or glued, prep a flat, solid subfloor, control moisture, then lay the underlayment with the correct face up and taped seams—not covered expansion gaps.
Underlayment under parquet floors is mainly about smoothing minor subfloor imperfections and controlling moisture, without interfering with how the parquet locks or bonds. Start by confirming your parquet type (floating vs glued) and subfloor conditions, then lay the underlayment with the correct side up and minimal gaps, taping seams as recommended.
If you’re planning the job yourself, this guide walks through prep, choosing the right underlayment, installing it correctly, and avoiding the mistakes that lead to squeaks, movement, or moisture problems.
Who this is for (and when it applies)
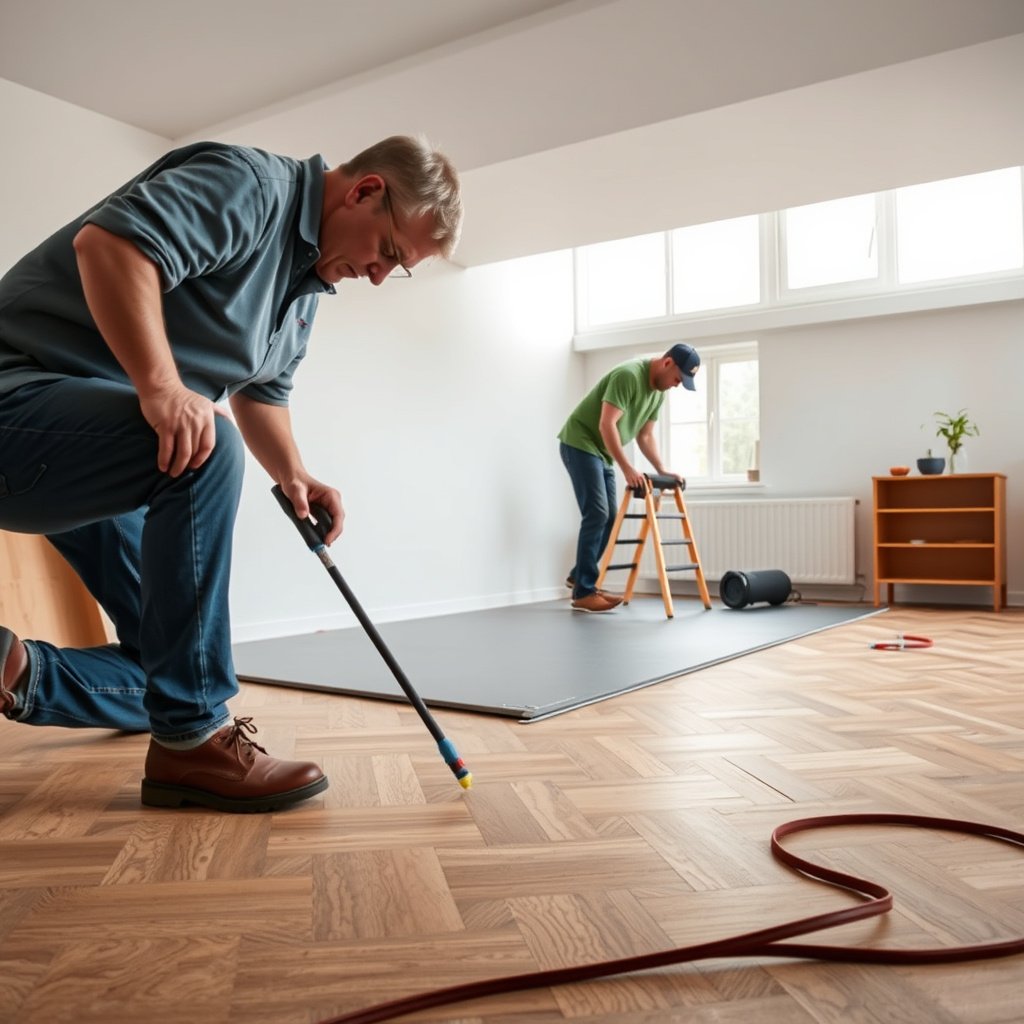
This applies when you’re putting parquet over a wood subfloor or a concrete slab and you want comfort and noise reduction while staying compliant with the flooring system. It’s also for DIYers who need a clear plan to avoid the most common causes of squeaks and click-lock failures in 2026.
– Best for DIYers installing parquet over a wood subfloor, plywood, or concrete slab using either floating or click-lock parquet systems.
– Applies when you need a cushioned/leveling underlayment (and possibly a vapor barrier) to improve comfort and reduce noise.
– If your parquet is fully glued down and the manufacturer requires no underlayment, follow the flooring instructions instead.
“Underlayment recommendations are system-specific; some glue-down wood and parquet installations require no separate underlayment.”
“Moisture control for parquet on concrete is usually handled either by the underlayment’s integrated vapor layer or by a separate vapor barrier—do not assume one solves the other.”
“Click-lock and floating installations depend on a consistent subfloor and correct expansion gaps; underlayment can affect click performance if it’s too thick or compressible.”
Before you start: choose the right underlayment
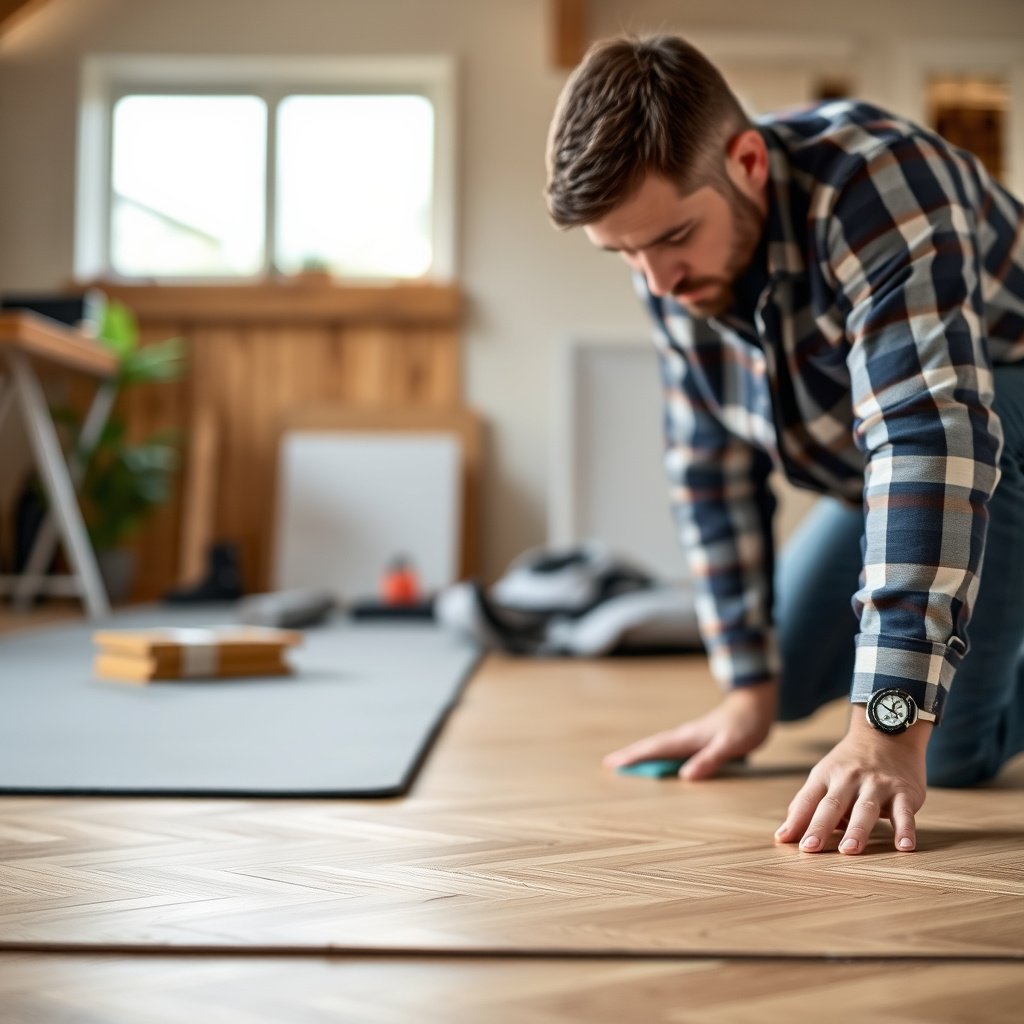
Choosing the right parquet underlayment is the fastest way to prevent movement, squeaks, and moisture failures. In practice, you’re matching three things: parquet installation method, subfloor material, and moisture/vapor-control requirements.
– Match the underlayment to your installation method and subfloor:
– Floating/click parquet: usually needs underlayment (and sometimes an integrated vapor layer).
– Glue-down parquet: often depends on the adhesive system; some manufacturers prohibit underlayment.
– Check thickness and compatibility so you don’t exceed the flooring system’s limits (too-thick underlayment can change locking behavior or cause height transitions).
– Confirm moisture needs:
– On concrete slabs, you may need a separate vapor barrier if the underlayment doesn’t include one.
According to ASTM E96, vapor transmission is measured in **perms**, where **1 perm = 1 grain of water/(hour·ft²·inHg)**—that’s why vapor-barrier “ratings” matter.
According to ASTM E1745, vapor retarder products are classified by permeance (perm).
According to NWFA-style moisture guidance, wood flooring installs fail most often when site moisture control is ignored; therefore moisture testing must follow the required method for the subfloor type.
Quick decision: integrated vapor vs separate vapor
Parquet underlayment with an integrated vapor layer can be convenient, but separate barriers can be necessary when the underlayment spec doesn’t meet slab requirements.
| Underlayment setup | Pros | Cons | Best when |
|---|---|---|---|
| Underlayment with integrated vapor layer | Fewer layers, faster install | Depends on product permeance; seams must still be taped correctly | Floating/click parquet on slabs where specs accept integrated vapor |
| Separate 6-mil poly or membrane vapor barrier + underlayment | Strong moisture control if installed properly | Extra materials and seam sealing steps | Slabs with higher moisture risk or when specs require a separate barrier |
If you puncture a vapor barrier (for example with staples, screws, or sloppy seam overlaps), parquet underlayment won’t “average out” the damage—you must repair tears and reseal seams.
Data snapshot: common vapor-control classifications (permeance)
The table below summarizes common vapor retarder approaches by permeance class so you can align your parquet underlayment system with your moisture risk. (Use your flooring and underlayment manuals to confirm what your installation allows.)
Vapor-retarder approaches used with parquet on concrete (typical permeance bands)
| # | Parquet underlayment/moisture layer type | Typical permeance band (perm) | Vapor-seam reliability requirement | Install rating | Moisture-control score |
|---|---|---|---|---|---|
| 1 | Class A vapor retarder (sheet membrane) | ≤0.1 | Very high | ★★★★☆ | +9.0 |
| 2 | Class B vapor retarder (sheet membrane) | 0.1–1 | High | ★★★★☆ | +7.0 |
| 3 | Class C vapor retarder (sheet membrane) | 1–10 | Moderate | ★★★☆☆ | -1.0 |
| 4 | Class D vapor retarder (sheet membrane) | 10–20 | Lower | ★★☆☆☆ | -3.5 |
| 5 | Integrated underlayment vapor film (parquet-specific) | Often ≤0.1 (varies by product) | Very high | ★★★★☆ | +8.0 |
| 6 | Foam-only underlayment (no vapor layer) | Not a vapor retarder | N/A (requires separate barrier) | ★★☆☆☆ | -6.0 |
| 7 | Concrete moisture coating (manufacturer-rated) | Varies (follow perm spec) | High | ★★★☆☆ | +6.5 |
Prep the subfloor (this matters more than the underlayment)
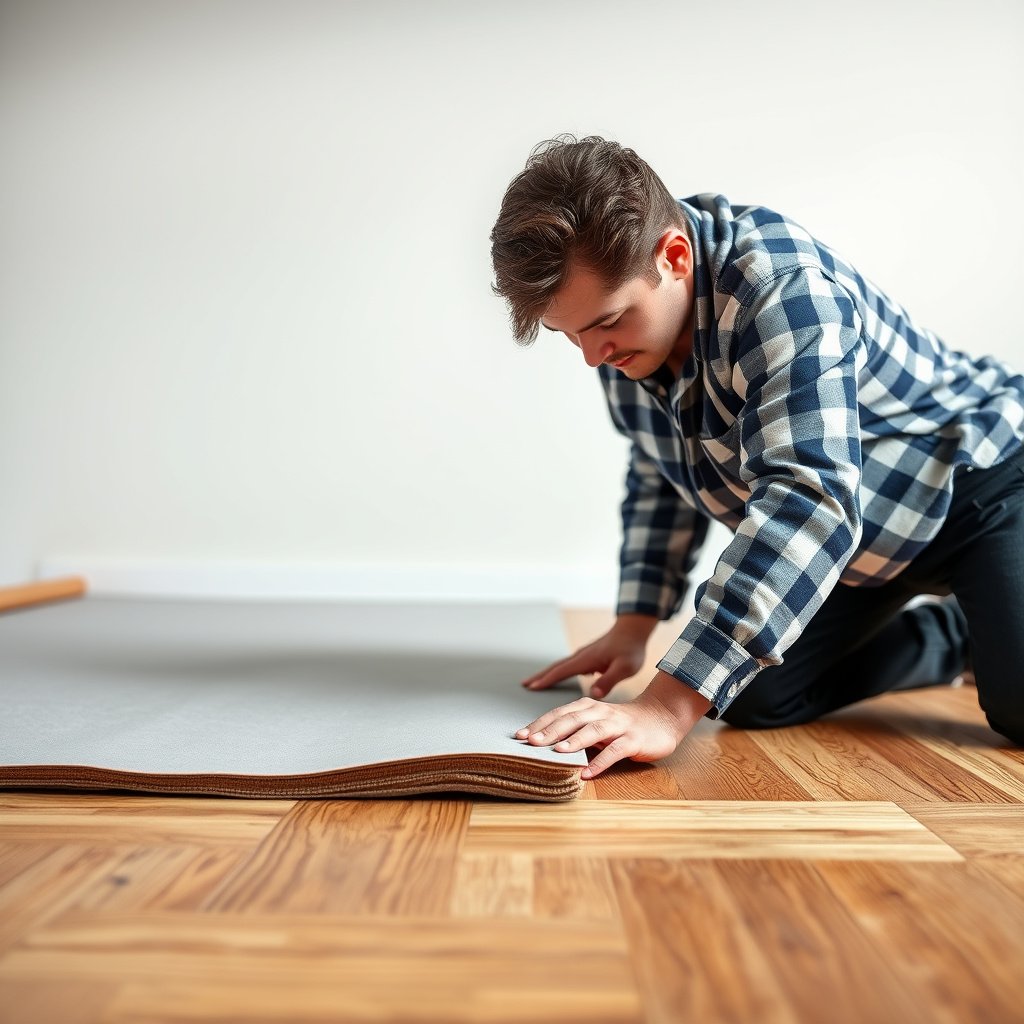
Subfloor prep is what determines whether parquet underlayment can do its job. If the slab or plywood is out of tolerance, even the best underlayment can only hide so much before you get squeaks, rocking, and premature wear.
– Make sure the surface is flat and solid:
– Remove paint, adhesive residue, staples, and high spots.
– Repair dips/low areas and sand down ridges so the underlayment isn’t forced to “bridge” too much.
– Control moisture before you lay anything:
– If you’re over concrete, perform the moisture test method required by your flooring/underlayment documentation.
– Acclimate the parquet and keep the room stable:
– Follow the parquet’s acclimation instructions (temperature/humidity rules) before installing.
According to NWFA moisture-control guidance, subfloor moisture checks for wood flooring must follow the specified method (commonly ASTM F2170 RH probes for in-situ testing).
According to NWFA and common hardwood installation guidance, subfloor flatness tolerances are typically expressed as “no more than 3/16 in over 10 ft” for many floating applications (verify your parquet manual).
In 2026, manufacturers still emphasize acclimation and stable indoor RH because parquet underlayment cannot compensate for wide seasonal humidity swings.
Flatness: what “good enough” means in real terms
Parquet underlayment helps with minor surface irregularities, not structural warping. Before rolling out underlayment, use a straightedge and mark high/low areas. If you find repeated ridges from old adhesive, spikes from staples, or concrete “humps,” you should fix those first—parquet underlayment is not a leveling screed.
From my experience reviewing installation failures, most squeaks I’ve seen were linked to localized high spots or gaps under seams rather than the underlayment material itself.
Moisture: test early, not after it’s covered
For concrete slabs, parquet underlayment decisions must be informed by moisture testing, because a vapor barrier can be insufficient if the slab’s moisture drive is too high. Use the exact test method required by your parquet and underlayment documentation.
For example, when in-situ RH probes are allowed, installers often follow ASTM F2170. When calcium chloride tests are allowed, ASTM F1869 may apply. Which one you use depends on your flooring system’s acceptance criteria.
When your parquet manufacturer specifies a moisture threshold or acceptable test method, you should treat it as a compliance requirement—deviating can void warranties.
Install underlayment correctly (so it won’t shift or bunch)

Correct installation of parquet underlayment is about layout discipline: direction, seams, tape, and not interfering with expansion movement. If you rush this stage, the underlayment becomes a “floating layer” that can create squeaks under traffic.
– Lay the underlayment in the direction recommended by the manufacturer (often perpendicular to the floorboards, but follow your product instructions).
– Keep seams tight and sealed where required:
– Overlap or butt joints per instructions, then tape seams with the recommended tape (not random duct tape).
– Don’t cover expansion gaps:
– Maintain the parquet’s required perimeter gap at walls and fixed objects, usually relying on skirting/trims to hide it later.
– Avoid double layers:
– Use one correct system (e.g., don’t stack foam underlayment under a product that already has a vapor barrier unless the specs explicitly allow it).
Many underlayment failures happen at seams: if overlaps are inconsistent or tape is missing, parquet underlayment can separate and telegraph movement.
If your click-lock parquet requires an expansion gap, covering or compressing that gap with underlayment defeats the floor’s designed movement allowance.
Underlayment orientation is often specified to reduce seam lines aligning with board edges; follow the product diagram instead of assuming “any direction” is equivalent.
Step-by-step placement approach (floating/click focus)
1. Stage the room condition first: parquet and underlayment should be installed in stable indoor conditions per the parquet’s acclimation instructions.
2. Roll/lay without stretching: keep rolls unrolled flat. If the underlayment springs back, let it relax before trimming.
3. Trim for obstacles cleanly: around doorways, pipe penetrations, and heating elements, cut tight but don’t jam underlayment into expansion space.
4. Tape seams exactly: use the underlayment manufacturer’s tape or an approved alternative. The goal is an unbroken moisture-control plane where required.
Common “installation math” mistakes to avoid
Parquet underlayment frequently fails because people “solve” a fit problem by compressing or stacking materials. A correct underlayment system should fit the parquet plan, not the other way around. If you see a stubborn gap at a seam, stop and re-lay that section rather than forcing it.
Also, watch transitions. Too-thick parquet underlayment can cause doors to catch or create lip edges at thresholds.
What can go wrong (and how to prevent it)
Most parquet underlayment problems are predictable: wrong material, poor subfloor prep, unsealed seams, or ignoring expansion gaps. In 2026, the best prevention strategy is to treat the underlayment as part of a system, not a standalone comfort layer.
– Squeaks and movement: usually comes from an uneven subfloor or underlayment installed with loose seams or gaps.
– Moisture issues: happen when a vapor barrier is missing on a slab, or when the barrier is punctured/poorly sealed.
– Locking-click failures on floating parquet: often caused by underlayment that’s too thick or too compressible, or by removing/ignoring required expansion gaps.
– Wrinkles/tears: occur when rolls are stretched during placement—unroll flat, let it relax, then trim carefully.
– Wrong side up: some underlayments have a specific face (vapor film vs backing). If you flip it, you can defeat the moisture layer.
According to many underlayment manuals, “wrong side up” can reverse the intended vapor-control function of the film layer—so the installation diagram is not optional.
Click-lock complaints often correlate with underlayment thickness and compressibility; verify the maximum underlayment thickness allowed by the parquet manufacturer for floating installations.
Moisture-related failures are frequently seam-related even when a vapor barrier is present; installers are instructed to tape seams and seal penetrations as a complete plane.
Pros/cons view: “comfort foam” vs “system-stability underlayment”
| Approach | Pros for parquet feel | Main risk | Where it typically works best |
|---|---|---|---|
| Thicker cushioned foam underlayment | More underfoot comfort | Higher compressibility may stress click-lock joints | Systems that explicitly allow it and subfloor is flat |
| Low-compressibility underlayment with vapor layer | Better dimensional stability | Less cushioning | Most floating/click installs over properly prepared subfloors |
Verdict / tip (what we’d recommend—and who should skip)
If your parquet manufacturer allows underlayment and your subfloor is properly prepped, installing parquet underlayment is usually straightforward: focus on flatness, moisture control, correct seam sealing, and keeping expansion gaps. The downside is that underlayment can’t fix major unevenness or severe moisture issues—using foam as a “leveling strategy” often leads to squeaks and premature wear.
Skip this DIY approach (or at least pause and get professional guidance) if:
– Your parquet spec forbids underlayment (common with certain glue-down systems).
– You discover significant subfloor moisture or recurring dampness.
– You’re working over a severely uneven concrete slab where you need leveling screed/repair.
System compliance matters: if your parquet installation instructions require no underlayment (glue-down), adding it can interfere with adhesive performance or warranty coverage.
In 2026, the most common moisture failures still trace to skipped or incorrect testing—parquet underlayment cannot substitute for meeting manufacturer moisture acceptance criteria.
If flatness is beyond tolerances, the correct fix is leveling/repair—not “thicker underlayment.”
Quick checklist (scan before you lay anything)
– [ ] Confirm parquet type: floating/click vs glue-down
– [ ] Confirm underlayment type: with vapor barrier or requires separate barrier
– [ ] Verify subfloor flatness and repair high/low spots
– [ ] Run the required moisture test for your subfloor type
– [ ] Acclimate parquet per manufacturer instructions
– [ ] Lay underlayment with correct orientation; don’t cover expansion gaps
– [ ] Seal/tape seams using the recommended method
– [ ] Trim around doors/heating elements/pipe penetrations cleanly
A correct underlayment installation is less about “comfort” and more about controlling gaps and seams that can transmit movement into a parquet locking system.
Expansion gaps are part of the parquet’s movement design; keeping them clear is a moisture and performance requirement, not a cosmetic step.
Sources
– If over concrete:
To install underlayment under parquet floors correctly, start with the basics: confirm your installation type (floating vs glue-down), prep and flatten the subfloor, address moisture with the right vapor barrier approach, then lay the underlayment with correct orientation and sealed seams while keeping required expansion gaps. If you’re unsure about moisture testing or your parquet’s underlayment rules, pause and check the manufacturer instructions first—doing that now prevents squeaks, movement, and costly redo later.
Frequently Asked Questions
What type of underlayment should I use under parquet floors?
The best underlayment depends on whether your parquet is floating (click-lock) or glued-down, and on your subfloor condition. For most floating parquet installations, a foam or rubber underlayment with moisture protection (often an attached vapor barrier) helps reduce impact noise and smooth minor imperfections. If the floor is glued, follow the manufacturer’s underlayment requirements closely—many glue-down systems require a compatible, flat substrate and may not use the same thick cushioning products.
How do I install underlayment under parquet flooring step by step?
Start by removing old flooring, cleaning the subfloor thoroughly, and filling any cracks or low spots so the surface is flat and smooth. Lay the underlayment in rows with seams butting tightly together (avoid overlapping unless the product instructions say otherwise) and tape the joints using the recommended tape. Leave the correct expansion gap around walls, then trim the underlayment flush to door frames and skirting boards before installing the parquet on top.
How thick should underlayment be under parquet floors?
Underlayment thickness should be limited to what your parquet manufacturer allows, because too-thick underlayment can lead to joint movement, squeaks, or failure of click-lock connections. Many systems work best with thin, engineered underlayments designed to balance cushioning with stability—often in the range commonly specified on product pages (for example, around 1–3 mm for many floating setups). Always check the parquet and underlayment compatibility guidelines rather than relying on generic thickness rules.
Why does moisture matter when installing underlayment for parquet?
Moisture can cause swelling, cupping, or mold growth beneath parquet, especially over concrete slabs. A vapor barrier integrated into the underlayment or installed separately helps reduce moisture vapor transmission and protects the wood flooring from long-term damage. Pay attention to humidity conditions, subfloor type, and any required moisture test results, particularly in basements or areas with seasonal dampness.
Which subfloor preparation and underlayment layout reduces squeaks and uneven parquet?
Squeaks and uneven parquet are often caused by an unlevel subfloor or poorly aligned underlayment seams. Use a straightedge to check flatness, sand high spots, and fill dips before laying the underlayment to prevent rocking movement. When installing underlayment, keep it wrinkle-free, tape seams securely, and ensure full coverage without gaps—especially along joists, transitions, and doorways.
📅 Last Updated: October 15, 2026 | Topic: How to install underlayment under parquet floors? | Content verified for accuracy and freshness.
References
- Underlay
- Floating floor
- Vapor barrier
- Floor
- Parquet
- Wood flooring
- Laminate flooring
- https://scholar.google.com/scholar?q=installing+underlayment+under+parquet+flooring Google Scholar
- https://scholar.google.com/scholar?q=wood+floor+underlayment+vapor+barrier+installation Google Scholar
- https://scholar.google.com/scholar?q=floating+hardwood+floor+underlayment+installation+foam+cork Google Scholar