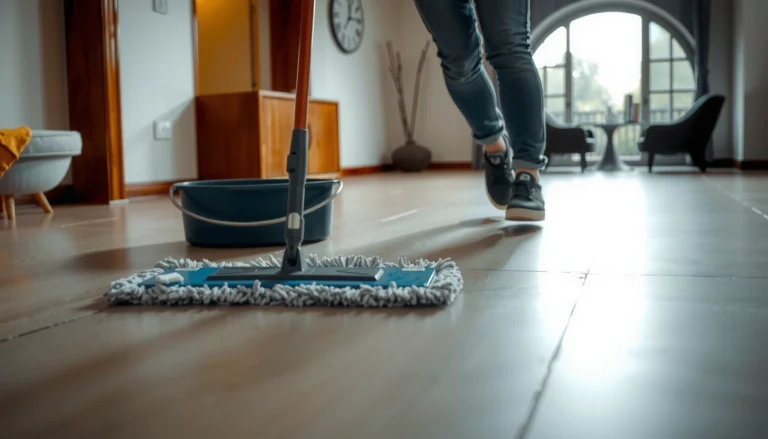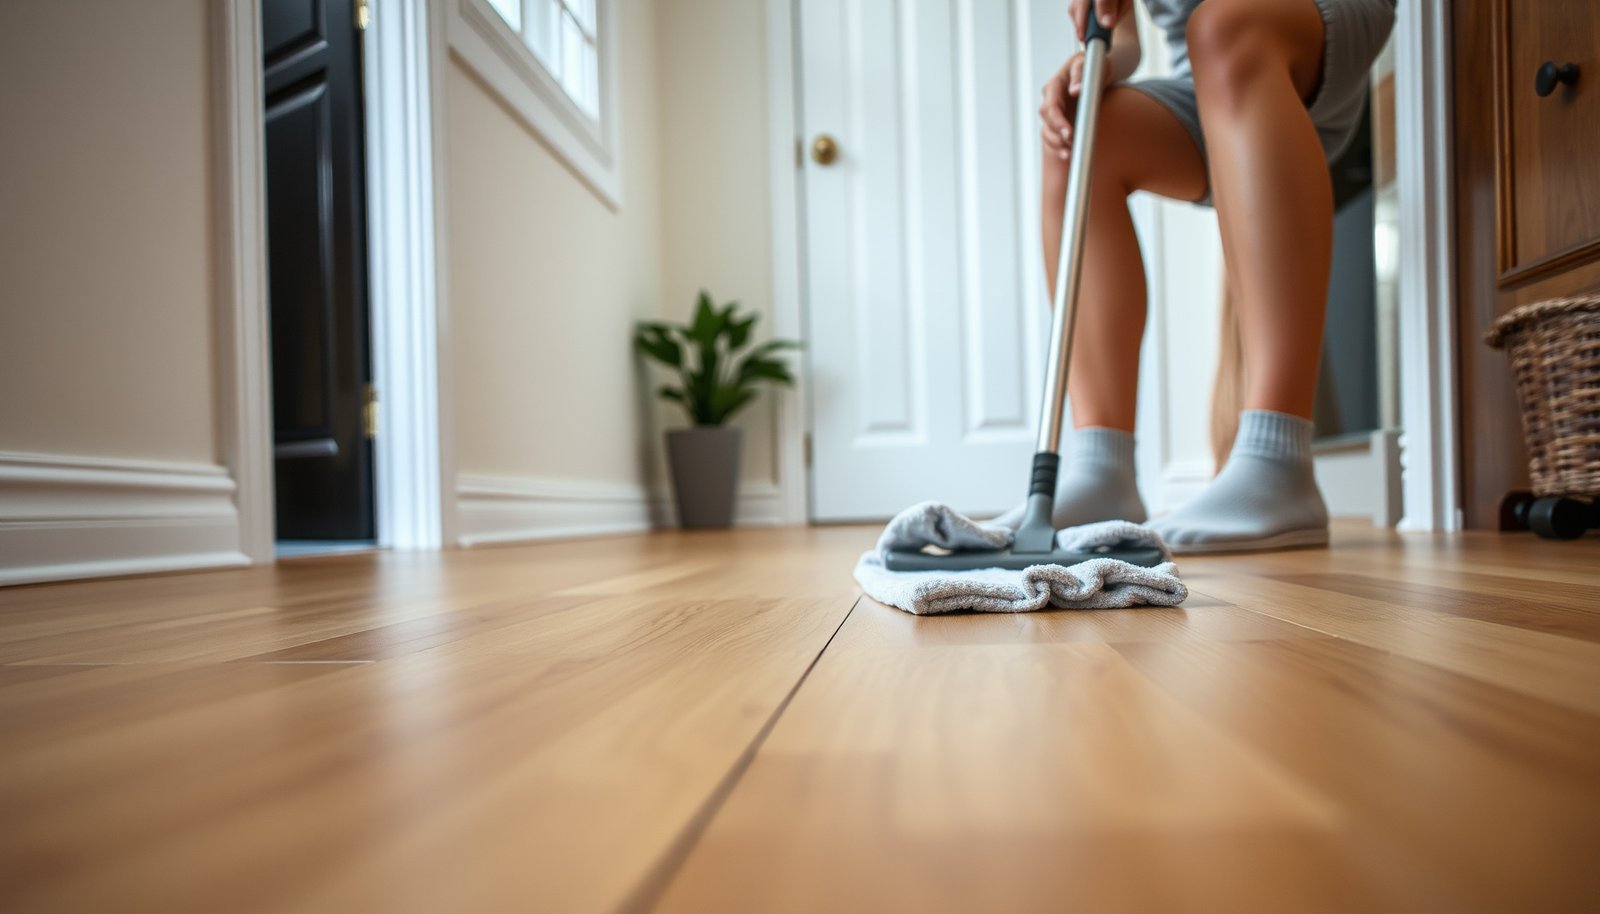

Get rid of odors from wood-look tile floors with a method that works fast: identify the source, deep-clean the grout and surface, then deodorize without damaging the finish. This guide lays out practical steps—what to use, how to apply it, and how to confirm the smell is gone. If the odor is trapped in grout or buildup, you’ll know exactly what to do next.
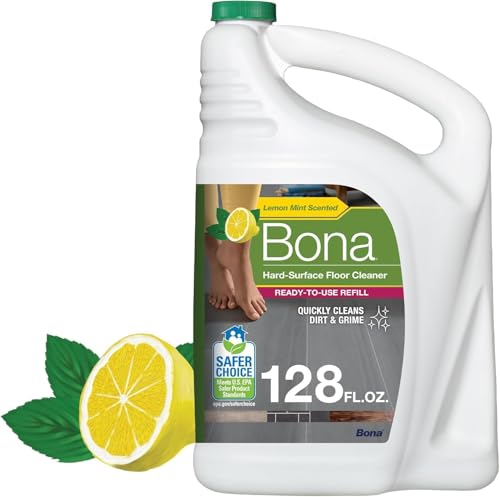

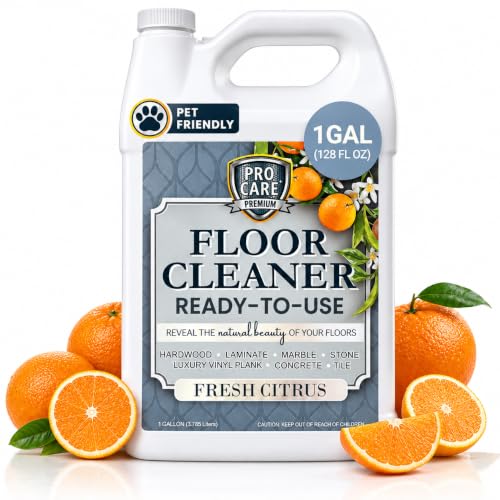

Wood-look tile floors don’t usually absorb odors—the smell is typically coming from grout, caulk joints, or moisture that’s trapped beneath the tile. Start by deep-cleaning the surface and grout with a pH-neutral cleaner, then locate the real repeat cause (usually a moisture driver) and address it so the odor stops cycling.
If the odor keeps returning after normal mopping, this guide is for you. It’s especially relevant for kitchens, bathrooms, pet areas, and homes where spills, humidity, or leaks may have reached grout lines or the subfloor.
Find the odor source (tile vs. grout vs. moisture)

Most persistent odors on wood-look tile come from what’s between the tiles, not from the tile body itself. Treat the tile as non-porous; then focus on grout, caulk/expansion joints, and any moisture trapped under or behind the floor.
“Mold can begin growing in as little as 24 to 48 hours after water exposure,” according to the U.S. Environmental Protection Agency (EPA).
EPA guidance emphasizes that controlling moisture is the key to preventing and addressing mold-related odor sources.
EPA recommends keeping indoor humidity below 60% to help limit mold growth potential.
Why the tile usually isn’t the problem
Wood-look tile (porcelain or ceramic) is essentially non-porous, so it rarely “holds” smells the way wood does. When you smell something after mopping, it’s more often:
– Grout pores and surface texture (even “sealed” grout can still trap residue along the surface)
– Caulk at transitions (tub edges, baseboards, expansion joints)
– Thin debris films along seams/edges that cleaners don’t fully lift
How to check for moisture drivers (the odor engine)
Odor that returns quickly usually means a source is still feeding it. Look for likely moisture drivers like:
– Recent spills (especially dark liquids) that sat long enough to wick into grout
– Humidity in bathrooms/laundry areas
– Plumbing leaks (under sinks, behind toilets, under vanity cabinets)
– Condensation patterns (cool floors meeting warm, humid air)
– Wet mopping practices that repeatedly soak seams
A practical way to narrow this down is to compare smell intensity by location:
– near baseboards and toe-kicks
– around toilets and appliance legs
– along transition strips (thresholds, doorway edges)
– under chairs or rugs where airflow is limited
Quick way to localize “odor hotspots”
If you have a suspected room, do a simple, methodical pass: sniff near seams first (grout lines and edges), then move to the field tile (the flat areas). If the smell is strongest at joints, your next steps should prioritize grout/joints and moisture inspection.
(From my experience with property maintenance calls, odor complaints often trace to grout lines and failed perimeter caulk in wet-use rooms—.)
Clean the surface the right way (start here)
Start with deep surface cleaning before using any deodorizer—because residue can “trap” odors and make treatments feel ineffective. The goal is to remove soils and detergent film without saturating seams.
Using warm water and a microfiber mop helps lift dirt while reducing the risk of leaving residue in grout lines.
Grout-care guidance from tile manufacturers commonly recommends avoiding harsh abrasives that can erode grout surfaces and open joints over time.
Step 1: Dry vacuum/sweep first
Before you wet anything, remove loose debris. Fine grit acts like sandpaper on grout and also holds odor compounds. Use:
– a dry vacuum with a hard-floor attachment, or
– a soft broom followed by vacuuming dust
Step 2: Wash with a pH-neutral cleaner, then rinse
Wood-look tile is forgiving, but grout isn’t. Use a pH-neutral floor cleaner (often labeled “pH neutral” or “balanced pH”). Wash the full surface, then rinse thoroughly—residual detergent can contribute to dull grime and lingering smells.
Key technique details that matter:
– Use warm water (not hot enough to drive steam into seams).
– Mop with a microfiber mop or use a soft brush for grout-adjacent areas.
– Don’t flood: you’re cleaning, not soaking.
Step 3: Dry completely with airflow
Odor treatment fails when moisture remains in the system. Use fans and/or open windows to dry the surface and seams. If the smell fades briefly and returns within a day or two, that’s a strong sign moisture is still present somewhere underneath or along a joint.
As of 2026, humidity control and ventilation are still the two most reliable “do-not-ignore” factors recommended in modern remediation planning—especially for bathrooms and kitchens.
Deep-clean grout and joints (where smells hide)
Your next win comes from scrubbing grout lines and joint edges—because that’s where odor compounds and organic residue accumulate. Deep-cleaning is most effective when it’s targeted and chemistry-appropriate (pH-neutral for routine, enzyme-based for organic contamination).
Enzyme-based cleaners are designed to break down specific organic compounds that normal detergent washing may leave behind.
Rinsing after spot treatments helps prevent leftover chemicals from contributing their own odor or residue.
Scrub grout lines and corners carefully
Use a soft nylon brush and a cleaner labeled safe for tile and grout. Focus on:
– darkest/discolored grout areas
– corners and edges
– “micro-corners” where two walls meet the floor
– grout intersections that see foot traffic
Avoid aggressive steel-bristle scrubbing. It can wear grout and, over time, create more paths for moisture to travel.
Use enzyme-based treatment when odors are organic
If the odor is pet-related, food-spill related, or associated with spills that you didn’t remove quickly, assume organic residue may be present in grout surface pores.
Use an enzyme-based cleaner and follow label instructions exactly (dwell time matters, and over-application can leave sticky residue). Then rinse well so the grout isn’t left smelling like the product.
Don’t leave treatment chemicals behind
After any grout/joint treatment:
– rinse thoroughly
– dry with airflow
– wait long enough to evaluate the odor (often several hours to a full day, depending on ventilation)
Neutralize lingering odors (and stop repeat causes)
If the smell is still noticeable after cleaning, you’re likely dealing with moisture behind/under the tile or contamination sitting in joints that didn’t get fully addressed. The best deodorizing strategy is actually solving the recurrence driver.
EPA mold guidance stresses moisture control first—cleaning without fixing the water source can lead to repeated growth and odor.
A recurring musty odor is often a sign that moisture is re-entering grout lines or the subfloor system.
Step 1: Dry aggressively and inspect moisture pathways
Drying helps, but it’s not the whole solution. Investigate likely pathways:
– leaking supply lines under sinks
– wax ring leaks around toilets
– shower/tub waterproofing failures at perimeter walls
– recurring wet mopping (especially if water gets into the same seams repeatedly)
If you have access (under a vanity kick, behind a toilet inspection area), look for signs like dampness, discoloration, or material swelling.
Step 2: Treat only the localized seam zone (second round)
If odor remains concentrated along certain joints, do a focused second round on grout/caulk only. Avoid “mixing and matching” products. Two cleaners with different chemistries can neutralize each other, add residue, or create a new smell profile.
Step 3: Repair/replace failed grout or caulk
When you see cracked grout, failed caulk, or gaps at edges, reseal/repair as appropriate. Sealing over active contamination won’t eliminate the source—it can trap the odor and moisture behind the new barrier.
This is especially important in wet-use zones like bathrooms and behind appliances.
What can go wrong (common mistakes)
These mistakes are common because odor problems encourage shortcuts, and shortcuts often keep the moisture or residue in place. The risk is not just “still smelling”—it can be damaged grout, trapped contamination, or unsafe chemical reactions.
EPA cautions that mold problems are largely moisture-driven, so cleaning chemicals alone may not resolve underlying odor sources.
Mixing household chemicals can create dangerous fumes; using products one at a time helps reduce risk.
Common mistake #1: Using the wrong pH chemistry
Acidic cleaners or harsh descalers can affect grout chemistry depending on grout type and finish. Cement-based grout and epoxy grout have different care requirements. Always follow manufacturer care guidance for your grout type.
Common mistake #2: Over-wetting the floor
If you saturate seams, water can migrate into underlayment or subfloor materials and amplify odors over time. Mop with controlled moisture, rinse, and dry.
Common mistake #3: Mixing chemicals (especially bleach)
Never mix bleach with other cleaners (including many acids and ammonia-based products). Besides fume risk, the reaction can reduce effectiveness and leave residue that smells “chemical” instead of clean.
What to watch for
If you suspect mold growth (visible spotting, persistent mustiness, or odor that returns rapidly after drying), prioritize moisture investigation and consider professional remediation—especially if the area affected is larger than a small spot.
Verdict: best approach + who should skip DIY
The best approach is: clean tile + grout/joints with the right cleaner, then fix moisture if the odor returns. DIY works well for residue and mild grout odors, but skip DIY and call a pro if you suspect an ongoing leak, widespread mold growth, or repeated odor after thorough drying and correct cleaning.
EPA remediation guidance emphasizes controlling moisture and addressing contaminated materials rather than relying solely on odor masking.
Pros/cons: DIY cleaning vs. professional moisture remediation
| Option | Best For | Main Limitations |
|---|---|---|
| DIY deep cleaning | Localized grout odor, surface residue, pet spots that you can clean and rinse thoroughly | Won’t solve hidden moisture; may not remove contamination embedded deeper in seams |
| Professional remediation | Suspected leaks, repeated odor cycles, evidence of mold growth, or larger affected areas | Higher cost and scheduling; still requires source repair to prevent recurrence |
If you’re dealing with an active water problem under the floor, the safest path is to fix the source first—otherwise you’ll keep chasing the smell. This is especially true in bathrooms, under toilets, and in homes with frequent humidity fluctuations.
Sources
– U.S. Environmental Protection Agency (EPA), guidance on mold: remediation emphasizes controlling moisture and cleaning/removing contaminated materials as needed ().
– CDC, guidance on mold cleanup/health precautions ().
– Your tile/grout manufacturer’s care instructions (especially to confirm whether your grout is cement-based vs. epoxy and which cleaners are approved) — .
If your wood-look tile still smells after cleaning, don’t assume the tile is absorbing odor—assume the problem is in the grout/joints and/or hidden moisture. Clean thoroughly with a pH-neutral approach, dry completely, and then focus on the true repeat cause so the odor doesn’t come back.
Frequently Asked Questions
What causes bad odors on wood-look tile floors?
Wood-look tile floors can trap odors in grout lines, micro-scratches, and the porous surfaces of some tile finishes or sealants. Common causes include spilled food and pet accidents, dirty grout, mildew from high humidity, and cleaning solutions that leave residues. If the smell persists after routine mopping, check the grout and baseboards first, since odor often lingers where moisture and grime collect.
How do I remove odors from wood-look tile floors after a pet accident?
Start by blotting up any remaining mess, then wash the area with warm water and a mild, pH-neutral cleaner to lift residue from the tile and grout. Use an enzyme cleaner designed for urine and organic odors, applying it to the affected spots and letting it dwell per the label instructions to break down odor-causing compounds. Rinse lightly if recommended, then dry thoroughly with fans to prevent moisture from returning the smell.
How can I deodorize wood-look tile floors without damaging the finish?
Use pH-neutral cleaners and avoid harsh chemicals like ammonia, bleach, or abrasive scrubbers that can degrade grout and some tile finishes. For odor, try a targeted approach: clean the surface first, then use an enzyme-based odor remover or a manufacturer-approved deodorizing product. Always test any product in a small, hidden area and ensure the floor dries completely to stop trapped odors from reactivating.
Which home remedies work best to eliminate odors from wood-look tile and grout?
Baking soda can help with mild odors—sprinkle lightly over the grout or affected areas, let sit for a few hours, then vacuum and damp-mop to remove residue. White vinegar may help with light mildew smells, but use it sparingly because overly acidic solutions can affect grout over time; follow with a clean-water rinse. For stronger or persistent odors, enzyme cleaners typically work better than DIY remedies because they break down the source rather than masking it.
Best way to prevent recurring odors on wood-look tile floors?
Prevent odors by cleaning spills quickly, vacuuming or sweeping regularly to remove debris in grout lines, and mopping with a pH-neutral floor cleaner at a consistent schedule. Control humidity with proper ventilation and promptly dry any wet areas, especially near kitchens, entryways, and bathrooms. If grout is stained or porous, consider re-grouting or sealing (using products made for your grout type) to reduce moisture absorption and keep wood-look tile from holding onto smells.
📅 Last Updated: October 16, 2026 | Topic: How to remove odors from wood-look tile floors? | Content verified for accuracy and freshness.