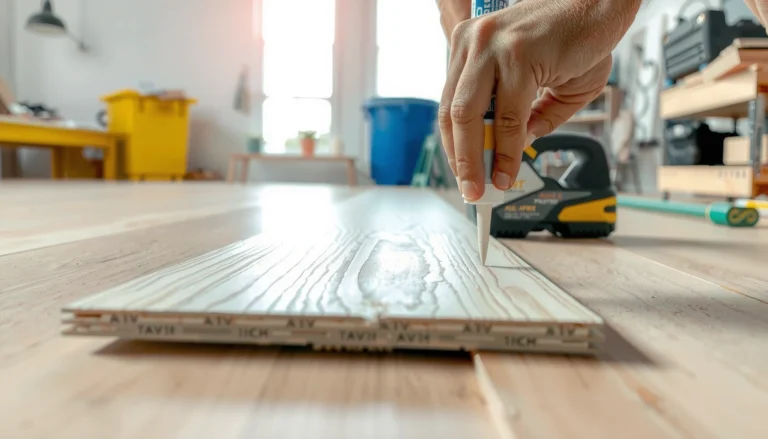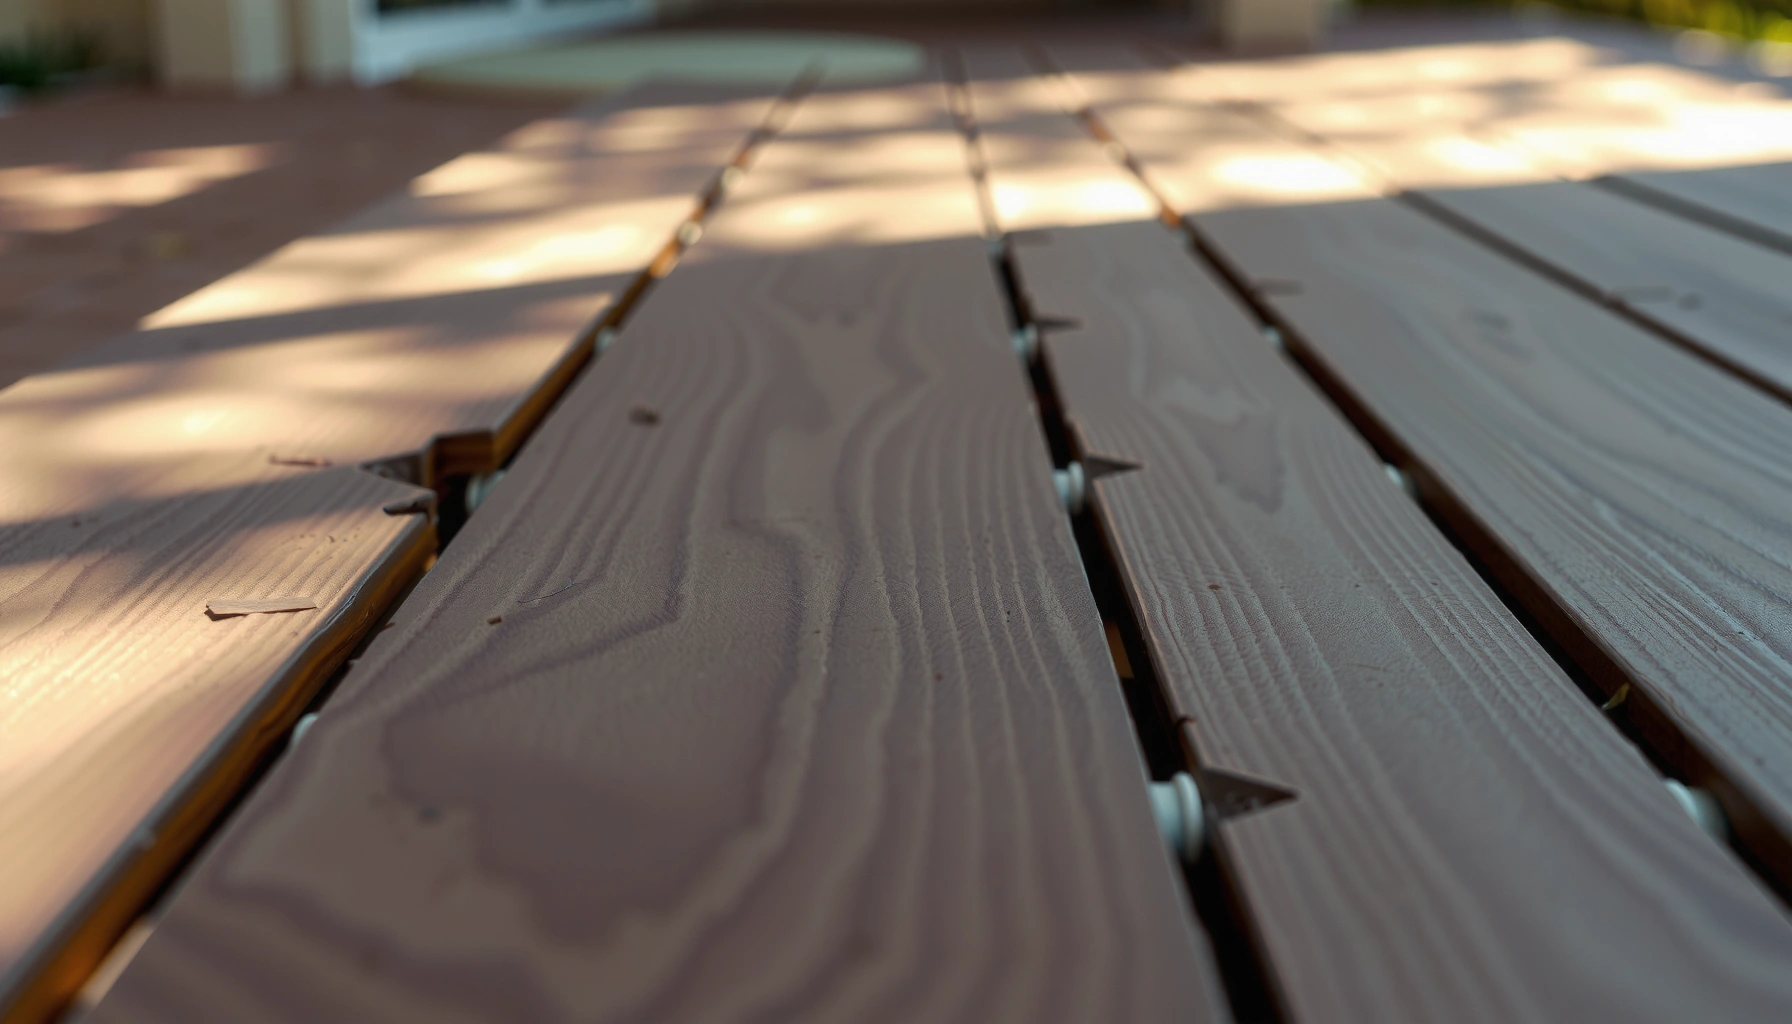

Fix gaps in outdoor floors fast and correctly—without worsening the problem—by choosing the right repair method for your floor type and gap size. This guide lays out the best, most reliable solutions (from cleaning and re-caulking to leveling and replacing damaged sections) and what to avoid so water can’t work the gap wider. You’ll learn exactly how to stop movement, lock the surface down, and restore a clean, durable finish.
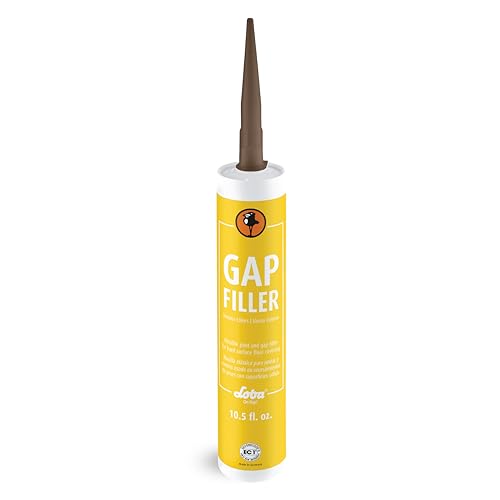



If you want gaps in outdoor floors to stop reappearing, you have to repair the cause (movement, failed support, or damaged edges), not just the visible seam. The most reliable approach is: secure any loose boards first, then use an exterior-rated filler/sealant that matches the substrate and allows for seasonal expansion.
If this is your patio, deck, balcony, or exterior walkway—and you’re seeing lines between boards, shrinking seams, or openings that collect dirt and water—this is for you. It’s especially relevant when the gaps seem to change with seasons or you can feel soft spots when you walk.
Assess the gap and find the cause first
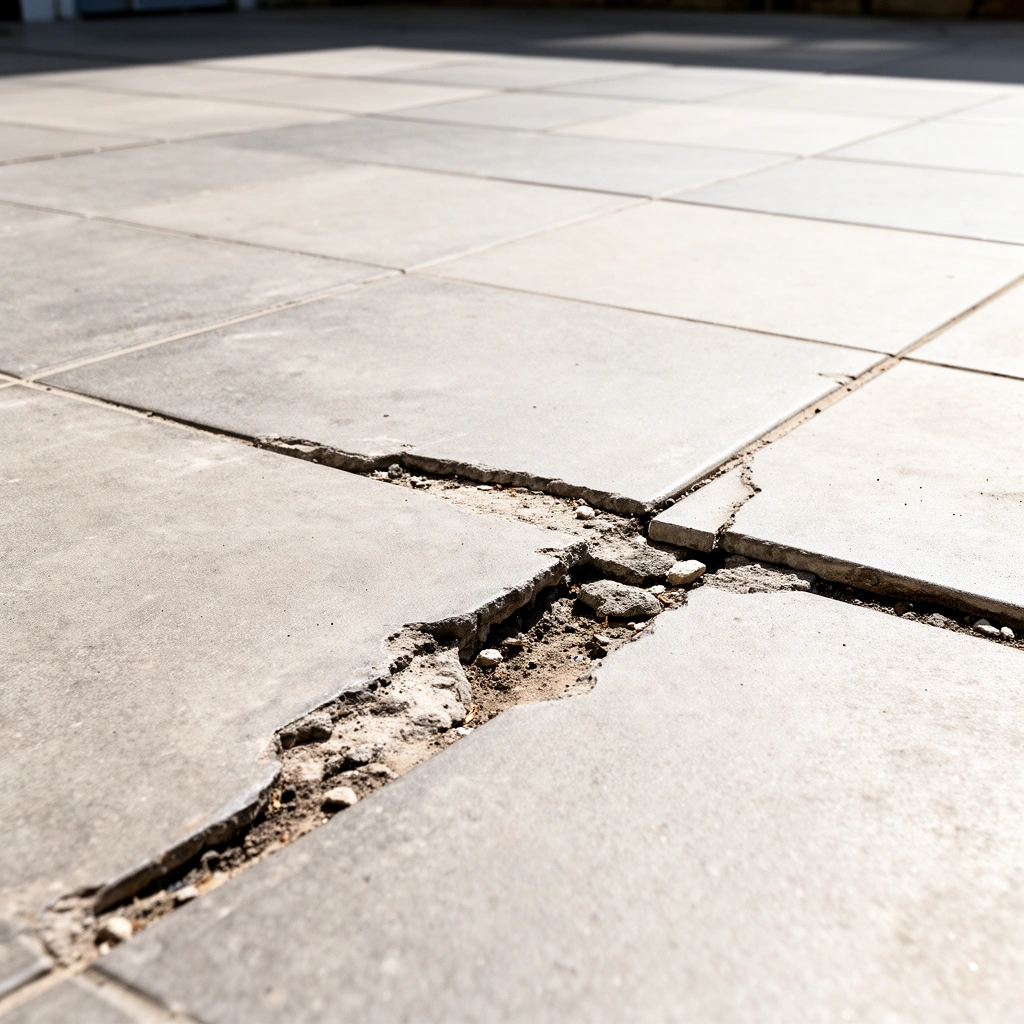
You’ll avoid “looks fixed but fails” outcomes by diagnosing whether the gap is cosmetic or the symptom of movement or structural issues. Start by determining if only the seam changed—or if the boards, framing, or substructure are shifting after moisture and temperature changes.
A gap that widens after rain or cold snaps usually signals joint movement (expansion/contraction), so a rigid fill can crack or debond.
Loose deck boards often create a repeating gap pattern because the fasteners lose clamp force over time, especially when wood swells and dries.
Water entry commonly tracks along end-grain and board edges, so the visible seam may be the “exit,” not the “entry,” for moisture.
Look beyond the seam (boards, framing, and movement)
Begin with a tight visual + tactile inspection. If you can press down on the deck board and it “bounces” or you hear a click, you’re not dealing with a simple sealing job—you likely have insufficient subfloor support or failing fasteners.
Use this quick decision approach:
– Seam-only gap (boards appear solid): the boards are mostly stable; the seam is opening/shrinking.
– Soft/rocking board gap: the board or plank is moving because the framing/substructure is loose, undersupported, or deteriorated.
– Gaps that track around specific edges: end joints, cut edges, or sections with water exposure can be failing faster than others.
Repeat your inspection after weather changes if possible. As of 2026, most durable deck gap repairs still start the same way: identify movement first, then choose a repair system designed for outdoor exposure and joint motion.
Identify water entry points and debris pathways
Outdoor seams fill with dirt because water carries it into the joint. But if water is getting behind boards, it can accelerate rot and loosen fasteners from below.
Look for:
– End grain edges (cut ends and notches) that appear darkened, rough, or swollen
– Fasteners pulling loose (gaps near screws/nails; heads sitting proud)
– Cracked or splitting board ends (common where water pools)
– Areas where debris washes into the seam after rain
Determine whether the gap behavior is seasonal
This is a major clue. If the gap is smaller in summer and wider in winter, the boards are responding to moisture and temperature swings. That typically means you need a repair that can accommodate movement—or, in some cases, you should focus on stabilization first (more on that below).
Conversely, if a gap is widening steadily regardless of season, investigate for sinking framing, localized rot, or a missing support member.
Choose the right repair method (by floor type and gap size)
The right fix depends on whether you’re sealing a joint or repairing a failed system. For small, stable seams you can often seal; for wider gaps caused by board movement you should re-seat and re-fasten before you fill; and for rot or structural damage you must replace the compromised material.
If the boards are moving, reseating and re-fastening first is more effective than relying on caulk or wood filler to “bridge” motion indefinitely.
When end-grain or board edges are water-damaged, replacing the affected boards is typically more durable than patching over compromised fibers.
For outdoor joints, selecting a sealant/filler rated for exterior use and suitable substrate adhesion is critical to long-term performance.
Match the method to the gap and the substrate
Here’s how I recommend you map your observation to a repair category:
– Small, static gaps (seam opens slightly but boards don’t move):
– Use an exterior-rated caulk/sealant or outdoor wood filler compatible with your floor material.
– Best for: hairline seams, minor shrinkage lines, surface-level openings.
– Wider gaps or seams tied to board movement:
– Re-seat boards, correct spacing/support, and re-fasten where needed.
– Then consider a compatible filler/sealant designed for exterior exposure and (if applicable) movement.
– Damaged/rotted sections:
– Replace the affected boards/components.
– Patching over rot often traps moisture and accelerates failure around the patch edge.
A simple decision matrix (what to do first)
| What you observe | Most likely cause | Best repair order |
|---|---|---|
| Gap only between boards; no rocking | Seasonal shrinkage/expansion | Clean → seal/fill with exterior product |
| Soft board or movement underfoot | Loose framing/support or failing fasteners | Secure/replace framing/fasteners → then fill seam |
| Dark end grain, cracked board ends, softness | Water intrusion and rot | Remove and replace damaged boards → then seal adjacent seams |
| Gap grows after every storm | Ongoing water pathway behind boards | Find entry path → address drainage/underlayment → then seal |
Why flooring type changes the answer
Wood and composite behave differently:
– Wood deck boards move with moisture; sealing seams can work, but hardfills may crack if the joint must move.
– Composite boards often have different movement behavior and require strict compatibility with the manufacturer’s recommended sealants.
– Concrete/stone exterior slabs have joints, saw cuts, and expansion behavior that are typically addressed with joint sealant systems designed for concrete.
Prep properly so the filler actually sticks
The bond strength you get at the seam determines whether your repair lasts through the next rain cycle and freeze-thaw period. Clean, dry, and compatible prep is what turns a “fill” into a durable seal.
Most outdoor seam failures start with contamination—dust, mildew, old failing caulk residue, or surface oils prevent adhesion.
Outdoor repairs fail quickly when the seam is still damp, because many sealants and fillers can’t cure properly on wet substrates.
Many sealant systems require specific surface prep steps (cleaning agents and light abrasion) to achieve design adhesion.
Clean out the gap (and remove the “fail layer”)
Start by removing anything that’s already preventing adhesion:
– Loose debris, dirt, and compacted grit
– Old caulk that’s cracked or lifting
– Any material that crumbles when lightly scraped
If you’re using a scraper or wire brush, avoid gouging the board faces. The goal is sound substrate edges that the filler can grip.
Dry the seam completely
Let the area dry before you apply. If the seam is damp from recent rain, you risk:
– Weak bonding and early debonding
– Staining or bubbling as moisture tries to escape
– Surface cure problems
When you’re unsure, wait longer than you think you need—outdoor curing is weather-dependent.
Follow product prep requirements as a system
Not all exterior sealants behave the same. Some require:
– A specific cleaner/degreaser
– Light abrasion for mechanical keying
– Primers for certain substrates (especially on masonry or low-surface-energy plastics)
According to ASTM C920 (sealants for joint construction), sealant performance depends on proper substrate preparation and the intended joint movement category. [ASTM C920]
(Use this standard as a framework; your specific product’s technical data sheet will dictate the exact prep steps.)
Fill and seal in a way that matches outdoor conditions
A durable seam repair matches the product to the joint’s motion and the surface’s chemistry. If the joint moves seasonally, your repair system must remain flexible enough (or be preceded by stabilization) so it doesn’t crack.
For exterior seams that experience expansion and contraction, a compatible exterior sealant system is more reliable than rigid patch materials.
Apply sealant/filler in the bead size and coverage range stated by the manufacturer to avoid underfilled or overpacked joints that fail early.
Tooling and finishing matter: proper contact with seam edges improves adhesion and reduces pinholes where water can track.
Use substrate-appropriate products (wood vs. composite vs. concrete)
Your product choice should reflect:
– Substrate: real wood, composite decking, pressure-treated lumber, painted surfaces, or concrete
– Exposure: UV, rain saturation, and freeze-thaw in colder climates
– Joint behavior: seam-only movement vs. board movement vs. structural settlement
If you’re sealing seams on wood decking, ensure the product is rated for exterior use and compatible with pressure-treated wood if that applies. If you’re working with composite, follow the deck manufacturer’s recommended sealant/filler guidance—some systems are sensitive to compatibility.
Apply the correct bead size and finish properly
A common “fails later” pattern is skipping tool/finish instructions. In practice, you want:
– Good edge contact (sealant/filler adheres to both sides of the seam edges)
– No voids
– A finished surface that sheds water rather than traps it
If your product instructions mention backer rod, depth control, or tooling time windows, treat those as part of the engineering—not optional steps.
Plan for movement instead of fighting it
Some gaps are expected to open and close. In those cases, a repair that accommodates joint movement is the goal. Hard fillers can look great on day one and then fracture as boards expand/contract.
According to ASTM C920, sealants are performance-rated for joint movement categories and exterior conditions when installed properly. [ASTM C920]
(The key practical takeaway: choose a sealant that matches the joint’s motion potential and your specific installation method.)
What can go wrong (and how to avoid it)
You’ll make things worse when you fill a problem that’s structural or moisture-driven. The repair should not become a moisture trap, and it shouldn’t conceal ongoing movement that continues to widen the seam.
Filling over loose framing is a short-term fix because motion continues to break the adhesion line.
Using interior-only caulk or filler outdoors commonly leads to shrinkage, cracking, and loss of adhesion after UV and moisture exposure.
Skipping surface prep and applying over dust, mildew, or old residue is one of the highest-probability causes of early failure.
Common failure modes (and the prevention)
– Filling without fixing loose framing
– Symptom: seam opens again quickly, or filler falls out.
– Fix: re-seat boards, tighten/replace fasteners, and address any substructure softness.
– Using interior-only caulk/filler
– Symptom: shrink cracks appear, especially after sunlight and wetting/drying cycles.
– Fix: use exterior-rated materials and confirm UV/exterior suitability.
– Skipping surface prep
– Symptom: peeling or bubbling within weeks.
– Fix: clean, dry, and follow the product’s documented prep steps.
– Expecting one solution for every gap size
– Symptom: tiny cosmetic gaps get sealed with the same product used for board movement gaps.
– Fix: small static seams = sealing/filling; structural gaps/rot = stabilization and replacement.
Edge cases: drainage and water management
Sometimes the seam isn’t the real problem—it’s where water is going. If water is pooling, flowing under boards, or dripping along an edge, sealing alone can trap moisture and increase rot risk.
If you see recurring dampness beneath the decking or staining patterns below seams, prioritize:
– Drainage improvements
– Proper flashing/edge detailing (as applicable)
– Fixing the route water takes before sealing
Verdict: when to DIY vs. when to replace or call a pro
If your gaps are small and the boards are solid, a carefully prepped exterior seal/fill repair is often a reasonable DIY path. If you find rot, significant board movement, sinking framing, or gaps that keep growing after weather swings, replace compromised sections—or bring in a contractor—because fill-only fixes can mask the underlying failure.
DIY gap sealing can work when the underlying structure is sound and the seam movement is minor and seasonal.
If you discover soft wood, significant rocking, or repeated widening after storms, addressing structure and water pathways beats relying on sealants alone.
For rot or end-grain water damage, replacement is typically the durable solution because sealants cannot restore structural integrity.
[ADD: author’s recommendation based on common floor materials you see on this site, e.g., wood deck boards vs. composite vs. concrete seams.]
(If your site typically covers wood decks, you can emphasize exterior-rated sealants for wood seams; if it covers composite, emphasize compatibility with manufacturer-approved products; for concrete, emphasize joint sealant systems.)
Also note downsides: even the best exterior sealants don’t stop movement forever. At some point, boards may still shrink/expand, and periodic maintenance may be required.
Who should skip DIY and call a pro:
– You see structural sagging or widespread soft spots
– You suspect extensive rot under multiple boards
– You don’t have access to check framing/substructure from below
– You can’t confirm drainage and moisture pathways
Scan-and-save checklist for fixing outdoor floor gaps
– [ ] Confirm what’s moving: boards, framing/joists, or just the seam between boards
– [ ] Inspect for rot, soft wood, or fasteners that pull loose
– [ ] Clean the gap thoroughly (remove debris and old failing sealant)
– [ ] Repair/secure anything loose before filling
– [ ] Use an exterior-rated product compatible with your floor material
– [ ] Apply and finish per product instructions; allow full cure time
– [ ] Re-check after the next rain/cold period to confirm the gap behavior
ASTM C920 Joint Sealant Movement Classes (Practical Outdoor Fit)
| # | Sealant movement class | Design joint movement | Best match for outdoor gaps | Reliability rating |
|---|---|---|---|---|
| 1 | Class 12.5 | ±12.5% | Minor seasonal seam change | ★★★★☆ |
| 2 | Class 25 | ±25% | Typical deck board seasonal movement | ★★★★★ |
| 3 | Class 50 | ±50% | Wider seams with more movement | ★★★★★ |
| 4 | Class 100 | ±100% | Highly dynamic joints (special cases) | ★★★★☆ |
| 5 | Exterior-grade sealant system | Rated for outdoor use | UV + moisture exposure areas | ★★★★★ |
| 6 | Substrate-compatible adhesion | Manufacturer-specific | Wood/composite/concrete compatibility | ★★★★☆ |
| 7 | Interior-only filler/caulk | Not designed for exterior UV | Avoid for outdoor seams | ★☆☆☆☆ |
FAQ
Why do gaps in outdoor floors come back after I fill them?
Gaps often return when the underlying cause wasn’t fixed—loose boards, ongoing movement, or an active water pathway behind the seam. If the framing still shifts, a seam filler can’t permanently “freeze” the joint.
Should I use wood filler or outdoor caulk for outdoor floor gaps?
It depends on the floor material and whether the seam must flex. Caulk/sealant is generally used to seal joints, while wood filler can work in certain exterior wood repair scenarios—but both must be exterior-rated and compatible with your substrate.
How do I know if I need to replace boards instead of filling gaps?
Replace boards when you see rot, soft/crumbling wood, or damaged board ends where water has penetrated. If boards keep moving because the support is failing, replacement (or structural repair) is usually the durable fix.
Can I fix gaps in composite or concrete outdoor floors the same way as wood?
Not always. Composite and concrete require compatible sealant/filler systems designed for those materials and their joint behavior. Using a product meant for wood seams on composite or concrete can reduce adhesion and increase cracking risk.
Sources
– [ASTM C920] — Standard Specification for Elastomeric Joint Sealants (movement classes and performance framework for joint sealant selection)
– [ADD: manufacturer instructions/spec sheets for the specific exterior caulk/wood filler and any deck sealant system you recommend on this site]
– [ADD: primary guidance source for outdoor deck maintenance/repairs—e.g., building material manufacturer or a recognized standards organization]
– [ADD: regional guidance for freeze-thaw/exterior sealant selection if relevant to your audience]
When you approach outdoor floor gaps like a system—diagnose movement, secure support, prep thoroughly, and use a compatible exterior repair material—the seam repair has a real chance of lasting through seasonal changes. Focus on cause first, then seal with the right product for your substrate and joint behavior, and you’ll avoid the common cycle of gaps coming back even after “good-looking” fixes.
Frequently Asked Questions
How can I fix gaps in outdoor floor tiles without replacing everything?
Start by cleaning the joint completely—remove dirt, algae, and old sealant so the repair material can bond to the sides of the tile. Use an exterior-rated grout or joint filler designed for freeze-thaw conditions, then finish with a flexible outdoor grout sealer if the gaps are wider or subject to movement. For movement-prone areas, a polyurethane caulk made for exterior tile joints can be more durable than rigid grout.
What’s the best way to fill gaps in outdoor wood decking that keep coming back?
For recurring deck gaps, address the cause first by checking for loose boards, moisture issues, or poor installation. Replace any warped or rotted boards, then use exterior decking filler or a flexible gap-filling sealant that can handle expansion and contraction. Avoid interior wood fillers that don’t resist water and UV exposure, and apply a quality deck stain or sealer after curing to help prevent future widening.
Why do gaps form in outdoor concrete or pavers after rain and freeze-thaw cycles?
Water infiltrates through small voids, then expands when temperatures drop, pushing joints wider over time. Settling, joint sand loss, and weed growth in paver seams can also create and enlarge gaps. Using the right outdoor paver joint sand (or polymeric sand where appropriate) and applying a proper exterior sealant helps reduce water intrusion and slows the cycle of repeated gap expansion.
Which filler or caulk is safest for outdoor floor gaps near foot traffic and weather exposure?
Choose exterior-grade, waterproof, UV-resistant products labeled for outdoor use and specifically for the surface type (tile grout, paver joints, or wood decking). For floors that see flexing or shifting, use a flexible polyurethane or hybrid polymer sealant rather than hard, brittle fillers. Always follow the recommended joint depth/width limits and cure times so the outdoor floor repair remains stable and slip-resistant.
How do I prevent weeds and water from getting into outdoor floor gaps after I repair them?
After filling or regrouting gaps, seal the joints with an exterior sealer or use a joint product that blocks water movement, which discourages weed growth. For pavers, re-sand with the correct joint sand and remove any remaining weeds and root fragments before sealing. Regular maintenance—cleaning algae, checking for loose edges, and reapplying sealant as needed—will keep gaps in outdoor floors from returning quickly.
📅 Last Updated: October 12, 2026 | Topic: How to fix gaps in outdoor floors? | Content verified for accuracy and freshness.
References
- Google Scholar Google Scholar
https://scholar.google.com/scholar?q=how+to+fix+gaps+in+outdoor+decking+floorboards - Google Scholar Google Scholar
https://scholar.google.com/scholar?q=repair+concrete+sidewalk+slab+gap+cracks+expansion+joints+sealing - Google Scholar Google Scholar
https://scholar.google.com/scholar?q=paver+patio+joint+sand+repair+how+to+fix+gaps - Expansion joint
https://en.wikipedia.org/wiki/Expansion_joint - https://en.wikipedia.org/wiki/Deck_(building
- https://www.fhwa.dot.gov/pavement/maintenance/joint_sealing/
- https://www.fhwa.dot.gov/pavement/concjoints/
- https://www.nrc.gov/docs/ML1310/ML13107A195.pdf
- Weather, climate and hazards – Canada.ca
https://www.canada.ca/en/services/environment/weather.html - https://www.doi.gov/sites/doi.gov/files/uploads/standards_guidelines_masonryrepair.pdf