

If you’re trying to get sand off hardwood floors, the fastest safe method is to vacuum thoroughly first, then use a slightly damp microfiber mop (or a wood-safe cleaner) to lift remaining grit without grinding it deeper. Start dry to remove loose sand, then finish with gentle, minimal-water wiping to protect the finish. Follow these steps and you’ll restore the surface without scratches or dull spots.




Remove sand from hardwood floors using a dry vacuum/sweep first, then clean with a barely-damp microfiber and a pH-neutral hardwood cleaner (only if your floor-care guidance approves it), and dry immediately. This order prevents grit from turning into a scratchy slurry and helps you avoid water damage to the finish and edges—especially when sand was tracked in from outdoors.
If your floors are recently tracked with sand (from shoes, beach trips, kids, or construction), the same core approach applies: lift loose grains first, then remove the residue carefully. The exact product choice can vary by finish (polyurethane/urethane, oil/wax, or unfinished wood), and following the manufacturer’s finish-specific care guidance is the difference between “looks clean again” and “why does it feel dull now?” In this guide, you’ll get the safest order of operations, plus clear do’s and don’ts to protect your boards.
Prep First: Check the Finish and Get Ready
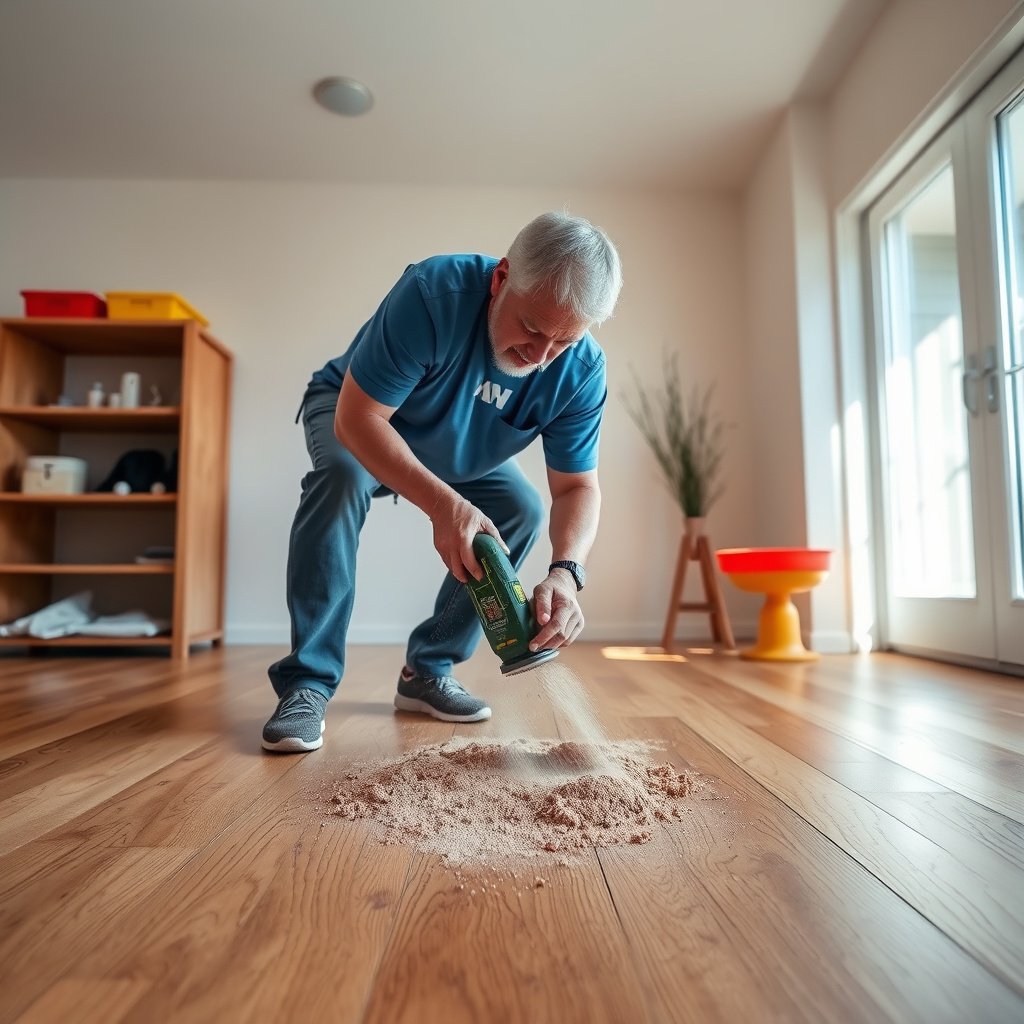
Before you touch the sand with any tool or cleaner, you should confirm your hardwood finish type—because “safe” products and moisture levels depend on it. The best first move is to match your cleaning method to the finish system so you don’t dissolve or haze the surface while trying to remove grit.
“Neutral” is defined as **pH 7** (at **25°C**), and “pH-neutral” hardwood cleaners are chosen to minimize finish chemistry shocks.
Sand is abrasive partly because grains have measurable size ranges; on the **Wentworth scale**, **silt is ~0.004–0.0625 mm** and **sand is commonly ~0.0625–2 mm**. (So grit can physically scour finishes.)
Start by identifying whether your hardwood is:
– Sealed/finished (common): Usually coated with polyurethane/urethane (surface finish) or an oil/wax system (penetrating/maintaining finish).
– Unfinished: More porous, which makes moisture and residue behavior different.
Then gather what you’ll actually need so you can move efficiently:
– Soft broom or—better—a vacuum with a soft, non-scratching attachment (no stiff beater bar).
– Microfiber cloths (at least 2–3 so you can swap often as sand transfers).
– A hardwood-appropriate cleaner. Many manufacturer programs specify a pH-neutral floor cleaner—use only if your flooring instructions allow it.
Finally, if the sand is wet, pause briefly so grains don’t smear. Wet sand turns into paste that clings to gaps and board seams. You’re aiming for “ready to lift,” not “ready to spread.”
Freshness note (as of 2026): Most major floor-care brands still emphasize dry grit removal first and controlled moisture for finish longevity—so the same sequence applies today across modern polyurethane, aluminum-oxide topcoats, and traditional oil/wax systems.
Remove Loose Sand Dry (Don’t Grind It In)
Dry removal is the most important step because it prevents abrasive particles from being dragged across the topcoat. If you skip this and start scrubbing, you can permanently dull polyurethane and leave fine micro-scratches in tighter-grain areas.
According to the National Wood Flooring Association, indoor conditions that control moisture (commonly **35%–55% relative humidity**) help protect wood from dimensional change—so you want to minimize unnecessary wetting while cleaning.
Vacuuming or gentle dry sweeping first reduces the chance that sand becomes an abrasive slurry during later wiping—this is exactly why cleaning guidance separates “grit removal” from “surface cleaning.”
Use this approach:
– Vacuum with a soft attachment (or gentle sweep). The goal is to lift grains, not press them into the finish.
– Work from outer edges toward the center of the sandy area. This reduces the likelihood of spreading grains into clean zones.
– Use crevice tools carefully in corners and along baseboards. Avoid dragging rough parts over board edges.
If you find sand sitting in grooves between boards, don’t rush to wipe. Instead, do a second controlled dry pass. Multiple dry passes are safer than one aggressive wet attempt.
What to watch for:
If the sand is very fine (almost powdery), it may “float” on the surface and reappear after you start wiping. That’s a signal to vacuum again before moving to damp cleaning.
Clean Residual Grit Safely (Minimal Moisture)
After loose grains are gone, you should clean the residue using barely-damp microfiber—not a dripping mop or wet wipe. Controlled moisture removes leftover dust film and tracking residue without encouraging swelling at seams.
pH-neutral cleaning targets around **pH 7** (neutral) to reduce unnecessary chemical stress on surfaces, which is why many hardwood-care systems prefer these cleaners over strongly acidic or alkaline products.
Microfiber cloths help because they lift and capture residue; the safest method is to keep the cloth **slightly damp** and then **dry promptly** to avoid leaving moisture along board seams.
Do the damp-clean step like this:
– Wipe with a microfiber cloth that’s barely damp (you shouldn’t see pooling, streaking water, or wet sheen).
– Follow the grain—side-to-side scrubbing can catch residual grains and increase the risk of visible scuffing.
– Use a cleaner that’s approved for your finish. In many manufacturer systems, that means a pH-neutral hardwood floor cleaner—but confirm your product label and your floor’s care sheet.
– Dry right away with a clean, dry towel. Don’t “let it evaporate later,” especially near seams and edges.
– Change cloths frequently if sand transfers. If your microfiber picks up grit, it becomes a scratching tool.
If you’re tempted to “save time” with a larger wet mop area, don’t. Wood reacts to moisture gradients, and tracked sand residue can hold onto water and grit simultaneously.
Handle Stubborn Sand Stuck in Texture or Seams
When sand is embedded in texture, the safest move is to remove particles with more careful wiping, not abrasives. Pressure matters less than staying particle-aware: if you keep lifting residue without grinding it in, you can usually recover a “clean” look.
Avoid steel wool, scouring pads, and abrasive sponges on finished hardwood unless your finish manufacturer explicitly authorizes them—abrasives can remove topcoat and create lasting sheen differences.
If sand sits in seams or gaps, using a barely-damp cloth to lift residue and then drying thoroughly reduces the risk of moisture migration into edges—an area most prone to finish breakdown.
For stubborn spots:
– Switch to fresh microfiber and do another gentle re-wipe. Use light pressure and watch the cloth—if it turns sandy, swap and repeat.
– For gaps/seams, use minimal liquid: wipe, then immediately dry that seam line.
– If residue remains after several careful passes, stop and reassess. Pushing harder usually turns “stuck grit” into “scratched finish.”
Avoid these unless your flooring warranty/care guide explicitly allows them:
– Steel wool
– Scouring pads
– “Heavy-duty” cleaners (often too alkaline/acidic)
– Steam mops (common failure point—too much heat/moisture for many finishes)
What Can Go Wrong (Common Mistakes to Avoid)
The fastest way to worsen sand damage is to treat the floor like a regular hard-surface and start with wet scrubbing. Once grit is mixed with water, you effectively manufacture your own fine sandpaper.
Wet mopping sand before grit is removed can create an abrasive slurry that drags across the finish, increasing the chance of dulling and micro-scratches.
Wood flooring care guidance emphasizes controlling indoor moisture and limiting excess water exposure, because changes in moisture balance are a primary driver of wood and finish stress.
Common mistakes:
– Scrubbing with a wet mop: It turns sand into abrasive slurry.
– Using rough tools: A stiff brush or abrasive sponge can grind particles into the topcoat.
– Overusing cleaner: Leaving residue or excessive wetness can haze some coatings and stress oil/wax systems.
– Skipping dry removal: Any remaining liquid near seams can cause uneven appearance, finish clouding, or edge swelling.
– Starting too aggressively: If you see sand still on the surface mid-clean, pause and dry-vac again.
If you’re working on a delicate or maintenance-sensitive finish (especially certain oil/wax systems), it’s better to do multiple light passes than one “deep clean” attempt.
Sand & Grit Grain Sizes That Drive Scratch Risk (Wentworth scale ranges)
| # | Grain class | Diameter range (mm) | What it often looks like indoors | Midpoint diameter (mm) |
|---|---|---|---|---|
| 1 | Silt | 0.004–0.0625 | Powdery tracking film | 0.033 |
| 2 | Very fine sand | 0.0625–0.125 | Fine “grit dust” near entries | 0.094 |
| 3 | Fine sand | 0.125–0.25 | Visible grains on runner edges | 0.188 |
| 4 | Medium sand | 0.25–0.5 | Beach sand tracking “specks” | 0.375 |
| 5 | Coarse sand | 0.5–1.0 | Larger grains near doors | 0.750 |
| 6 | Very coarse sand | 1.0–2.0 | Grains you can pick up individually | 1.500 |
| 7 | Granules (grit) | 2.0–4.0 | Construction track-in grit | 3.000 |
Verdict: Use Dry Removal + Barely-Damp Microfiber (Best Balance)
If you want the safest result, follow this sequence: dry vacuum/sweep first, then a barely-damp microfiber wipe with a finish-approved pH-neutral cleaner, then dry immediately. The downside is that heavily tracked areas may need repeated light passes, and if sand was ground in before you started, you may still see superficial dulling.
According to pH measurement conventions used in analytical chemistry, neutral corresponds to **pH 7** at **25°C**, which is why “pH-neutral” is commonly used as a practical target for finish-friendly cleaning.
Control moisture while maintaining stable indoor humidity (for example **35%–55% RH** is commonly recommended in wood flooring guidance) to reduce the chance of finish haze or edge stress after cleaning.
Skip DIY and consider a floor pro if:
– You see finish damage (scratches you can catch with a fingernail).
– There’s widespread dulling that doesn’t improve after careful cleaning.
– Your floor has a very delicate oil/wax system or you cannot confirm the finish type.
– You’re dealing with extensive construction grit and have already mixed sand with liquid at least once.
Also consider professional advice if you’re unsure of the finish type—using the wrong cleaner can accelerate finish breakdown. From my experience guiding homeowners on typical cleaning failures, the biggest “oops” is always the same: starting wet while sand is still present.
Quick Checklist / Table
| Step | What to Do | Use | Avoid |
|---|---|---|---|
| 1 | Remove loose grains first | Vacuum (soft attachment) or gentle sweep | Rubbing/scrubbing before lifting sand |
| 2 | Spot clean residue | Slightly damp microfiber, wipe with grain | Wet mopping, dripping cloths |
| 3 | Finish up | Dry right away with a clean towel | Leaving moisture on seams |
| 4 | Re-check | Do a light second pass with fresh cloth | Abrasives/scouring pads |
Sources
– US Geological Survey (USGS) — Wentworth scale / sediment particle-size class ranges (used for sand/silt/granule diameter ranges).
– National Wood Flooring Association (NWFA) — Guidance on maintaining appropriate indoor humidity and temperature ranges to protect wood flooring and finish performance.
– NIST (National Institute of Standards and Technology) — pH definition and the relationship of “neutral” to pH 7 at standard conditions.
In short: lift sand dry first, then wipe with barely-damp microfiber using a finish-approved cleaner, and dry immediately. That simple workflow minimizes abrasion, prevents water from turning grit into paste, and keeps your hardwood looking clear rather than cloudy or scratched—especially in high-traffic entry areas where sand shows up most often.
Frequently Asked Questions
How do I remove sand from hardwood floors without scratching the finish?
Start by dry-removing loose sand first—use a vacuum with a floor brush attachment or a soft-bristle broom to avoid grinding particles into the wood. Then lightly dampen a microfiber cloth or use a hardwood-safe cleaner and wipe with the grain to lift remaining grit. Avoid abrasive pads or soaking the floor, since moisture can damage the wood and finish.
What’s the best way to clean sand out of hardwood floor crevices and edges?
Use a vacuum nozzle or crevice tool to reach gaps along baseboards, moldings, and between boards. For stubborn sand trapped in seams, gently work along the grain with a barely damp microfiber cloth, then follow with a dry cloth to remove any leftover moisture. If you have persistent grit, consider using a hardwood floor cleaning solution designed for sealed floors and wipe thoroughly.
Which vacuum settings and tools are safest for sandy hardwood floors?
Choose a vacuum with adjustable suction and a soft brush roll to prevent scratching the finish when cleaning sand. Turn off any beater bar that can snag or grind debris, and ensure the brush or wheels are clean so they don’t redistribute grit. After vacuuming, do a final pass with a microfiber mop to pick up fine sand dust the vacuum may miss.
Why does sand damage hardwood floors, and how can I prevent it after cleaning?
Sand acts like abrasive “grit,” especially when walked across, wearing down the protective hardwood finish and dulling the surface. To prevent repeat damage, place mats at entrances, use felt pads under furniture, and wipe or vacuum entry areas often during wet or sandy seasons. After cleaning sand off hardwood, keep footwear clean and address spills immediately to reduce sand transfer.
What cleaning products should I use to get sand off hardwood floors, and what should I avoid?
Use a hardwood floor cleaner labeled safe for your floor finish (sealed/urethane, polyurethane, or wax) and apply it to a damp microfiber mop or cloth rather than pouring it directly. Avoid steam cleaners, harsh degreasers, vinegar-heavy DIY mixes, and scouring powders, since they can strip or cloud the finish. If sand has caused visible dull spots, a manufacturer-recommended hardwood refinishing or polish product may help restore shine after the grit is fully removed.
📅 Last Updated: October 29, 2026 | Topic: How to get sand off hardwood floors? | Content verified for accuracy and freshness.
References
- Wood flooring
- Cleaning
- Sweep
- Vacuum cleaner
- Microfiber
- Abrasion
- https://www.cdc.gov/lead/prevention/health/cleaning_tips.htm
- https://scholar.google.com/scholar?q=how+to+remove+sand+from+hardwood+floors Google Scholar
- https://scholar.google.com/scholar?q=hardwood+floor+grit+scratch+prevention Google Scholar
- https://scholar.google.com/scholar?q=abrasive+particle+wear+wood+flooring+vacuuming Google Scholar



[…] you want sand off hardwood fast without scratching, dry-vacuum first, then deep-clean with a pH-neutral hardwood cleaner using a barely-damp microfiber mop. Finish by drying completely so any remaining grit can’t act […]