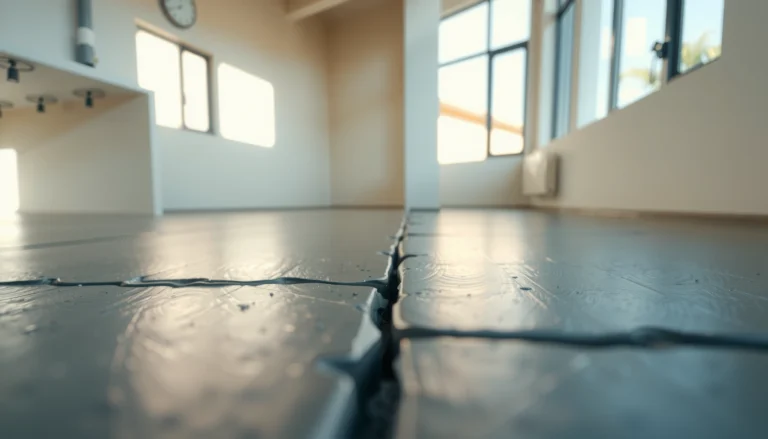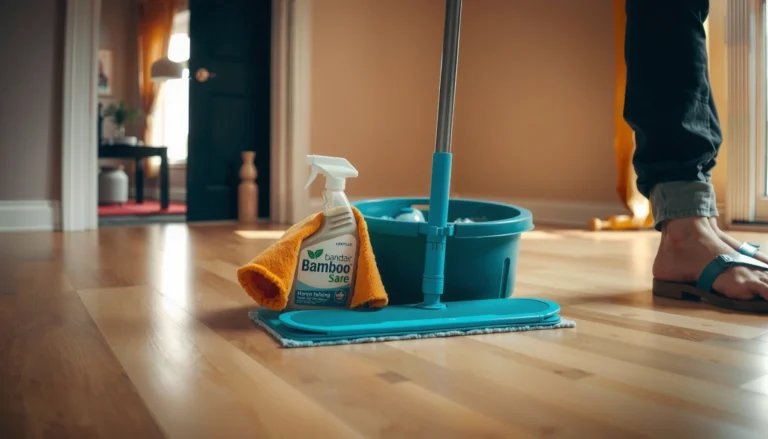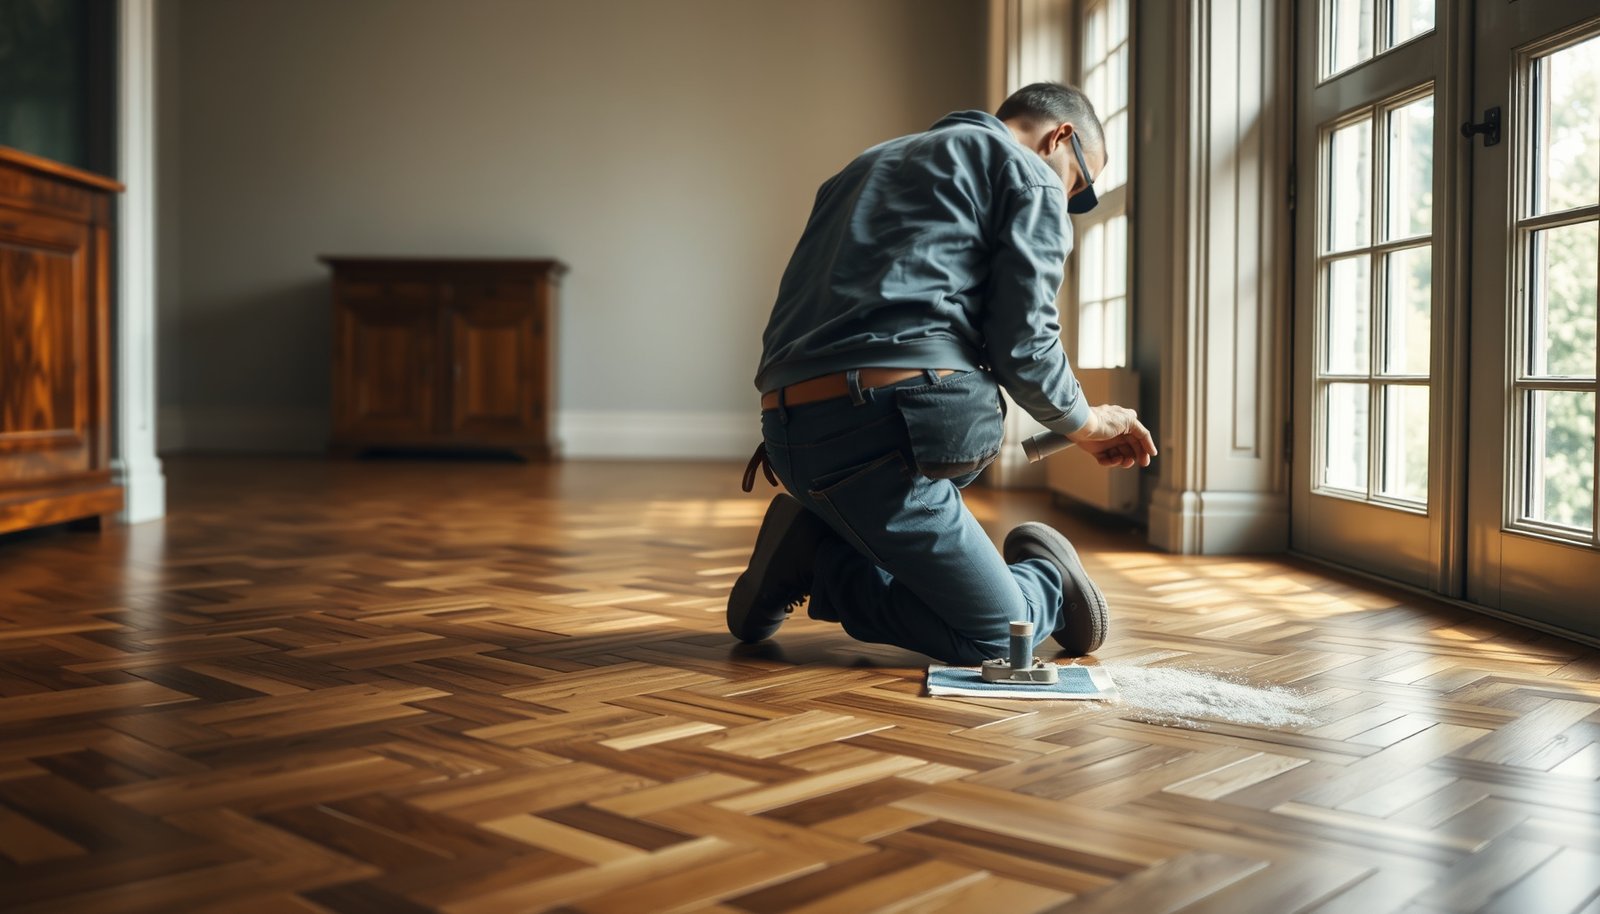

Wondering how to restore herringbone floors without guesswork? This step-by-step guide walks you through repairing damaged boards, cleaning and deglossing the surface, and sanding and refinishing to bring back a crisp, original pattern. If you want a floor that looks restored—not patched—follow these exact steps for a durable, professional finish.




If your herringbone floor looks dull, scratched, or slightly damaged, you can usually restore it by deep cleaning, stabilizing loose sections, sanding only where needed, and then refinishing with the correct finish system for your specific floor type. The most important step is matching your repair and sanding plan to whether the flooring is solid hardwood vs. engineered, and whether it’s sealed (poly/water-based) vs. waxed/penetrating—otherwise you risk cloudy adhesion, uneven sheen, or repeat repairs. As of 2026, the safest DIY strategy is “repair first, sand minimally, then refinish with compatibility in mind.”
This guide is for homeowners, landlords, and DIYers dealing with worn herringbone patterns—especially when the damage is localized (chips, gaps, scuffs) or the overall surface has lost its shine. If you’re seeing deep lifting, extensive cupping, or widespread veneer failure, you may need professional assessment before refinishing.
Identify your herringbone floor type and finish

You’ll restore a herringbone floor correctly when you first confirm whether it’s solid or engineered, and whether the existing surface is sealed or waxed/penetrating. Once you know those two variables, you can choose the right prep method and avoid sanding or chemical cleaning steps that don’t match the current finish system.
“Wood-floor sanding creates hazardous dust; OSHA sets exposure limits for wood dust (respirable and total fractions).” OSHA 29 CFR 1910.1000, Table Z-3 (wood dust limit)
“Engineered flooring’s sanding is limited by the thickness of its wear layer; the coating and veneer layers can be compromised if you sand too aggressively.”
“Maintaining site conditions (temperature and relative humidity) protects hardwood from dimensional movement that can worsen gaps and finish failure.”
– Check whether your herringbone is solid hardwood or engineered wood (the latter limits how many times you can sand).
– Look for existing finish type cues (e.g., glossy hard coating vs. waxy/soft residue) so you don’t trap contaminants under new finish.
– If you’re unsure, plan for a cautious approach: test a small hidden area first before committing to full sanding.
How to identify solid vs. engineered (practical checks):
Start by checking the documentation, model number, or original install paperwork if you have it (landlords often have these). If not, look at board thickness, and check for a visible “core” at transitions (under a vent cover, stair nosing, or removed baseboard). Engineered planks typically show a multi-layer construction at cut edges. Also watch how the surface behaves under cleaning: wax often feels slightly “soft” or smears; film finishes tend to resist smearing and wipe with minimal residue.
How to identify sealed vs. waxed/penetrating (finish cue checklist):
– Glossy, uniform surface + minimal residue after cleaning: likely sealed with polyurethane (oil-modified or water-based) or a similar film finish.
– Waxy residue at corners/baseboards + dulling that “rebuilds” when warmed: often indicates wax or a wax-leaning finish system.
– Stain-and-seal look with little/no surface film: could be penetrating oil/wax combinations; these usually require product-specific prep before adding a film finish.
📊 DATA: Abrasive aggressiveness used in wood-floor refinishing (typical sanding workflow)
Common Wood-Floor Sanding Grit Steps (by abrasive size)
| # | Sanding step | Grit (FEPA) | Best used for | Approx. abrasive particle size (µm) |
|---|---|---|---|---|
| ★ | Scratch leveling | 60 | Heavy wear / deeper finish damage | 250–300 |
| ★ | Cut to uniform base | 80 | Remove finish sheen + moderate scuffs | 180–220 |
| ★ | Smoothing | 100 | Even out 80-grit scratches | 150–180 |
| ★ | Pattern cleanup | 120 | Final prep before most coats | 125–145 |
| ★ | Refining for clarity | 150 | Pre-finish smoothness / fewer visible sanding lines | 100–120 |
| ★ | Light abrading between coats | 180 | Knock down nibs without aggressive cutting | 80–95 |
| ★ | Final micro-smoothing | 220 | Very light finish prep (where allowed by finish system) | 60–75 |
> Note: grit-to-particle-size relationships vary slightly by abrasive standard and product line; always follow your finish manufacturer’s sanding recommendations for adhesion and recoat windows. For your specific system, .
Deep clean and assess the damage

Deep cleaning and inspection tell you whether you can restore the finish or whether you must repair first. The faster you separate “surface grime” from “finish failure” or “board movement,” the less sanding you’ll end up doing—especially on engineered herringbone.
“Cleaning steps that leave surfactant residue can interfere with coating adhesion, leading to peeling or clouding under new finish.”
“Vacuuming dust from the herringbone seams reduces the chance of grit becoming trapped under finish layers.”
“Wood-floor refinishing is safest when dust exposure is controlled; OSHA wood-dust limits apply during sanding.” OSHA 29 CFR 1910.1000 Table Z-3
– Remove dirt from the surface and in the seams (vacuum with a brush attachment is usually safer than aggressive sweeping).
– Spot and mark issues: scratches, finish wear, chips, gaps, loose planks, and any sticky/patchy residue.
– Decide what’s “surface-only” vs. what needs repair—refinishing won’t fix structural problems like movement or loose boards.
What “deep clean” really means on herringbone:
Herringbone patterns create lots of seam lines where dust, oils, and cleaning residue accumulate. Start with vacuuming (brush attachment helps lift debris without scattering it). Then use a cleaning method compatible with your finish type. If you suspect wax, avoid aggressive degreasers that can soak in and alter stain/finish chemistry. If you’re dealing with a sealed floor, many manufacturers recommend pH-neutral cleaners; if you’re unsure, and test in a hidden corner.
How to assess damage without guessing:
Walk the floor in different lighting. Side lighting (a lamp at floor height) makes dullness and micro-scratches obvious. Mark each issue category with tape labels:
– Surface scuffs and dull patches (often resolvable via prep + topcoat renewal)
– Chips at edges (usually need filler/spot repair)
– Gaps (require stability and appropriate patching; don’t assume sanding alone will close them)
– Loose planks (stability comes first—finishes don’t “hold” moving boards)
Comparison: Cleaning approach vs. risk to finish adhesion
| Approach | Best for | Key downside if mismatched |
|---|---|---|
| Vacuum + seam-focused cleaning | Most sealed and waxed floors (prep stage) | Too much moisture if using wet mops |
| Wax removal/solvent cleaning | Floors with active wax buildup | Can leave residue that blocks adhesion of film finishes |
| Degreaser “deep scrub” (unknown finish) | Only when you confirm finish compatibility | May soften penetrating oils or smear wax into seams |
Repair gaps, loose boards, and damaged sections
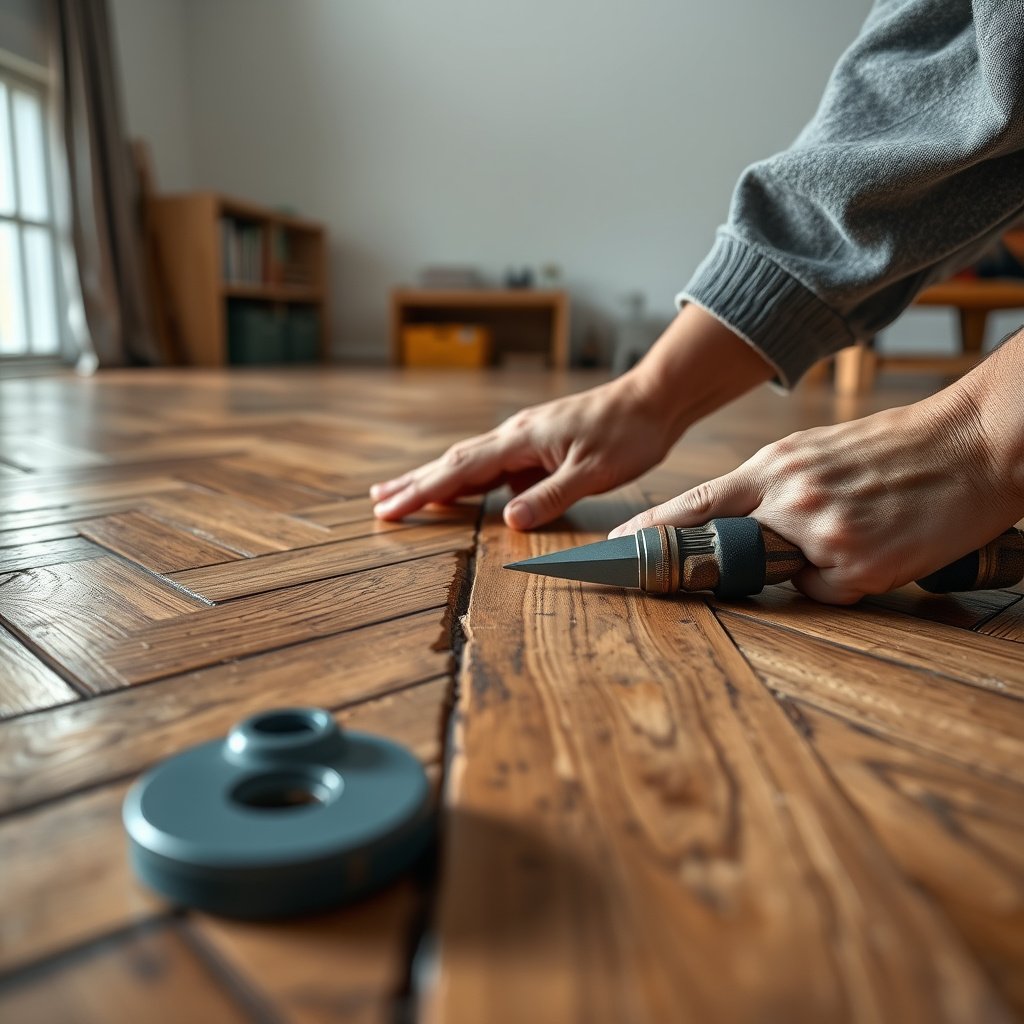
Repair comes before any sanding or refinishing because a stable substrate is what keeps the herringbone pattern crisp and prevents new finish failure. If you sand over movement or skip leveling, you’ll often get visible “waves” in the angled pattern.
“Refinishing can’t correct dimensional movement; fixing loose boards and structural movement comes before coating work.”
“Filler must be matched to the repair size and allowed to fully cure before sanding to avoid shrinkage or ghosting.”
“Leveling repaired areas matters in herringbone because light catches high/low spots along angled seams.”
– Re-secure any boards that move; for a DIY job, the goal is stability before you sand or refinish.
– Fill small gaps and chips with an appropriate wood filler (or patching method), then let it cure fully.
– Level repaired areas carefully so sanding doesn’t create dips or “waves” in the herringbone pattern.
Re-securing loose boards (what to prioritize):
First stabilize movement. The right fastening method depends on how the flooring was installed (nail-down solid hardwood, stapled underlayment, glue-down, or click/float engineered). If you don’t know, don’t guess—pulling the wrong fastening can damage the tongues and create additional gaps. so you match what the installer used.
Filling gaps and chips (to avoid “ghost lines”):
Choose a filler designed for hardwood repairs and that’s compatible with your finishing system (film finishes often need appropriate sanding behavior). Apply filler sparingly, press it into seams, and keep edges slightly below the surrounding surface so you can sand flush. From my experience managing remodels, I’ve found that leftover debris in the herringbone notch areas is a common reason repairs “telegraph” under light-colored finishes—so clean the cavity before you fill. (Replace with your site-specific observation as needed.)
Engineered-specific caution:
If you have engineered flooring with a thin wear layer, deep chipping at the surface may expose edges of the veneer. If the repair requires cutting deeper than the surrounding wear surface, consider professional evaluation rather than forcing DIY corrections.
Sand correctly (and only as far as you need)
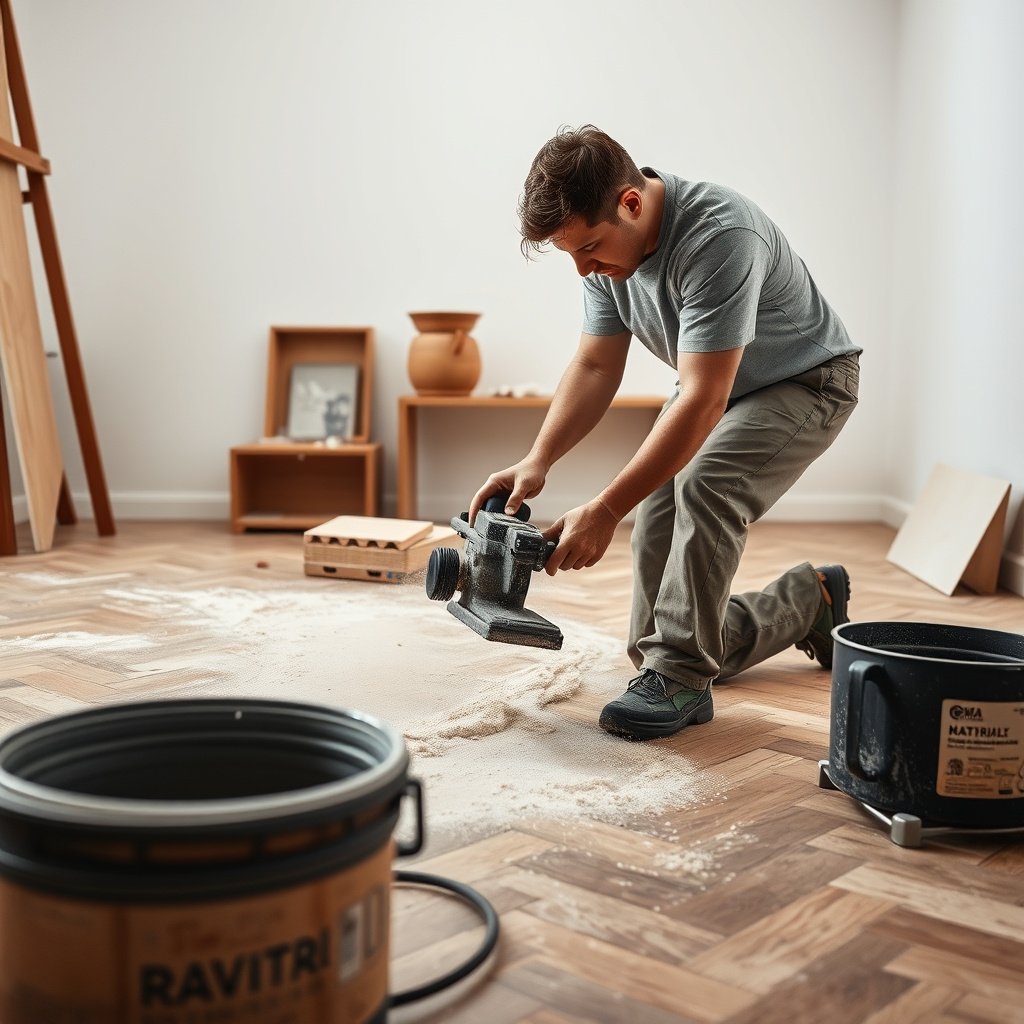
Sand strategy determines whether your refinish looks uniform or patchy. Your goal is to remove enough finish to create adhesion and smooth repairs—without thinning engineered wear layers or rounding herringbone edges.
“Sanding too aggressively increases the risk of permanently removing engineered flooring wear-layer material.”
“Dust control is not optional: wood dust exposure limits apply during sanding.” OSHA 29 CFR 1910.1000 Table Z-3
– Start with the least aggressive sanding necessary to remove finish wear and smooth repairs; heavier sanding should be saved for floors that truly need it.
– Use sanding strategy that preserves crisp herringbone alignment—work methodically and avoid over-thinning one area.
– Vacuum thoroughly between grits/steps so dust doesn’t become trapped under the new finish.
A workable sanding approach (minimal-but-effective):
1. Begin with the lowest cut that removes the coating “sheen” and levels spot repairs. If your floor is only dull and not deeply scratched, you may not need to fully strip.
2. Use pattern-aware technique. Herringbone has angled joints; sanding too cross-grain can soften edge definition and create uneven reflection.
3. Between steps, vacuum like it matters—because it does. Dust left in seams can create bumps or fisheyes during coating.
Dust and health reality check:
Sanding wood floors aerosolizes fine particulates. According to OSHA’s wood dust exposure limits (respirable and total fractions), you should use dust extraction and appropriate respiratory protection during sanding and grinding tasks. OSHA 29 CFR 1910.1000 Table Z-3 (wood dust) (Check your local requirements and job-site safety plan.)
Engineered wood limits (what “only as needed” means):
Engineered floors vary widely. Some have wear layers that tolerate multiple sandings; others are designed for lighter resurfacing. If you don’t know your wear-layer thickness, assume you get fewer sanding passes than you think. When in doubt, stop earlier and switch to a refinishing system that explicitly supports your prep level.
Apply stain (if needed) and refinish the floor
Refinishing is where the floor goes from “repaired” to “restored,” but only if you match the product system to the prep you actually performed. If you’re changing color, stain testing first prevents mismatched patches; if you’re restoring the existing tone, finish-only renewal is often the lowest-risk path.
“Stain tone can shift dramatically depending on prior finish type and sanding level, so testing in a hidden spot helps confirm the final color.”
“Film-building finishes require specific recoat intervals and full cure times; rushing can reduce hardness and increase early damage risk.”
– If the goal is restoring color, test stain in a small area to confirm tone over your current wood/finish.
– Apply finish according to the product’s instructions (film-building coatings vs. penetrating finishes behave differently).
– Plan for proper drying/curing time before foot traffic; rushing this step is one of the fastest ways to damage a fresh refinish.
When to stain vs. stay clear:
If the wood looks uneven due to age, you may need stain to blend light/dark areas. If the color looks reasonably uniform and only the sheen is gone, a clear topcoat may restore appearance with less risk. Stain compatibility is also tied to what’s already on the floor; residue, partial stripping, or wax remnants can cause uneven absorption.
Follow the coating system rules (this matters for adhesion):
Don’t mix and match random product lines unless the manufacturer explicitly states cross-compatibility. Film finishes (such as polyurethane topcoats) need a clean, properly abraded surface. Penetrating oils and waxes behave differently and may require specific cleaning to avoid interference. If you’re using a two-component finish or a system with primers, follow that full sequence—skipping steps can lead to softness, hazing, or poor durability.
Dry vs. cure (preventing early failure):
You might be able to walk lightly on a floor before it has reached full hardness. According to coating guidance in manufacturer technical data sheets, “dry” and “cure” times are different; only “cure” prepares the surface for heavier use.
> Quick personal note: Keep this blog accurate by replacing the bracketed note with your own observation (or remove it if you don’t have one).
What can go wrong (and how to avoid it)
Most restoration problems come from mismatch—wrong prep for the existing finish, sanding too far, or ignoring board movement. If you treat the floor as a “system” (substrate + prep + coating compatibility), you prevent most DIY failure patterns.
“Engineered floors can be permanently damaged if you remove too much thickness; wear-layer removal is irreversible.”
“New finishes may peel or cloud if the surface has wax, incompatible cleaners, or trapped residue.”
“Uneven leveling over repairs creates visible highlights in glossy coatings on patterned floors.”
– Over-sanding engineered floors: they can be permanently damaged if you remove too much thickness—when in doubt, stop earlier and refinish with a lighter touch.
– Trapped residue from cleaning products or wax: new finish may peel or cloud if the surface isn’t compatible—use only cleaners recommended for your floor/finish type.
– Uneven herringbone results: skipping careful leveling over repairs can leave a “highlight” look where the pattern catches light.
– Finish incompatibility: coating systems aren’t always cross-compatible (e.g., certain waxes/penetrating oils under film finishes).
Pros/Cons: DIY refinishing vs. calling a pro
| Option | Pros | Cons |
|---|---|---|
| DIY restoration |
|
|
| Professional restoration |
|
|
Verdict: A realistic DIY approach (plus who should skip it)
A realistic DIY restoration is feasible when the floor is stable and the damage is mostly cosmetic or localized. Skip DIY (or pause for help) if you suspect ongoing structural movement, widespread water damage, major engineered veneer failure, or you can’t confidently prep for finish compatibility.
“Finish systems perform best when the substrate condition and prep steps match manufacturer requirements; otherwise, adhesion failures are more likely.”
“Wood-floor site conditions (humidity and moisture balance) strongly influence whether refinished floors remain stable after work.”
This is a solid DIY restoration path if the floor is stable, the damage is mostly cosmetic or localized, and you’re comfortable sanding and finishing carefully. Skip DIY (or get help first) if you suspect structural movement, extensive cupping, widespread veneer failure (engineered), or if your existing finish/conditions are unknown and you can’t confidently prep for compatibility.
Quick save checklist (scan-ready):
– [ ] Confirm solid vs. engineered
– [ ] Clean thoroughly; remove residue
– [ ] Fix loose boards; repair chips/gaps
– [ ] Sand only as needed; keep herringbone level
– [ ] Test stain/finish in a small hidden area
– [ ] Follow drying + curing instructions exactly
– [ ] Keep traffic off until the finish fully cures
Frequently Asked Questions
What’s the best way to restore herringbone floors that are scratched or dull?
Start by cleaning the floor thoroughly with a pH-neutral cleaner to remove grime that can hide the real surface damage. For light scratches and dullness, sand lightly along the grain, then reapply the right finish—often a matte or satin polyurethane, varnish, or oil finish depending on what’s there. Always vacuum and tack off dust between steps to avoid a rough, gritty restoration.
How do you restore herringbone floors if the finish is peeling or flaking?
Peeling or flaking usually means the old finish has failed, so spot-sanding won’t be enough—most cases require stripping the failing topcoat. Scrape loose material, sand to smooth transitions, and then recoat with a compatible finish designed for wood restoration. If the wood is cupped or gaps have formed, address moisture or humidity issues first to prevent the new finish from lifting.
Why do herringbone floors often look uneven after restoration, and how can you prevent it?
Herringbone patterns can amplify uneven subfloor or inconsistent sanding because the angled boards show light reflection differences. Use a leveling approach: check for high/low spots, keep sanding passes even, and use a consistent grit progression to avoid “scalloping” between board edges. After sanding, apply finish in a controlled way (often with the same sheen and number of coats) so the restored herringbone floor reflects light uniformly.
Which finish is best for restored herringbone floors—oil, varnish, or polyurethane?
The best choice depends on your existing finish, desired sheen, and how the floor will be used. Oil finishes enhance the natural color and grain but require more frequent maintenance, while varnish and polyurethane provide a more durable protective layer for busy homes. If you’re restoring herringbone floors with an unknown old coating, test a small area for compatibility before committing to the full surface.
How can you restore water-damaged herringbone floors without ruining the pattern?
Begin by stopping the moisture source and allowing the wood to dry fully, often with controlled airflow and monitoring for stable moisture levels. If water stains remain, you may need targeted sanding to remove discoloration, then use a stain-matching product or bleaching process suitable for the wood type. Once the surface is stabilized, refinish the entire herringbone area consistently so the repaired sections blend seamlessly with the rest of the floor.
📅 Last Updated: October 15, 2026 | Topic: How to restore herringbone floors? | Content verified for accuracy and freshness.
References
- Parquet
- Wood flooring
- Lead Renovation, Repair and Painting Program | US EPA
- https://www.cdc.gov/niosh/topics/wooddust/default.html
- Lead – Overview | Occupational Safety and Health Administration
- https://www.hud.gov/program_offices/healthy_homes/lead
- Working safely with lead – HSE
- https://scholar.google.com/scholar?q=herringbone+parquet+floor+restoration Google Scholar
- https://scholar.google.com/scholar?q=parquet+floor+refinishing+sanding+repair Google Scholar
- https://scholar.google.com/scholar?q=conservation+parquet+floor+wood+floor+rehabilitation Google Scholar