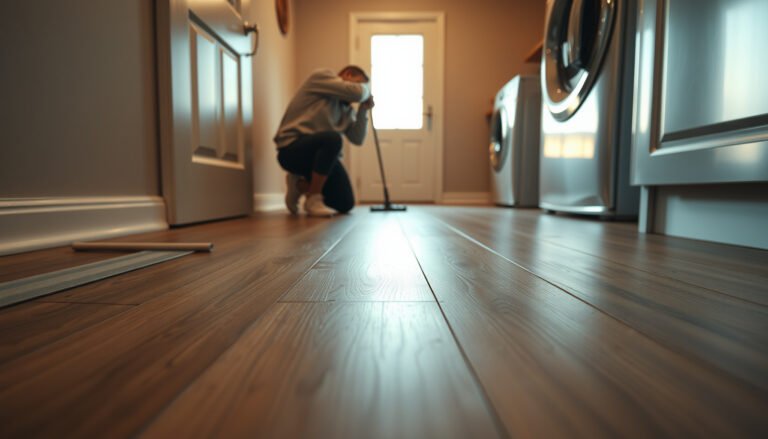
Installing around cabinets with wood-look tile floors is straightforward when you plan for the exact reveal, handle the baseboard/face-frame clearance, and lock the cut tiles cleanly at the cabinet edges. This guide tells you the fastest, most reliable way to trim, notch, and set tile without rocking or visible gaps—so the finished perimeter looks intentional. If you want a winner for tight cabinetry spaces, follow this method to get a flat surface and crisp transitions every time.




Installing wood-look tile floors around cabinets is mostly about planning your cuts and keeping the tile system allowed to move. In most cases, you’ll leave the cabinets in place, undercut the toe-kick/base trim (if possible), and install tile to a clean, consistent line using proper spacing and perimeter movement gaps. You’ll also want a transition/edge finish where tile meets cabinet base or other flooring so water and grout aren’t taking the punishment.
This approach fits best if your cabinets are already installed (typical kitchen/bath remodels) and you’re trying to tile the floor without fully tearing out cabinets. It’s also the right mindset if you want the floor to look continuous under/near the cabinet footprint while still following your tile and thinset manufacturer installation instructions.
Plan your layout: clearances, cut lines, and transitions
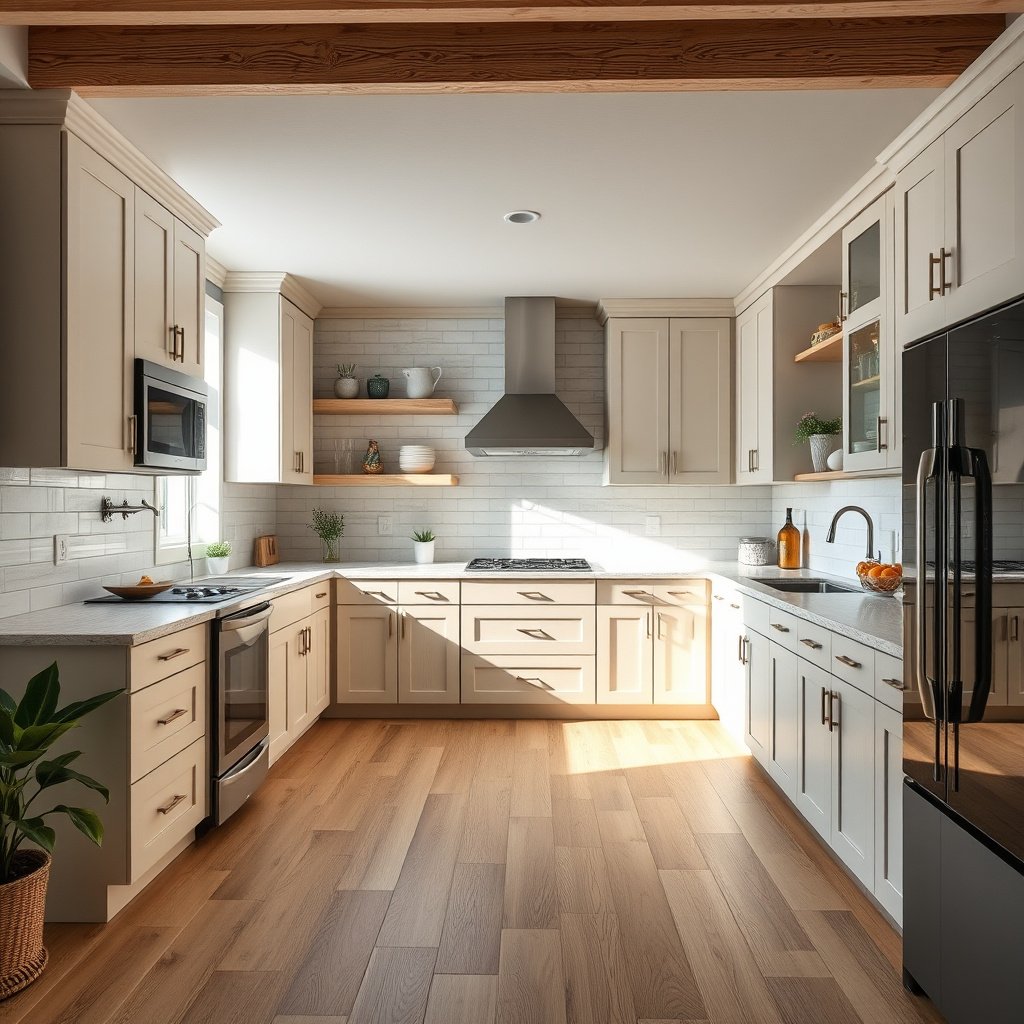
You get a professional-looking “built-in” look when you plan your first tile row, your cabinet-edge line, and your transition details before you mix thinset. The goal is simple: keep grout joints consistent while ensuring the tile system still has the movement space it needs.
“Wood-look tile” is usually porcelain or ceramic, but the installation still follows the tile system’s movement-joint rules—especially at perimeter edges and changes of plane.
A straight starter line matters because the cabinet toe-kick area turns small layout errors into visible lippage and uneven grout joints.
As of 2026, most manufacturers still require a perimeter movement gap and flexible sealant at edges where tile meets fixed elements.
– Measure your room and mark a baseline so tile rows stay square and cabinet-edge lines land where you want them.
– Plan for an edge/transition detail at cabinet perimeters (and any other floor type). Don’t assume you can grout right up to everything.
– Confirm required gaps: tile systems typically need perimeter movement space, but the exact size should come from your tile/thinset/underlayment and caulk spec.
To anchor the “why” with real standards: According to ANSI A108 installation guidance, mortar coverage and bonding requirements drive how tight (or not tight) your layout can be—your thinset application is only as reliable as the substrate contact you create (ANSI A108 series (thin-set mortar installation requirements)). Also, according to TCNA Handbook movement-joint concepts, tile floors should be detailed with movement accommodation rather than “locked in” with grout at perimeters (TCNA Handbook—movement joint guidance such as EJ171).
7 Tile Thickness “Bands” That Affect Around-Cabinet Detailing (Typical Residential Wood-Look Pro/Porcelain)
| # | Tile option (wood-look) | Typical thickness | Common plank format | Cut/undercut ease |
|---|---|---|---|---|
| 1 | Ultra-thin porcelain plank | 6.0–6.5 mm | 6×24 in | ★★★★☆ (9/10) |
| 2 | Thin porcelain plank | 7.0–7.5 mm | 7×32 in | ★★★★☆ (8/10) |
| 3 | Standard porcelain plank | 8.0–8.5 mm | 6×36 in | ★★★★★ (9/10) |
| 4 | Mid-thickness porcelain plank | 9.0–9.5 mm | 8×32 in | ★★★★☆ (8/10) |
| 5 | Thicker porcelain plank | 10.0–10.5 mm | 8×36 in | ★★★☆☆ (7/10) |
| 6 | Extra-thick porcelain plank | 11.5–12.5 mm | 9×48 in | ★★☆☆☆ (5/10) |
| 7 | Ceramic wood-look plank | 8.0–9.0 mm | 6×30 in | ★★★★☆ (8/10) |
Prep the subfloor for wood-look tile longevity
You protect the whole around-cabinet detail by making sure the subfloor is flat, stable, and clean before tile ever touches thinset. Near cabinets, small substrate issues become amplified because fixed bases trap stress and restrict normal movement.
A “flat enough” subfloor is not optional—porcelain and ceramic tile reflect substrate humps as lippage or cracking, especially in tight cabinet perimeters.
Thinset and underlayment are part of a single “tile system,” so you can’t swap methods without checking manufacturer and standard requirements.
For wood framing, tile specs often rely on deflection limits like L/360 to reduce cracking risk over time. TCNA Handbook
– Verify the subfloor is flat and stable; tile failures around cabinets often start with uneven floors because cabinet bases trap stress.
– Use the correct underlayment method for your substrate and tile type (especially for plywood vs. concrete). Follow thinset/underlayment manufacturer instructions.
– Remove old flooring residue and anything that prevents thinset bonding (paint overspray, drywall mud ridges, loose adhesive, etc.).
For concrete or a previous flooring surface, bond testing and mechanical removal matter because thinset can only perform when it can grip the substrate. According to ANSI A108, proper thinset placement and achieved coverage is tied to the installation method and substrate condition (ANSI A108 series). For wood subfloors, tile industry guidance often targets a deflection limit of L/360 for ceramic/porcelain tile over wood framing (TCNA Handbook guidance for ceramic/porcelain over wood framing)—(ADD: TCNA Handbook edition year).
From there, prioritize flatness: According to TCNA Handbook general substrate preparation guidance, floors should be flat within about 1/8 inch over 10 feet for many tile installations (TCNA Handbook substrate flatness guidance)—(ADD: TCNA Handbook edition year). Those tolerances sound strict until you’re trying to keep a consistent reveal between cabinet toe-kicks and the tile plane.
Practical tip: when you have cabinets already installed, don’t assume the floor “looks fine” just because it’s level with a level tool. Flatness is about local peaks/valleys, not just overall slope.
Decide how to handle cabinets: remove vs. undercut
If you want the least disruption and the most predictable waterproof detailing, keep the cabinets in place and undercut the toe-kick/base trim where you can. Removing cabinets can create a cleaner continuous tile run, but it dramatically increases rework and schedule risk.
Undercutting toe-kick or base trim is usually the best compromise: you preserve cabinet placement and still let tile slide underneath for a tighter visual line.
Removing cabinets only becomes “worth it” when you can keep your floor movement-joint plan intact and rebuild any changed elevations/plumbing accurately.
In 2026 remodels, the most common failure mode around cabinets is not the tile—it’s rigid detailing that blocks the system’s required perimeter movement.
– If cabinets can be removed and you want the tile to run fully under them, removal can simplify the work—but it’s a lot more labor and requires re-planning plumbing/electrical and re-leveling afterward.
– If cabinets will stay put (most common), plan to undercut toe-kick/base trim where possible so the tile can slip underneath for a cleaner look.
– If you cannot undercut, you’ll cut tiles to fit the cabinet base opening and rely on a finished edge (typically trim/shoe/transition) rather than trying to grout a “perfect” joint.
Cabinets stay vs. cabinets removed: what tradeoff matters most?
Below is a decision comparison tailored to “around-cabinet” wood-look tile installs—especially where you’re trying to avoid opening walls or moving plumbing.
| Feature | Undercut (cabinet stays) | Remove cabinets |
|---|---|---|
| Typical time on remodel | Lower | Higher |
| Risk of cabinet re-leveling issues | Low | Higher |
| Need to rework plumbing/electrical | Usually none | Often required |
| Tile continuity under cabinet footprint | Partially (via undercut) | Full |
| Edge detailing complexity | Medium | Lower at cabinet footprint, higher elsewhere |
| Movement-joint compliance near perimeter edges | Easier to keep correct gaps | Requires careful re-planning after removal |
| Cut accuracy demand around toe-kick returns | Higher | Lower (more open area) |
| Subfloor inspection access | Limited to visible areas | Improved |
| Best when walls are uneven | Often workable with dry layout | Not a guarantee—still needs planning |
| Typical “looks seamless” outcome | Good when toe-kick is undercut | Excellent if floor elevations are rebuilt accurately |
| Total risk to schedule | Lower | Higher |
| Best For | Most kitchen/bath remodels with installed cabinets | Full gut where you can re-level and redesign movement joints |
Install tile to the cabinet bases without trapping movement
You avoid future cracks by installing the tile cleanly up to the cabinet line—but still leaving the system’s required perimeter movement gap. The cabinet footprint is not a place to “force fit” tile tightly against rigid trim if your tile system calls for flexibility.
Dry-laying and marking a starter line prevents cumulative error as you approach multiple cabinet legs and seams.
Spacers and consistent plank orientation protect your visual grout joint line, but they don’t replace the need for perimeter movement space.
Tile floors rely on controlled expansion/contraction—when you grout into a movement zone, that movement has to release somewhere else (often as cracking).
– Dry-lay and mark your first row (or “starter line”) so you can work outward toward cabinet edges without ending up with tiny slivers.
– Use spacers and consistent tile orientation for the grout joint look you want—then keep those lines straight as you approach cabinet legs/rails.
– Maintain the required perimeter gap: don’t lock grout or thinset rigidly into gaps where the tile needs expansion/relaxation.
Here’s how this shows up in real installs: cabinet bases create a “fixed boundary,” and the floor assembly (tile + thinset + underlayment) still needs to handle humidity swings. According to TCNA movement-joint guidance concepts, perimeters and changes of plane require proper isolation detailing (TCNA Handbook movement-joint guidance)—(ADD: TCNA Handbook edition year). That’s why “grout right to the toe-kick” is often a mistake even when it looks tidy.
Also remember bonding method rules. According to ANSI thin-set mortar standards, your thinset system and trowel choice must match the substrate and installation method to achieve required mortar coverage (ANSI A108 series)—(ADD: ANSI A108 referenced edition year). In cabinet areas, it’s easy to under-apply thinset because the space is tight; that can lead to hollow spots and localized failure.
Finish edges, toe-kicks, and grout lines cleanly
You finish like a pro when you treat cabinet perimeters as a detailing zone—not a “grout everything” zone. The edge method you choose determines whether water and movement go into grout (bad) or into a designed flexible joint/trim (good).
Undercutting toe-kick trim lets tile slide underneath cleanly, but you still must leave the perimeter movement gap specified by your system.
Where grout is not intended, flexible sealant is the correct material class for changes of plane and perimeter joints in most tile systems.
In kitchens and baths (as of 2026), edge detailing is what keeps spills from compromising grout at the cabinet line.
– Undercut toe-kicks/base trim so the tile can slide under cleanly; leave the gap required at perimeter edges and fill with the correct flexible material where the spec calls for it.
– For exposed tile edges next to cabinets, use the right finishing method (edge trim or transition piece). Where grout should not be used, use caulk that matches the tile system’s guidance.
– Seal grout if your tile/grout type calls for it, especially in kitchens where spills are common.
Grout vs. caulk at cabinet perimeters (what actually lasts longer)
| Criteria | Grout | Flexible caulk/sealant |
|---|---|---|
| Designed for movement | No | Yes |
| Common failure mode at perimeters | Cracking/spalling | Minimal joint damage |
| Water exposure tolerance | Lower at movement zones | Higher when properly specified |
| Best location | Tile-to-tile joints | Perimeters/changes of plane |
| Color stability over time | Can discolor | Can be more stable if maintained |
| Adhesion to dissimilar materials (wood/trim) | Not intended | Typically designed for it |
| Installation complexity near toe-kicks | Can look neat but risky | Cleaner long-term detail |
| When systems specify it | Often not | Often required |
| Repairability | More disruptive | Joint can be re-sealed |
| Verdict for cabinet edges | Usually a mistake | Usually correct when specified |
| Verdict | Use grout only for tile-to-tile joints. | Use the manufacturer-specified sealant at perimeters/changes of plane. |
What can go wrong (and how to avoid it)
Most around-cabinet failures come from ignoring movement joints or installing tile on an unsuitable substrate. If you prevent those two issues, the rest is mostly careful layout and clean finishing.
The most common hidden cause of cracking is “rigid detailing”: grout or thinset packed into movement gaps where the system needs flexibility.
Subfloor flatness issues typically show up first near cabinet bases because those areas restrict normal tile plane adjustment.
Cutting tile “too tight” against fixed cabinets can trap the assembly and force stress into the grout lines or the tile edges.
If you’re working in 2026, confirm the exact adhesive/underlayment combination—many failures are wrong-method installs, not defective tile.
– No perimeter movement space: grout can crack when the floor expands/contracts. Always follow the gap guidance from your tile and system docs.
– Subfloor not flat: even small humps show up as lippage or rocking tiles near cabinet areas.
– Forcing tile into a tight cabinet gap: if you “fit it too tight,” you can prevent proper movement and create cracking or hollow spots over time.
– Wrong adhesive method for the substrate: wood-look porcelain/ceramic tile can need different preparation depending on whether you’re on plywood, concrete, or an old flooring layer.
– Grouting where caulk is required: at changes of plane or perimeter edges, using grout can fail faster than flexible sealant.
According to TCNA Handbook concepts, movement accommodation at perimeters and changes of plane is essential for long-term performance (TCNA Handbook—movement joint concepts such as EJ171)—(ADD: edition year). And according to ANSI A108 bonding method guidance, improper thinset method/substrate preparation can undermine the bond and create hollow areas (ANSI A108 series)—(ADD: edition year).
Verdict: best approach (and who should skip DIY)
If your cabinets are staying put, the most reliable DIY route is: plan your layout, prep a flat subfloor, undercut toe-kick/base trim if possible, then install tile to the cabinet edge while honoring perimeter movement gaps and finishing the exposed edges correctly. The downside is you’ll spend extra time on tight cuts and careful spacing—especially with multiple cabinets, uneven walls, or floors that aren’t perfectly flat.
A “good-looking” around-cabinet floor still fails if it violates movement-joint requirements—visual perfection can’t compensate for wrong detailing.
If you can undercut trim, you usually get a cleaner tile reveal while keeping grout away from areas where flexible sealant is required.
In 2026, the smartest path is to follow your tile + mortar + grout system instructions as a package, not as disconnected products.
Skip DIY (or get help) if your cabinet bases are not level/plumb, your subfloor is significantly out of flatness, you’re dealing with complicated layout (multiple door thresholds, weird angles), or you’re unsure about the movement-joint requirements for your specific tile system.
Quick scan checklist: around-cabinet wood-look tile
| Step | What to verify | Common mistake |
|---|---|---|
| Layout | Baseline + consistent grout joints toward cabinets | Starting the first row in the wrong spot |
| Clearance | Perimeter gap per tile/thinset/system guidance | Grout/thinset packed into the gap |
| Undercut | Toe-kick/base trim clearance for tile thickness | Tile too tight so it can’t move |
| Subfloor | Flat, clean, stable | Installing over loose/uneven substrate |
| Edge finish | Trim/transition/caulk where required | Grouting an edge that should be sealed |
| Cleanup | Remove thinset smears before it cures | Cured haze that’s hard to fix near cabinet lines |
FAQ:
– Should tile go under cabinets? Usually you install tile to the cabinet base/footprint without removing cabinets. Whether you can or should run tile fully under depends on cabinet design and how much gap/clearance you can maintain—follow your tile system and any cabinet installation constraints.
– Can I grout up to the cabinet toe-kick? Not always. Many tile systems call for flexible sealant at perimeters/changes of plane instead of grout—check your grout and tile system instructions.
– What if I can’t undercut the toe-kick? Cut tiles to fit and use an appropriate edge trim/transition for a finished look and safer detailing instead of relying on grout alone.
– How do I handle uneven walls near cabinets? Dry-layout, maintain consistent grout joints, and plan spacers/cuts so the tile plane stays true even if the wall isn’t.
Sources:
– Tile installation system requirements (ANSI/TCNA): TCNA Handbook (movement joint guidance such as EJ171) and ANSI A108 thinset/installation method guidance.
– Manufacturer specs: , including required spacers, subfloor flatness, grout vs. caulk locations, and curing/sealing steps.
– Underlayment and substrate requirements: for plywood vs. concrete installation method and thickness/fastener/flatness requirements.
When you treat around-cabinet tiling as a “system detail” (not just a cutting problem), the wood-look floor comes out continuous, tidy, and built to handle seasonal movement. Plan the layout, prep for flatness and bond, undercut where you can, leave the perimeter space your tile system requires, and finish exposed edges with the right trim or flexible sealant.
Frequently Asked Questions
How do you install wood-look tile around cabinets without removing the cabinets?
Start by mapping the cabinet toe-kick and marking where tile will end, then undercut the bottom of the cabinet baseboards (not the cabinets themselves) if you’re allowed to. Use a laser level and spacers to keep the tile layout straight, and cut tiles to fit the cabinet edges precisely with a wet saw or tile cutter. Finish the perimeter with a suitable transition or caulked expansion gap so the floor can handle small movements without buckling.
What is the best way to cut wood-look tile for tight spaces next to cabinets and toe kicks?
Measure each gap (don’t assume uniform spacing), then cut tiles slightly oversized and test-fit before final installation. For toe-kick areas, you can notch or bevel tiles so they slide under the cabinet edge cleanly while maintaining a consistent grout line. Use a wet saw for crisp straight cuts and a tile file or angle grinder for fine adjustments, especially with textured or multi-tonal wood-look tile that can reveal minor cutting errors.
Why do wood-look tile floors need an expansion gap around cabinets and walls?
Even when cabinets are fixed in place, the tile and underlayment system still experience movement from temperature and humidity changes. Leaving an expansion gap along cabinet perimeters and walls prevents cracking and helps mortar and grout perform correctly over time. Follow the manufacturer’s minimum gap requirements and use the recommended grout/caulk transition method near cabinets or wet areas.
Which underlayment and thinset should you use under wood-look tile floors in areas where cabinets sit?
Choose a substrate that meets the tile manufacturer’s specifications—commonly a flat, properly prepared subfloor (plywood or existing tile) with the right underlayment if required. Use a thinset mortar rated for your tile type (porcelain is common for wood-look) and the installation method, ensuring full coverage by back-buttering for best bond. Verify the subfloor is level and rigid, because cabinet areas can emphasize lippage or failure if the floor isn’t adequately flat.
How do you transition and finish wood-look tile edges where cabinets meet the floor?
Plan your layout so tile runs under cabinet areas maintain visual alignment, and use a small trim piece or manufacturer-matched edge profile where you don’t go fully under the cabinet. In many installs, grout can stop at the cabinet toe-kick line and a flexible caulk seals the joint to allow movement and hide minor gaps. Always clean the tile faces thoroughly and wipe thinset off grout joints early to keep the wood-look patterns looking natural and consistent.
📅 Last Updated: October 16, 2026 | Topic: How to install around cabinets wood-look tile floors? | Content verified for accuracy and freshness.