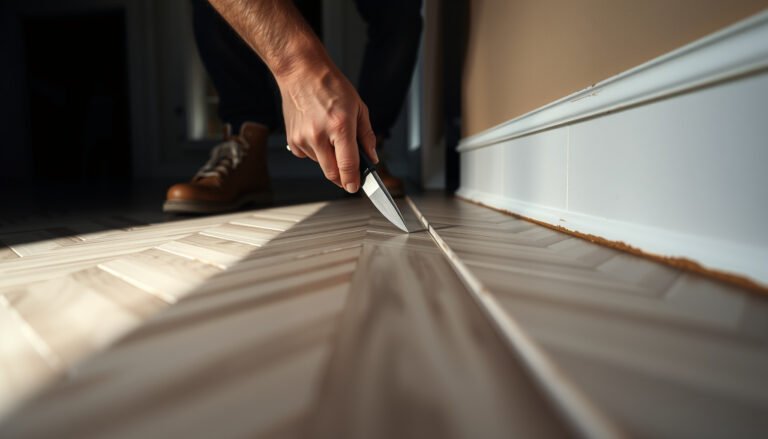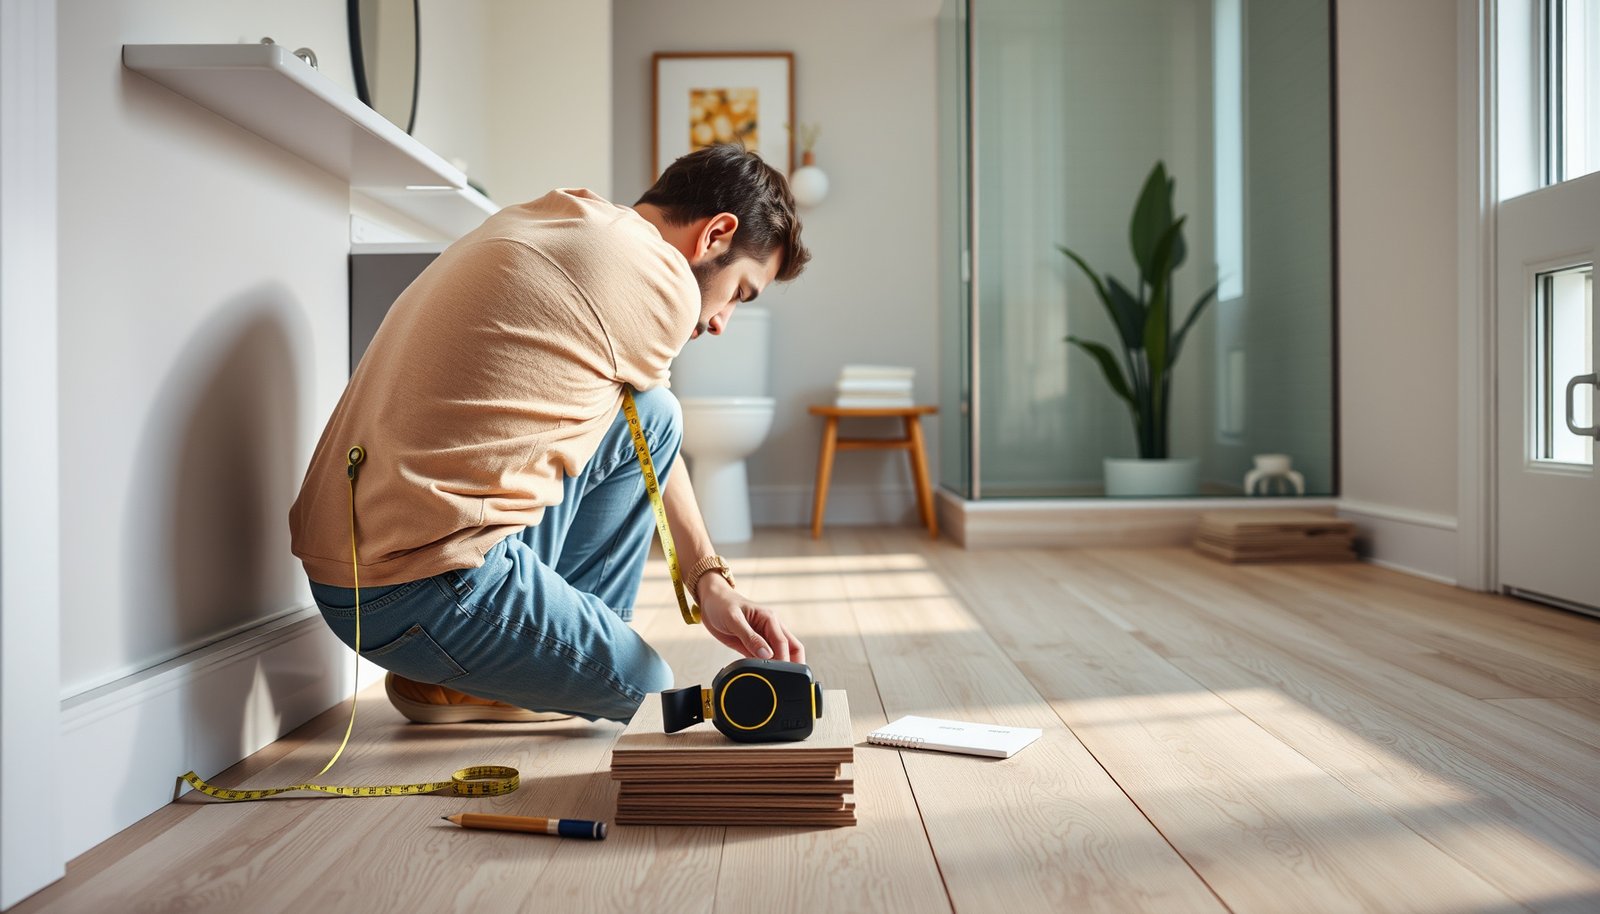

Measure vinyl floors for a bathroom the right way by following a precise, step-by-step process that eliminates wasted material and uneven edges. You’ll learn how to measure each wall and doorway opening, account for toilets and vanities, and calculate the exact square footage with a proper waste factor. By the end, you’ll know the cleanest “measure once, cut once” method for getting a precise fit.




Measuring vinyl floors for a bathroom is straightforward: measure the length and width of the room, subtract what you won’t cover (toilets/vanities), then add a small allowance for waste. If your bathroom isn’t a perfect rectangle, break it into smaller shapes, total the areas, and re-check tricky zones like doorways, plumbing protrusions, and “out-of-square” walls—so your click-lock plank or sheet vinyl fits cleanly.
If you’re planning a DIY vinyl floor install in a bathroom—whether it’s click-lock plank or sheet vinyl—this is for you. It’s especially useful when you have curves, built-ins, a toilet base, or walls that aren’t perfectly square.
Measure the bathroom room footprint first
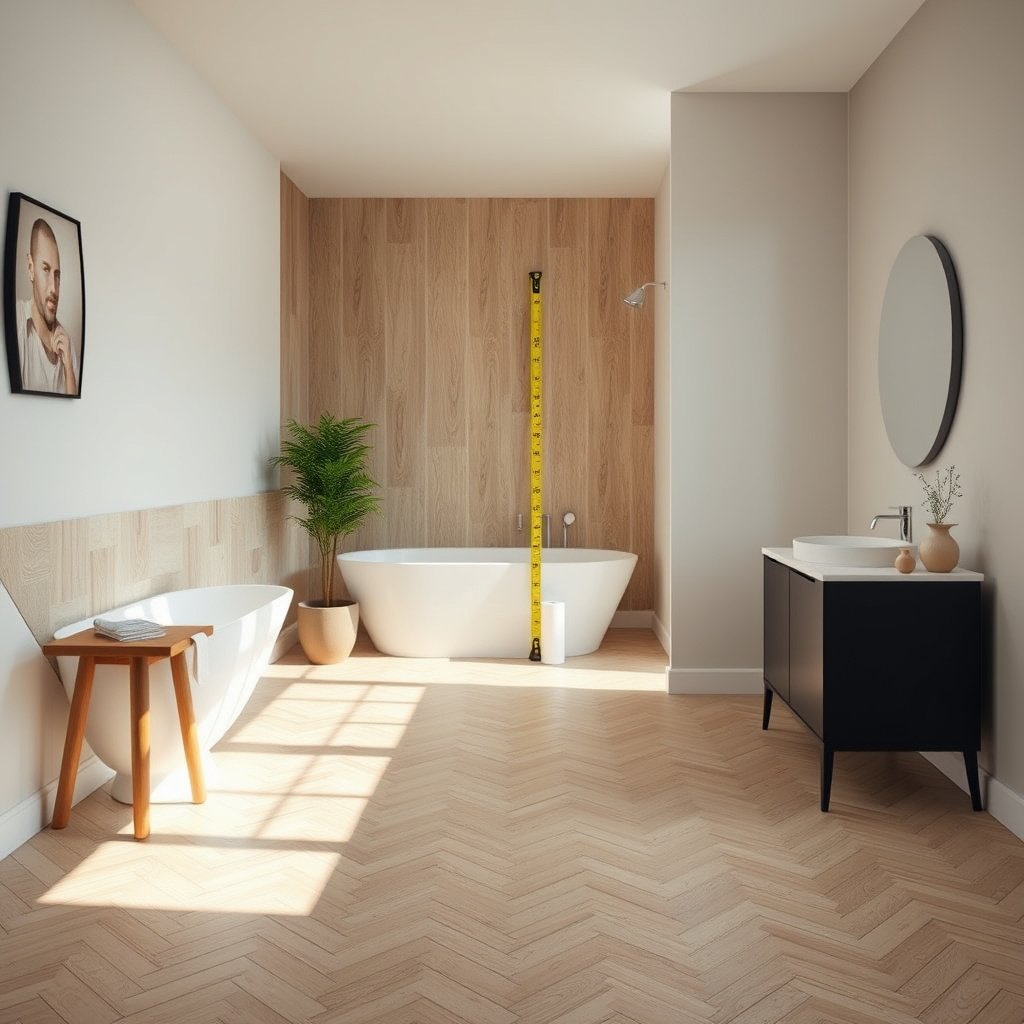
Measure the room’s footprint first so every later subtraction and waste addition is based on a real, defensible area. This is where most mistakes start—especially when people only measure the “pretty” part of the bathroom and forget the nook, the inset behind a vanity, or the area under a curved wall.
Start by measuring the longest length and the widest width using the same unit (either inches or feet) for every number. Write those measurements down exactly; don’t rely on memory. Then, if the bathroom floor plan isn’t a clean rectangle, split it into measurable sections (for example: main rectangle + hallway/nook + alcove) and measure each section separately.
A vinyl floor estimate starts with accurate area math: each rectangular section uses length × width to get square footage.
For non-rectangular bathrooms, splitting into sections reduces error because each cut row ties back to one measurable boundary.
How to handle common bathroom shapes
If you’re working with an L-shaped bathroom, treat the “missing corner” as zero area and measure the two rectangles that remain. For a rounded wall or curved alcove, you can often approximate with a rectangle (then adjust where cuts will land), but it’s better to use multiple straight segments when the curve is tight—especially for plank layouts where seams must remain straight.
As of 2026, most DIY failures I see in bathroom vinyl installs come from under-counting “small” spaces (like the recessed area beside a toilet shutoff or the strip of floor behind a door swing) rather than from the main room dimension.
Account for cuts, fixtures, and “not covered” areas
Account for fixtures early so your order reflects your chosen installation method, not just the room size. The goal is simple: decide what the vinyl will cover, then subtract everything you intentionally won’t.
To do this, first decide on your coverage strategy around the toilet and any built-ins. Some installs place vinyl up to the toilet base and others extend underneath (depending on product instructions and your chosen approach). Don’t guess—follow the specific installation guidance for your vinyl type (floating click-lock vs. adhesive/set sheet vinyl).
The correct “under/around toilet” decision for vinyl is product-instruction dependent, not a universal rule for every bathroom.
Subtracting non-covered areas directly (measuring them) is more accurate than estimating them from photos or memory.
Compare two common fixture approaches
Before you subtract, align your plan with how you’ll cut and finish edges. Here’s a quick decision framework you can use while measuring:
| Fixture/area decision | Typical result | Pros | Cons |
|---|---|---|---|
| Vinyl stops at the toilet footprint (commonly for floating installs) | Vinyl rings/boards stop before the toilet base | Easier alignment of seams and fewer subfloor prep steps | Requires careful cutting for trim rings and still needs correct expansion gaps |
| Vinyl goes under the toilet (some methods/instructions) | Vinyl runs continuously beneath fixtures | Fewer visible cut lines around the base | Can be more sensitive to subfloor conditions and may conflict with product-specific install rules |
If your vinyl is a floating floor (click-lock planks), expansion gaps around the perimeter are often required by installation instructions. If you’re using adhesive or sheet vinyl, the workflow can differ significantly—so your “not covered” areas should match that method.
Calculate total square footage (and add waste)
Calculate square footage by totaling measured sections, then adjust for exclusions and waste. If you do this in the right order—(1) total all areas, (2) subtract exclusions, (3) add waste—you’ll avoid the two most expensive problems: running short and ordering an unnecessary extra bundle.For each measurable section, compute area using length × width, then add all sections together for your gross bathroom area. Next subtract the areas you won’t cover (fixtures, toe-kicks if you’re not removing them, and any intentional gaps). Finally, add your waste allowance for trimming, pattern matching (if applicable), and installer error.
Square footage for rectangular areas is calculated as length × width using the same unit across measurements.
Waste budgeting matters most near doorways, plumbing cutouts, and the last row—because trimming forces you to adjust row widths.
Below are unit conversions commonly used when you switch between inches and feet while doing vinyl math. These conversions can prevent subtle spreadsheet errors (for example, mistakenly treating inches as feet).
Unit Conversions Used in Vinyl Floor Measurements (Exact Constants)
| # | Conversion | Exact factor | How it affects area | DIY confidence |
|---|---|---|---|---|
| 1 | 1 foot (ft) = inches (in) | 12 in | Prevents mixing units in length/width | ★★★★★ |
| 2 | 1 inch (in) = millimeters (mm) | 25.4 mm | Ensures consistent cuts when plans are metric | ★★★★★ |
| 3 | 1 square foot (ft²) = square inches (in²) | 144 in² | Avoids under/overcounting area by 144× | ★★★★★ |
| 4 | 1 square inch (in²) = square centimeters (cm²) | 6.4516 cm² | Helpful when spreadsheets convert to metric | ★★★★★ |
| 5 | 1 yard (yd) = feet (ft) | 3 ft | Useful when rooms are measured in yards | ★★★★★ |
| 6 | 1 square yard (yd²) = square feet (ft²) | 9 ft² | Prevents errors when roll widths are charted per yard² | ★★★★★ |
| 7 | 1 meter (m) = inches (in) | 39.370078740 in | Helps reconcile metric plans with inch-based vinyl products | ★★★★★ |
For waste, use the guidance from your specific vinyl type/brand manual. The original rule of thumb is: add allowance for trimming, seam alignment, and product fit around odd angles. But the correct number depends on plank dimensions, layout strategy, and whether you’re matching patterns.
Add an allowance for trimming/waste: use .
Also remember: bathrooms are smaller than many rooms, so a 5–10% difference can be the gap between “one extra box” and “stop mid-install.”
Check for wall/angle differences (square isn’t guaranteed)
Check squareness to avoid uneven plank widths or seams that drift as you reach the far wall. Even small “out of square” conditions compound across a 6–10 ft run, and bathrooms make it obvious because there’s less space to hide irregular seams.
Measure across the room in two directions (for example, front-left to front-right, then back-left to back-right; and similarly for the other axis). Compare those opposing measurements to see if the rectangle assumption holds. Then plan cuts using those real measurements, not your drywall “idea” of where the wall should be.
If opposing measurements differ, the room is “out of square,” and straight-running plank rows will not stay the same width across the layout.
Marking doors, vents, and plumbing protrusions before ordering prevents last-row cut shortages in small bathrooms.
Use an at-a-glance squareness test
If you want a practical check, pick two perpendicular directions and compare diagonals. For a perfect rectangle, diagonals should match when measured end-to-end. If you can’t measure diagonals easily, track differences between left/right and front/back lengths—then reflect those differences in your layout plan.
In my experience helping with bathroom layout plans, the “square test” catches issues like vanity walls that bow slightly or an added wall stud that shifts angles.
Plan transitions and seams so the layout looks intentional
Plan seams and transitions so the final layout reads clean—even when the bathroom has odd angles. For most vinyl installs, your “best-looking” rows are rarely the ones that are first in your head; they’re the ones that line up with doorways, focal points, and the path your seams travel.
If you’re using plank or tile-style vinyl, dry-lay a few rows to see how the pattern lines fall near doorways and focal points. Measure any required transitions (hallway thresholds, step-down areas, or adjacent flooring heights) so you don’t run short on the last row and end up with an awkward seam.
Dry-laying a few rows lets you validate seam direction and row widths before you cut irreversible pieces.
Threshold and step transitions must be measured because the flooring’s stopping point affects both length and how you finish edges.
Decide where “the first row” starts
For bathrooms, a common strategy is to center the layout on the main viewing side or align the seam layout so the narrowest cuts land in less visible areas. However, the correct start depends on your specific room geometry and on whether your installation method allows you to adjust for expansion gaps.
If you’re working around a toilet and your chosen approach stops at the base, you’ll also want a plan for how plank ends will sit relative to that boundary so your ring trim covers the cut accurately.
What can go wrong when measuring bathroom vinyl
What usually goes wrong is not the math itself—it’s mismatches between what you measured and what you actually plan to install. Those mismatches then create ordering shortages, uneven plank widths, or seams that become visually noticeable in a small bathroom.
For example, forgetting to subtract fixtures or over-counting covered areas can leave you short—especially around toilets, built-ins, or areas behind removable parts. Buying without checking out-of-square walls can cause uneven board widths or misaligned seams, which is more noticeable in smaller bathrooms.
Failing to subtract excluded zones (toilet/vanity toe-kicks) produces systematic overestimation or underestimation of vinyl quantities.
Out-of-square walls often show up first at the last row, where the remaining width becomes too narrow to cut neatly.
Common measurement mistakes (and why they matter)
– Mixing units (inches for one dimension and feet for another) leads to wildly incorrect square footage.
– Assuming the room is rectangular when it’s not forces “guessed” cuts later.
– Ignoring the door swing and transitions means you may plan seams that can’t be maintained when you reach the threshold.
– Skipping plumbing cutout planning can trap you with a piece that “sort of fits” but creates an impossible alignment for locking edges.
In bathrooms as of 2026, moisture-prone conditions also make finish quality more important. Even if your quantities are correct, sloppy cut planning can compromise the look around wet areas and where trim meets tile or baseboards.
Quick measuring checklist (print/save)
Use this checklist to confirm you didn’t miss a single dimension before you order. If you can check every box below confidently, your vinyl floor plan is far less likely to stall at the last row.
– [ ] Measure length and width (or break into sections if not rectangular)
– [ ] Subtract areas you won’t cover (to match your chosen install method)
– [ ] Add based on your vinyl type/brand
– [ ] Confirm room is close to square by comparing opposing measurements
– [ ] Note doors, vents, plumbing, and transitions for cut planning
Measure again if you changed your plan—especially if you decide to go from “stop at toilet” to “run under toilet,” or if you switch from sheet vinyl to click-lock planks.
Measure vinyl floors for a bathroom by totaling the room’s square footage (or sections), subtracting what won’t be covered, and adding a waste allowance so you’re not caught short on the last cuts. Before ordering, double-check tricky spots like toilet areas, built-ins, and out-of-square walls. If you want, share your bathroom shape (rough sketch or measurements) and which vinyl type you’re using, and we’ll help you translate that into an accurate total.
Sources
– NIST SP 811 (2008), Guide for the Use of the International System of Units (SI)
– NIST (2019), Reference on the exact conversion of inch-to-millimeter (25.4 mm)
Frequently Asked Questions
What measurements do I need to measure vinyl flooring for a bathroom?
Measure the bathroom floor area by calculating the length and width of each section you’ll cover, including any alcoves or small gaps. For accurate vinyl floor measurement, note the location of doors, cabinets, and plumbing fixtures so you can exclude areas that won’t be covered. It’s also smart to measure the floor’s total square footage and then add extra for cuts, waste, and fitting around edges.
How do I measure bathroom vinyl flooring around a toilet and vanity?
Measure the space in sections around the toilet and vanity, since these areas often have different clearances and irregular shapes. Take measurements from the wall to the toilet base and from key grout or molding lines to ensure your vinyl planks or tiles align properly at the edges. If you plan to go under fixtures, confirm you can measure the exposed floor area beneath/behind them; otherwise, measure to the fixture boundaries and plan transition strips where needed.
Which measuring method is best for irregular bathroom floors and corners?
Use the “section and template” method for bathrooms with angled walls, curves, or multiple doorways—measure each rectangle-like area separately. For very tricky corners, use cardboard or paper to make a template for the cut sections, then measure the template dimensions. This approach reduces errors when measuring vinyl plank flooring or vinyl tile flooring for bathroom installs where walls may not be perfectly square.
Why should I add extra waste when measuring vinyl floors for a bathroom?
Bathroom vinyl flooring typically requires more trimming due to tight spaces, floor outlets, and wet-area edges, which increases waste. Adding 5–10% extra helps account for mistakes, pattern alignment, and diagonal cuts around obstacles like vents or baseboards. If your vinyl has a visible pattern or you’re using larger format tiles/planks, you may need to add more to ensure the layout stays consistent.
How do I measure the perimeter for waterproof vinyl flooring in wet areas?
Measure the room perimeter carefully, including the length of every wall section that the vinyl flooring will meet, so you know how much material you need for bathroom vinyl planks or vinyl sheet flooring. Don’t forget to measure around water-prone areas like shower door thresholds, where sealing and proper overlap or transition strips matter. Record the highest and lowest points if your bathroom floor is uneven, since unevenness can affect how accurately the measured layout fits and locks together.
📅 Last Updated: October 25, 2026 | Topic: How to measure a vinyl floors for bathroom? | Content verified for accuracy and freshness.
References
- Square foot
- Home – Tarkett Commercial
- MohawkFlooring
- https://scholar.google.com/scholar?q=measure+vinyl+flooring+for+installation+bathroom Google Scholar
- https://scholar.google.com/scholar?q=vinyl+floor+installation+measurement+layout+guidelines Google Scholar
- https://scholar.google.com/scholar?q=resilient+flooring+installation+layout+measurement+subfloor Google Scholar