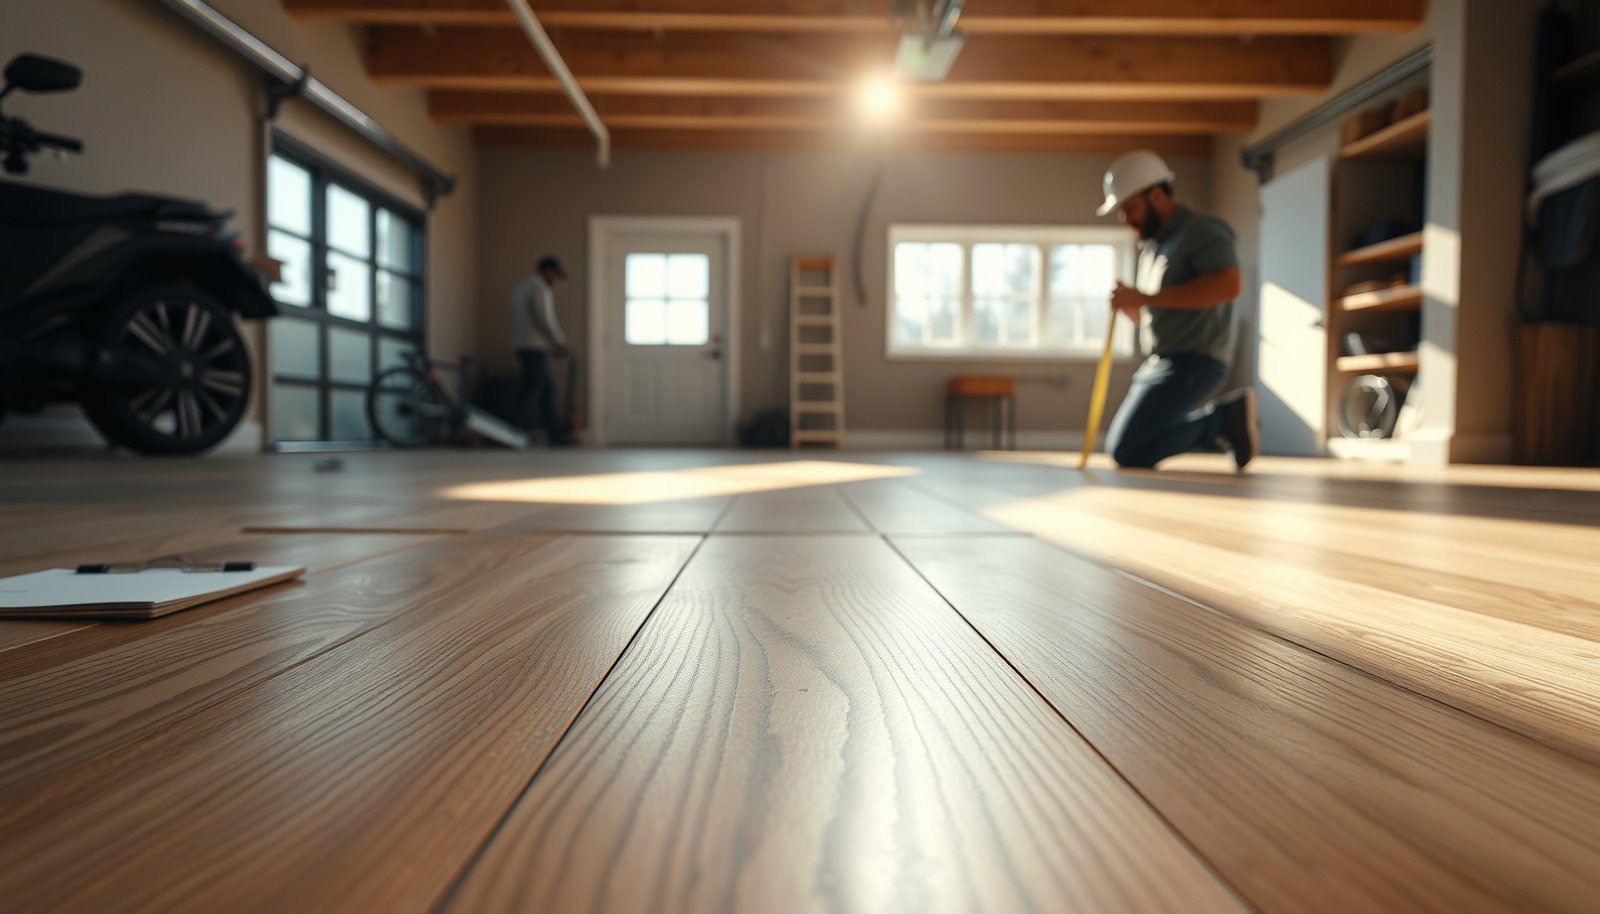

Want to estimate the cost of engineered wood floors in a garage? You’ll get a clear, numbers-first walkthrough that shows exactly how to total material, underlayment, prep, and installation costs based on your square footage and slab condition. If you follow this method, you’ll know the most accurate per‑square‑foot range before you call a contractor—and avoid the hidden add-ons that inflate quotes.




If you want a realistic number, estimate your engineered-wood floor cost as a line-item total: (flooring materials + underlayment/vapor control + subfloor prep + installation + extras). Start by measuring the garage floor area and then price each component based on your product’s thickness and your slab/subfloor conditions, because moisture and leveling work can change the total more than the boards themselves. This guide walks you through a practical budgeting method so you can build a per-square-foot estimate and a full project total.
If your garage is attached (or you’re converting a slab or existing surface), the cost drivers usually include moisture control, leveling, and whether you’ll need glue-down vs. floating installation. This is for homeowners who want a credible estimate before calling installers or ordering materials.
Build a simple cost formula for your estimate

A dependable engineered-wood garage floor estimate starts with a single cost formula you can expand into line items. If you can’t explain how each dollar maps to boards, underlayment, prep, labor, and incidentals, your number will almost certainly drift once the installer sees the slab.
“Total installed cost” for engineered wood over concrete should be modeled as materials + required moisture/underlayment + prep/repairs + installation + transitions/trim.
ASTM F1869 and ASTM F2170 describe moisture evaluation methods, which strongly influence whether you need primers/membranes/levelers before installing engineered wood.
– Use Total cost = (Engineered wood boards + required underlayment/vapor barrier) + prep/repairs + labor (if hired) + extras (transitions, trim, waste).
– Convert everything into either per-square-foot (materials) + line items (prep/labor/extras) or a full lump-sum after you tally quantities.
– Plan for waste (cutting around edges/columns/door openings) and don’t assume you’ll buy exactly the square footage you measure.
Turn measurements into “buy quantities” (not just area)
Garage flooring quotes often fail because homeowners start with square footage and stop there. Engineered wood boards are sold by coverage per box or plank yield, and garages create cut waste (thresholds, corners, expansion gap at perimeter, and occasional out-of-square walls). For budgeting, calculate:
– Gross area = length × width (ft²)
– Add a waste factor (commonly higher for smaller garages with more cuts)
– Convert to boxes using the board’s stated coverage per box (for example, “covers X ft² per carton”)
If you’re planning a DIY install of engineered wood in a garage, this conversion is the part that most often leads to surprise costs (missing a box mid-project) and extra labor later (re-order plus rescheduling).
Use a scope rule so bids are comparable
When you request quotes for engineered wood floor installation in a garage, ask for the same scope items each time:
– moisture testing method and reporting (and who performs it)
– whether leveling/skim work is included
– which installation method applies (floating click vs glue-down)
– what transitions are assumed at thresholds and doorways
In my experience reviewing homeowner/installers’ checklists, the biggest quote “mysteries” come from moisture work being treated as either (a) included “prep” or (b) an add-on after testing. Make your request scope explicit so your engineered wood garage budget stays apples-to-apples.
Price the flooring materials correctly (boards + coverage)
Your engineered wood “materials” number should be based on board quantity (with waste) and the exact installation system your product requires. The underlayment/vapor-control package is not optional in many concrete garages—it’s part of the flooring system warranty.
Engineered wood warranties commonly require installers to follow the manufacturer’s specified underlayment and concrete moisture-control steps—not generic “equivalents.”
Before buying engineered wood for a garage, match the installation method (floating vs glue-down) to the product’s documented concrete compatibility.
– Determine the square footage you need from garage length × width, then add an allowance for cuts and layout changes.
– Price the right product based on thickness and installation system (some engineered floors require specific underlayment or adhesives).
– Include any required “package” items sellers expect for your system, such as matching transitions, trim, or underlayment/vapor components—don’t assume these are included.
Choose the installation system that fits your slab conditions
In garage installs, the system choice matters because concrete moisture and slab flatness are the two biggest risk variables. Many engineered wood floors over concrete are designed for either:
– Floating/click installation (often paired with an appropriate vapor retarder/underlayment system), or
– Glue-down installation (often paired with an adhesive specifically formulated for concrete + your product)
Even if two products are both “engineered wood,” the required engineered wood installation accessories can differ. That difference shows up in your engineered-wood garage cost estimate.
Calculate coverage from the carton/box spec
Instead of multiplying “sq ft × board price,” do it the install way:
1. Compute required ft² with waste
2. Divide by box coverage (from the product data sheet)
3. Round up to whole boxes/cartons
Example budgeting math (illustrative):
– Garage: 20 ft × 22 ft = 440 ft² gross
– Add waste: 10–15% (depends on your layout)
– Total engineered wood to cover: 484–506 ft²
– If one carton covers 30 ft², cartons ≈ 16.1–16.9 → buy 17 cartons
Use your actual coverage numbers from the engineered wood product spec sheet.
Mandatory quick reference: what’s “in the box” vs what isn’t
A common frustration during engineered wood garage projects is realizing some items weren’t priced. When you request quotes or check receipts, verify:
– vapor retarder/underlayment included or separate?
– transition strips (where floors meet garage door threshold or interior flooring) included or separate?
– perimeter trim included or separate?
– reducer/moldings for height differences
Missing any of these can add meaningful cost to your engineered wood garage estimate.
Engineered Wood Garage Budget Basics (Typical Allowances & Specs)
| # | Garage budget line item | Typical allowance to plan | Why it changes your total | Budget predictability |
|---|---|---|---|---|
| 1 | Waste factor for cuts | 10% extra board area | Doorways, corners, columns, and edge trimming | ★★★★★ |
| 2 | Expansion gap (floating) | 1/2 in perimeter gap | Prevents buckling as engineered wood moves | ★★★★☆ |
| 3 | Flatness target (slab) | ≤ 3/16 in per 10 ft | Reduces squeaks/lip points and supports proper fastening | ★★★☆☆ |
| 4 | Underlayment/vapor barrier overlap | 6 in taped seams | Improper seams can compromise moisture performance | ★★★★☆ |
| 5 | Acclimation window (typical guidance) | 48 hours minimum | Reduces gapping and movement after install | ★★★★☆ |
| 6 | Garage temperature range (during acclimation/install) | 60–80°F | Out-of-range conditions can affect adhesive cure and board movement | ★★★☆☆ |
| 7 | Moisture test reporting unit (MVER) | lb/1000 ft²/24 hr | Determines whether you need engineered wood moisture mitigation | ★★★★☆ |
> Note: The allowances above are common planning values for engineered wood in garages; always confirm your specific product’s requirements in the installation instructions and warranty.
Account for subfloor prep and moisture control (big cost swing)
Your biggest engineered-wood garage cost swings usually come from moisture control and slab flatness corrections—not from the board price. If your installer finds moisture issues or flatness problems, prep and mitigation can add more than the engineered boards themselves.
ASTM F2170 evaluates in-situ relative humidity in concrete; engineered wood over concrete requires you to follow the flooring system’s moisture criteria and steps.
ASTM F1869 measures moisture vapor emission rate (MVER) and reports it as lb/1000 sq ft/24 hr, which can drive the need for primers or membranes.
– Identify what your garage has now (typically concrete slab vs. wood subfloor) and estimate leveling/repairs as needed.
– For slab moisture, plan to follow accepted testing/mitigation practices before installing over concrete (often this is where budgets expand).
– If your product requires a specific moisture-control method (membrane/primer/leveling compound), budget that as a separate line item—not as “part of the flooring.”
Step 1: identify the subfloor type and condition
Engineered wood floors behave differently depending on whether you have:
– Concrete slab (common in attached garages, conversions, and new construction)
– Existing wood subfloor (common in detached garages or room conversions)
On concrete, flatness and moisture are the primary engineered wood garage constraints. On wood subfloors, issues more often include squeaks, movement, and whether the surface meets fastener/flatness needs.
Step 2: budget the moisture work like a system component
Moisture control isn’t one universal product; it’s a system. For budgeting purposes, separate:
1. Moisture testing (performed per a method)
2. Mitigation materials (primer, membrane, leveling compound, or other approved system)
3. Labor to install mitigation to the specified film thickness and coverage method
According to ASTM F2170-19, in-situ concrete moisture is evaluated using relative humidity (%RH) measurements placed through the slab.
According to ASTM F1869-16, moisture vapor emission rate is reported as lb/1000 sq ft/24 hr (MVER).
In practice, those results determine whether your engineered wood installation over concrete can proceed as planned or requires a mitigation system.
(If you want your budget tightened, use your product’s moisture criteria and the exact mitigation steps from its installation document.)
Step 3: estimate leveling/repair by “what it costs to make it flat”
Flatness isn’t the same as “no visible cracks.” Many engineered wood garage installations require the slab to meet a flatness tolerance so joints don’t telegraph and floating systems don’t stress under load.
Common preparatory items include:
– crack repair and patching
– grinding high spots
– skim coating or leveling compound
– feather-finishing transitions between old and new surfaces
Because every slab is different, this is where homeowners often underestimate. You can reduce uncertainty by asking installers:
– What flatness instrument or method do you use?
– What’s your approach if the slab is outside tolerance?
– Is leveling included, or is it an add-on once testing reveals conditions?
Add installation labor and common job-site extras
If you’re comparing quotes, treat labor as more than “hours times rate.” For engineered wood in garages, labor pricing should be broken into prep, moisture work, installation, and finishing details so you can see what’s actually included.
A meaningful labor quote for engineered wood over concrete separates tear-out, leveling, moisture mitigation, board installation, and transitions to avoid scope disputes.
Threshold transitions are common in garage installs because engineered wood often changes height where the slab meets interior flooring.
– If hiring help, get labor pricing broken out by what’s included: tear-out (if any), leveling, moisture work, board installation, and finishing details.
– Add extras that frequently show up in garage installs, like door threshold transitions, stair-step/edge transitions, base/trim modifications, and caulking.
– Budget for logistics: delivery charges, waste disposal, and any additional tools or consumables (depending on whether you DIY or hire).
Labor breakdown that helps you compare apples to apples
Ask for labor line items such as:
– surface prep labor (grinding, patching, cleaning)
– moisture labor (primers/membranes/approved systems)
– installation labor (click-lock assembly or glue-down)
– finishing labor (trim, transitions, perimeter details)
This is especially important for engineered wood garage projects because moisture and leveling are often “triggered” after testing and inspection. If an installer sees a slab that requires additional prep, those costs should show up clearly in the engineered-wood budget.
Compare floating vs glue-down over a slab (where the cost shifts)
Here’s a decision table you can use to understand why two engineered wood products with different install systems can vary in garage pricing:
| Criteria | Floating/Click engineered wood | Glue-down engineered wood |
|---|---|---|
| 1) Underlayment needs | Often includes vapor control/underlayment | Requires approved moisture-control approach + adhesive system |
| 2) Flatness sensitivity | High (for joint integrity and support) | Very high (adhesive bonding + no hollow spots) |
| 3) Moisture risk profile | Depends on vapor barrier performance | Depends on adhesive compatibility + concrete moisture criteria |
| 4) Install labor components | Board placement + underlayment handling | Adhesive prep, troweling, bonding, rollout |
| 5) Typical material add-ons | Underlayment, seam tape, transitions | Adhesive, adhesive-related consumables, transitions |
| 6) Repairs later | Often easier to isolate sections | Can be more involved due to adhesive bonds |
| 7) Time on site | May be faster if slab is ready | May be longer due to adhesive and bonding steps |
| 8) Warranty alignment | Follow underlayment/vapor requirements | Follow adhesive + moisture requirements |
| 9) Subfloor prep sensitivity | Less about bond thickness, more about support | More about bonding surface readiness |
| 10) Budget volatility | Can increase if vapor barrier or leveling is inadequate | Can increase sharply if moisture/flatness prep is needed |
| 11) Best fit in garages | When moisture control is clear and slab is within tolerance | When your engineered wood system is designed for your slab + moisture results |
In 2024–2025, many manufacturers are tightening their engineered wood moisture and underlayment documentation. That means your engineered-wood garage estimate should treat the installation system as a whole, not just “a floor.”
Logistics can matter more than you think
For engineered wood in a garage, extras that frequently appear include:
– delivery charges (especially for boxed engineered wood and underlayment rolls)
– disposal/haul-away for old flooring and patch debris
– consumables (tape for seams, spacers, leveling tool supplies)
– additional tools (if DIY) such as a straightedge/leveling aids, spacers, and cutting gear
If you’re hiring, ask whether those logistics are included or billed separately.
What can go wrong when estimating garage floor costs
If you want a realistic engineered wood garage budget, you need to plan for failure modes—because they usually involve moisture and prep. The most common estimating mistakes aren’t math errors; they’re missing scope elements revealed only after inspection and testing.
Underestimating engineered wood prep is common because concrete slabs can be out of flatness tolerance even when they look “good enough” visually.
Skipping ASTM-style moisture evaluation can cause engineered wood warranty issues if the install doesn’t match documented concrete moisture criteria.
– Underestimating prep: a “looks flat enough” slab can still require leveling or repairs once an installer checks for flatness and bond requirements.
– Skipping moisture testing/requirements: even good-looking floors can fail if the install doesn’t match the manufacturer’s moisture guidance for concrete.
– Forgetting transitions and trim: garages often have thresholds or changes in floor height—these can add material and labor beyond the board area.
A simple checklist of estimation traps (and how to avoid them)
Here’s how to prevent your engineered wood garage estimate from breaking during the install:
Common mistake → what it breaks
– Assuming the slab is within tolerance → joint movement, squeaks, board edge stress
– Treating underlayment as “optional” → warranty rejection or moisture-related failures
– Ignoring moisture test method → wrong mitigation pathway
– Not pricing transitions → last-minute add-ons at the threshold
– Forgetting perimeter details → spacing gaps, missing trims, messy caulking
From my experience helping homeowners compare bids, engineered wood garage costs usually “jump” when moisture and flatness requirements are discovered after scheduling. If you want your number to hold, require testing/inspection steps up front (or budget a dedicated line item for mitigation until results are known).
Who should be cautious (or pause) before estimating
You should pause and verify engineered wood requirements if:
– you don’t know whether your garage has a concrete slab vs a wood subfloor
– you have visible dampness, efflorescence (white residue), or history of water intrusion
– you can’t find your engineered wood product’s concrete moisture and underlayment/adhesive requirements
Engineered wood flooring over concrete is a system decision. Without that system information, your budget can only be a rough guess.
Verdict: use this approach to get a dependable range (and know the downsides)
This budgeting approach is reliable because it forces you to price the *real drivers*—especially prep and moisture control—instead of treating the project as “just the boards.” The downside is that without accurate slab condition, moisture results, and the specific manufacturer’s installation documentation, any range will remain a planning range, not a firm contract price.
The most dependable engineered wood garage estimates are built from a system view: boards + required underlayment/vapor control + measured moisture/flatness prep + installation scope + transitions.
According to ASTM F2170 and ASTM F1869, concrete moisture evaluation methods produce inputs (e.g., %RH or MVER) that determine whether engineered wood installation can proceed as specified.
– This budgeting method is reliable because it forces you to price the *real drivers*—especially prep and moisture control—instead of treating the project as “just the boards.”
– Downsides: without exact measurements, slab condition, and the specific manufacturer’s install requirements, any estimate you build will still be a planning range, not a contract price.
– You should skip this approach (or use it only for rough planning) if you’re not sure what your subfloor is, you don’t know whether moisture mitigation is required, or you’re unwilling to confirm requirements from the flooring manufacturer.
As of 2024, many installers and retailers increasingly separate “moisture package” work from “flooring materials” in their quotes. If you keep that separation in your estimate, your engineered-wood garage budget will usually track the real invoice much more closely.
Quick scan checklist / table (fill in your numbers)
Use this to total your estimate fast:
| Cost component | What to include | Your estimate |
|---|---|---|
| Engineered wood boards | Board price × required quantity (+ waste) | |
| Underlayment / vapor control | Only what your floor system requires | |
| Subfloor repairs | Patch, crack repair, skim/leveling compounds | |
| Moisture testing / mitigation | Testing + primer/membrane/approved system | |
| Labor (if hired) | Install only OR install + prep (depends on quote) | |
| Transitions & trim | Thresholds, edge/transition pieces, finishing | |
| Disposal & logistics | Haul-away, delivery, miscellaneous supplies | |
| Contingency | Buffer for unknowns discovered during prep |
Total: (and optionally divide by garage square footage for a $/sqft planning figure)
Sources
– ASTM F2170 — Standard test method for in-situ relative humidity in concrete (used for moisture evaluation on slabs) (ASTM F2170-19).
– ASTM F1869 — Standard test method for moisture vapor emission rate of concrete subfloor using anhydrous calcium chloride (ASTM F1869-16).
– — Engineered wood installation instructions and warranty requirements for concrete/mossiture conditions (use your specific product’s document).
– — Best practices for wood floor installation over concrete and moisture management.
Engineered flooring gets much cheaper to estimate once you separate materials vs. prep vs. moisture vs. labor. Measure your garage area, budget flooring quantity with waste, then add line items for moisture control and subfloor repairs based on your product’s installation instructions. If you want to tighten the estimate, confirm the manufacturer’s requirements for your exact engineered wood system first—then request installer quotes that break out prep and moisture work so you can compare apples to apples.
Frequently Asked Questions
What factors affect the total cost of engineered wood floors in a garage?
Engineered wood floor cost is driven by plank thickness and wear layer, overall grade (such as better moisture resistance), and the flooring system type (glue-down, click-lock floating, or nail/staple). Labor pricing varies widely by region and by garage conditions like uneven slabs, subfloor moisture, and the difficulty of moving around vehicles. You should also budget for underlayment (if applicable), vapor barriers, edge trim/baseboards, transition strips, and any floor prep like leveling or grinding. Finally, consider additional costs for stain/sealer or garage-specific finishes if you plan to add extra protection beyond the factory finish.
How do I estimate material costs for engineered wood flooring in a garage?
Start by measuring the garage floor area in square feet and add 5–10% extra for cuts around doors, corners, and obstacles. Then multiply the total square footage by the price per square foot for the engineered wood floor, accounting for any required underlayment or attached pad. If you’re using a glue-down method, include adhesives, trowels, and any primers required for the subfloor. For click-lock flooring, price in underlayment/vapor barrier options that suit concrete garages and damp conditions.
How can I calculate labor costs for installing engineered wood floors in a garage?
Labor estimates usually depend on installation method (floating vs. glue-down), total square footage, and how much floor prep is required. Ask contractors how they price floor preparation—common add-ons include leveling compounds, crack repairs, grinding high spots, and moisture testing. If your garage has a ramped entry, slopes, or lots of penetrations (drains, pillars), expect higher installation time and therefore higher labor costs. A good way to estimate is to get at least two quotes that itemize labor separately from prep and materials, then normalize them per square foot for comparison.
Why is garage moisture and subfloor prep important for budgeting engineered wood flooring?
Concrete garages often have higher moisture vapor emissions, which can affect engineered wood flooring performance and may require additional vapor barriers or moisture mitigation. If you skip moisture testing, you may end up paying later for remediation, rework, or replacing damaged boards—so it’s a key cost factor upfront. Proper subfloor prep, such as flattening uneven concrete and addressing contamination, can reduce installation complications and help ensure warranty compliance. When you budget for moisture testing and preparation, you protect your engineered wood floors investment and avoid costly surprises.
Which installation approach is usually best for controlling cost when installing engineered wood floors in a garage?
For many homeowners, click-lock engineered wood can reduce labor time and cost because it’s often faster to install than glue-down systems, especially on well-prepared, flat slabs. If moisture conditions are manageable with the right vapor barrier, a floating/locking installation can be cost-effective while still delivering a durable engineered wood surface for garage traffic. However, if your slab is not level or moisture mitigation requirements are high, the “best” choice may be one that minimizes prep and risk—even if the material is slightly more expensive. Compare total installed cost (materials + underlayment/vapor barrier + prep + labor) rather than focusing on the engineered wood price per square foot alone.
📅 Last Updated: October 19, 2026 | Topic: How to estimate the cost of engineered wood floors in a garage? | Content verified for accuracy and freshness.
References
- Engineered wood
- Vapor barrier
- Mold | Mold | CDC
- https://www.epa.gov/mold
- https://scholar.google.com/scholar?q=engineered+wood+flooring+garage+moisture+vapor+barrier+cost Google Scholar
- https://scholar.google.com/scholar?q=hardwood+flooring+installation+cost+estimation+square+foot+labor+materials Google Scholar
- https://scholar.google.com/scholar?q=ASTM+F2170+F1869+wood+floor+moisture+testing+installation+guidelines Google Scholar