
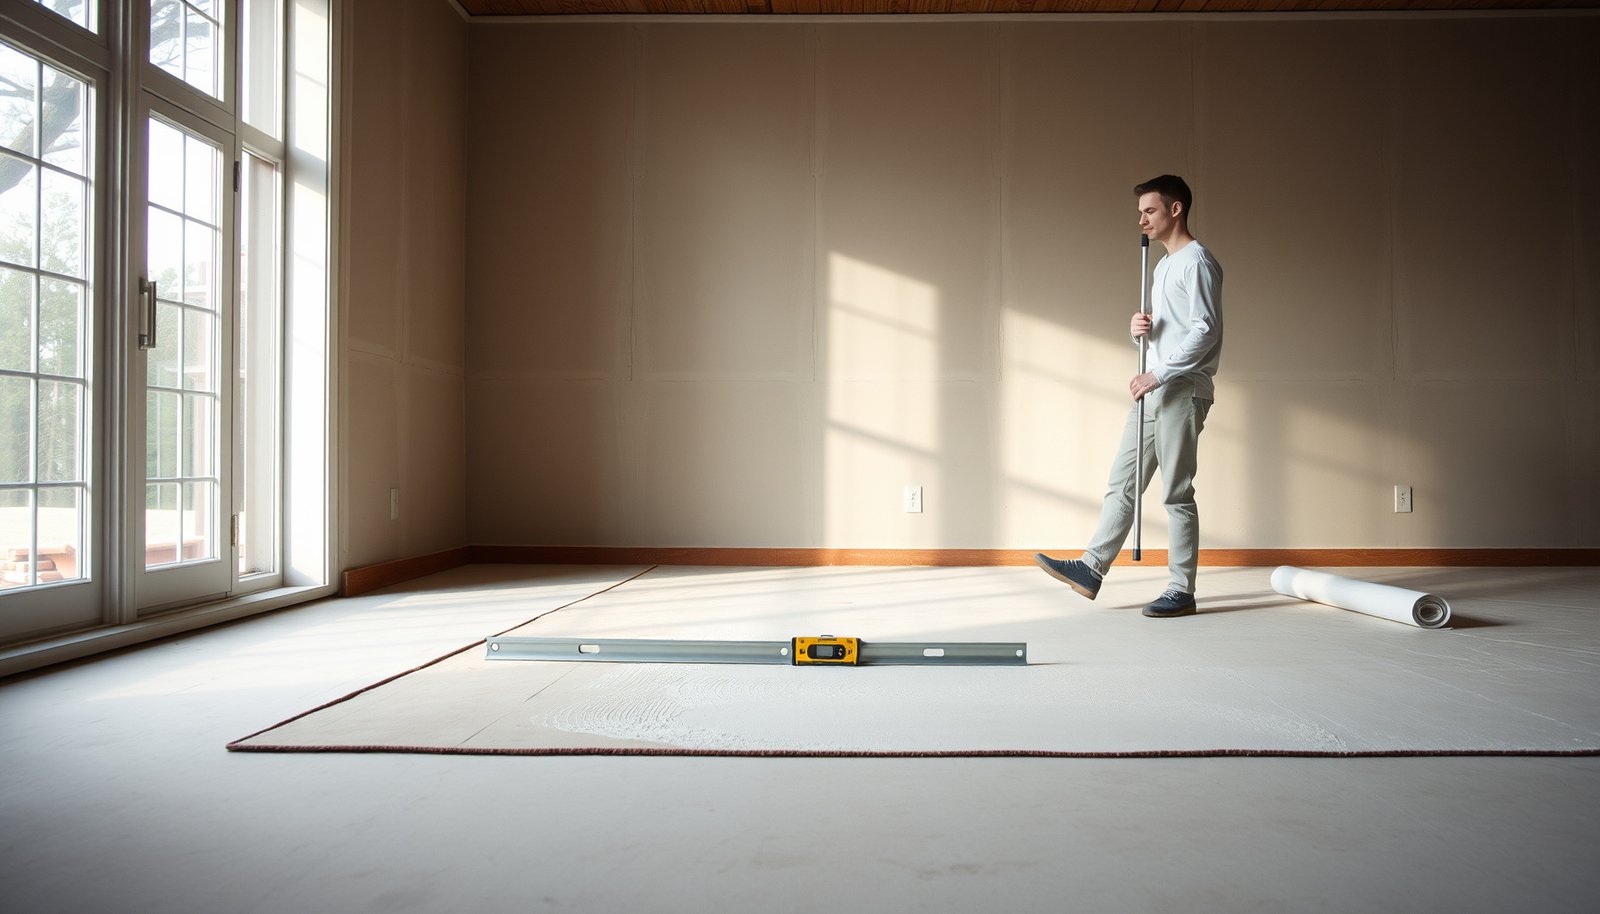

To level vinyl floors before installing a living room, the fastest path to a flat, pro-looking finish is to assess the subfloor first, then use a self-leveling underlayment for low spots and a patch compound for local dips. If your floor is badly uneven or has compound height swings, grinding and re-smoothing comes before any leveling material goes down. Follow the prep rules—clean, prime where required, and let each product cure fully—and your vinyl will lay smooth with fewer transitions and less chance of future gaps.



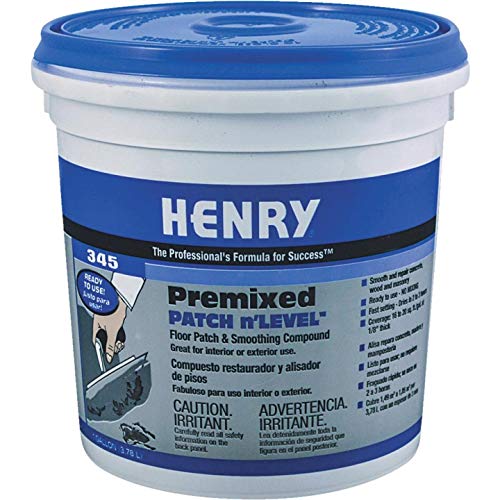
If your vinyl floor looks wavy or separates at seams, the cause is usually an uneven subfloor. Level it by correcting high spots, filling low areas, and verifying flatness with a straightedge before you install, because even small dips can telegraph through living-room vinyl. This guide walks you through what to check, how to prep, and what to avoid so your living room vinyl lays flat.
If you’re planning a vinyl floor in a living room—whether it’s click-lock or glue-down—this applies anytime the subfloor has dips, ridges, or patchy repairs. It’s especially important if you’re installing over concrete, plywood, or an older floor that has bumps, joints, or uneven transitions.
Check the subfloor flatness (before you buy materials)

You don’t “guess” flatness—you measure it, because vinyl flooring systems are designed to tolerate only limited variation. If you map high/low spots early, you can choose the right leveling approach and avoid seam movement, rocking, and visible waves once the living room is finished.
ASTM E1155 describes measuring floor flatness with a straightedge and gap measurement, which is the basis for verifying whether a subfloor is within resilient/vinyl installation tolerances.
ASTM F710 requires proper subfloor preparation (including flatness) as part of resilient floor covering installation practices.
In practice, common resilient-floor guidance targets on the order of 3/16 in (4.8 mm) over 10 ft as a “stay-flat” threshold—always confirm the specific number in your vinyl manufacturer manual.
– Use a long straightedge (or a 6–10 ft level) and measure how far the surface varies from flat, then mark problem spots.
– Focus on ridges, dips, seams, and around doorways—vinyl is less forgiving than you’d expect for a “quick install.”
– If you have specific manufacturer limits for allowable variation, follow those exactly; if not, typical allowable flatness range used for resilient/vinyl installations is often about 3/16 in in 10 ft (4.8 mm in 3 m) and/or 1/8 in in 6 ft (3.2 mm in 1.8 m) depending on the system and manufacturer guidance.
In my experience working through leveling issues in living rooms, the straightedge step is where most problems become obvious—especially around transitions, floor vents, and older plywood seams. That matters because vinyl can look “fine” from eye level while still moving underfoot at seam locations. When the floor flattens only after you start installing, you get stress on click-lock joints or poor adhesive bond lines in glue-down vinyl.
Also note that flatness is not the same as level. A subfloor can be level (measuring slope) but still be wavy (measuring surface curvature). Vinyl flooring responds to surface flatness more than overall slope, so your measuring method should target local dips and ridges.
Remove bumps and repair the lows
Correcting bumps and filling low areas is the step that turns a “wavy” subfloor into a uniform plane your vinyl can follow. Do it in a controlled order—first reduce highs, then build lows—so the final surface is smooth enough for the underlayment and vinyl to sit without stress.
Grinding high spots is recommended because leveling compounds generally feather and fill low areas more reliably than they “bridge” over hard ridges.
Patch/feathering compounds are designed to be applied in thin layers; applying beyond the manufacturer’s maximum thickness increases shrinkage and cracking risk.
For best bonding, preparation should remove dust and contaminants because leveling materials rely on clean, properly prepared substrates.
– Grind down high spots (common on concrete and raised wood panels), then vacuum thoroughly to remove dust.
– For low areas, fill with a patch/feathering compound made for your subfloor type, and apply as thin layers as the product allows.
– Let everything cure fully before you continue—rushing this can cause the patch to shrink or telegraph through.
A practical workflow for vinyl floor leveling in a living room is: mark → grind → vacuum → fill → re-check with the straightedge. Re-checking after each phase helps you avoid overbuilding lows. Overbuilding is a common way to end up with a new “high” that wasn’t there before.
For concrete, high ridges often come from trowel marks, old paint drips, or minor protrusions from previous patch jobs. For plywood, high spots can come from nail heads, joint compound that hardened unevenly, or sections where panels were replaced without flush edges. In both cases, grinding should be dust-controlled (vacuum + PPE) because dust interferes with leveling compound adhesion and can create bond-line failure.
For low spots, choose a compound rated for the specific substrate (concrete vs. plywood) and the intended thickness. If the low area is extensive, some installers use a feather-finish approach; others move directly to an underlayment/leveler system. Either way, the goal is a smooth surface with no sharp edges between patch and existing substrate.
Choose the right leveling method for your subfloor
The best leveling method depends on whether your subfloor is concrete, plywood, or a patched/older surface. Here’s the analytical approach: match the method to the substrate and the vinyl system’s installation requirements, then confirm flatness again before you install.
ASTM F710’s installation practices emphasize selecting appropriate materials and preparing the subfloor so the resilient flooring can perform as intended.
When substrates are loose or unstable (common on plywood subfloors), addressing fasteners and movement is usually more effective than relying on leveling compound alone.
For large-area unevenness, using an approved underlayment/leveling system can reduce the number of patch layers needed compared with spot feathering.
– Concrete: address high spots with grinding and use a concrete-rated patch/leveler for low spots.
– Plywood/wood: fasten down loose boards, correct squeaks, and use appropriate leveling compound or underlayment system per the vinyl manufacturer.
– If the surface is badly out of level across large areas, consider resurfacing with a manufacturer-approved self-leveling underlayment (for suitable substrates) or adding/renewing underlayment panels rather than trying to “patch everything.”
Comparison: which leveling route makes sense for living-room vinyl?
Below is a practical “fit-for-purpose” comparison to help you choose the right method for vinyl floor leveling.
| Method | Best for | Main risk if misused |
|---|---|---|
| Spot grinding + feather-finish compound | Localized highs/lows and spot repairs around seams and transitions | Telegraphing if feather edges aren’t fully blended or cure is rushed |
| Underlayment system (for wood/plywood) | Unstable or uneven plywood floors where movement must be eliminated | Failure if the system isn’t approved for your vinyl and subfloor type |
| Self-leveling underlayment (for suitable concrete) | Large-area waviness that’s hard to fix with repeated patch layers | Surface issues if moisture/primers aren’t handled exactly per the product label |
A note on plywood: stability beats “perfect flatness”
With vinyl floor leveling over plywood, stability is non-negotiable. If panels flex, click-lock seams can open and close, creating joint stress. Leveling compounds can smooth the surface, but they can’t reliably “fix” a subfloor that continues to move under load. If you find squeaks or flex, fasten down the subfloor first, then proceed with leveling.
As of 2026, more manufacturers explicitly reference approved underlayment/leveler systems for resilient vinyl, and the safest path is to treat the vinyl manual as the governing document for what materials and thickness methods are acceptable.
Moisture and subfloor prep: don’t skip this step
Moisture problems can undermine both patch bonding and vinyl performance, so you verify moisture when required. If you install on a damp concrete slab without proper testing, you can trap moisture under the vinyl and trigger adhesive failure (glue-down) or long-term movement (either type).
ASTM F1869 measures moisture vapor emission rate (MVER) using calcium chloride and reports results in lb/1000 sq ft/24 h.
ASTM F2170 measures in-situ relative humidity (RH) inside concrete using probes, and it’s commonly referenced in flooring moisture protocols.
ASTM D4263 uses a 72-hour plastic-sheet test to observe moisture-related conditions on concrete surfaces as a qualitative check.
– Check for moisture concerns (especially over concrete). Use a moisture test method recommended by the vinyl manufacturer; if unsure, many vinyl installation manuals reference ASTM F2170 (in-situ RH) or ASTM F1869 (MVER)—follow the manual first, then match your test method to the manufacturer’s acceptance criteria.
– Remove all residue: old adhesive, paint overspray, drywall mud, and loose particles can stop self-levelers/patches from bonding.
– Ensure the subfloor is clean, dry, and smooth enough that the leveling material can properly adhere and feather.
The reason this section matters specifically for “leveling before installing living room vinyl” is simple: leveling materials and primers require correct substrate condition. Dust from grinding, leftover adhesive residue, and chalky concrete can prevent bonding. When that happens, you can end up with a patch that looks flat initially but breaks down later—leading to hollow spots and uneven vinyl wear.
Preparation also includes removing contaminants you might not notice visually. A concrete slab can look “clean” but still have paint overspray, curing compounds, or residue that inhibits bonding. Plywood can have drywall mud ridges or fibrous sanding dust trapped in low areas.
From my experience assisting with troubleshooting, moisture verification typically belongs before you commit to leveling, because it’s the only step that can force a total plan change (for example, switching to a moisture mitigation system, or adjusting leveling material selection). In 2026, moisture testing is also more standardized across flooring contractors, and using ASTM methods aligns you with documentation-based expectations.
What can go wrong (and how to prevent it)
Leveling vinyl floors goes wrong most often when the installer “solves the symptom” (a dip) but ignores what caused it (surface instability, moisture, or wrong material selection). If you avoid these failure modes, your living-room vinyl is far more likely to stay flat at seams and maintain a consistent appearance.
Resilient flooring performance depends on meeting both flatness and substrate-prep requirements; exceeding allowed variation can lead to seam stress and visible waves.
Using a leveling compound not approved for your substrate can cause debonding because patch/leveler products are formulated for specific chemical and physical bond conditions.
Many leveling materials require full cure before traffic and installation; installing early can cause uneven settling and surface irregularities.
– Overfilling lows: thick patches can crack or stay “soft,” creating a springy spot under traffic.
– Under-cure problems: walking on uncured levelers or installing too soon can cause uneven settling later.
– Ignoring seams and transitions: joints between plywood sheets, around floor vents, or at room edges often create ridges that show through.
– Using the wrong compound: patch/levelers aren’t universal—using a product not rated for your subfloor can cause debonding or uneven shrink.
– Skipping manufacturer flatness requirements: some vinyl systems specify a maximum variation; exceeding it can lead to gaps and movement at seams.
A subtle but common issue is patch feathering quality. Even if the patch “cures,” a visible or tactile edge can transmit to the vinyl. When that edge sits under a click-lock joint, the joint can flex differently than surrounding areas, contributing to separation over time.
Another failure mode is ignoring perimeter conditions. Living rooms often have doorways, HVAC vents, and sometimes transitions to hallways with different substrates. If you only flatten the middle of the room, seams and ridges at transitions can still create visible waviness once furniture and foot traffic settle the floor.
Finally, vinyl type matters. Click-lock products and glue-down vinyl both require flatness, but the consequences can differ: click-lock emphasizes seam integrity and movement control, while glue-down emphasizes bond and moisture protection.
Verdict: level it thoroughly, but don’t overdo it
Level your vinyl subfloor thoroughly because it’s the best way to prevent waves, seam stress, and rocking. That said, you should not overdo leveling when the floor is already within the vinyl manufacturer’s tolerance—because unnecessary grinding and compound buildup can add new high spots and create cure-related risks.
ASTM F710 treats subfloor preparation and flatness as critical prerequisites for resilient floor performance, not optional “nice-to-haves.”
When your surface is only slightly out of flatness, targeted patching and proper blending is often more reliable than attempting to “rebalance” the entire room with heavy pours.
In 2026, many LVT/LVP manufacturers continue to publish explicit allowable flatness tolerances and moisture testing requirements, and ignoring them commonly leads to warranty disputes.
Leveling your vinyl floor before installation is usually worth the effort because it reduces visible waves, seam stress, and clicking problems. The downside is time: grinding, patching, and full cure can add days depending on conditions and product cure times. If your subfloor is only slightly off and you have a vinyl system with clear flatness tolerance, careful spot repairs may be enough—if it’s significantly uneven, you may need a more involved resurfacing approach.
If you’re not able to measure flatness or wait for cures, consider pausing and so you can protect the vinyl installation and avoid reinstalling later.
7 Key Standards for Leveling & Moisture Testing Before Vinyl (US)
| # | Standard / Method | Focus | Typical Output | Practical Priority |
|---|---|---|---|---|
| 1 | ASTM F710 | Resilient floor installation practices | Preparation & installation requirements | ★★★★★ |
| 2 | ASTM E1155 | Floor flatness measurement | Gap measurements (in/ mm) | ★★★★☆ |
| 3 | ASTM F2170 | In-situ concrete RH testing | Relative humidity (%) at depth | ★★★★★ |
| 4 | ASTM F1869 | Moisture vapor emission testing | MVER (lb/1000 sq ft/24 h) | ★★★★☆ |
| 5 | ASTM D4263 | Plastic sheet moisture check | Pass/fail observations after set time | ★★★☆☆ |
| 6 | ASTM C1583* | Surface moisture conditions in concrete | Device/method-specific moisture readings | ★★★☆☆ |
| 7 | Roughness/underlayment compatibility (manufacturer guides) | System-specific limits | Allowed variation & prep requirements | ★★★★★ |
ASTM C1583 output and exact application details depend on the moisture testing approach described in the standard; always follow the vinyl and leveling material instructions.
Quick leveling checklist (scan/save)
Leveling is easiest when you treat it like a sequence: measure, correct, verify, then install. Use this checklist to make sure your living room vinyl gets the flat, clean foundation it needs before you open any boxes.
A long straightedge (commonly 6–10 ft) helps detect local ridges and dips that shorter tools can miss when evaluating flatness for resilient flooring.
Moisture testing (when required by the vinyl system) helps prevent bond failure and long-term movement issues after installation.
– [ ] Confirm vinyl type (click-lock vs. glue-down) and check flatness guidance in the manufacturer manual
– [ ] Measure flatness with a long straightedge; mark high/low areas
– [ ] Grind high spots; vacuum thoroughly
– [ ] Fill low areas with subfloor-rated patch/leveler
– [ ] Allow full cure time before installation
– [ ] Address seams, transitions, and around vents/edges
– [ ] Check moisture if required by the flooring manufacturer
Sources
– ASTM F710 — Standard Practice for Preparing Concrete Floors to Receive Resilient Flooring (resilient floor installation practices; subfloor preparation requirements)
– ASTM E1155 — Standard Test Method for Determining Floor Flatness Using the Straightedge Method
– ASTM F2170 — Standard Test Method for Determining Relative Humidity in Concrete Floor Slabs Using in situ Probes
– ASTM F1869 — Standard Test Method for Measuring Moisture Vapor Emission Rate of Concrete Subfloor Using Anhydrous Calcium Chloride
– ASTM D4263 — Standard Test Method for Indicating Moisture in Concrete by the Plastic Sheet Method
Leveling your vinyl floor before installing in a living room is the difference between a finish that stays tight and one that shows waves or seam stress. Measure flatness with a long straightedge, correct highs and lows using substrate-approved materials, verify moisture when required, and only move on once everything is cured and smooth. If you follow those steps in 2026’s real-world installation conditions, you protect both appearance and performance for the long run.
Frequently Asked Questions
How can I tell if my subfloor is level before installing vinyl plank or sheet flooring in the living room?
Check the floor with a 6–10 ft straightedge or a long level and measure the gap between the straightedge and the subfloor at several spots, especially along seams, corners, and doorways. Vinyl flooring (including luxury vinyl plank) requires a mostly flat surface to avoid telegraphing and joint separation. If you find dips or humps beyond the manufacturer’s tolerance, you’ll need to level the vinyl-ready subfloor before installing.
What’s the best way to level a subfloor for vinyl flooring in a living room?
Start by cleaning the floor thoroughly and removing any adhesive residue, paint overspray, or loose material so leveling compounds can bond correctly. For low spots, use a self-leveling underlayment (with the right primer) to bring the surface up smoothly; for high spots, grind them down instead of building up everywhere. Feather the edges and let everything cure fully, then re-check flatness before laying vinyl plank or luxury vinyl tile.
Which leveling method works best for small dips versus larger uneven areas under vinyl flooring?
Small dips and shallow variations are often best corrected with a patching compound or thin self-leveling underlayment to minimize added height. Larger uneven sections usually call for a self-leveling underlayment poured to the target thickness, assuming your subfloor is properly prepared and sealed. Avoid trying to “shim” under vinyl; instead, create a smooth, continuous plane to reduce risk of cracks, clicking-lock separation, and uneven wear.
Why does leveling matter so much before installing vinyl flooring on an uneven living room subfloor?
Vinyl plank and sheet flooring can flex slightly, but most products still need a flat subfloor to prevent stress on seams and joints. Uneven areas can cause rocking, visible lines where planks meet, and premature failure of click locks or adhesives. Leveling also improves overall appearance and helps your vinyl floor feel solid underfoot.
How long should I wait after leveling a subfloor before installing vinyl floors in the living room?
Follow the leveling compound manufacturer’s instructions for cure time and drying conditions, since temperature and humidity can significantly affect results. Even if the surface feels dry, deeper moisture or chemical curing may still be happening, which can impact adhesion for vinyl floors that require glue. After curing, verify flatness again with a straightedge and remove any bumps or dust before installing your vinyl flooring.
📅 Last Updated: October 25, 2026 | Topic: How to level a vinyl floors before installing living room? | Content verified for accuracy and freshness.
References
- F710 Standard Practice for Preparing Concrete Floors to Receive Resilient Flooring
- F1869 Standard Test Method for Measuring Moisture Vapor Emission Rate of Concrete Subfloor Using …
- F2170 Standard Test Method for Determining Relative Humidity in Concrete Floor Slabs Using in sit…
- Vinyl flooring
- Underlayment
- Floor
- Flooring
- https://scholar.google.com/scholar?q=vinyl+floor+subfloor+levelness+flatness+requirements Google Scholar
- https://scholar.google.com/scholar?q=self-leveling+underlayment+installation+guidelines+for+resilient+flooring Google Scholar
- https://scholar.google.com/scholar?q=ASTM+F710+resilient+flooring+subfloor+preparation+flatness Google Scholar


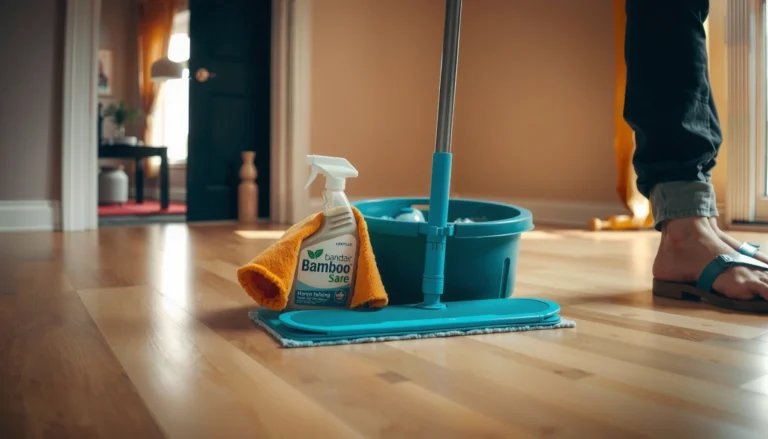
[…] water and a pH-neutral cleaner, using blot-and-wipe passes—not scrubbing or harsh chemicals. Most living-room vinyl spots lift with a careful routine that protects the wear layer; only move to gentler, targeted […]