
Removing laminate floors from a retail store is safest when you follow a controlled disassembly process: protect customers and staff, manage adhesives and locking joints correctly, and keep the subfloor intact. This guide answers how to remove laminate flooring without damaging tiles, storefront fixtures, or the building’s underlayment—so you can minimize downtime and rework. If you want the fastest route to clean removal, start with the right tools, proper sequencing, and a dust-control plan tailored to commercial conditions.




Remove laminate floors from an active retail store safely by first confirming whether the planks are click-lock (floating) or glue-down, then removing from the perimeter inward with strict dust containment and subfloor protection. The fastest method in most retail spaces is to remove baseboards or transitions, lift the first row carefully, and work plank-by-plank to prevent tongue-and-groove damage.
Remove laminate flooring by first identifying whether it’s click-lock (floating) or glue-down, then working from the perimeter inward while protecting customers, fixtures, and the subfloor. For most retail jobs, the fastest approach is to remove baseboards, start at an outer seam, and pull boards up carefully to avoid breaking tongues/grooves. If the planks are glued, you’ll need more careful cutting and scraping to prevent damage underneath.
This guide is for store owners, facility managers, and contractors handling laminate removal in an active retail space (or between tenants) where time, cleanliness, and subfloor condition matter.
Before You Start: Confirm the Install Type and Protect the Store
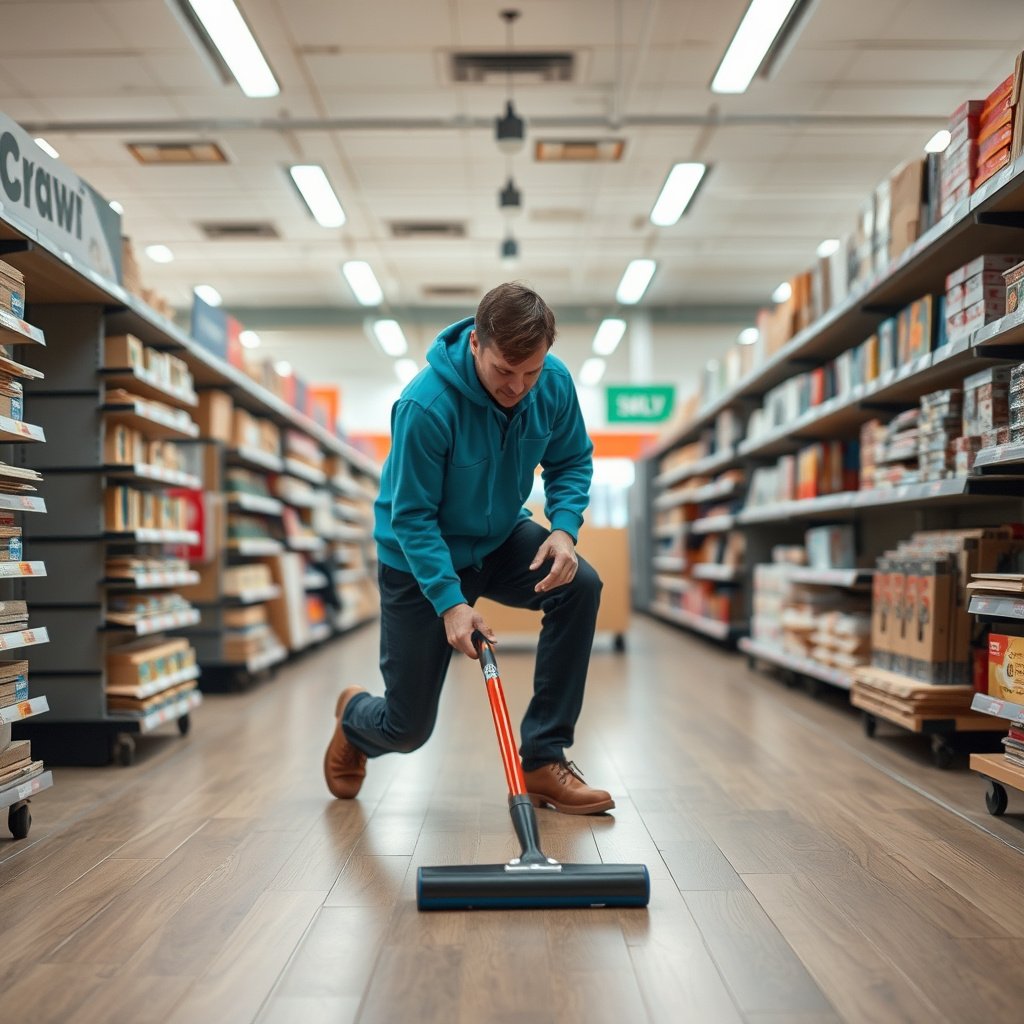
Removing laminate safely starts with two immediate answers: (1) is it click-lock or glue-down, and (2) how will you control dust and prevent access to customers. Once those are clear, the removal plan becomes straightforward—work slowly, start at a safe edge, and protect what you’ll reuse or renovate next.
Before you touch a plank, confirm the install type because it determines your cutting, lifting angle, and the amount of adhesive/cleaning work afterward.
“Click-lock” laminate is typically installed as a floating floor, which means it locks together mechanically and can often be disassembled from the perimeter after trim/transitions are removed.
For potentially hazardous dust exposure, OSHA’s respirable crystalline silica standard relies heavily on engineering controls and clean-up methods that reduce airborne dust during activities like demolition and floor removal (OSHA 29 CFR 1910.1053).
Lead and asbestos hazards in older facilities require prior hazard evaluation and careful control before disturbing materials; OSHA regulates lead exposure and asbestos exposure to manage worker risk (OSHA 29 CFR 1910.1025; OSHA 29 CFR 1910.1001).
Confirm click-lock vs glue-down (without guessing)
– Click-lock (floating): Look for mechanical seams with little to no visible adhesive at plank joints. If you find a hidden edge (such as under a transition strip), you may be able to lift a discreet section and see whether the planks release without scraping adhesive from the subfloor.
– Glue-down: You’ll usually find adhesive residue around seams, at edges, or on the underside of lifted sections. In many glue-down installs, planks don’t release cleanly; instead, they resist lifting and leave adhesive behind.
Practical tip: If the store has been open recently, locate a transition area near a back-of-house corridor or service door. Those edges often reveal the construction method without forcing you to pry near customer-facing finishes.
Protect the store (and the people in it)
Time pressure in retail is real, but customer safety and dust control are non-negotiable. Before removal:
– Barricade the work zone with rigid barriers or plastic containment so customers cannot enter the dust path.
– Cover fixtures (POS stations, displays, shelving bases) with plastic sheeting.
– Control airflow if the HVAC can spread dust—close or isolate vents in the work area when possible.
– Use a shop vac with proper filtration and keep hoses positioned so you’re not grinding dust into the air.
If you’re removing laminate in 2026, plan as if strict cleanliness matters (and it often does for tenant handoffs). OSHA’s silica standard shows that limiting airborne dust relies on controlled methods and proper clean-up, not just “cleaning later” (OSHA 29 CFR 1910.1053).
Tools, Supplies, and Prep Steps
The right tools make laminate removal faster and safer because they let you lift boards cleanly, cut adhesive precisely, and minimize gouging. Before you start demolition in a retail space, assemble tools that support controlled mechanical removal and dust containment.
From what we see most often on retail turn projects, “tool mismatch” is what turns a 1-day removal into a multi-day rework. For example, using the wrong scraper or prying too aggressively can damage the subfloor enough to derail the next tenant’s install.
For click-lock floors, controlled leverage tools (pull bars/pry bars, tapping block, and mallet) help disengage planks without tearing the tongue-and-groove profile.
For glue-down floors, you typically need a floor scraper and cutting tools to isolate adhesive bonds in manageable sections rather than dragging adhesive across the substrate.
OSHA’s approach to dust control emphasizes engineering controls and housekeeping methods to reduce exposure to hazardous dust during demolition and related operations (OSHA 29 CFR 1910.1053).
Core tools (use-case aligned)
Gather essentials such as:
– Pry bar and utility knife (for trim/baseboards and undercutting)
– Tapping block / rubber mallet (for click-lock boards—helps drive releases without cracking)
– Floor scraper (for adhesive residue in glue-down removals)
– Pull bars / pry puller (optional, but useful for controlled lifting)
– Shop vac with suitable filtration and hose attachments
Supplies that keep the site professional
– Plastic sheeting for containment
– Contractor trash bags and labeled bins
– Drop cloths for low-clearance zones
– Labels and markers so you can track plank batches (useful if you’re reusing any material or documenting condition)
– PPE: at minimum eye protection; add respiratory protection when hazards are possible or dust conditions require it
Prep the workflow (so you don’t create chaos)
– Start by mapping doorways, egress paths, and cash wrap lines so debris never blocks customer movement.
– Plan for waste logistics: where planks go, who carries, and how you prevent debris from tracking into clean areas.
– Confirm whether the next trade needs the subfloor left flat and clean—if yes, your removal sequence should minimize gouges and adhesive smearing.
Step-by-Step: Remove Click-Lock Laminate (Most Retail Installations)
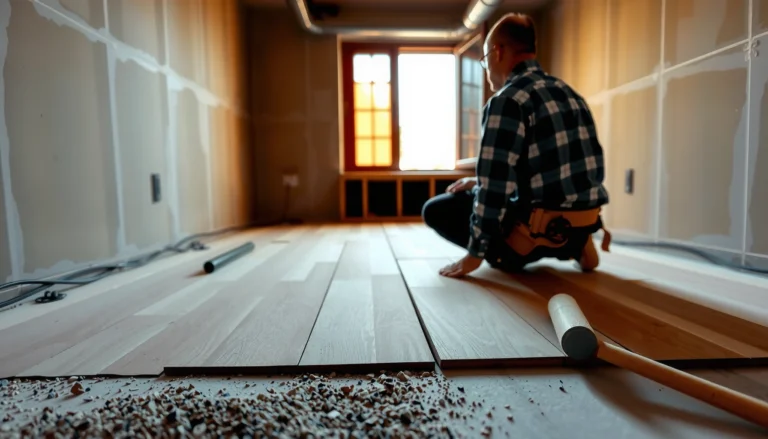
The fastest way to remove click-lock laminate in a retail store is to remove trim for access, then lift planks from an outer seam using the correct locking angle. Working from the perimeter inward reduces breakage and keeps the subfloor cleaner because you’re not forcing boards under tension.
For active retail environments, click-lock removal is usually the better option because the boards come up more predictably and with less adhesive remediation.
Click-lock laminate removal typically improves when baseboards/transitions are removed first, because you can release the first row without prying against constrained edges.
Tongue-and-groove damage often comes from using the wrong lifting angle or starting the pull from an edge that keeps boards under flex.
A controlled, row-by-row removal approach reduces unexpected board breakage and helps maintain a cleaner path for subfloor inspection afterward.
Step 1: Remove baseboards/trim or transitions
– Remove baseboards and quarter-round where feasible.
– If baseboards can’t be removed cleanly, remove transition strips at door thresholds or seams so you can access the locking edge.
– Protect walls: use a pry bar with a protective pad and work slowly so you don’t splinter drywall trim.
Step 2: Start at a perimeter edge (outer seam)
– Choose an outer seam where boards have the least constraint.
– Lift the boards at the angle that disengages the locking mechanism (specific angles vary by brand, so follow manufacturer guidance if you have it).
Step 3: Pull row-by-row, not “everything at once”
– Work one row at a time.
– If a board resists, stop—forcing it usually breaks the tongue/groove and increases waste.
– Replace “hard prying” with controlled lifting using a tapping block and mallet as needed to release joints.
Why this protects your next flooring step
Click-lock removal still needs discipline. Even if no adhesive is present, you can damage:
– the subfloor surface,
– the underlayment,
– or the edges that the next flooring system needs to start straight.
If 2026 tenant turnover requires fast reopen time, this controlled method often avoids the “fix it after” delays.
Step-by-Step: Remove Glue-Down Laminate (More Work, Higher Risk to Subfloor)
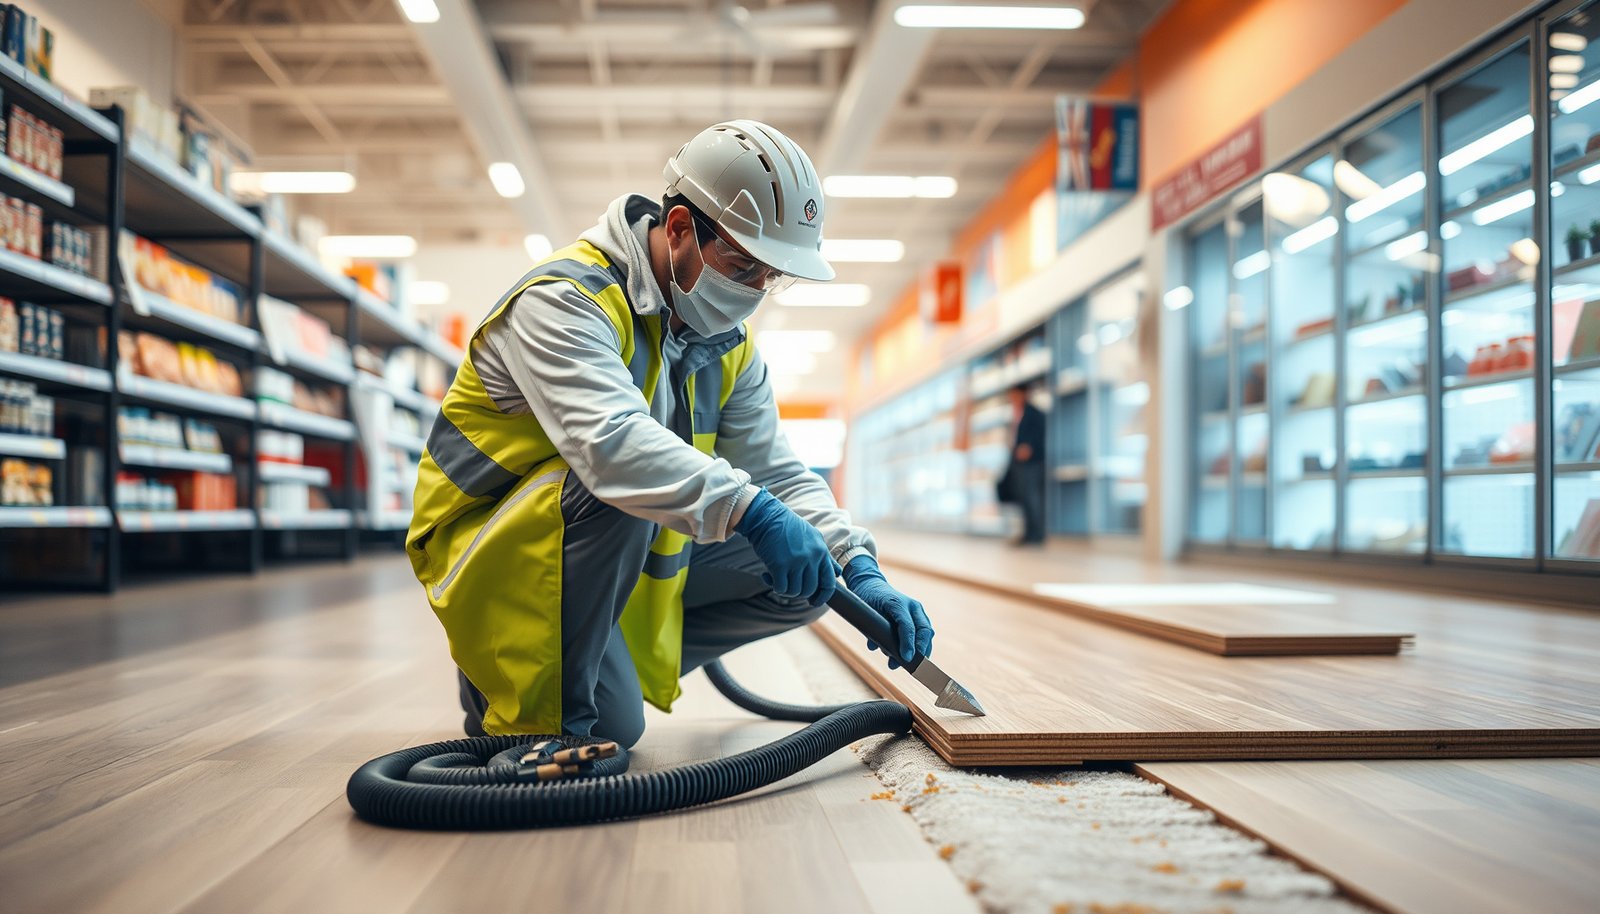
Glue-down laminate comes up more slowly because the adhesive bond must be broken without gouging the subfloor. The safer approach is to cut and score in sections, lift manageable pieces, and then remove residual adhesive with the least aggressive method that still achieves a flat surface.
Glue-down is usually the most time-consuming scenario in retail because adhesive behavior is unpredictable across the entire area.
Glue-down laminate removal generally requires cutting the bond line and lifting sections, because pulling large areas can drag adhesive and damage the substrate.
After planks come up, leaving a flat, clean surface is essential for most new floor systems; adhesive residue thickness and ridges can transfer through the next installation.
When dust exposure could be hazardous, OSHA standards emphasize controlling airborne dust and using appropriate clean-up methods during demolition-related work (OSHA 29 CFR 1910.1053).
Step 1: Score/cut in manageable sections
– Use a utility knife or floor-rated cutting tool to create section boundaries.
– The goal is to break the adhesive bond in lines so you can lift without tearing the substrate.
– Keep sections small enough to prevent bending the planks and smearing adhesive.
Step 2: Remove planks carefully
– Lift sections slowly and evenly.
– Avoid “peel-and-rip” techniques that create adhesive smears and subfloor tearing.
– As you remove, observe adhesive condition:
– If adhesive releases cleanly, adjust to slightly larger sections.
– If adhesive tears or subfloor picks up, reduce section size and change technique.
Step 3: Scrape adhesive residue—flat, not carved
Residual adhesive is where mistakes happen:
– Scrape only what’s necessary to reach a compatible substrate condition.
– Use controlled blade angles and test on a hidden area first.
– Stop when you’re confident the surface is flat enough for the next floor system.
What matters most for retail reopen: subfloor damage created during glue-down removal can require patching, feathering, or extended drying time—delays that compound quickly when multiple trades are scheduled.
What Can Go Wrong (And How to Avoid It)
Laminate removal goes wrong mainly in three areas: locking system damage, subfloor gouging, and poor dust control. If you plan for those issues up front—especially in older retail spaces—you prevent most safety and schedule problems.
This is also the section where hazard risk shows up. If your store is in an older building, assume there may be legacy materials unless inspection proves otherwise.
Tongues/grooves break most often when boards are pried in the wrong direction or at the wrong angle, especially during early-row removal.
Subfloor damage usually results from over-aggressive scraping, improper tool choice, or cutting tactics that create high spots or gouges.
If dust control is inadequate, airborne particulates can spread beyond the work zone; OSHA’s silica standard is explicit about exposure control and clean-up methods during dusty work (OSHA 29 CFR 1910.1053).
Key failure modes (and direct fixes)
– Breaking tongues/grooves
– Cause: prying too aggressively, starting from a constrained edge, or using the wrong release angle.
– Fix: remove baseboards/transitions first, start at a true seam, lift row-by-row, and stop when resistance indicates misalignment.
– Damaging the subfloor
– Cause: over-scraping, aggressive cutting, or using blades that chatter.
– Fix: test in a hidden area first; adjust technique until you reach flatness without gouging.
– Dust and debris issues
– Cause: uncontrolled demolition dust and inadequate containment.
– Fix: plastic containment, sealed pathways, and vacuum filtration. For crystalline silica risk, OSHA’s silica requirements emphasize engineering controls and safe housekeeping (OSHA 29 CFR 1910.1053).
– Hazardous materials risk in older buildings
– Cause: legacy asbestos-containing materials or lead-based paints/contaminants disturbed during removal.
– Fix: perform or obtain the appropriate hazard evaluation before demolition.
Regulatory thresholds you should design around (selected OSHA limits)
These numbers don’t replace professional industrial hygiene sampling, but they help you understand what “control” means when dust exposure could be regulated. As of 2026, these OSHA thresholds remain the baseline reference for compliance planning in the U.S.
Selected OSHA exposure thresholds relevant to dusty flooring demolition (U.S.)
| # | Hazard/Exposure to check | Where it may show up in removal | OSHA threshold | Why it matters for controls |
|---|---|---|---|---|
| 1 | Respirable crystalline silica | Dust from cutting/sanding residues on hard subfloors | 0.05 mg/m³ | Low allowable concentration drives strict dust controls (OSHA 29 CFR 1910.1053) |
| 2 | Silica action level (respirable) | Indicator that controls/measures may be insufficient | 0.025 mg/m³ | Triggers additional requirements under the silica rule (OSHA 29 CFR 1910.1053) |
| 3 | Lead (inorganic compounds) | Old coatings/contamination disturbed during demolition | 0.05 mg/m³ | Low threshold means dust must be controlled before disturbance (OSHA 29 CFR 1910.1025) |
| 4 | Lead action level | Indicator that control measures may require tightening | 0.03 mg/m³ | Triggers additional requirements under the lead standard (OSHA 29 CFR 1910.1025) |
| 5 | Asbestos | Legacy materials disturbed by cutting/scraping | 0.1 f/cc | Highly controlled removal planning is required if asbestos is present (OSHA 29 CFR 1910.1001) |
| 6 | Nuisance dust (respirable) | General particulate from demolition | 5 mg/m³ | Controls still matter even when not silica/lead-specific (OSHA 29 CFR 1910.1000) |
| 7 | Nuisance dust (total) | Higher-mass dust from floor removal activity | 15 mg/m³ | Lower-risk than silica, but unmanaged dust still harms indoor air quality (OSHA 29 CFR 1910.1000) |
Quick click-lock vs glue-down comparison (what typically decides the schedule)
| Factor | Click-lock laminate | Glue-down laminate |
|---|---|---|
| Typical lift behavior | Planks release with correct angles and leverage | Planks require cutting; adhesive remnant is common |
| Risk of subfloor gouging | Lower (still possible from aggressive prying) | Higher (scraping and cutting can damage substrate) |
| Dust profile | Generally less adhesive dust; still vacuum for debris | More dust and particulates from residue removal |
| Time-to-subfloor-ready | Often faster in open retail areas | Often slower due to residue removal and cleanup |
| Best starting point | Perimeter seam after removing trim/transitions | Section boundaries with scoring to isolate adhesive |
Verdict / Practical Tip: When to DIY vs. Hire Help
DIY removal is reasonable for click-lock laminate when you can isolate the work zone, contain dust, and access the perimeter cleanly. For glue-down installs over large retail areas, hiring a flooring contractor often prevents schedule blowups from adhesive remediation and subfloor repair.
Click-lock laminate is often manageable with careful perimeter access, but glue-down laminate commonly requires more cutting and adhesive cleanup to protect the subfloor.
If the store can’t maintain dust containment (or customers must remain nearby), professional planning for containment and filtration reduces risk.
Before disturbing older building materials, verify whether hazardous materials could be present and use appropriate inspection guidance before demolition (EPA asbestos guidance; HUD lead guidance; ).
Hire help when any of these are true
– Glue-down across a large footprint where adhesive residue time will be significant.
– Subfloor condition is unknown (e.g., previous water events, unknown coatings, or heavy patching).
– Strict cleanliness is required (public-facing retail with minimal tolerance for dust tracking).
– Hazardous materials are possible in an older facility—do not improvise removal plans.
DIY is often fine when these conditions hold
– The laminate is click-lock.
– You have clear perimeter access (baseboards/transitions can be removed).
– You can isolate the work area, vacuum frequently, and keep debris contained.
Downsides to expect even with click-lock
Even click-lock removal can:
– damage trim and drywall corners,
– break planks during early-row disassembly,
– or leave underlayment debris that needs cleanup for the next flooring system.
If speed is the priority and the next trade depends on immediate subfloor readiness in 2026, contractors can reduce rework risk by standardizing the removal-to-prep workflow.
Quick Checklist (Scan Before You Pull the First Plank)
| Step | Done? |
|---|---|
| Confirm click-lock vs glue-down | ☐ |
| Clear area / protect fixtures / block pathways | ☐ |
| Remove baseboards/transitions to access first row | ☐ |
| Contain dust (plastic barriers + vacuum filtration) | ☐ |
| Start at perimeter edge and lift row-by-row | ☐ |
| Scrape adhesive residue (if glue-down) without gouging | ☐ |
| Inspect subfloor flatness and clean surface | ☐ |
| Dispose of debris per local rules | ☐ |
A removal plan is only “safe” if you can keep debris from spreading—containment and filtration are part of the work, not an afterthought.
Confirming the install type before you pry prevents avoidable damage and reduces cleanup time at the subfloor stage.
Sources
– OSHA. “Control of Exposure to Respirable Crystalline Silica.” 29 CFR 1910.1053.
– OSHA. “Lead.” 29 CFR 1910.1025.
– OSHA. “Asbestos.” 29 CFR 1910.1001.
– OSHA. “Air Contaminants.” 29 CFR 1910.1000.
The safest laminate removal in a retail store is the one that’s planned around the install type, the perimeter access, and dust containment—because those three factors determine whether you protect customers and the subfloor. Confirm click-lock vs glue-down early, lift methodically from the perimeter, and treat adhesive residue and hazardous-material risk as part of the job scope. If any variable threatens cleanliness, subfloor integrity, or safety compliance—especially in older facilities—hire help and keep the schedule anchored to a subfloor that’s genuinely ready for the next flooring system.
Frequently Asked Questions
What’s the safest way to remove laminate flooring in a retail store?
Start by securing the area with floor protection, clear signage, and restricted access to reduce slip and trip risks from dust and debris. Turn off or relocate any nearby electrical outlets, and use PPE like goggles, gloves, and a dust mask because laminate removal can create fine particulates. Plan for temporary access routes so customers and staff can navigate without walking through removed material.
How do you remove click-lock laminate flooring without damaging the subfloor?
First, remove baseboards and any quarter-round trim, then locate the starting edge where planks can be lifted. Use a pry bar and a tapping block to gently release click-lock seams one row at a time, working slowly to avoid gouging the subfloor. If the laminate is glued down anywhere, expect sections to resist lifting—stop and switch methods for those areas to prevent damage.
Why does laminate flooring removal require dust control and careful disposal in retail?
Laminate floors often generate airborne dust during underlayment scraping, board cutting, and adhesive removal, which can affect air quality and trigger complaints in occupied spaces. Set up containment with plastic sheeting at doorways, use a HEPA vacuum during cutting, and bag debris immediately to keep the worksite clean. Proper disposal is also important because laminate and underlayment may include materials that require specific handling beyond normal trash.
Best practices for removing glued-down laminate flooring in a commercial space?
Begin by testing a small section to confirm the adhesive type, then use floor scrapers with controlled pressure to lift the planks without gouging concrete or plywood. For stubborn mastic, use a manufacturer-recommended adhesive remover or heat-assisted tools, but verify they’re safe for the substrate and compliant with your site rules. Keep the workspace ventilated, and clean residue thoroughly because leftover adhesive can prevent proper installation of replacement retail flooring.
Which tools and supplies do you need to remove laminate floors efficiently?
Plan for a pry bar, flooring pull bar or tapping block, oscillating multi-tool or circular saw with a guide (for controlled cuts), and a heavy-duty floor scraper for residue. A HEPA shop vacuum, painter’s tape, plastic sheeting, and drop cloths help control dust and protect fixtures common in retail stores. Also have replacement transition strips, trash bags, and labeling materials ready so you can track removed pieces and manage floor leveling or repairs during reopening schedules.
📅 Last Updated: October 24, 2026 | Topic: How to remove laminate floors from a retail store? | Content verified for accuracy and freshness.
References
- Laminate flooring
- Asbestos | US EPA
- Lead Renovation, Repair and Painting Program | US EPA
- https://www.cdc.gov/niosh/topics/asbestos/default.html
- Silica, Crystalline – Overview | Occupational Safety and Health Administration
- 1910.1025 – Lead. | Occupational Safety and Health Administration
- Lead in the Workplace | Lead | CDC
- https://scholar.google.com/scholar?q=remove+laminate+flooring+click+lock+vs+gluedown Google Scholar
- https://scholar.google.com/scholar?q=flooring+removal+dust+control+construction+work+practices Google Scholar
- https://scholar.google.com/scholar?q=demolition+flooring+asbestos+lead+hazard+identification+and+safe+work+practices Google Scholar