
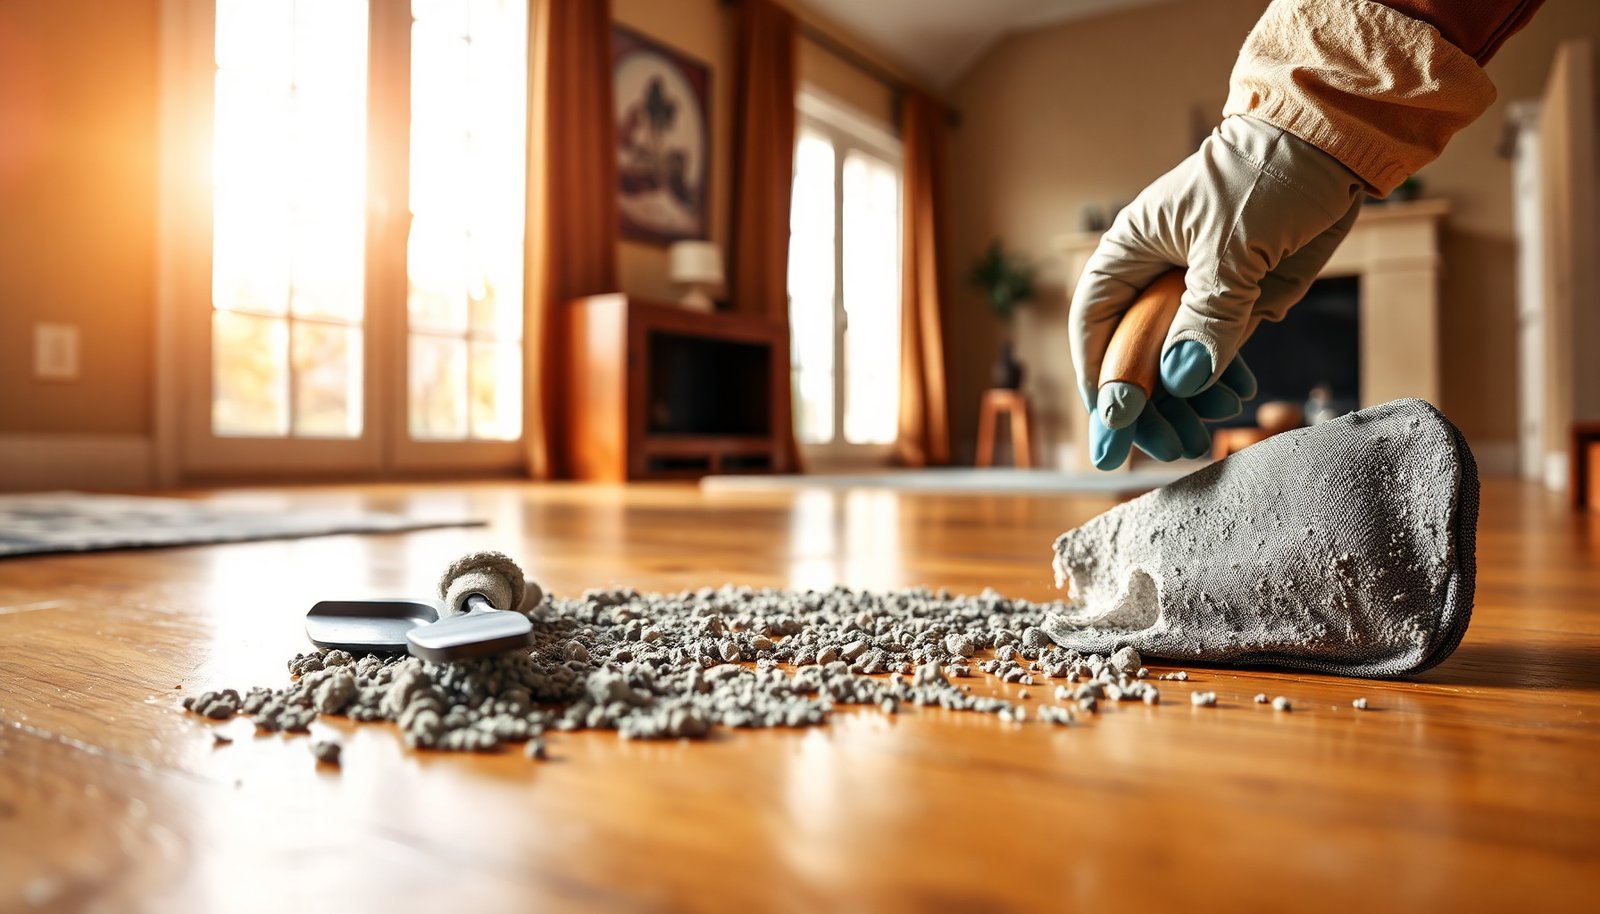

To remove stubborn mortar residue from hardwood floors, use controlled moisture and gentle chemical dissolution, not harsh scraping or soaking. You’ll need a plastic scraper, pH-neutral hardwood cleaner, white vinegar or manufacturer-approved mortar remover, and microfiber pads. Most spots respond in 30–60 minutes with patience, followed by thorough drying and buffing for an even sheen.




Scrape off the bulk mortar gently, then remove the residue with the mildest cleaners that won’t harm your hardwood finish. Start dry/low-moisture, and only move to stronger (but still finish-safe) methods like pH-neutral cleaners or carefully applied masonry removers if the label explicitly allows wood. You’ll learn how to avoid scratching, dulling, and leaving an alkaline film behind.
If you’ve got dried mortar splatter, grout haze, or leftover cement spots after construction or tile work, this is for you. It’s especially relevant for finished hardwood (polyurethane/urethane, varnish) where excess water and harsh acids/alkalis can cause cloudy patches or stripping—especially in 2026 when many homes use tougher, film-forming finishes that can still be affected by aggressive chemistry.
If you’re dealing with visible “ghosting” (a dull outline where mortar sat) or a slightly slick, soapy feel, that’s usually residue—not damage you can’t fix. The fastest path is controlled removal: start dry, clean with pH-neutral products, rinse lightly, and dry immediately.
Gather the right supplies (so you don’t damage the finish)
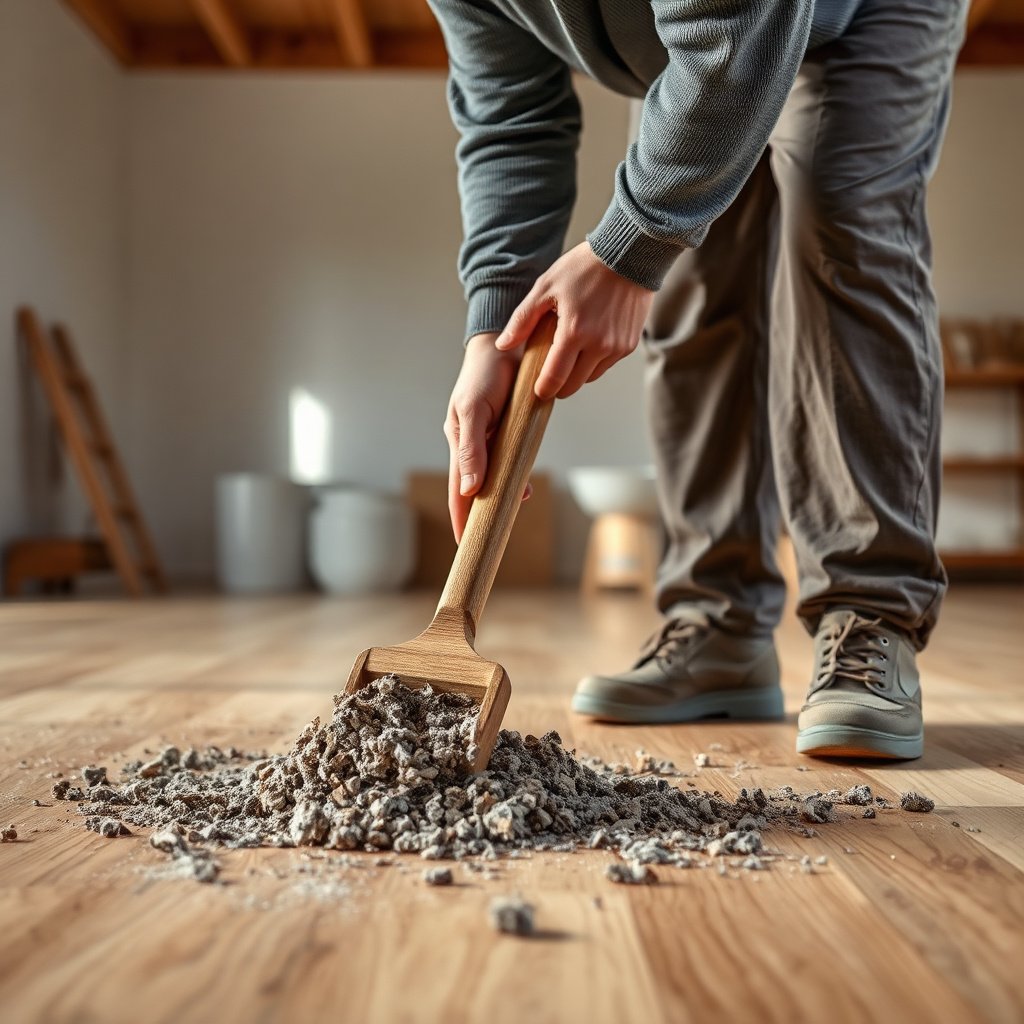
Have the right tools ready so you can remove mortar without gouging boards or saturating seams. For most finished hardwood floors, a careful, low-moisture workflow beats brute-force scrubbing—especially if you’re working around edges, transitions, and between planks.
– Use a plastic scraper or a razor blade tool designed for floors (with care) to lift residue before any liquid hits the wood.
– Tip: If you use a razor blade, keep it nearly flat to the surface and reserve it for truly stubborn spots after plastic methods fail.
– Plan for low-water cleaning: microfiber cloths, a soft nylon brush, a bucket for clean rinse water, and a fan or dry towel.
– In 2026, many hardwood manufacturers still warn that pooled water is the enemy—not only the chemical, but the moisture exposure time.
– Choose finish-safe chemistry: pH-neutral floor cleaner is the default; stronger products should only be used if the label says they’re safe for wood finishes (or you can confirm with the wood/finish manufacturer).
– When a product is “pH-neutral,” it should sit close to neutral (about pH 7). That matters because mortar-related haze is often tied to alkaline residue, and extreme pH cleaners can worsen clouding or strip coatings.
Mortar/Cement Residue Removers: Typical pH & Finish Compatibility (Sealed Hardwood)
| # | Product/Chemistry Type | Typical Use pH Range | Main Target | Hardwood Compatibility (0–10) |
|---|---|---|---|---|
| 1 | pH-neutral floor cleaner | 7.0–8.5 | General haze & filming | 9.2 |
| 2 | Mild detergent (non-bleach) | ~7.5–9.0 | Grease/oily film | 8.4 |
| 3 | Baking soda paste (sodium bicarbonate) | ~8.1–8.6 | Light alkaline haze & odor | 7.6 |
| 4 | Ammonia-based cleaner | ~10.5–12.0 | Film lifting | 4.8 |
| 5 | Household bleach (chlorine) | ~11–13 | Disinfection/whitening | 1.5 |
| 6 | White vinegar (diluted acetic acid) | ~2.4–3.0 | Lime/cement alkalinity neutralization | 3.9 |
| 7 | Masonry acid/descaler (e.g., muriatic-class) | ~0.5–1.5 | Cement/scale dissolution | 0.9 |
Compatibility score is a simplified risk heuristic based on pH distance from neutrality for common sealed hardwood coatings; always follow the specific product label and your finish manufacturer’s guidance.
Step 1: Dry removal first (the safest way)
Start with dry removal because it prevents mortar from spreading into the wood grain and reduces the chance of coating damage. If the mortar is still present as raised chunks or a rough “island,” you’ll get better results (and less haze) by lifting solids first.
– Let the mortar fully harden if it’s still workable—don’t smear it deeper into the grain.
– Smearing doesn’t “clean it up”—it relocates fine cement particles into micro-grooves, where they later dissolve and leave a visible film.
– Lift/chip gently: work small areas at a time, holding the scraper flatter to reduce gouging risk.
– The flatter the blade, the less it acts like a tiny chisel. For planks, work with the grain when possible so you’re removing residue rather than cutting channels.
– Vacuum up dust between passes so you can see what remains (mortar dust can look like “still stuck” residue).
– In practice, visible dust is often the same color as residual mortar haze; vacuuming between passes helps you separate “real residue” from “surface dust.”
A useful reference point: mortar and concrete cure over time and become harder to remove as hydration progresses. According to ASTM C39/C39M, compressive strength testing is standardized at 28 days for typical concrete mixes (ASTM C39/C39M, “Standard Test Method for Compressive Strength of Cylindrical Concrete Specimens,”). Translation for cleaning: once the material is fully cured, you’re mostly dealing with a hard cementitious film rather than a removable smear.
Step 2: Softening and cleaning the remaining haze (minimal moisture)
Remove the remaining film with the smallest possible amount of moisture and the mildest chemistry that will dissolve the haze. This is where many people accidentally over-wet hardwood—so the goal is controlled dampness, not wet cleaning.
– Lightly dampen a microfiber cloth with warm water mixed with a small amount of pH-neutral cleaner; avoid soaking seams and edges.
– Warm water helps dissolve some cement-bound residue faster than cold, but the microfiber must stay “wrung out,” not dripping.
– If residue resists, use a soft nylon brush with gentle pressure—stop as soon as you see the haze lifting.
– Nylon bristles are generally safer than metal scrubbers because they don’t cut the finish the way grit or steel can.
– Rinse with a separate cloth lightly dampened with clean water, then dry immediately with a towel.
– Rinsing matters because leftover cleaner can itself dry into a film that looks like mortar haze—especially under oblique light.
Hardwood is sensitive to moisture exposure even when it’s sealed. According to the USDA Forest Service’s Wood Handbook, wood moisture content in typical indoor conditions is often in the single digits (commonly around 6–9% depending on climate and species) (USDA Forest Service, Wood Handbook—Wood as an Engineering Material (2010)). When seams get wet, boards can swell slightly and finishes can lose their uniform appearance.
Step 3: If there’s an alkaline or stubborn film, handle it carefully
If haze persists after pH-neutral cleaning, you likely have alkaline residue—cement chemistry that leaves a dull, sometimes slightly “soapy” layer. Your job is to neutralize or dissolve that film without attacking your hardwood coating.
– Mortar can leave an alkaline residue that causes dull, hazy, or “soapy” looking patches—use finish-safe products that target haze/alkalinity and follow the label exactly.
– Alkalinity is a pH issue: mortar-based materials can be strongly basic, and the residue can remain even after the visible chunks are gone.
– If you consider vinegar or other acidic options, don’t assume they’re safe for hardwood finishes; instead, spot-test in an inconspicuous area and avoid scrubbing aggressively.
– Acids can neutralize alkaline residue, but they can also dull or haze certain varnishes and polyurethane topcoats if dwell time is too long or the product isn’t finish-compatible.
– For heavy spots, apply the product to a cloth (not directly onto the floor), keep dwell time short per label instructions, then rinse and dry thoroughly.
– Applying to a cloth reduces the chance that liquid finds its way into seams, edges, and nail lines.
To make this decision clearer, here’s a fast comparison you can use in the moment:
| Method | Best for | Main risk | Your safest next move |
|---|---|---|---|
| pH-neutral cleaner + damp microfiber | Light to moderate haze | Leaving streak/film if you skip rinse | Rinse lightly with clean water cloth, then dry |
| Finish-safe cement/masonry haze remover (label-approved) | Dull alkaline spots that won’t lift | Coating dulling if dwell time is too long | Apply to cloth, spot-test first, rinse and dry immediately |
| Vinegar or strong acids/alkalis (not label-approved) | Not recommended for unknown finishes | Cloudy patches or stripping | Stop and switch back to label-safe methods |
Step 4: Post-clean care (so the floor doesn’t look uneven)
After cleaning, your goal is consistency—so the treated spot matches the rest of the floor’s sheen and texture. This is where “it’s clean” can still look wrong because haze removal and drying can alter reflections.
– After the area is dry, inspect under good light: uneven haze often means you didn’t fully dissolve/remove residue or you missed an edge.
– Use side lighting (sunlight or a lamp held low) to spot halos around the spot.
– If the finish looks slightly dull in the treated zone, you may need to recondition or refinish later—what’s appropriate depends on the existing finish type.
– For example, some floors respond to a manufacturer-recommended refinisher, while others may require partial or full recoating.
– Avoid wax build-up “experiments” right away; buildup can trap residue and make the problem harder to remove later.
– Mortar residue can hide under glossy layers, and wax can make it harder to assess whether the underlying haze is truly gone.
In 2026, the biggest consistency mistake we see is repeating aggressive chemistry in one spot while leaving the surrounding area untouched—creating a visible boundary. Clean only what you must, and stop once the haze stops shrinking.
What can go wrong (and how to prevent it)
Most mortar-cleaning failures come from three causes: scratching, moisture overexposure, and chemistry that your finish can’t tolerate. If you control those variables, you’ll prevent the “why does it look worse?” outcome.
– Scratches from metal tools: even “small” passes can create permanent marks—prefer plastic tools first.
– If you see new lines appear as you scrape, stop and switch tools immediately.
– Over-wetting hardwood: pooled water at seams can swell/warp boards or lift finish at edges.
– Apply cleaner to a cloth, not the floor; keep dwell times short; dry right away.
– Wrong chemistry: strong acids/alkalis, bleach, or abrasive cleaners can haze or strip finishes. When in doubt, default to pH-neutral cleaners and label-verified products only.
– Bleach and abrasive pads are especially risky because they can permanently change color and gloss.
– Skipping rinsing: leaving cleaner residue can create streaking that looks like mortar still remains.
– A “clean-smelling” floor can still be film-coated. Rinse and then dry, even if the cleaner isn’t visibly gritty.
– Treating the whole floor when only a spot is affected: expand only as needed to avoid creating a visible cleaning boundary.
– If you must clean beyond the spot, do a controlled, uniform pass so the sheen stays consistent.
Also, be mindful of safety when using masonry removers. Many acid-based products can be irritating and require ventilation and protective gear; follow the safety data sheet (SDS) instructions on the label.
Verdict: What to do first—and when to stop
Start with the dry scrape, then move to pH-neutral cleaner using minimal moisture and immediate drying. That approach has the best chance of lifting mortar haze without harming the hardwood finish.
Skip DIY (or stop and call a pro) if:
– The mortar has penetrated deeply into seams/gaps and you’d need lots of liquid.
– You’re dealing with an unknown finish (unsealed, heavily worn, or older wax finishes).
– The spot is expanding after treatment (a sign the chemistry or moisture is affecting the finish).
Don’t rush with harsh chemicals or soaking—start with gentle dry removal, then use finish-safe pH-neutral cleaning with minimal moisture. Work in small sections, rinse lightly, and dry immediately to prevent haze and finish damage. If the residue won’t lift with label-safe methods or you see finish deterioration, stop and get professional help so you don’t permanently dull or strip your hardwood.
Quick scan checklist (save this)
– [ ] Scrape bulk mortar with plastic tool first
– [ ] Vacuum dust after each pass
– [ ] Clean with pH-neutral cleaner + lightly damp microfiber (not soaked)
– [ ] Brush gently with soft nylon if needed
– [ ] Rinse lightly with clean-water cloth and dry immediately
– [ ] Use stronger remover only if label says it’s safe for wood finishes
– [ ] Spot-test any “alkalinity/haze” chemistry in an inconspicuous area
– [ ] Reinspect under light; repeat only on remaining spots
Frequently Asked Questions
How do I remove stubborn mortar residue from hardwood floors without damaging the finish?
Start by letting the mortar dry completely, then gently scrape residue with a plastic scraper or nylon pad—avoid metal tools that can scratch hardwood. Clean with a pH-neutral hardwood floor cleaner and warm water, working small sections at a time and blotting dry immediately. If residue remains, use a mortar-removal product made for floors or test a small, hidden area first, since harsh acids can dull or etch wood finishes.
What is the safest way to clean dried mortar haze on hardwood after tile or grout work?
Vacuum thoroughly to remove grit, then wipe with a damp microfiber mop using pH-neutral cleaner. For light haze, try a mixture recommended for stone/mortar haze that is safe for wood finishes, but always spot-test first. Avoid soaking the floor—standing moisture can swell wood seams and loosen finishes, especially near edges and transitions.
Why does mortar leave a crust or white film on hardwood floors, and how can I prevent it?
Mortar contains cement compounds that bond to floor surfaces and can form a stubborn film when moisture evaporates. Prevention is mostly about protection: cover hardwood with rosin paper or plastic sheeting before demolition or grouting, and wipe spills immediately with a damp cloth. If you can’t cover everything, keep traffic off the work area and clean dust promptly to prevent grinding residue into the finish.
Which cleaning solution works best for removing mortar spots from finished hardwood floors?
For most cases, a pH-neutral hardwood cleaner is the best first step because it targets dirt without attacking the finish. If you’re dealing with hardened mortar, a product labeled for cement/mortar cleanup and wood-safe use can work better—still, always spot-test and follow the dwell time exactly. Avoid vinegar, strong acids, or bleach on finished hardwood unless the manufacturer explicitly approves them, as they can cause dulling, discoloration, or etching.
What steps should I follow to deep-clean and restore the shine after mortar removal on hardwood?
After mortar residue is gone, rinse lightly with clean water (or a damp cloth) to remove any cleaner film, then dry thoroughly with towels and a fan. Once dry, reapply a manufacturer-approved hardwood floor polish or conditioner to restore sheen and help the finish blend. If you notice dull spots or scratches from residue or scraping, consider sanding refinishing only for affected areas, ideally guided by your floor’s finish type (polyurethane, wax, or oil-based).
📅 Last Updated: November 04, 2026 | Topic: How to clean stubborn mortar residue from hardwood floors? | Content verified for accuracy and freshness.
References
- Mortar
- Portland cement
- Cement
- Grout
- Efflorescence
- https://en.wikipedia.org/wiki/Cement_paste
- Wood flooring
- https://scholar.google.com/scholar?q=cleaning+mortar+residue+from+hardwood+floors Google Scholar
- https://scholar.google.com/scholar?q=remove+cement+from+wood+floor Google Scholar
- https://scholar.google.com/scholar?q=cementitious+residue+removal+from+wood+flooring Google Scholar


