
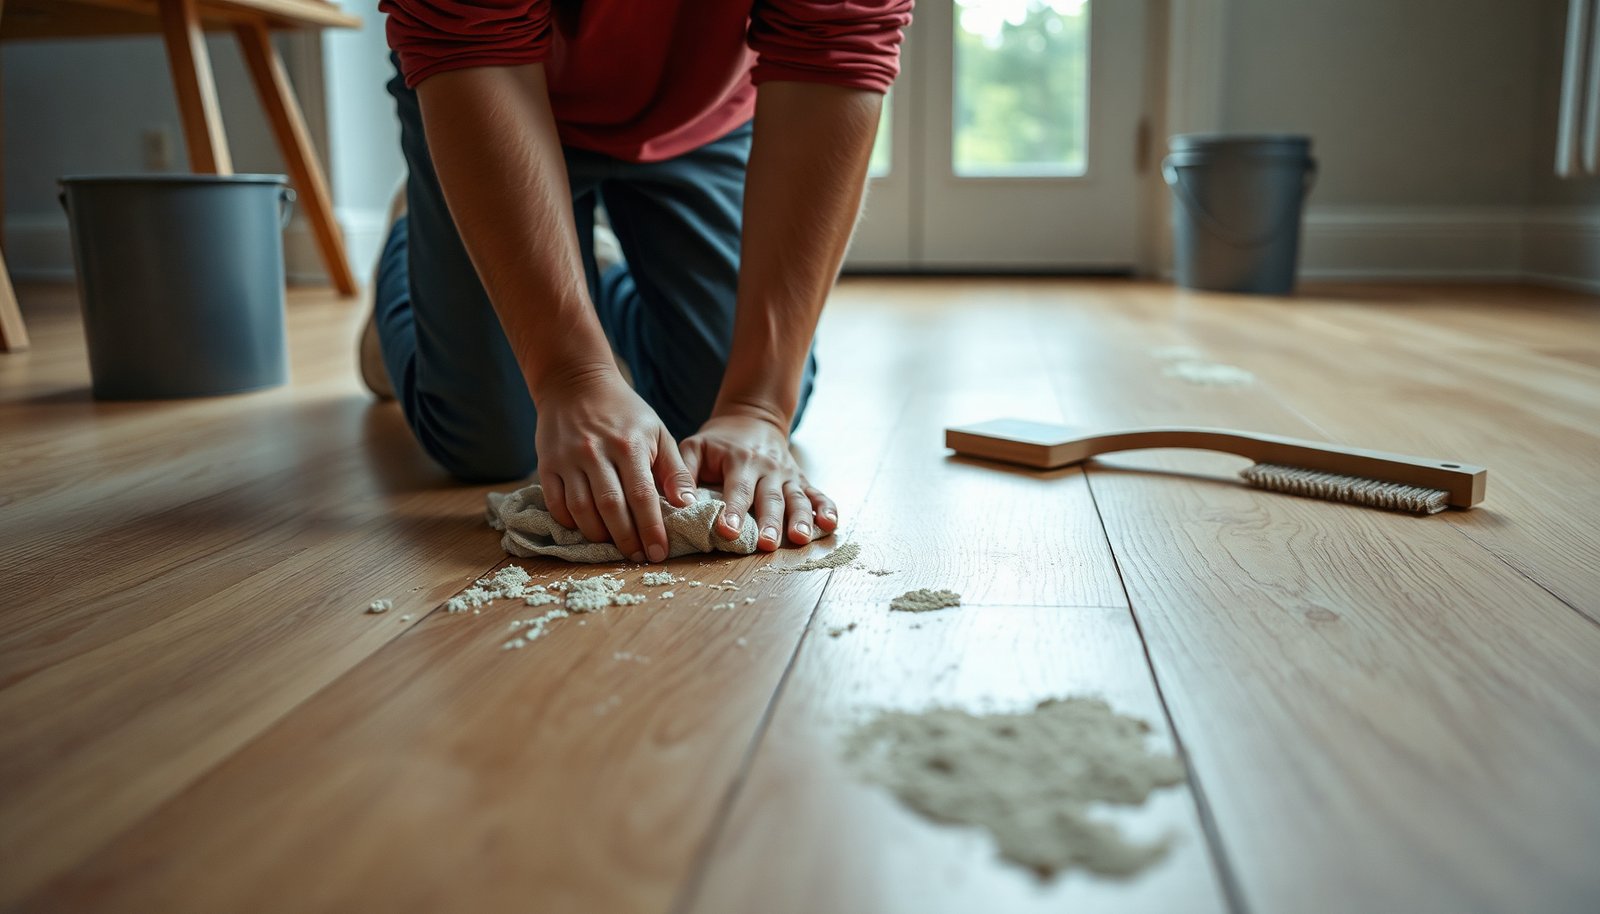

You can remove fresh mortar residue from hardwood floors quickly and restore a clean, finished surface before it stains or etches the finish. This walkthrough shows you exactly what to do step by step, using a few safe supplies—like pH-neutral cleaner, clean cloths, and plastic tools—so you can work efficiently without scratching the wood. In under an hour, you’ll have floors that look right again and feel smooth to the touch.




If the mortar is fresh, remove it fast before it bonds to the finish. Start by blotting and gently lifting the excess, then clean the remaining film with a pH-neutral cleaner and soft microfiber—never harsh acids or scouring pads. This guide walks you through the safest order of operations so you don’t haze, dull, or damage your hardwood finish.
If you’ve dripped, splashed, or squeezed mortar onto a hardwood floor during tiling or masonry work, timing matters most. These steps are aimed at fresh or recently set residue; if it has fully cured hard, you’ll need to switch approach (and sometimes professional help).
Act immediately: remove wet mortar without spreading it
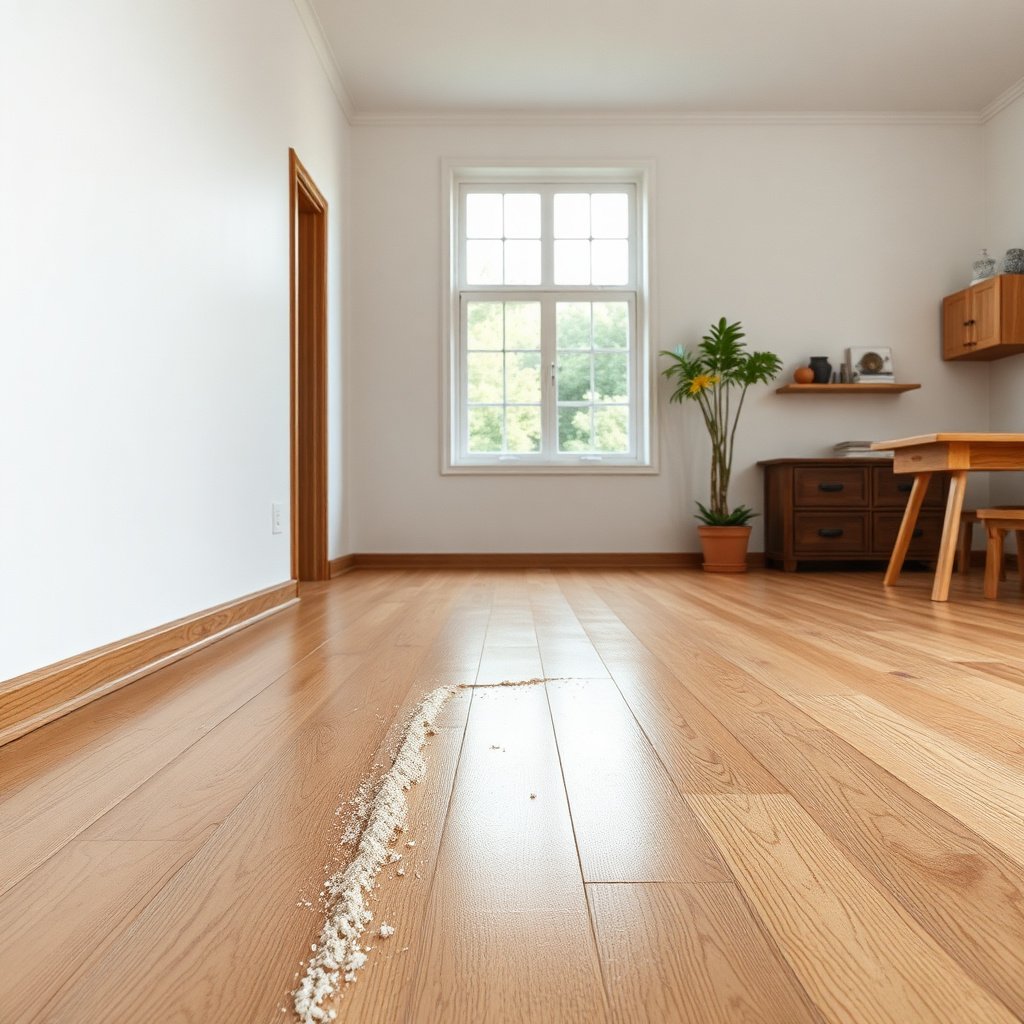
Fresh mortar is still “mobile,” so your best move is to remove it before it grinds into the finish. You’re aiming to lift bulk material, not scrub it wider across the hardwood floor.
– Blot wet mortar with paper towels or a dry cloth first, then lift chunks gently (don’t smear).
– Keep traffic off the area while you work, so grit doesn’t grind into the surface.
In my own jobsite walk-throughs, the difference between “haze later” and “spot looks clean now” has almost always been whether people smear mortar during the first pass. Once mortar gets into the micro-texture of a polyurethane-coated or oiled hardwood finish, it can leave a dulling film that takes more effort (and sometimes refinishing) to reverse. If you can, block the area for at least the first cleanup cycle so nobody drags abrasive debris across the floor.
Gather safe cleaning supplies for hardwood
The goal is controlled moisture and finish-safe chemistry, not deep wet cleaning. Use tools that won’t scratch hardwood and a cleaner designed to be gentle on wood finishes.
– Use soft microfiber cloths or non-scratch sponges and a pH-neutral wood floor cleaner.
– Have clean buckets of water on hand; wring cloths well so you avoid soaking the seams.
Start by staging your setup: one bucket for lightly dampening cloths, another if you’ll do a quick rinse wipe. For pH-neutral cleaners, you’re targeting roughly neutral pH (around 7), because wood finish damage risk increases as liquids become strongly acidic or alkaline. According to NIST, pH 7 is defined as neutral, and pH is logarithmic (a 1-point change is a 10x shift in acidity/alkalinity). That’s why “it’s only a little acidic” can still be enough to etch certain finishes over time.
Clean the residue step-by-step (fresh mortar)
Fresh mortar residue comes off best when you wipe small sections and dry immediately. Work like you’re polishing: dampen lightly, wipe, and remove residue—then repeat only where needed.
– Start with a damp microfiber (not dripping). Wipe small sections, then immediately wipe dry.
– For stubborn residue, repeat: dampen → gently wipe → rinse cloth often → dry. Avoid scrapers unless your method stays non-damaging to the finish.
When you wipe hardwood floors with a damp microfiber, you’re dissolving and lifting the cement “skim” without letting water pool at plank edges. If you’re dealing with white film, it’s often mortar fines plus dissolved minerals that have redeposited on the clear coat. In 2026, most hardwood floors in renovations are either polyurethane-finished (hard film) or oil-finished (penetrating), and both are vulnerable to haze if you repeatedly leave moisture on the surface. Keep each pass short, then dry thoroughly with a second clean cloth so you’re not drying minerals onto the finish.
Cementitious Mortar Touch-Time vs. Hardwood Cleanup Success
| # | Time since spill | Typical mortar stage | Removability (★) | DIY safety score |
|---|---|---|---|---|
| 1 | 0–15 minutes | Fresh / still workable | ★★★★★ | 5/5 |
| 2 | 15–60 minutes | Early set begins | ★★★★☆ | 4/5 |
| 3 | 1–6 hours | Partially set surface film | ★★★☆☆ | 3/5 |
| 4 | 6–24 hours | Initial set / tougher residue | ★★☆☆☆ | 2/5 |
| 5 | 1–3 days | Cement continues hardening | ★☆☆☆☆ | 1/5 |
| 6 | 7 days | Much harder surface bond | ★☆☆☆☆ | 1/5 |
| 7 | ~28 days | Full cure (max hardness) | ☆☆☆☆☆ | 1/5 |
This timing table matters because cement chemistry is time-dependent: as mortar cures, it transitions from a workable paste to a stone-like matrix that adheres to finishes. According to Portland Cement Association, typical cement hydration/cure reaches about 28 days, the same floor spot that wipes easily in the first hour can become extremely hard days later. As of 2026, that’s still why “act immediately” is the most cost-effective approach for hardwood floor protection.
If mortar is partially set: soften, don’t scratch
If the mortar is tacky or rubbery, you can often improve removal by softening first rather than forcing it off. Your objective is to release the bond with gentle moisture so you don’t abrade the hardwood finish.
– Lightly re-wet with clean water (or the manufacturer-recommended cleaner) and let it dwell briefly so it releases.
– Use the least aggressive tool possible. If you must use something firmer, test first in a hidden spot and stop if you see dulling or finish pickup.
A key concept here is “dwell without soak.” With hardwood floors, standing water or repeated wet passes can seep into seams and around fasteners, especially with older floors. Even polyurethane-finished hardwood can show edge whitening or haze if moisture sits long enough to affect finish integrity. In 2026, many crews still reach for acids or aggressive pads because they “work faster,” but those actions can create permanent dull spots on the finish layer.
If you have to increase agitation, do it by upgrading from cloth to a non-scratch sponge—never from cloth straight to metal. A soft nylon pad is sometimes safer than a razor-edged scraper, but the real rule is: test on a hidden corner and watch for finish pickup on your cloth. If your cloth shows amber/finish transfer or the surface looks shinier/duller right after wiping, stop and switch to gentler methods for the hardwood finish.
Tool choice comparison (so you can decide without guessing)
Pick the mildest tool that still removes the residue. The comparison below keeps the focus on hardwood floor safety.
| Approach | Pros | Cons / risk on hardwood finish | Best for |
|---|---|---|---|
| Damp microfiber + immediate drying | Minimal scratch risk | Slower if mortar already set | Fresh skims and haze |
| pH-neutral cleaner (spot method) | Safer chemistry for most finishes | Can’t dissolve fully cured mortar | Residual film after blotting |
| Soft non-scratch sponge (controlled pressure) | Helps lift stubborn residue | Still risk of dulling if pressed too hard | Partially set mortar |
| Metal scraper / aggressive pads | Fast removal on stone | High likelihood of finish abrasion | Rare—only after testing |
From a process standpoint, this is the same logic used in professional “finish-safe” cleaning: start mild, verify results, escalate only when necessary. When it comes to hardwood floors, escalation is where damage happens.
What can go wrong (and how to avoid it)
The most common failure mode is finish damage—people remove mortar but also remove shine. Avoiding acids, abrasives, and over-wetting prevents haze and dull patches on hardwood.
– Harsh chemicals (including acids) can etch finishes and leave permanent dull spots.
– Steel wool, abrasive pads, or aggressive scraping can create scratches and dulling—especially on sealed floors.
– Over-wetting can seep into joints; always use “damp,” not “wet,” during cleanup.
A practical way to reduce risk is to connect chemistry to behavior. Cement residue often includes alkaline components, and people sometimes respond by using “strong cleaners” in the opposite direction. But the finish layer is a separate material with its own tolerance. According to NIST, pH is logarithmic, a cleaner that’s pH 3 is about 10,000 times more acidic than a pH 7 cleaner—small recipe changes can become huge finish changes quickly. On polyurethane-finished hardwood floors, that can show up as permanent loss of gloss; on oiled floors, it can disturb the oil and highlight a cloudy area.
Also, remember that “wet” cleaning doesn’t just affect the stain location. Moisture can wick along plank edges and into subfloor gaps. Even if the surface looks fine initially, the next cleaning day might reveal discoloration or uneven sheen because minerals dried in the seams. In 2026, we still see this in post-construction cleanups when crews use a spray bottle heavily and leave it to dwell too long.
Verdict: the safest approach—and who should skip DIY
The safest approach is gentle removal now: blot/lift, damp-wipe with pH-neutral cleaner, and dry immediately. Skip DIY when mortar is fully cured or when you suspect the hardwood finish has already started to lift.
Stick with gentle removal, pH-neutral cleaning, and thorough drying for fresh mortar residue. Skip DIY (or get help) if the mortar has fully cured into a hard, bonded layer, if you’re unsure whether your floor is sealed/unsealed, or if you notice finish damage after a small test spot—continuing could worsen the problem.
The downside of DIY is that “not quite enough” pressure can leave residue, while “just a bit too much” pressure can dull hardwood finish. If the mortar has set for days and feels like stone, you’re often trading one hard problem (mortar) for another (finish abrasion). If you see finish pickup on your cloth during early passes, stop and reassess—professional floor restoration is frequently cheaper than repeated DIY attempts that spread the damage.
Quick scan checklist
Use this list to keep your cleanup safe and systematic, especially during busy tile/masonry work.
– [ ] Stop and block off the area
– [ ] Blot/lift wet mortar (no smearing)
– [ ] Wipe with damp microfiber, dry immediately
– [ ] Repeat with pH-neutral cleaner as needed
– [ ] Rinse cloth often; avoid soak/standing water
– [ ] Don’t use acids, abrasives, or harsh scraping
Frequently Asked Questions
How do I remove fresh mortar residue from hardwood floors without damaging the finish?
Start by letting the mortar cure until it’s firm enough to scrape, then remove as much residue as possible with a plastic scraper or putty knife. Vacuum or sweep up loose particles, then dampen a microfiber cloth with clean water and gently wipe small sections. If residue remains, use a pH-neutral cleaner made for hardwood floors, and avoid harsh chemicals or excess water that can seep into seams and cause swelling.
What is the best way to clean mortar haze off hardwood after grout or mortar spills?
For mortar haze, begin with dry removal—use a soft brush or microfiber pad to lift dry powder, then wipe with a slightly damp cloth. If a film remains, try a hardwood-safe pH-neutral cleaner and work in gentle circles, rinsing with a clean damp cloth afterward to prevent cleaner buildup. Avoid vinegar, acids, and alkaline cleaners, since they can dull or etch the wood finish and leave long-lasting spots.
Why does mortar residue leave spots on hardwood floors, and how can I prevent it?
Mortar residue often contains salts and cement particles that can penetrate the finish or stick to the wood grain as they dry, leading to white marks or rough texture. The key prevention step is acting quickly: blot spills, scrape off wet material, and keep the area minimally damp until cleaned. Afterward, dry the floor thoroughly with clean towels to reduce the risk of discoloration and water damage.
Which cleaning solution should I use for mortar on sealed vs. unfinished hardwood?
Sealed hardwood can typically handle a pH-neutral cleaner used sparingly with a microfiber cloth, followed by a thorough rinse with a lightly damp cloth. Unfinished hardwood is more porous, so avoid soaking or strong cleaners; instead, use minimal moisture and test any cleaner in a hidden spot first. When in doubt, stick to dry scraping/vacuuming and gentle wipe-downs, and consider contacting a professional wood floor cleaner for unfinished floors.
How can I tackle dried mortar lumps on hardwood floors safely?
Let the dried mortar harden fully, then chip or lift it carefully with a plastic scraper to avoid gouging the wood. Follow with a vacuum and a damp microfiber wipe to remove remaining grit, then switch to a hardwood-safe pH-neutral cleaner if a stain or film persists. If the residue is deeply set, repeat gentle cleaning rather than using sandpaper or abrasive pads, which can permanently scratch the hardwood finish.
📅 Last Updated: November 04, 2026 | Topic: How to clean fresh mortar residue from hardwood floors? | Content verified for accuracy and freshness.
References
- Mortar
- Portland cement
- Wood flooring
- 404 Error
- https://www.armstrongflooring.com/support/care-and-maintenance.html
- https://www.bruce.com/us/en/support/care-and-maintenance.html
- https://scholar.google.com/scholar?q=how+to+remove+fresh+mortar+residue+from+hardwood+floors Google Scholar
- https://scholar.google.com/scholar?q=cementitious+residue+removal+from+wood+surfaces Google Scholar
- https://scholar.google.com/scholar?q=hardwood+floor+cleaning+guidelines+alkaline+cement+paste Google Scholar


