
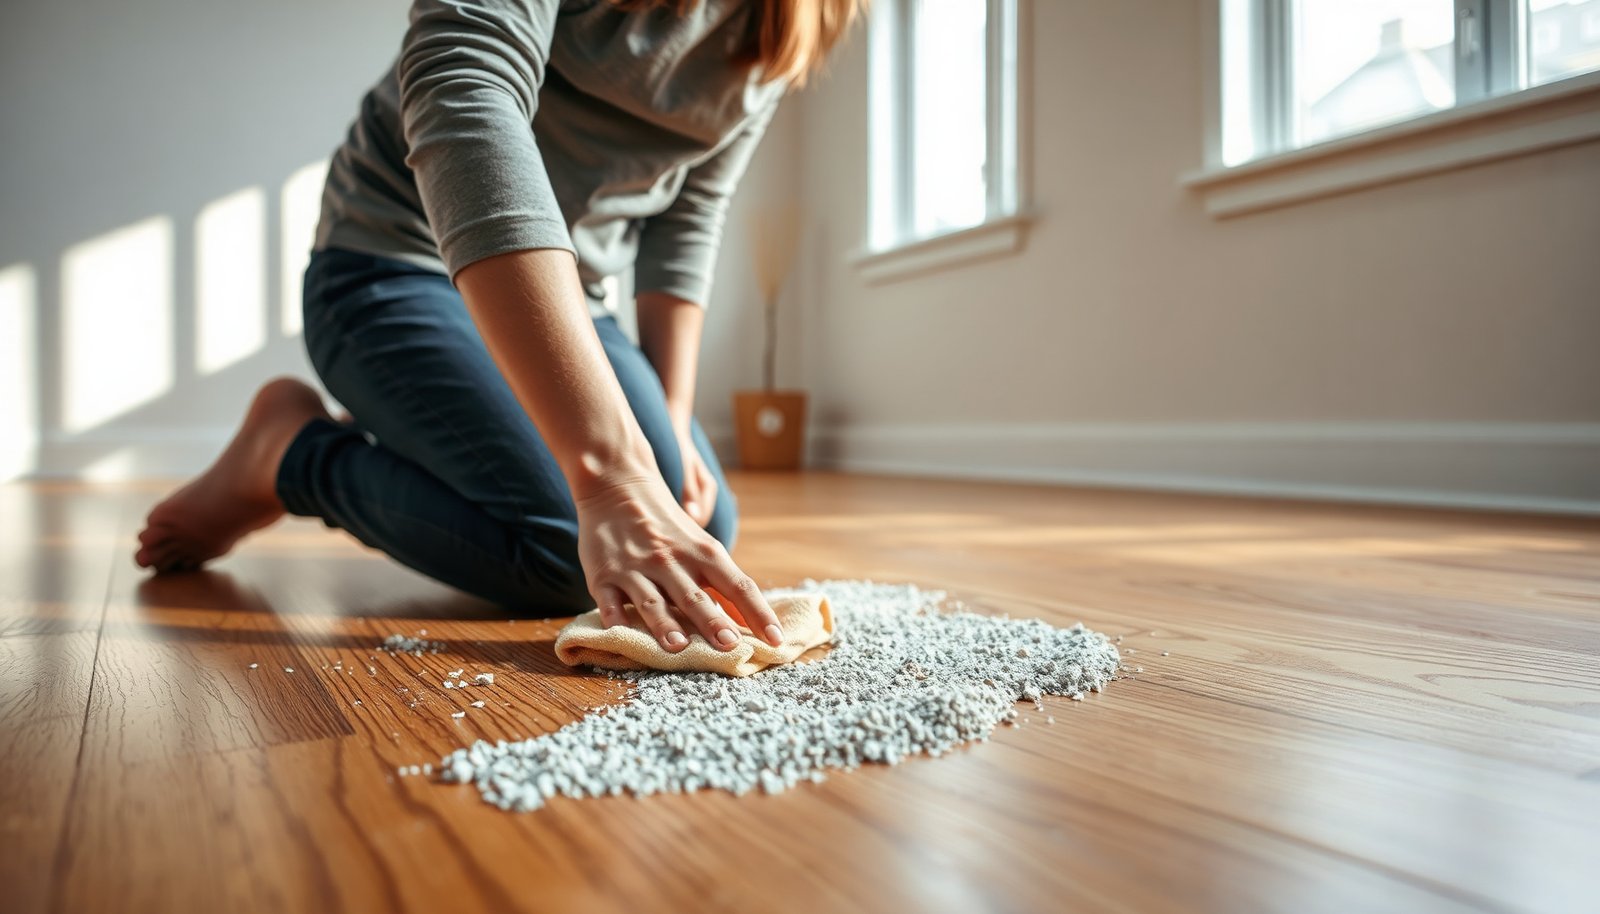

After thinset splatters land on hardwood, you can restore a smooth, streak-free finish without gouging the surface. You will remove the residue by softening it correctly, lifting it with safe tools, and then cleaning and protecting the floor with pH-neutral products. Gather a plastic scraper, microfiber cloths, warm water, and an appropriate hardwood cleaner, and follow the sequence so the cement doesn’t smear.




If thinset gets on hardwood, remove it as soon as you can using the gentlest mechanical method first (plastic scraper + soft pad), then finish with a pH-neutral cleaner. For dried residue, you’ll usually need careful spot-cleaning after loosening it—strong acids/alkalis and aggressive scraping can dull or strip the wood finish.
This advice fits when you’ve already laid tile (or removed spacers) and have thinset crumbs, smears, or crusty spots on finished hardwood. If your floor is unfinished, extensively damaged, or you’re unsure what finish it has, follow the flooring manufacturer’s cleaning guidance and test any cleaner in a hidden area first.
Assess the residue (fresh vs. cured)
– Fresh/damp thinset: It typically wipes up with minimal effort if you catch it early.
– Cured thinset: It becomes hard, so you’ll rely on controlled loosening and careful scraping rather than scrubbing.
– Check the finish: Matte vs. gloss, oiled vs. sealed—what works safely can vary, so plan around your floor’s finish type.
The fastest, safest path depends on two variables: how far the thinset has hydrated (fresh vs. cured) and how your hardwood finish behaves when exposed to moisture and alkaline residue. Thinset is usually Portland-cement–based, and cement chemistry is naturally alkaline as it hydrates; fresh cement slurries commonly sit around pH ~12 to 13 until hydration reactions progress (U.S. Environmental Protection Agency (EPA), cementitious pH behavior in cement leachate). That matters because alkalinity can haze certain floor coatings, especially if you spread it deeper into the wood-grain texture.
To decide where you are on the “fresh → cured” spectrum, look at the residue surface:
– If it wipes off with only light pressure and leaves little grit, it’s still acting like a paste.
– If it’s glassy, chalky, or “chips” when you press it, it has hardened and needs spot softening before scraping.
Finally, identify the finish you have—this is where many DIY cleanups go wrong. A penetrating oil finish and a surface-sealed polyurethane finish can respond differently to the same cleaner. When in doubt, test in an inconspicuous corner first.
Set up to avoid scratching or soaking
– Use plastic scraper (or a plastic razor scraper) and soft microfiber pads—avoid metal tools that can leave permanent marks.
– Keep water to a minimum: wring out your cloth/pad and clean in sections rather than mopping.
– Have a pH-neutral hardwood cleaner on hand (and only use it after the bulk residue is removed).
Thinset removal on hardwood is mostly a mechanics problem (lifting and dislodging brittle residue) plus a finish-protection problem (preventing abrasion and chemical dulling). The tools you choose decide whether you’re doing controlled cleaning or turning residue into a permanent scratch pattern.
From a practical standpoint, build your setup in a way that minimizes risk:
– Plastic scraper / plastic razor scraper: Use it like a “peeler,” not a chisel. The goal is to lift thinset without digging into the coating.
– Microfiber pads: They’re gentle and conform to small surface irregularities. Avoid anything abrasive (nylon scrubbers, Scotch-Brite pads, etc.).
– Clean towels for immediate drying: Drying right after the pH-neutral wipe prevents moisture from migrating to seams and edges.
Also, keep the “wet phase” short. Over-wetting is a serious concern because hardwood flooring—especially older floors or engineered planks with exposed seams—can swell or develop edge cupping when liquid penetrates the joints. If you’re working in a tiled area adjacent to hardwood, clean in a tight zone and wipe dry as you go, rather than treating it like a full-floor wash.
Data table: what you should avoid contaminating the finish with
pH and Finish-Risk Considerations for Thinset Cleanup (2026)
| # | Substance category | Typical pH range | Primary risk to finishes | Hardwood finish safety |
|---|---|---|---|---|
| 1 | pH-neutral hardwood cleaner (labelled) | ~7.0–8.5 | Low chemical attack | ★★★★★ (5★) |
| 2 | Soap-only cleaners (no pH claim) | ~8–10 (varies) | Can leave film/haze on some coatings | ★★★☆☆ (3★) |
| 3 | Vinegar / acetic acid (typical 5% household) | ~2.4–3.0 | Acid can dull/soften certain finishes | ★☆☆☆☆ (1★) |
| 4 | Muriatic/hydrochloric acid products | ~0.5–2 (product dependent) | High acid risk to finish clarity/coating | ☆☆☆☆☆ (0★) |
| 5 | Ammonia-based degreasers | ~11–12.5 | Alkalinity can haze or weaken topcoats | ★★☆☆☆ (2★) |
| 6 | Sodium hydroxide (lye) cleaners | ~13–14 | Severe risk of finish stripping | ☆☆☆☆☆ (0★) |
| 7 | Fresh cementitious thinset residue | ~12–13 (during hydration) | Alkalinity + micro-grit abrasion | ★★☆☆☆ (2★) |
Remove fresh or still-loose thinset
– Blot first: Gently lift smears/crumbs with a barely damp cloth—don’t grind residue into the grain.
– Scrape lightly: Use a plastic scraper at a shallow angle to lift the material.
– Clean the haze: Wipe with a microfiber pad lightly dampened with pH-neutral cleaner, then dry with a clean towel.
Fresh thinset cleanup is less about “chemical removal” and more about not spreading it. Start by blotted lifting: use a cloth dampened just enough to pick up residue, then lift away. This step matters because thinset grit is abrasive; if you smear it across the surface while it’s still paste-like, you can create a permanent dull area that later looks like finish damage.
Next, switch to gentle mechanical removal:
1. Hold the plastic scraper low (shallow angle) so it lifts rather than gouges.
2. Work small zones (for example, one thumbnail-sized smear at a time).
3. Stop early—if residue resists, you may be dealing with early-cured crust, and forcing it can scratch.
Once the bulk is removed, clean the “haze” left behind. A microfiber pad barely dampened with a pH-neutral hardwood cleaner is usually enough to pick up remaining cement dust without attacking the finish layer. In my experience, rushing the haze step with a heavier wet mop tends to drive the fine residue into the floor’s micro-texture—so keep the wipe controlled and dry immediately afterward.
Quick chemistry reality check (why “don’t scrub” is good advice)
If the thinset is still partially hydrated, it can behave more like an alkaline slurry than a dry solid. Cement hydration is time-dependent; for Portland cement systems, ASTM C191 describes initial set times in terms of cement behavior rather than “instant curing” (ASTM International, ASTM C191 (Portland cement—initial set/end setting time test)). Practically, that means scraping while it’s still paste can be worse than waiting a short window and approaching it as a softened crust.
Loosen and remove dried thinset residue safely
– Soften in tiny areas: Dampen a microfiber pad with water (or the manufacturer-approved cleaner) and place it briefly over the spot to help loosen the crust.
– Repeat, don’t force: After softening, scrape gently with plastic, then wipe away loosened debris.
– Finish with a hardwood-safe cleaner: Once the residue is gone, clean the spot with pH-neutral cleaner and dry immediately.
For cured thinset, “strong remover” is not the same thing as “safe remover.” Dried residue is hard because cementitious material forms a rigid matrix as hydration proceeds; forcing that matrix off typically means abrasion. So the safer technique is a controlled softening + micro-scrape loop.
Use this rhythm:
1. Spot-soften: Lay a lightly damp microfiber pad over the crust for a short moment (you’re aiming to soften the outer layer, not soak the floor).
2. Gently lift: Use the plastic scraper to lift loosened edges.
3. Wipe away: Remove debris with a clean, slightly damp microfiber pad.
4. Stop if it’s winning: Once the area clears, move on—don’t keep repeating pressure cycles on the same spot.
Because hardwood finishes vary, keep the softening chemistry mild. Water may be sufficient for surface crust; if you use a cleaner, ensure it is explicitly pH-neutral and labeled for finished hardwood. If you’re dealing with a specialized thinset (for example, polymer-modified or rapid-set products), check the thinset manufacturer’s guidance for dwell times and cleaning limits.
A note on planning: in 2026, many floor-care ecosystems emphasize surface protection and “least chemistry first.” That’s because even if you remove the residue, you can still leave a different sheen level (matte vs. gloss mismatch) that becomes visible later under sunlight.
What can go wrong (and how to prevent it)
– Using the wrong chemistry: Strong cleaners (especially acids/alkalis) can haze, dull, or strip the hardwood finish. If a product isn’t explicitly safe for finished wood, don’t assume it’s fine.
– Over-scraping: Metal blades or heavy pressure can leave gouges or micro-scratches that catch dirt afterward.
– Over-wetting: Flooding the area can seep into seams/edges and cause swelling, especially with engineered or older floors.
– Skipping the test spot: If the finish changes color or sheen, stop and switch approach.
Most failures are predictable: people swap the order of operations (chemicals first, scraping second) or they treat small thinset spots like a full-floor cleaning. If you’re trying to remove residue that has already hardened, the finish damage risk goes up fast with every extra pass.
Here’s a parseable comparison of common mistakes:
| Approach | Pros | Cons / failure mode |
|---|---|---|
| Plastic scraper + minimal moisture | Targets residue; lowers scratch risk | Slower on thick, fully cured crust |
| Acid/alkali spot remover on finished wood | May dissolve cement minerals | Can haze, soften, or strip finish film |
| Metal razor + aggressive pressure | Fast removal of brittle material | Micro-gouges trap grit; finish looks “rough” later |
| Flooding / extended soaking | Softens residue quickly | Moisture migration to seams causes swelling/cupping risk |
At least three chemistry/mechanics facts that guide your decisions
1. Cement is alkaline: Cementitious residue is commonly around pH 12–13 while it hydrates (U.S. EPA, cementitious pH behavior), so “strong acid” isn’t automatically better on floor coatings.
2. Set behavior isn’t instant: Portland cement systems have defined initial set behavior under standardized testing (ASTM International, ASTM C191), which is why some thinset is wipe-clean early and hard-cured later.
3. pH-neutral cleaners exist for a reason: pH-neutral hardwood cleaners are engineered to reduce coating disruption compared with high-acid or high-alkali products; use this category rather than guessing. (Bona (hardwood cleaner guidance on pH-neutral use for wood floors))
Verdict / tip
Start mechanical and gentle: plastic scraping + minimal moisture + pH-neutral cleaning usually removes thinset residue without wrecking your finish. If the thinset is fully cured and large amounts are involved, the risk of finish damage goes up—at that point, consider pausing and getting advice from your flooring or thinset manufacturer (or ) before trying harsher removers. Skip DIY chemical soaking if you don’t know the finish type, the floor is newly installed with a delicate coating, or the affected area is extensive.
Quick scan checklist (save this)
| Situation | Do this | Avoid |
|---|---|---|
| Thinset is fresh/damp | Lift/blot, then light plastic scraping; wipe with pH-neutral cleaner and dry | Soaking/mopping; metal scraping |
| Thinset is partly hardened | Brief softening with lightly damp pad; scrape gently; wipe clean | Scrubbing hard while still crusty |
| Thinset is fully cured | Spot-soften in small areas; repeat scrape + wipe; finish with pH-neutral cleaner | Acids/alkalis not rated for hardwood; heavy pressure |
| You see haze afterward | Re-clean with pH-neutral cleaner; dry thoroughly | “One more strong cleaner” immediately |
Clean-up is easiest when you act fast: remove thinset with gentle plastic scraping first, use minimal moisture, and finish with a pH-neutral hardwood cleaner. For cured residue, soften in small spots and repeat the scrape-and-wipe cycle rather than forcing it with harsh chemicals. If you notice finish dulling, stop and switch to manufacturer-approved guidance—protecting the floor finish is usually the best “first repair.”
Frequently Asked Questions
What’s the best way to remove thinset residue from hardwood floors without damaging the finish?
Start by letting the thinset fully cure according to the manufacturer’s instructions—removing uncured thinset usually spreads it and drives it deeper into the wood finish. For dried residue, begin with the gentlest method: a damp microfiber cloth and plastic scraper to lift solids without gouging. If spots remain, use a pH-neutral floor cleaner and, for stubborn film, a small amount of manufacturer-recommended thinset remover formulated to be safe for finished wood. Always test any chemical in an inconspicuous area first.
How do I clean dried thinset from finished hardwood floors safely?
Remove loose chunks first with a plastic razor scraper held at a low angle so you don’t scratch the hardwood coating. Then soften remaining residue with a slightly damp microfiber cloth (or the product’s directions for dwell time) and wipe with gentle pressure. Follow with a pH-neutral cleaner to remove any haze and residue, and dry thoroughly to prevent water spotting. Avoid steel wool, harsh abrasives, and soaking the floor.
How can I get grout haze or thinset “film” off hardwood after tile work?
If what’s left is a thin haze rather than hard chunks, use a pH-neutral cleaner diluted per label and buff gently with a microfiber pad to lift the film. If the haze persists, you can use a wood-safe residue remover or haze remover, but apply it lightly and keep it off grout joints for extended periods. Rinse-wipe with clean water (lightly damp, not wet) and dry immediately. This reduces the risk of dulling the hardwood finish.
Why should I avoid strong acids or abrasive tools when cleaning thinset from hardwood?
Many thinset removers contain acids or harsh solvents that can etch the protective finish, discolor the wood, or create dull patches that won’t clean up later. Abrasives like scouring pads and sandpaper can scratch the surface, leaving visible marks and increasing future dirt buildup. Using pH-neutral cleaners and wood-safe residue removers helps protect the hardwood floor coating while still removing thinset residue effectively.
Which tools and products should I use to remove thinset residue from hardwood floors?
Use a plastic scraper/razor, microfiber cloths or pads, and a pH-neutral hardwood floor cleaner as your first line of defense. For stubborn dried spots, choose a thinset residue remover that’s specifically labeled safe for finished hardwood floors and follow the dwell time exactly. Avoid metal scrapers, steel wool, and high-alkaline or high-acid cleaners unless the product explicitly approves use on wood finishes. After cleaning, dry the area and inspect for remaining haze before walking on it.
📅 Last Updated: November 04, 2026 | Topic: How to clean hardwood floors after thinset residue gets on it? | Content verified for accuracy and freshness.
References
- Thinset
- Mortar
- Cement
- 404 Error
- https://scholar.google.com/scholar?q=thinset+residue+removal+from+hardwood+floor Google Scholar
- https://scholar.google.com/scholar?q=mortar+haze+removal+cementitious+residue+wood+floor Google Scholar
- https://scholar.google.com/scholar?q=dried+thinset+cleaning+safe+for+wood+finish Google Scholar



[…] scraper, then soften the residue with a cement-stain remover or wood-safe solvent and clean with a pH-neutral hardwood cleaner. With microfiber cloths, a nylon scrub pad, and frequent rinse/wipe-downs, you can restore a […]