
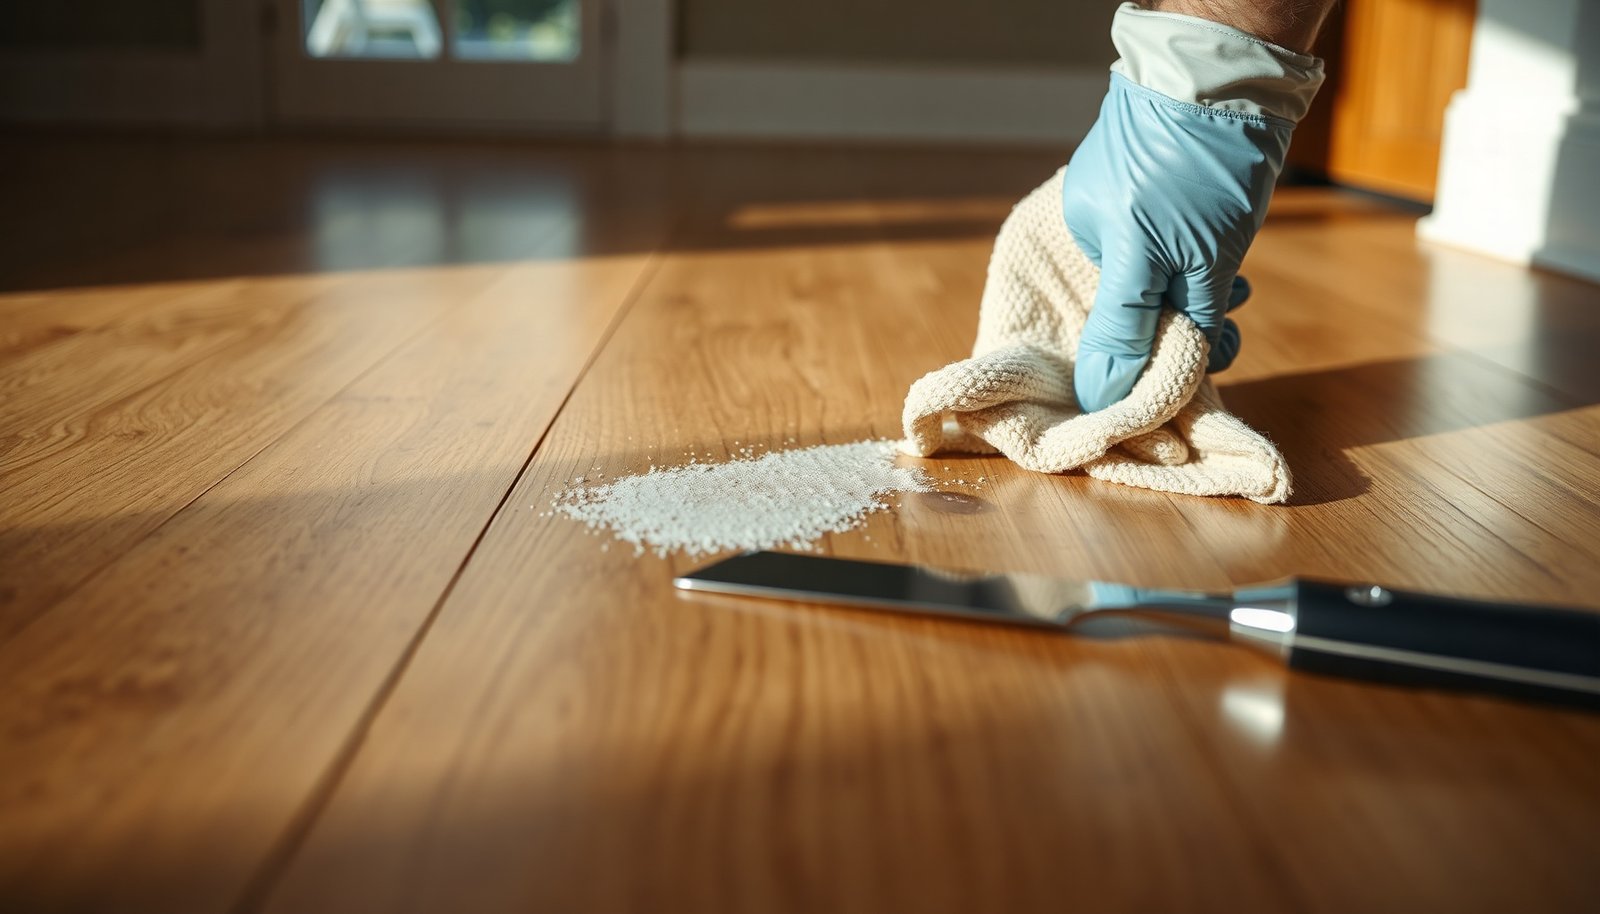

Fresh cement residue on hardwood can feel alarming because it bonds fast and can dull the finish if you let it set. If you want to get it off without harming the wood, you can usually handle the cleanup in about 30 minutes with the right care. You’ll need a plastic scraper, clean microfiber cloths, pH-neutral cleaner, and plenty of water to lift the residue gently while keeping the surface protected.




If the cement is still wet or just-cured, you can usually prevent finish damage by blotting first, then rinsing lightly, and cleaning with a soft microfiber using minimal pressure. If the cement has started to set, switch from scrubbing to careful softening and low-impact mechanical removal—especially along edges and seams—to avoid scratching or loosening the floor’s coating. This guide walks you through what to do step-by-step, what to avoid, and how to tell when a different approach is necessary—updated for best practices in 2026.
This advice is for homeowners and cleaners dealing with new spills, tracked splatter, or thin cement film after a driveway/worksite cleanup on finished hardwood. If your flooring is unfinished (bare wood) or you’re unsure what finish was used, skip to the “What can go wrong” section for safety checks.
Act Fast: Remove Wet Cement First
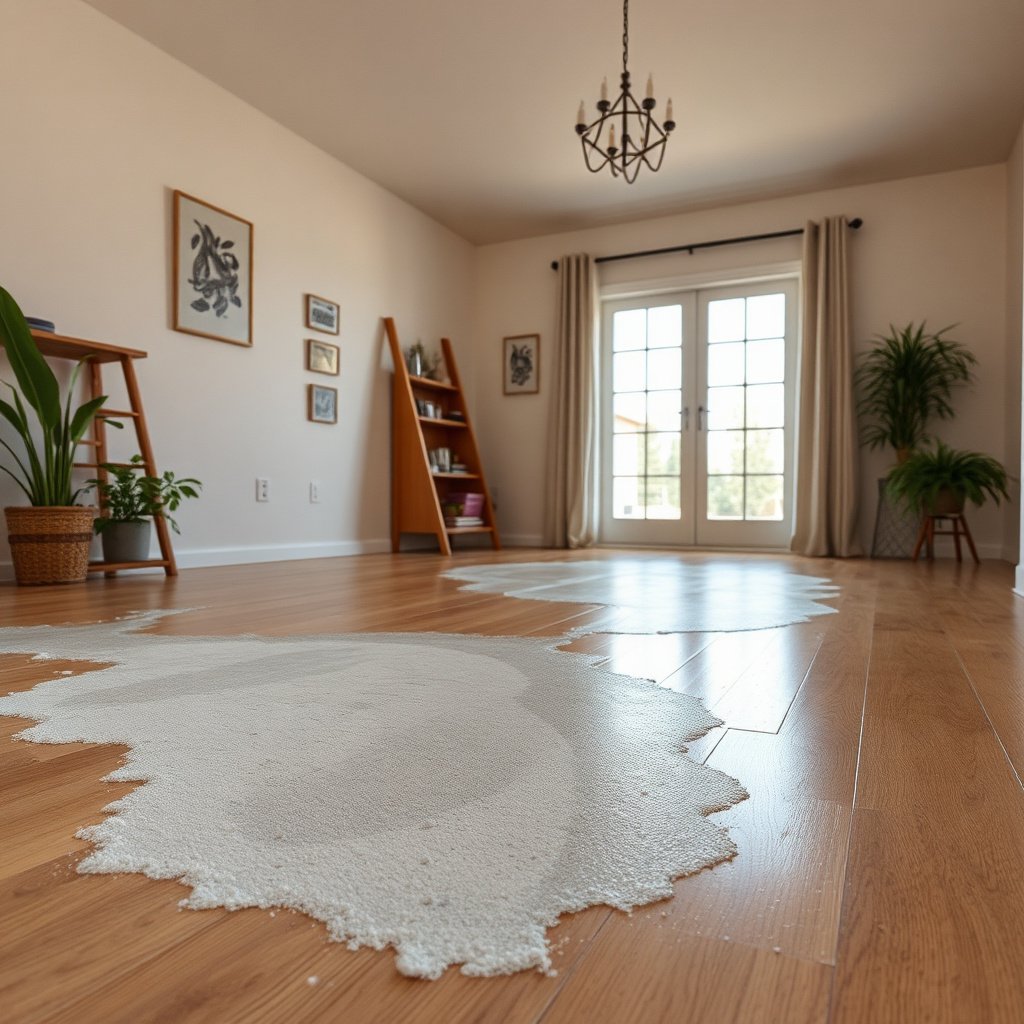
The fastest way to protect hardwood is to remove cement residue before it bonds strongly to the finish. Cement becomes progressively harder to lift as it sets, so your first goal is to stop residue from turning into gritty, abrasive paste.
– Blot excess material immediately (don’t wipe—cement can smear and grind in).
– Rinse the area with clean water in small amounts to lift residue without soaking seams.
– Keep traffic off the spot while you work to prevent grit from turning into sandpaper.
Why “blot + rinse” works better than wiping
Cement slurry often contains fine particles that act like grinding media once they spread. When you wipe, you increase contact time and distribute grit across the finish rather than concentrating it for removal. Blotting removes the bulk without loading additional paste into the grain pattern and seam lines.
According to ASTM C191, portland cement “initial set” is not less than about 45 minutes under standard conditions, and “final set” is not more than about 10 hours—meaning the window for easy removal can be relatively short if you delay. Also, cement slurry is typically highly alkaline; cement leachate commonly measures around pH 12–13, which can stress some floor finishes over time (NIOSH).
In my experience, the biggest difference between a “restores clean quickly” outcome and a “dull spot that won’t buff out” outcome is whether the cement stayed localized during the first few minutes and whether the floor was still wet when we started rinsing.
Choose the Right Cleaner for Fresh Residue
For fresh residue that’s no longer mobile, the right cleaner is usually a gentle, pH-neutral approach that won’t attack the finish. Your objective is to lift remaining film while preserving sheen and protecting the coating system that makes hardwood more stain-resistant.
– Start with warm water and a pH-neutral floor cleaner if a thin film remains.
– Use a soft microfiber pad/mop or a non-scratch cloth; avoid stiff brushes on finished hardwood.
– If residue clings, repeat gentle cleaning passes rather than increasing pressure.
Use pH-neutral to reduce finish stress
Many sealed hardwood floors rely on polyurethane, aluminum oxide, conversion varnish, or oil-modified urethane coatings. Strong alkaline or acidic cleaners can change how these coatings reflect light (haze) or soften the surface layer. That’s especially relevant when the cement itself is alkaline—using a neutral cleaner helps you avoid compounding the chemistry.
Practical technique matters as much as product choice:
– Mix cleaner according to label directions; don’t “concentrate for strength.”
– Keep the surface damp, not wet. Use a well-wrung microfiber so water doesn’t pool at seams.
– Work from the outside toward the center to prevent spreading cement grains outward.
Cleaner selection at a glance (comparison table)
| Option | Pros | Cons / Risks | Best for |
|---|---|---|---|
| Warm water + pH-neutral floor cleaner | Gentle on most finished hardwood coatings; good for thin film | May take multiple passes if cement has started to set | Just-bloomed residue and haze-like films |
| Soft microfiber pad (mechanical removal) | Lifts particles without aggressive abrasion; controllable | Not enough once cement becomes hard-set | Post-rinse surface residue |
| Cement softeners (label-guided) | Helps when cement is tacky/early-cured; reduces need to scrape | Can dull or haze some finishes if misused; always spot-test | “Starting to cure” residue |
Gentle Mechanical Scrub: How to Lift Stuck Film
Once you’ve rinsed away the bulk, gentle mechanical cleaning is often all you need to remove stubborn film—without grinding it into the coating. The key is light contact and short, controlled work cycles.
– After rinsing, use light circular motions with a microfiber pad to loosen residue.
– Focus on small sections (one area at a time) so you can stop once the film lifts.
– Rinse again to remove loosened particles—leaving grit behind can dull the finish.
Work in “rinse cycles,” not long scrubbing sessions
A common mistake is staying on one spot too long with the pad loaded with fine cement particles. A better sequence is:
1) Light circles for a few minutes,
2) Rinse to carry away loosened sediment,
3) Repeat only if the residue is visibly lifting.
If the film isn’t moving after a few short cycles, stop and reassess the cement stage. At that point, forcing it with harder pressure usually scratches rather than removes.
Keep grit out of the process
Even a high-quality finished floor can dull if you reintroduce loosened cement dust. Use fresh microfiber sections frequently, or rinse/replace the pad mid-job. This reduces “dragging” grit across polyurethane or similar coatings.
If It’s Starting to Cure: Soften, Don’t Damage
When cement starts setting, you need chemistry and patience—scrubbing harder usually increases risk to the floor finish. The goal is to soften the residue so it releases with minimal disruption to the coating.
– For cement that’s no longer fully “fresh,” let softening products work according to the label instructions ().
– Test any chemical on a hidden area first to confirm it won’t haze, strip, or dull the finish.
– Work in thin passes—over-aggressive scraping can permanently mark hardwood.
When “softening” becomes the safer strategy
Once cement shifts from smearable slurry to tacky gel or firm skin, water alone may not dissolve or lift enough material. A properly labeled cement softener can reduce bond strength, allowing you to remove residue with microfiber rather than a blade.
Because finish systems vary, spot-testing is not optional:
– Choose an inconspicuous spot (e.g., behind a chair leg).
– Apply the product for the smallest label-specified contact time.
– Rinse thoroughly and dry fully, then check sheen under normal light.
Time-based reality check (cement stage vs. removal ease)
The cleaner path depends heavily on how far along the cement is in the setting timeline. Under standard test conditions, cement progresses from initial set (around the 45-minute mark) to final set (by about 10 hours), and it continues gaining hardness well beyond that (ASTM C191). The following table helps you match your cleanup effort to the likely cement stage.
Cement Setting Window on Hardwood: Cleanup Ease (Typical Range)
| # | Cement age (typical) | Stage | What you’ll see | Safest first action | Removal ease |
|---|---|---|---|---|---|
| 1 | 0–15 minutes | Slurry / mobile | Wet paste; can smear and spread | Blot + light rinse | ★★★★★ |
| 2 | 15–45 minutes | Approaching initial set | Tacky areas; edges start to cling | Blot remaining bulk + rinse | ★★★★☆ |
| 3 | 45 minutes–2 hours | Initial set | Firming paste; not fully stone-like | pH-neutral clean + gentle microfiber | ★★☆☆☆ |
| 4 | 2–10 hours | Final set window | Hard surface skin; reduced dissolving with water | Soften per label + minimal abrasion | ★☆☆☆☆ |
| 5 | 10–24 hours | Early hardening | Crust-like film; flakes may form if disturbed | Label-guided softening + rinse cycles | ★☆☆☆☆ |
| 6 | 1–7 days | Hydration continues | More tightly bonded; higher hardness | Consider pro assessment before aggressive removal | ★☆☆☆☆ |
| 7 | ~28 days | Near design strength | Stone-like buildup; finish restoration may be needed | Minimize damage; plan refinishing if required | ★☆☆☆☆ |
What can go wrong (and what to avoid)
If you rush the process, hardwood finishes can haze, dull, or even fail at seams. The most common problems come from abrasive tools, overly wet cleaning, and chemistry that doesn’t match the coating system.
– Avoid chisel-like scraping, wire pads, or abrasive powders—cement can scratch even high-quality finishes.
– Don’t flood the floor: extra water can seep into gaps and cause swelling, cupping, or finish failure.
– Don’t mix cleaners (especially with acids/alkaline removers) unless the instructions explicitly allow it.
– If the cement has fully cured into hard, stone-like buildup, DIY methods may not restore the finish—professional refinishing may be required ().
Mistake checklist: high-risk moves
Here are the actions that most often create permanent damage:
– “Power scrubbing” with stiff bristles: this creates micro-scratches that catch light.
– Leaving chemical softener on too long: label instructions are there to prevent coating breakdown.
– Re-wetting cement dust: if residue remains and you keep cleaning without rinsing, you create a gritty slurry that acts like sandpaper.
Is scraping ever okay?
Sometimes—but on finished hardwood it’s inherently risky. If you’re sure the residue is localized and you must remove something mechanical, use the least aggressive tool possible () and only after softening has loosened the cement. If you feel you’re “digging,” stop.
Verdict: Best approach for most fresh spills
For fresh cement residue, the safest path is quick blotting, careful rinsing, then gentle microfiber cleaning with minimal pressure. Skip chemical “strong removers” on unknown finishes unless the label clearly supports hardwood and you’ve spot-tested—some products can dull, strip, or alter sheen.
That said, this approach has limits: if the cement is fully cured (stone-like) or your floor finish is very delicate or unknown, DIY removal can create permanent scoring. For those cases, consider professional assessment rather than trying to force results—especially in 2026 when you want predictable outcomes and minimal disruption to daily routines.
If the affected area is large, near transitions (doorways, baseboards), or involves multiple seams, the odds of uneven sheen increase—refinishing may be the only way to restore consistency.
Quick Checklist: Cement Cleanup Without Scratches
Use this as a field guide while you’re working, so you don’t accidentally turn a “fixable” spill into a finish problem:
– [ ] Blot excess cement (no wiping)
– [ ] Rinse lightly with clean water
– [ ] Clean with warm water + pH-neutral cleaner (if needed)
– [ ] Use soft microfiber only; gentle circles
– [ ] Rinse again to remove loosened grit
– [ ] Stop as soon as film lifts; don’t grind it in
– [ ] Spot-test any chemical on a hidden area
– [ ] Avoid flooding seams; keep the surface damp, not wet
Frequently Asked Questions
How can I remove fresh cement residue from hardwood floors without damaging the finish?
First, let the cement partially cure so it loosens slightly, then remove the bulk carefully with a plastic scraper or a soft-bristle nylon brush—avoid metal tools that can scratch hardwood. Wipe the area with a damp microfiber cloth to pick up fine dust, then use a pH-neutral hardwood cleaner diluted according to the label. Rinse with a lightly damp cloth and dry immediately with a towel to prevent water absorption or spotting. If the residue remains, repeat gently rather than using harsh acids right away.
What’s the best way to clean cement dust from hardwood flooring after a renovation?
Start with dry removal: vacuum with a brush attachment or sweep with a soft broom to capture cement dust before it mixes with moisture. Then use a damp microfiber mop with warm water and a small amount of pH-neutral cleaner to lift remaining residue. For stubborn chalky spots, lightly dampen the area and repeat with cleaner, drying thoroughly after each pass. Avoid soaking the floor, since standing water can dull polyurethane and swell unfinished wood.
Which cleaning solution works best for fresh cement on sealed hardwood floors?
For sealed hardwood, begin with pH-neutral floor cleaner because it’s designed to lift grime without attacking finishes. If the cement is still wet and won’t release with water alone, a specialty “cement haze remover” formulated to be safe for sealed surfaces may help—always test in an inconspicuous spot first. Do not use vinegar, muriatic acid, or strong descalers on hardwood unless the product instructions explicitly approve it for finished wood, because acids can etch and discolor.
Why does cement residue leave a haze on hardwood, and how do I prevent it?
Cement contains alkaline compounds that can react with moisture and leave a white, chalky cement haze, especially if it dries on the surface. The key is to remove residue quickly: scrape off excess, then clean with a pH-neutral solution and rinse lightly with a damp cloth. Prevention also includes prompt cleanup of slurry spills and keeping mops only lightly damp during cement cleanup. Afterward, fully dry the area to reduce the chance of residue bonding to the finish.
How do I handle dried-on cement spots on hardwood if the residue was missed at first?
For dried-on spots, start by loosening gently with a plastic scraper and a nylon brush—work slowly to avoid gouging the finish. Clean with a pH-neutral hardwood cleaner, then try a small amount of a cement haze remover only if it’s rated safe for your floor’s finish and you can test it first. If the spot still won’t come off, stop to avoid damaging the topcoat and consider refinishing or professional floor cleaning, particularly for unsealed or older hardwood. Always dry completely after treatment to prevent lingering moisture effects.
📅 Last Updated: November 04, 2026 | Topic: How to clean fresh cement residue from hardwood floors? | Content verified for accuracy and freshness.
References
- Cement
- Concrete
- Mortar
- https://www.cdc.gov/niosh/topics/cement/default.html
- 404 Error
- https://scholar.google.com/scholar?q=how+to+clean+fresh+cement+residue+from+hardwood+floors Google Scholar
- https://scholar.google.com/scholar?q=cement+dust+removal+wood+flooring Google Scholar
- https://scholar.google.com/scholar?q=portland+cement+alkaline+residue+removal+from+surfaces+wood Google Scholar



[…] For thin, hardened smears: start with gentle scraping (plastic scraper/nylon razor) before reaching for […]
[…] an hour or two depending on how stubborn the build-up is. Gather a plastic razor/razor scraper, pH-neutral cleaner, and a thinset remover that’s safe for wood, then work in small sections so the surface stays […]