
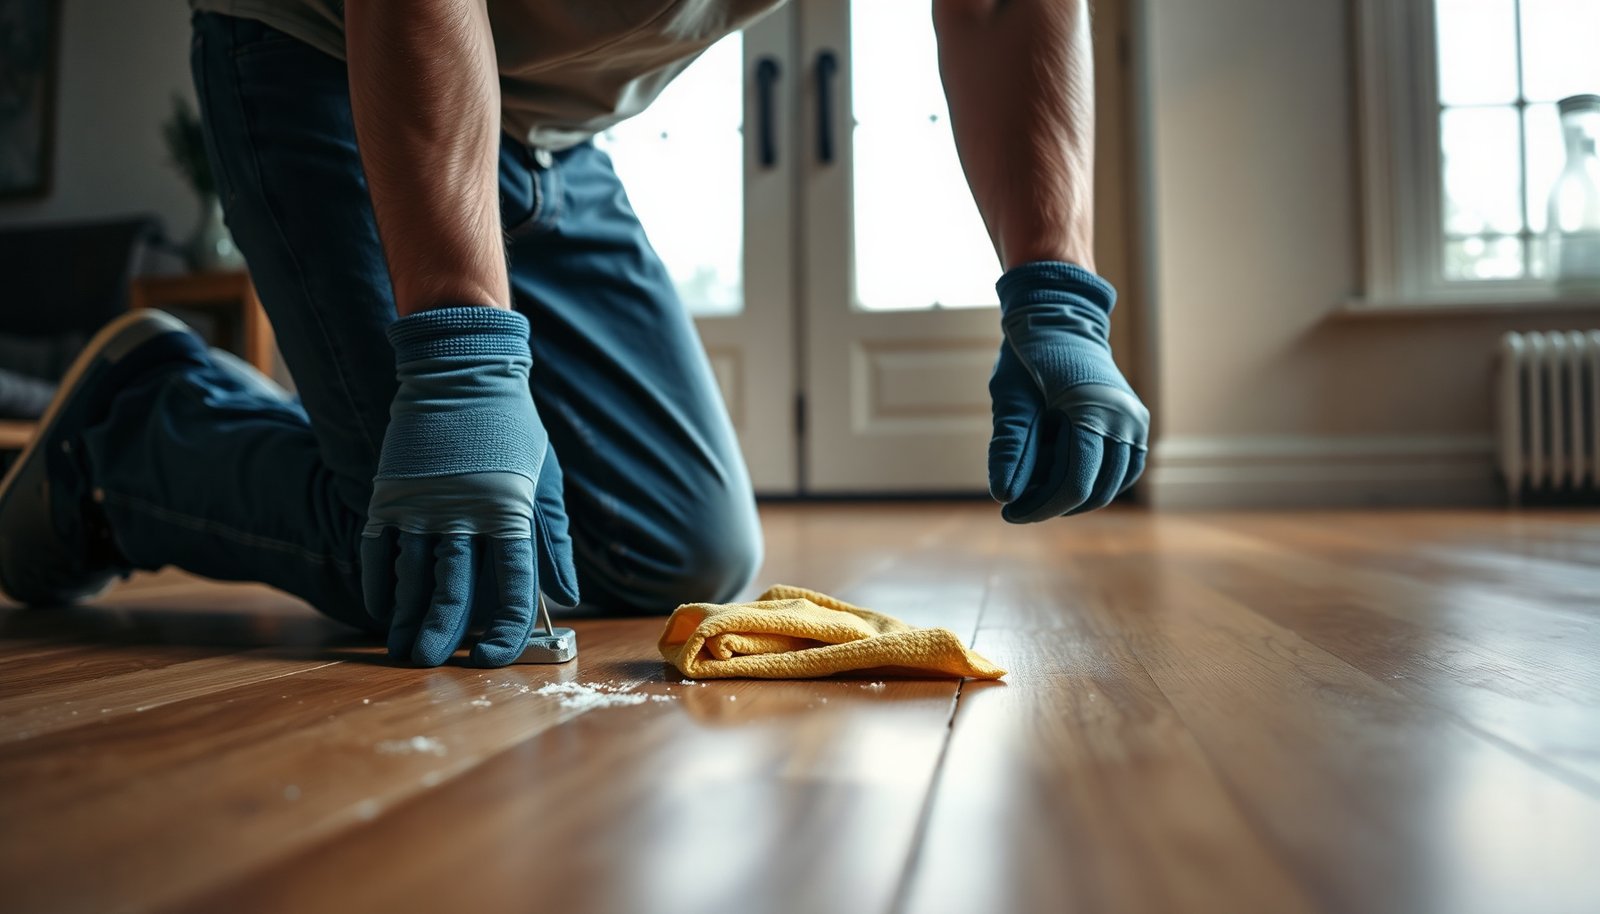

How do you remove thinset residue from hardwood without damaging the finish? You start by identifying whether it’s dry or partially cured, then soften it with the right cleaner and scrape carefully using non-metal tools. With the proper supplies—protective pads, a pH-neutral cleaner or manufacturer-approved remover, microfiber cloths, and a gentle scrub pad—you can usually make noticeable progress in an hour and finish with a clean, uniform surface.




Use a careful scrape-then-clean approach: soften the thinset residue first (using a tile-mortar remover compatible with wood finishes), lift it gently without grinding, then clean with a pH-neutral hardwood-safe cleaner and wipe until the surface is truly free of haze and chemicals. This guide walks you through safe methods and what to avoid to prevent dull spots or finish damage.
If the thinset is only on the surface (common after backsplash, tile transitions, or small repairs), you can usually remove it by combining gentle mechanical removal with the right softening agent. If the mortar has been stuck for a long time, soaked into cracks, or you’re working on unfinished/unsealed hardwood, the risk of uneven staining goes up.
If you’re maintaining a high-traffic hardwood floor, thinset residue removal is less about “scrubbing harder” and more about controlling chemistry (softening) and abrasion (how much finish you remove). That’s why the safest workflow is: protect first, scrape lightly, soften briefly, lift cleanly, then neutralize and rinse/wipe out any leftover remover.
Prep the area and protect your hardwood finish
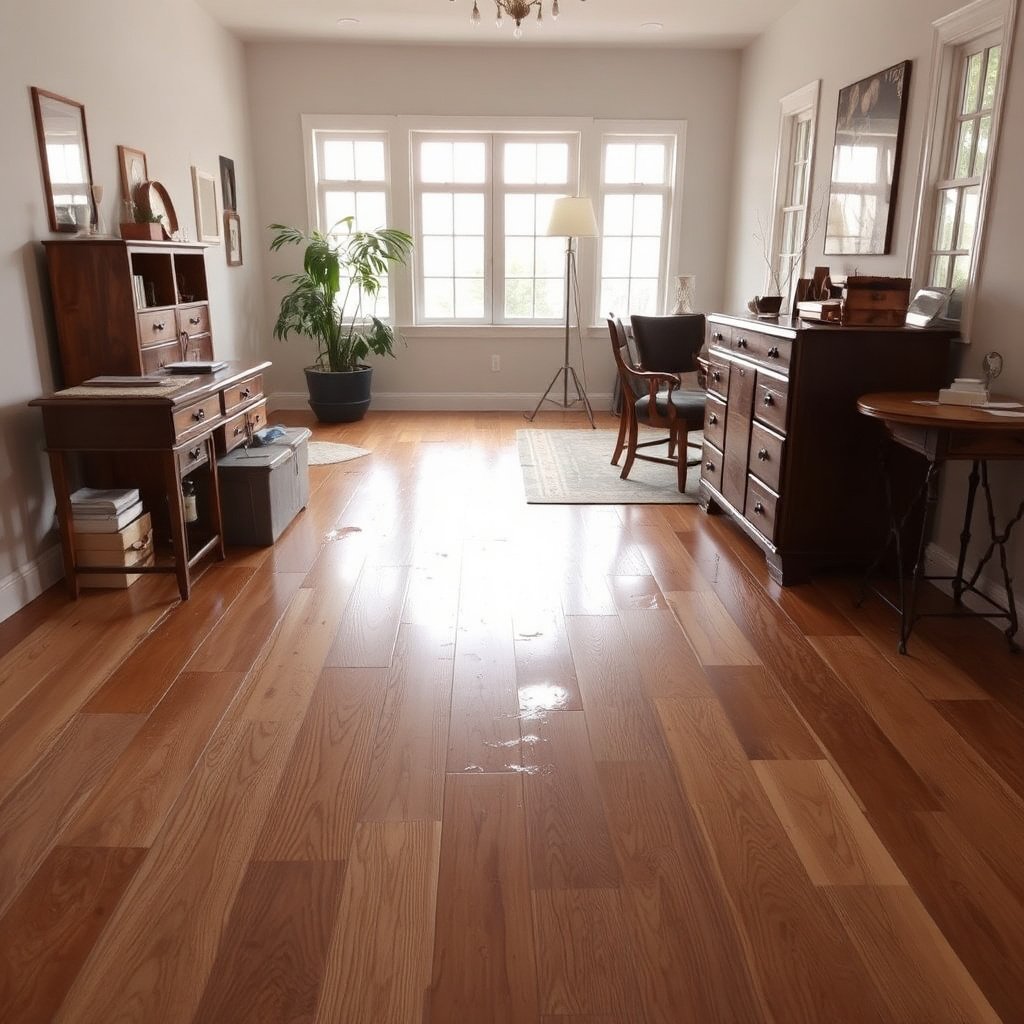
Protect your floor before you touch thinset residue—taking 10 minutes here prevents weeks of uneven sheen later. In most cases, the biggest cause of permanent dull spots isn’t the thinset itself; it’s grit turned into sand during scraping or chemical exposure on areas you didn’t mean to treat.
– Sweep/vacuum first so grit doesn’t turn into sand while you scrape.
– Protect adjacent trim and any gaps by masking carefully; keep remover off areas you don’t need to treat.
– Identify your floor finish (sealed/urethane vs unfinished) before choosing chemicals—unsealed wood needs extra caution.
Start by clearing the room so you can work slowly and keep debris off the finish. Use a soft-bristle broom and then vacuum with a hard-surface nozzle; avoid aggressive beater brushes. Next, mask off baseboards and nearby transitions (carpet edges, vinyl transitions, or adjoining laminate) with painter’s tape plus plastic where needed.Finally, confirm whether your hardwood is sealed. A sealed floor (commonly urethane/polyurethane) usually tolerates properly formulated, pH-neutral cleaners better than unfinished or oiled wood. If you’re unsure, do a small water-drop test in an inconspicuous spot: sealed floors typically show beading, while unfinished areas darken quickly. Whichever finish you have, the rule stays the same: keep removers and solvents out of areas you’re not actively treating.
Pick the safest removal method for thinset residue
Choose the gentlest method that matches how embedded the mortar is—thinset comes off reliably when you soften first, not when you grind. For surface smears, start mechanical; for stubborn spots, use a mortar/thinset remover designed to break down cementitious residue, but only if it’s stated as compatible with floors/wood finishes.
– For thin, hardened smears: start with gentle scraping (plastic scraper/nylon razor) before reaching for chemicals.
– For stubborn spots: use a thinset/mortar remover that’s designed for tile mortar (and verify it’s compatible with wood finishes) or a method recommended on the product’s label.
– If the residue is truly “grouted in” at the edges, you may need a slower approach and patience rather than stronger abrasion.
Thinset is cement-based, and cementitious materials stay alkaline while curing—so your removal process needs to control both residue and chemical leftovers. OSHA notes that cement-containing products are strongly alkaline and require careful handling. As a practical chemistry anchor, the pH scale runs from 0 to 14, where “neutral” is around pH 7, and household cleaners vary widely from acidic (lower pH) to alkaline (higher pH). US EPA explains the pH scale and its meaning in water/chemical contexts.
Here’s a quick way to decide what tool/chemical belongs in your plan:
– If the residue is a thin film or light haze: mechanical removal + light softening is usually enough.
– If it’s chunky build-up or ridges: you’ll still want to avoid metal scraping, but softening time and wipe-cycles may increase.
– If the residue sits in seams/grooves: accept that you may not fully “erase” color differences—your job becomes preventing additional finish damage.
Chemical safety reality check (pH and finish compatibility)
Below is a practical pH-risk reference for common household chemicals versus safer “neutral” approaches. It won’t replace the remover label for your specific product, but it helps explain why some methods cause dull spots or discoloration.
pH Profile of Common Cleaners vs Hardwood-Friendly Approach
| # | Cleaner / Product Type | Typical pH Range | Why It Matters on Wood | Finish Compatibility |
|---|---|---|---|---|
| 1 | pH-neutral hardwood floor cleaner | 6.5–8.5 | Minimizes risk of etching/altering sheen | ★★★★★ |
| 2 | Distilled or clean water (for wipe-down) | ~7.0 | Helps remove remaining remover film | ★★★★☆ |
| 3 | Mild dish detergent (mixed for cleaning) | ~8–9 | Usually low risk if wiped thoroughly | ★★★☆☆ |
| 4 | Ammonia-based glass cleaner | ~11–12 | Higher alkaline exposure can dull some finishes | ★☆☆☆☆ |
| 5 | Household bleach (sodium hypochlorite) | ~11–13 | Can discolor/damage finishes and leave residue haze | ★☆☆☆☆ |
| 6 | White vinegar (acetic acid solution) | ~2–3 | Acids can etch or cloud certain urethanes | ★☆☆☆☆ |
| 7 | Muriatic / hydrochloric acid (HCl) | < 1–2 | High risk of etching, color shift, and finish loss | ☆☆☆☆☆ |
Note: Even “correct” pH doesn’t guarantee safety—some remover brands include solvents or chelators that behave differently from simple cleaners. Always follow the remover label for dwell time and intended surfaces.
Step-by-step: scrape, soften, and lift the residue
For most hardwoods, the safest pattern is “lift what you can dry, soften what remains, then wipe without pressure.” This prevents the two most common failure modes: gouging finish with aggressive scraping and leaving behind a haze from remover residue.
– Dry scrape lightly: hold the scraper flatter than you think (low angle) and remove only what lifts easily.
– Soften the remaining residue: apply your chosen remover per the label directions, let it dwell only as instructed, then test a small area before continuing.
– Wipe and repeat: use clean microfiber to lift loosened mortar; reapply remover only if needed, rather than forcing it with pressure.
Step 1: Dry scrape—only to the point of “no easy lift”
Start with a plastic scraper or nylon razor blade. In my experience with these cleanups, the difference between “safe” and “dull spot” is pressure—many people instinctively press harder once the thinset feels resistant. Instead, keep the blade nearly flat to the floor and make short passes. Stop the moment you feel the scraper start to drag the finish rather than lift residue.
If you see thinset ridges, focus on pulling off the highest points first. That reduces how much softened material you’ll later have to remove from grooves.
Step 2: Soften cement residue without soaking the floor
Apply thinset/mortar remover according to the product label—especially the dwell time. Don’t guess. Cementitious residue can take longer than surface haze to break down, but letting remover sit too long increases the chance of finish dulling or discoloration.
After dwell, test a small 2–3 inch area with a microfiber cloth: gentle rubbing should lift “crumbly” mortar rather than smear it across the floor.
Step 3: Lift and wipe—repeat cycles beat one aggressive cycle
Use fresh, clean microfiber pads as you go. Wipe in the direction of the grain if the grain is visible, and use minimal water—flooding seams increases the chance of edge swelling or uneven staining. Reapply remover only where needed. If you keep scrubbing the same spot, you can wear the finish unevenly even when the remover chemistry is correct.
If the residue looks like it’s “stuck in the pores,” shift your goal from perfect removal to controlled removal: remove what comes up without grinding, then move on. You can re-treat later with another cycle instead of forcing the current one.
Comparison: choosing the right approach by residue severity
| Method | Best for | What you should see | Finish risk (sealed hardwood) | Finish risk (unfinished hardwood) |
|---|---|---|---|---|
| Low-angle plastic/nylon scraping | Surface smears and thin haze | Flakes or thin film comes off cleanly | Low | Moderate |
| Thinset/mortar remover (label-approved) + microfiber | Hardened spots with no visible chipping | Softened paste wipes away in cycles | Medium-Low | High (extra caution) |
| Heat only (soften cement) | Small spots (spot treatment) | Residue softens enough to lift | Medium | High |
| Grinding/steel wool pads | Usually not recommended | Not applicable (leads to damage) | High | Very High |
This table is meant as a decision aid—not a substitute for the label on your remover product and your flooring manufacturer’s maintenance guidance.
Deep clean after removal (so nothing keeps staining later)
Once the visible thinset is gone, the job isn’t over—cement chemistry and remover film can still leave a dull outline. A deep clean is what prevents “ghost” staining that appears hours or days later under sunlight.
– Use a pH-neutral cleaner made for hardwood floors to remove both loosened residue and any remover film.
– Rinse/wipe with clean water as appropriate for the cleaner instructions (don’t flood seams).
– Dry thoroughly and check the surface in good light for any haze—if you still see residue, go back to spot treatment rather than aggressive scrubbing.
Start with microfiber dampened lightly with your pH-neutral hardwood cleaner. Avoid generic “all-purpose” sprays unless the label explicitly says they’re safe for hardwood finishes and are pH-balanced. Work in manageable sections, then wipe again with a clean, lightly damp microfiber to help remove any cleaner remnants.
Drying matters. Use dry microfiber to pull remaining moisture from the surface, and keep air moving (fans on low). After drying, inspect under a bright light at an angle. If you still see a cloudy halo, don’t go straight to abrasive pads—return to spot softening for shorter cycles, then wipe/neutralize again.
A key point: chemistry doesn’t always show immediately. Thinset and certain removers can leave a film that looks worse after the floor dries fully. That’s why “wipe thoroughly so no residue or chemicals are left behind” is not just advice—it’s the practical mechanism that prevents reappearance.
What can go wrong (and how to avoid it)
The most common problems are finish scratching, chemical etching, and leaving behind haze that “ghosts” later. If you want an even sheen across the floor, you must avoid both over-scraping and over-soaking.
– Scratching the finish: metal scrapers, steel wool, or aggressive pads can permanently dull hardwood.
– Chemical damage: acidic cleaners and harsh solvents can etch or discolor certain finishes—always follow label compatibility and do a test spot.
– “Ghost” residue: if you don’t remove softened mortar completely, it can leave a hazy outline after drying.
– Overworking one spot: repeated scrubbing can create uneven sheen where the finish is worn down.
Here are the failure modes I see most often in real-world maintenance calls:
1) People use a metal putty knife “because it’s faster,” then regret it when the polyurethane turns matte over a square-foot area.
2) People reach for vinegar or bleach as a shortcut. That can temporarily improve appearance, but can also cloud clear coats or change the wood tone—especially on older finishes.
3) People remove the visible thinset but don’t fully remove the remover film. That’s when the residue outline appears later.
Prevention is straightforward: use non-metal tools, keep dwell times short and label-specific, and always finish with pH-neutral hardwood cleaning and thorough wipe-down.
For unfinished hardwood, the risk rises because the wood is porous and can absorb both alkalinity and moisture. If your floor is unfinished, consider lowering your dwell time and being extra conservative with moisture—often, the better choice is professional assistance.
Verdict / tip (when this is worth it—and when to stop)
For most surface-level thinset smears, this scrape + soften + pH-neutral clean method is a practical, lower-risk approach. The downside is that older embedded mortar may require multiple cycles, and you can still see slight sheen differences if the finish was already stressed.
Skip DIY and consider a professional if:
– The hardwood is unfinished/unsealed, heavily stained, or the residue is deep in seams/cracks.
– You’re dealing with large areas where finish matching (sheen/spot repair) will be hard to blend.
– You’re unsure about finish compatibility and don’t have label guidance for the remover you plan to use.
If you do proceed yourself, treat it like a controlled restoration step: small sections, short cycles, and inspection after drying. I recommend keeping a “stop point” mindset—when the scraper starts biting the finish or the wood begins to look dull in the treated area, pause and reassess rather than pushing through.
Quick checklist (scan before you start)
– [ ] Vacuum/sweep to remove grit
– [ ] Protect trim and nearby surfaces with masking
– [ ] Use a plastic/nylon scraper first (low pressure)
– [ ] Soften residue only with a wood-finish-compatible mortar/thinset remover ()
– [ ] Spot-test in an inconspicuous area first
– [ ] Wipe thoroughly with microfiber; repeat only as needed
– [ ] Clean with a pH-neutral hardwood-safe cleaner
– [ ] Dry fully and inspect under good lighting
Frequently Asked Questions
What’s the safest way to remove thinset residue from hardwood floors?
Start with the gentlest method: dry scrape with a plastic scraper to remove loose thinset, then use a pH-neutral cleaner and soft microfiber cloths. Avoid steel wool, aggressive buffing pads, or harsh acids that can etch finish and dull hardwood. Work in small sections, rinse with clean water lightly, and dry immediately to prevent moisture damage.
How do I get dried thinset off hardwood without scratching the finish?
Use heat and patience: lightly warm the residue with a hair dryer or heat gun on a low setting, then scrape carefully with a plastic razor or scraper. If residue remains, apply a manufacturer-approved stone/tile remover that’s safe for wood finishes, testing first in an inconspicuous area. Always keep the remover contact time short, then wipe thoroughly and dry to protect the hardwood floor.
Why does thinset leave a haze on hardwood, and how can I remove it?
Thinset can leave a dull film or haze because cementitious minerals bond to the surface and may react with existing finish. After removing chunks, clean the area with a pH-neutral cleaner to lift the mineral residue, then follow with a fine clean-water wipe to remove any cleaner buildup. For stubborn haze, use a hardwood floor cleaner designed for residue removal and finish-safe use, not abrasive polishers.
Which chemicals are best for dissolving thinset residue on hardwood?
The best approach is using products labeled safe for finished wood floors or that are specifically recommended for cement and grout haze without damaging coatings. Look for pH-neutral or “stone and tile” residue removers that don’t rely on strong acids, and always follow the label directions exactly. Test first, apply sparingly, and never soak hardwood with chemical solutions—wipe on, dwell briefly, then rinse/wipe clean.
What’s the best step-by-step method to clean thinset haze after tile installation on hardwood?
First, let the thinset fully cure, then scrape off excess gently with a plastic tool and vacuum the debris. Next, clean the area using a pH-neutral cleaner and microfiber pads to lift remaining thinset residue, wiping often with a clean damp cloth. Finally, dry thoroughly and inspect the surface; if haze persists, repeat with a finish-safe cement residue remover in small sections and finish with a hardwood floor cleaner or recommended maintenance product.
📅 Last Updated: November 04, 2026 | Topic: How to clear thinset residue from hardwood floors? | Content verified for accuracy and freshness.
References
- https://en.wikipedia.org/wiki/Thin-set_mortar
- Mortar
- Grout
- Checking your browser – reCAPTCHA
- Checking your browser – reCAPTCHA
- Checking your browser – reCAPTCHA
- Checking your browser – reCAPTCHA
- https://scholar.google.com/scholar?q=clear+thinset+residue+from+hardwood+floor Google Scholar
- https://scholar.google.com/scholar?q=removing+hardened+thinset+mortar+from+wood+floor Google Scholar
- https://scholar.google.com/scholar?q=cement+grout+haze+removal+acidic+cleaner+wood Google Scholar



[…] and then cleaning and protecting the floor with pH-neutral products. Gather a plastic scraper, microfiber cloths, warm water, and an appropriate hardwood cleaner, and follow the sequence so the cement doesn’t […]
[…] a product doesn’t clearly state pH-neutral (or a narrow pH range), assume it may be too harsh for thinset residue removal on […]