
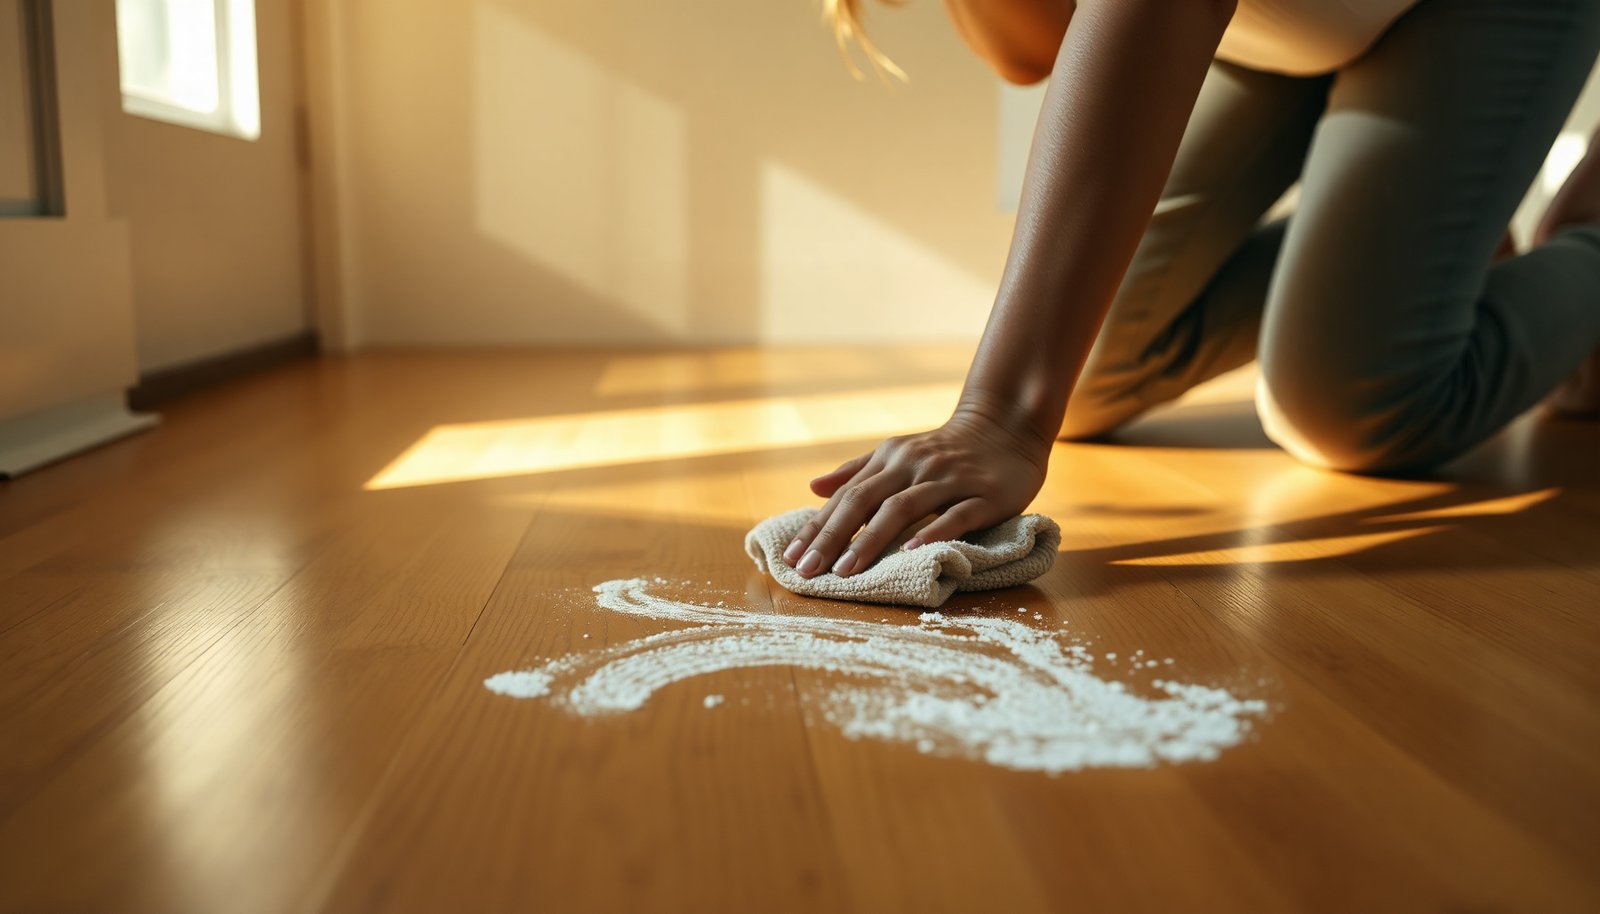

Chalk marks on hardwood floors come off most reliably when you lift the powder first and then wipe with a pH-neutral cleaner on a barely damp cloth. Plan on about 10 minutes using a soft microfiber, a bowl of warm water, and a nonabrasive cleaner, taking care not to over-wet the finish. Work slowly, rinse the cloth as needed, and you will see the marks fade without damaging the wood.



If chalk marks are on a typical finished hardwood floor, the safest route is dry microfiber “lifting” first, then a barely damp soap-and-water wipe. If any pale residue remains, use a cleaner that’s specifically safe for finished hardwood—and always test it in an inconspicuous spot before you spread it across the whole area.
If you’ve got chalk on hardwood—whether from kids, classroom activity, or craft time—this guide helps you remove it without dulling or damaging the finish. You’ll also get the common pitfalls to avoid so the marks don’t smear deeper into the wood’s top layer.
This advice applies best to floors with a sealed/finished surface (urethane, varnish, lacquer, or similar). In 2026, many manufacturers still emphasize low-moisture cleaning and finish-safe products to prevent haze, swelling, and premature wear, so the same logic holds even as cleaning trends evolve.
What to Do First (Before You Scrub)

– Dry-lift as much chalk as possible with a soft, dry microfiber cloth so you don’t grind it in.
– Lightly dampen the cloth with warm water (not soaking wet) and wipe with the grain to see if the marks release.
– Stop and reassess as soon as the chalk comes off—overworking the area can spread residue.
Chalk on hardwood is tricky because it’s usually a fine mineral dust (most often calcium carbonate) that can act like a mild abrasive if it gets ground across the finish. Calcium carbonate (calcite) sits at about Mohs hardness 3, which is enough to dull high-gloss coatings when particles are repeatedly rubbed in. U.S. Geological Survey (USGS) mineral hardness reference
In my experience managing floor-care guidance for busy households and small offices, the biggest improvement comes from resisting the urge to “scrub until it disappears.” The first 60–90 seconds—dry lift, short wipe passes, immediate reassessment—often prevents the chalk from turning into a smear you’ll have to undo later.
Work systematically:
1. Use a soft, dry microfiber cloth and lightly press in one direction (with the grain). The goal is transfer, not friction.
2. If you see chalky residue after the dry lift, dampen the cloth with warm water until it’s just barely wet, then wipe with the grain.
3. Stop as soon as the visible chalk fades; if it’s coming off, you don’t need to keep “trying.”
Best Cleaning Method for Most Finished Hardwood
– Wipe with a hardwood-safe mixture: a few drops of mild dish soap in warm water, using a barely damp cloth.
– Rinse by wiping with a clean cloth lightly dampened with plain water (this prevents soap film).
– Dry immediately with a dry microfiber towel to avoid moisture sitting on the floor.
For finished hardwood, your best “default” process is gentle, brief, and rinse-complete. Mild dish soap helps break down any binder or pigment film that can cling to the surface, while the plain-water rinse removes the soap residue that otherwise leaves a dull sheen. Current manufacturer-style guidance from major hardwood associations consistently stresses avoiding excess water and promptly drying cleaned areas. National Wood Flooring Association (NWFA) cleaning guidance for finished wood floors
Here’s the method that keeps risk low:
– Soap wipe: Add only a few drops of mild dish soap to a small amount of warm water (think “lightly soapy,” not sudsy). Wring the cloth so it’s barely damp, then wipe with the grain.
– Rinse wipe: Immediately follow with a second cloth dampened with plain water. This step matters because soap film can attract dirt and make chalk “ghost” marks appear later under overhead light.
– Dry: Use a fresh dry microfiber towel and blot/wipe dry right away.
If you’re cleaning in a high-traffic space in 2026—like a school hallway after an art class—work in smaller sections so the floor never stays damp longer than necessary. That reduces the chance of finish haze and keeps the wood stable.
To help you decide how much water you should involve, it’s useful to remember that chalk itself is often only sparingly soluble. Calcium carbonate is not something you typically “dissolve away” with plain water; you remove it through lifting and controlled wiping. U.S. Geological Survey / standard mineral properties references on CaCO₃ solubility and behavior in water
How to Remove Stubborn Chalk Residue
– Try a fresh, clean microfiber cloth and repeat gentle wipe passes—don’t jump straight to harsher tools.
– If residue remains, use a hardwood-safe cleaner appropriate for your finish (e.g., a product formulated for “sealed/finished hardwood”).
– For extra lift, you can re-damp only the cloth (not the floor) and work slowly along the grain.
When chalk leaves residue, it’s often because fine particles remain in micro-scratches in the finish—or because chalk pigment plus any binder mixed into a thin film. The safest escalation is: change nothing except reducing abrasion and improving finish compatibility.
Follow this decision path:
1. Fresh cloth first: Swap to a clean microfiber so you’re not redistributing chalk you just loosened.
2. Repeat gentle passes: Use short, consistent wipes with the grain. Don’t press harder to “force it”—pressure increases friction and can create a haze line.
3. Finish-safe cleaner only if needed: If the mark persists, switch to a cleaner explicitly labeled safe for finished/sealed hardwood. If you don’t know your finish type (urethane, varnish, lacquer, wax, etc.), choose a product designed for finished floors and still test it first.
4. Re-dampen the cloth, not the floor: If you need a little more lift, re-dampen the cloth slightly and keep the moisture off the boards—no puddles, no soaking edges.
Quick compatibility logic: why residue behaves differently
Different residues respond to water in dramatically different ways. Chalk (calcium carbonate) doesn’t behave like a salt that dissolves quickly; it behaves more like insoluble mineral dust that needs mechanical lifting and finish-safe wet cleaning. The table below compares water-solubility across common “chalk-like” residues you might accidentally be cleaning.
Water Solubility vs. “Chalk-Like” Residues (25°C)
| # | Material (often mistaken for chalk) | Main formula | Mohs hardness | Water solubility (25°C) |
|---|---|---|---|---|
| 1 | Calcite (chalk) | CaCO₃ | 3 | 0.013 g/L |
| 2 | Aragonite (chalk polymorph) | CaCO₃ | 3.5 | 0.013 g/L |
| 3 | Gypsum (plaster dust) | CaSO₄·2H₂O | 2 | 2.05 g/L |
| 4 | Halite (road salt residue) | NaCl | 2.5 | 359 g/L |
| 5 | Talc (powder residue) | Mg₃Si₄O₁₀(OH)₂ | 1 | 0 g/L |
| 6 | Quartz (grit/dust) | SiO₂ | 7 | 0 g/L |
| 7 | Orthoclase feldspar (sand dust) | KAlSi₃O₈ | 6 | 0 g/L |
Use this to calibrate expectations: if the mark is truly chalk (CaCO₃), water alone won’t “dissolve” it away reliably, so you lean on lifting plus finish-safe cleaning rather than trying to wash it off like salt.
What Can Go Wrong (Common Mistakes & Edge Cases)
– Using a lot of water: hardwood and some finishes can be damaged by prolonged moisture exposure.
– Scrubbing with pads/brushes: this can dull the finish or drive pigment into small surface scratches.
– Skipping a rinse step: soap residue can leave a dull sheen that attracts dirt.
– Using “magic erasers” or abrasives on unknown finishes: they may remove gloss or coating depending on the finish type.
– Unfinished or heavily worn floors: chalk can stain more easily; if the surface isn’t well sealed, you may need a finish-specific approach.
The most common failure mode is over-contact: too much moisture, too much pressure, or too many repeated strokes. Even when the chalk “comes off,” the finish can become uneven in sheen (haze) because you’re effectively polishing the coating differently where you cleaned.
Here’s a practical comparison of methods—pros and cons—to help you choose the least damaging option:
| Method | Pros | Cons / Risk |
|---|---|---|
| Dry microfiber lift | Lowest risk; removes loose dust before it grinds the finish | Won’t remove residue film left in surface micro-scratches |
| Mild soap-and-water (barely damp) | Good for chalk residue on sealed floors; generally finish-safe when rinsed | Too much water can dull or swell; skipping rinse can leave soap haze |
| Finish-safe cleaner for “sealed/finished hardwood” | Best escalation step when residue persists after gentle wiping | Can alter sheen if incompatible with your specific coating—hence patch testing |
Edge cases to watch in 2026:
– Magic erasers / abrasive pads: These are designed to mechanically lift residues using an abrasive microstructure. On unknown finishes, they can remove gloss or coating and leave a spotty sheen.
– Unfinished or heavily worn floors: If the surface isn’t sealed, chalk pigment can penetrate and stain more readily. In that situation, the “soap then rinse then dry” approach may not be enough, and finish-specific restoration may be required.
– Vinegar: Vinegar is acidic (commonly around 4–8% acetic acid, depending on the product), which can be too harsh for some finishes and can increase the chance of residue or dullness when not neutralized. U.S. Food & Drug Administration (FDA) information on vinegar/acetic acid food-use acidity Use mild dish soap instead, and rinse.
Verdict: The Safest Approach (And When to Stop)
If your chalk marks are on typical sealed hardwood, start with dry microfiber lifting, then mild soap-and-water wiping, finishing with an immediate dry and (where appropriate) a quick re-clean with a hardwood-safe product. Avoid aggressive scrubbing and over-wetting.
Stop early—before you “chase” the mark—if you notice the finish changing sheen, if the area is growing in size, or if you’re on an unfinished/heavily worn floor. Skip DIY and call a flooring pro (or follow the floor manufacturer’s recommended care) if the chalk has been ground in for a long time, if you see staining deeper than surface residue, or if you can’t confirm the finish type.
Quick Checklist: Chalk Removal Steps
– Dry-lift with microfiber first
– Wipe lightly with warm, soapy water (few drops of mild dish soap)
– Wipe again with plain water to remove soap film
– Dry immediately with a clean towel
– If needed: use a hardwood-safe cleaner formulated for finished/sealed floors
– Test any cleaner in an inconspicuous spot first
Sources
– National Wood Flooring Association (NWFA) — floor cleaning and maintenance guidance for finished hardwood
– U.S. Geological Survey (USGS) — mineral hardness references (Mohs scale) for chalk-related minerals
– U.S. Food & Drug Administration (FDA) — vinegar/acetic acid information related to acidity
Keeping chalk off finished hardwood is less about aggressive cleaning and more about sequence: lift dry dust first, use barely damp soap-and-water with a rinse, and stop escalating if sheen starts to change. If you’re unsure of your finish type or the marks are old and embedded, defer to the manufacturer’s care guidance or a flooring professional—especially in 2026, when finish systems vary widely across brands and installations.
Frequently Asked Questions
How do I remove chalk marks from hardwood floors without damaging the finish?
Start by dry-removing the chalk dust using a soft, dry microfiber cloth or a dry mop with a gentle touch to avoid grinding the residue into the wood. Then wipe the area with a slightly damp microfiber cloth using plain water or a pH-neutral cleaner made for hardwood. Finish by drying immediately with a clean towel, because excess moisture can dull or warp hardwood over time.
What’s the best way to clean white chalk scuffs from sealed hardwood floors?
For sealed hardwood, begin with a damp microfiber wipe to lift the chalk, then follow with a small amount of mild dish soap diluted in water (never soaking the floor). Gently rub in the direction of the wood grain, then rinse with a cloth lightly dampened with clean water. Dry thoroughly to prevent streaks and water spots.
Why do chalk marks sometimes leave a stain on hardwood, and how can I prevent it?
Chalk is an abrasive powder plus mineral residue, and when it’s ground into the finish it can create dull spots or light discoloration. Prevention means acting quickly: dust first, then clean with minimal moisture and avoid harsh scrubbing pads. Using furniture pads and keeping chalk away from high-traffic floor areas can also reduce recurring scuffs.
How do I get rid of colored chalk (like pastel or sidewalk chalk) on hardwood floors?
Colored chalk may contain dyes, so dry dusting is essential first to avoid smearing pigment. Use a lightly damp microfiber cloth with a small amount of pH-neutral floor cleaner, working a small area at a time and wiping until the color lifts. If a faint tint remains, try a cleaner specifically designed for hardwood stains or test a tiny amount of isopropyl alcohol on an inconspicuous spot, then rinse and dry.
Which cleaning products are safe for removing chalk from hardwood without leaving streaks?
Choose pH-neutral hardwood floor cleaners and microfiber cloths—these remove chalk marks while protecting the protective seal. Avoid ammonia, vinegar, abrasive scrubbers, and steam mops, since they can damage the finish or strip protective coatings. Always wipe with clean water afterward if you use any cleaner, then buff dry to restore shine and prevent streaks.
📅 Last Updated: November 02, 2026 | Topic: How to clean chalk marks from hardwood floors? | Content verified for accuracy and freshness.
References
- 404 Error
- 404 Error
- https://www.bruce.com/flooring-resources/how-to-clean-hardwood-floors
- https://www.armstrongflooring.com/support/how-to-clean-hardwood-floors.html
- Melamine foam
- Wood flooring
- https://scholar.google.com/scholar?q=remove+chalk+marks+from+hardwood+floors Google Scholar
- https://scholar.google.com/scholar?q=hardwood+floor+scuff+mark+removal+melamine+foam Google Scholar
- https://scholar.google.com/scholar?q=chalk+on+wood+surface+cleaning Google Scholar



[…] Use a clean, dry microfiber cloth to gently lift surface […]