


How do you get those cloudy rings off hardwood floors without damaging the finish? You can usually clear water spots in 30–60 minutes using simple household items—soft microfiber cloths, distilled water, mild soap, and an appropriate hardwood cleaner—plus careful blotting and gentle drying. Start by identifying whether the spot is just surface haze or has penetrated the finish, then follow the right step-by-step method to restore the floor’s appearance safely.




Clear water spots on hardwood floors are usually removable by drying the area thoroughly and cleaning with a gentle, finish-safe method. For white haze or rings, you’ll often need to identify whether your floor is sealed (most) or unfinished, then use the right spot-removal approach—otherwise you can damage the finish. In this guide, we’ll walk through the safest options first, then how to handle stubborn rings and when refinishing is the only real fix.
If you’ve got a new ring from a glass, a damp coaster, or a spill that dried in place, this is for you—especially if you want to avoid sanding/refinishing on the first try. If the wood is visibly cupped, lifting, or the stain keeps spreading, skip ahead to the “What can go wrong” section.
Identify whether the spot is in the finish or the wood
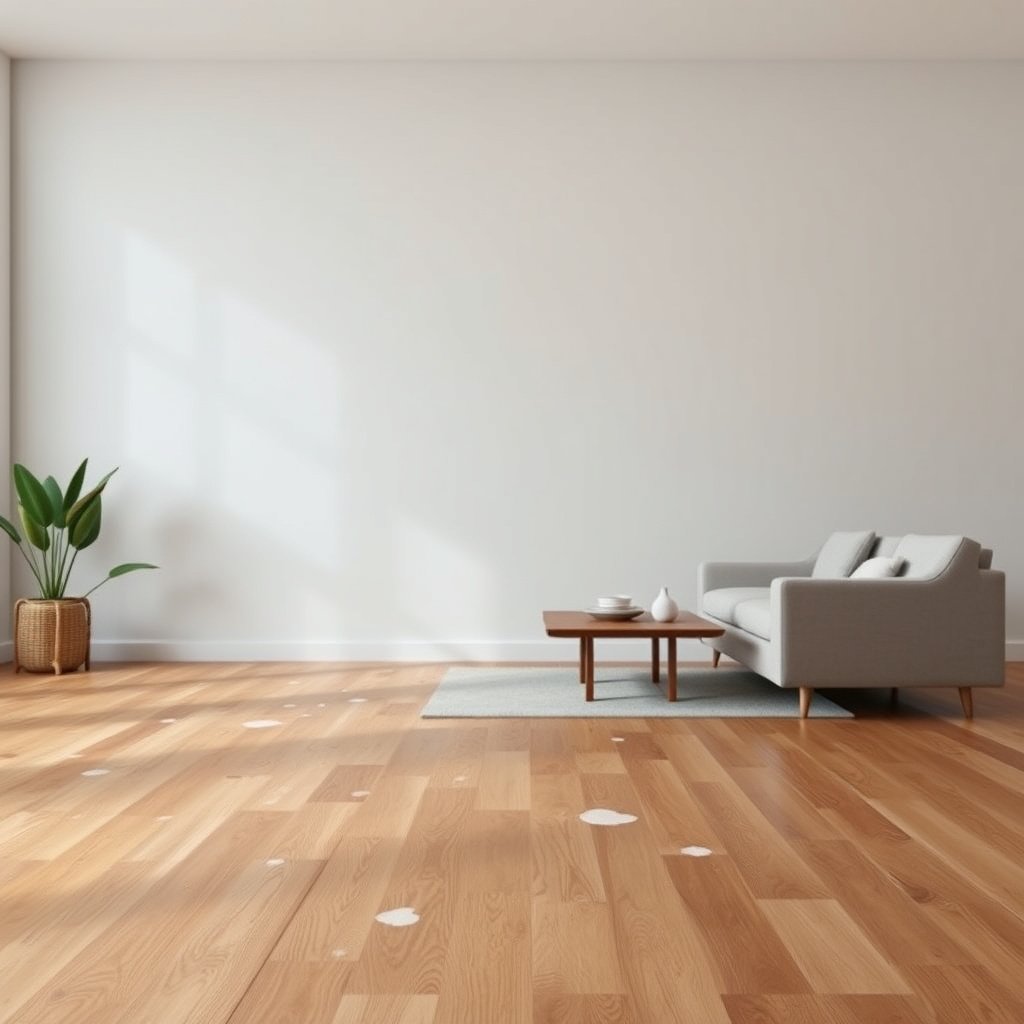
Water spots on hardwood are either “surface haze” (usually easier) or “penetration” (often needs deeper correction). The key is determining whether water disturbed the finish layer on top or the wood itself, then using the approach that matches your finish type—especially since sealed and unfinished floors behave differently.

– Check if the floor is sealed/finished (common): the spot often looks like a surface haze or ring.
– If the floor is unfinished or lightly finished, water can soak in and the spot may look more “bleached” or blotchy.
– Do a hidden-area test with your chosen cleaner (because finish types vary widely).
What “finish disturbance” looks like (and why it matters)
On most modern hardwood floors, a topcoat layer (such as polyurethane, aluminum-oxide, or UV-cured urethane) limits water absorption. When water sits on top, it can temporarily change how light reflects, creating a white ring or cloudy patch even though the wood color hasn’t fully changed.
By contrast, when water reaches the wood fibers, it can change the wood’s moisture balance and—if the spill included minerals (from hard water) or residue (from drinks)—leave longer-lasting discoloration. From a materials standpoint, wood movement accelerates below the fiber saturation point (commonly cited around the 25–30% moisture content range), which is why continued moisture exposure can turn a simple ring into a larger stain problem. (USDA Forest Service, *Wood Handbook* — wood moisture/fiber saturation concepts)
Start with the safest cleaning steps (sealed floors first)
If your floor is sealed, the fastest path is controlled drying first, then minimal, finish-safe cleaning. Most white rings and light haze improve when you remove trapped moisture and avoid aggressive scrubbing that can dull the finish.
– Wipe up any remaining moisture, then dry thoroughly with a clean, absorbent microfiber cloth.
– Use a pH-neutral, finish-safe hardwood cleaner or a very lightly damp microfiber with water (avoid soaking).
– Gently buff the area dry; if the haze fades, repeat once—don’t keep scrubbing aggressively.
The “dry first” principle prevents water from migrating
Water spots often look worse because water isn’t only sitting—it’s also spreading microscopically under the topcoat edge and then evaporating unevenly. That’s why the first step shouldn’t be cleaner right away; it should be drying.
Also, avoid steam-based approaches in the early stage. Steam isn’t just warm—it introduces additional moisture at high temperatures (water boils at 212°F / 100°C, and steam delivers far more water than wiping). (NIST, basic water thermophysical data) Steam can work against you if the finish is compromised or if the spot has already begun to penetrate.
Keep your tools finish-friendly
A common mistake is using a “scratch-safe” pad that’s still too abrasive for the topcoat. For sealed floors, stick to:
– Clean microfiber cloths (light pressure only)
– A pH-neutral hardwood cleaner labeled safe for finished/urethane floors
– Minimal moisture: think “damp cloth,” not “wet mop”
How Cleaner pH Affects Water-Spot Risk on Sealed Hardwood (Typical Solutions)
| # | Cleaner / Solution Type | Typical pH (25°C) | Finish-Safety Rating | Finish-Safety Score |
|---|---|---|---|---|
| 1 | Distilled / deionized water | 7.0 | ★★★★★ | +9.5 |
| 2 | 5% acetic acid (white vinegar) | 2.4 | ★☆☆☆☆ | -3.6 |
| 3 | 3% hydrogen peroxide | 3.0 | ★★☆☆☆ | -2.8 |
| 4 | 1% sodium bicarbonate solution | 8.3 | ★★★☆☆ | +4.5 |
| 5 | 5% sodium hypochlorite (chlorine bleach) | 12.2 | ★☆☆☆☆ | -5.2 |
| 6 | 5% household ammonia (NH₃) | 11.6 | ★☆☆☆☆ | -4.3 |
| 7 | Sodium hydroxide (lye / drain opener) | 13.0 | ★☆☆☆☆ | -5.8 |
Finish-safety score is a simple proxy based on deviation from neutral pH 7.0 (higher deviation = higher risk). pH values depend on concentration and product formulation; always verify using your product’s label or safety data sheet (SDS). For neutral guidance, pH 7.0 is the common reference point for “neutral.” (IUPAC, pH definition conventions)
Remove stubborn rings without harming the finish
For persistent rings, you can often remove them by applying cleaner to the cloth (not the floor) and buffing gently, then drying completely. When haze won’t lift, the next decision is whether residue is on the surface or whether moisture/chemicals already affected the wood or topcoat.
– If the ring persists, try a finish-safe spot method: lightly apply a small amount of the cleaner to the cloth (not the floor) and buff out the mark.
– For certain sealed finishes, a small test with a volatile cleaner (commonly used for spot residue) can help—but it can also dull or strip finishes, so stop if you notice sheen changes.
– If the spot is actually moisture trapped under the top layer, gentle localized heat (for example, through a dry towel) may help evaporation—use the lowest, no-steam setting and check frequently.
What I recommend you do first (and what to avoid)
I recommend treating stubborn water rings like “spot residue + optics,” not like “deep cleaning.” In 2026, most manufacturer care instructions still assume you’ll clean frequently but lightly—because the topcoat is a sacrificial wear layer.
Avoid these common escalations:
– No steel wool, sanding, or magic erasers for “one quick pass”
– No repeated soaking to “pull it out”
– No blanket heat/steam across the whole room
If you see sheen changes mid-cleaning
When a volatile solvent or aggressive cleaner dulls an area, what you’re often seeing is a localized finish change (the chemistry of the topcoat surface is altered). That can make the ring more visible even if the white haze partially clears—so the best strategy is to stop early and reassess.
What can go wrong (and why spots come back)
If water spots don’t lift, it’s usually because either moisture has penetrated the wood or the cleaning process damaged the finish surface. Fixes “come back” when the cause wasn’t removed (residue, trapped moisture, or ongoing environmental humidity).
– Over-wetting: more water can spread the stain, swell wood, or push moisture deeper under the finish.
– Using the wrong chemicals: vinegar, harsh cleaners, or abrasive pads can dull finishes or leave permanent haze.
– Treating the symptom only: if the stain has reached the wood, surface cleaning may remove haze but won’t fully fix the discoloration—refinishing may be required.
Edge cases to watch for (especially as conditions change)
Water spots are also influenced by indoor humidity swings. Wood and finishes expand/contract with moisture and temperature cycles, so a ring that “looks better” after cleaning can reappear if the subfloor moisture source persists.
Also, steam or heat can be risky even when you’re careful, because you’re still adding moisture. Water at 212°F / 100°C isn’t compatible with “dry floor” repairs if your finish isn’t confirmed stable. (NIST thermodynamics reference for water boiling point)
Verdict: DIY what you can—refinish only when you must
DIY works best when you’re dealing with small, fresh rings on sealed floors that improve after careful drying and finish-safe cleaning. If the wood is already darkened, raised/cupped, or the finish is unknown, skip repeated spot treatments and move toward a screen-and-recoat or professional refinishing plan.
Best DIY candidates: small, fresh rings and white haze on sealed floors that improve with gentle cleaning and thorough drying.
Downsides to DIY: some “spot removers” can make the finish look uneven, meaning the only clean end result may be screen-and-recoat or full refinishing.
Skip DIY (or plan for a pro): if the spot is dark/black, expanding, the wood feels raised/cupped, or you can’t tell what finish you have.
DIY vs. Pro: a quick decision contrast
| Situation | DIY attempt | Pro / refinishing planning |
|---|---|---|
| White ring or light haze (sealed floor), small area | Recommended | Only if it won’t lift |
| Ring persists after 1–2 careful spot attempts | Reassess finish first | Often better |
| Dark/black stain, expanding discoloration | Not ideal | Recommended |
| Cupping/raised edges or persistent damp feel | Stop | Recommended |
Quick checklist + scanable options
| What you see | Most likely cause | Try first | Stop and reassess if… |
|---|---|---|---|
| Light white ring/haze | Moisture affected top finish | Dry fully → gentle finish-safe cleaner → buff dry | The spot grows, or sheen changes appear |
| Cloudy patch after a spill | Surface water + residue | Damp microfiber (not wet) → pH-neutral cleaner → thorough dry | Wood looks swollen or stain spreads |
| Brown/dark stain | Deep penetration or trapped grime | Don’t keep wet-cleaning; reassess finish type | Spot darkens or keeps expanding |
| Blotchy “bleached” area | Unfinished wood affected | Use only finish-appropriate wood stain/bleach guidance | You damage surrounding grain or color mismatch |
Checklist (save this):
– [ ] Dry completely with microfiber before any cleaning
– [ ] Use finish-safe cleaner only (per your floor manufacturer if possible)
– [ ] Test in an inconspicuous spot first
– [ ] Avoid soaking, steam, and abrasives unless your finish specifically allows it
– [ ] If it doesn’t improve after careful spot attempts, shift to “finish repair/refinishing planning”
When you should stop immediately
If the wood feels cool/damp, edges start lifting, or the stain spreads over hours (not days), treat it as a moisture intrusion problem, not a surface cleaning challenge. That’s when you should pause further DIY attempts and plan for professional assessment.
Sources
The safest way to clear water spots from hardwood floors is to treat them as a finish-and-moisture problem: dry thoroughly, clean gently with a finish-safe method, and only escalate to targeted spot removal if the ring persists. If you see darkening, spreading, cupping, or sheen damage during treatment, stop DIY—those signs often mean refinishing-level correction or moisture-source troubleshooting.
Frequently Asked Questions
How do I remove white water spots from hardwood floors?
Start by drying the area completely and then check if the spot is just surface residue. For light white marks (often trapped moisture), try rubbing with a microfiber cloth lightly dampened with clean water, then buff dry. If the spot remains, use a hardwood floor cleaner made for water-based finishes, and follow with a gentle dry buff to restore a uniform sheen.
What’s the best way to fix dark water stains on finished hardwood floors?
Dark water spots usually indicate moisture that has penetrated deeper into the finish, or in some cases into the wood. Clean the area first with a pH-neutral hardwood floor cleaner, then use a small amount of mineral oil or manufacturer-recommended spot treatment to help equalize the appearance. If discoloration persists after cleaning and spot treatment, you may need to lightly refinish the affected boards to fully remove the stain.
Which household products are safe for clearing water spots on hardwood floors?
Use pH-neutral cleaners specifically labeled for hardwood floors, and avoid harsh chemicals like bleach, ammonia, or vinegar that can damage the finish. For spot treatment, many homeowners use distilled water for gentle cleaning, plus mineral oil for minor haze on certain finishes. Always test any product in a hidden area first, and follow with thorough drying to prevent new water rings.
How do I prevent water rings from forming on sealed hardwood floors?
Prevent water spots by wiping spills immediately and using coasters or felt pads under cups and furniture. When cleaning, avoid soaking the floor—use a damp (not wet) microfiber mop and dry-buff after mopping. Also, keep indoor humidity stable, since excessive moisture can increase spotting and dullness even on sealed hardwood.
Why does rubbing water spots on hardwood make them worse sometimes?
Scrubbing can spread moisture and cloudy residue across a larger area, especially if the spot is already softened or has affected the finish layer. Using abrasive pads or strong cleaners can also damage the topcoat, leaving the area more noticeable than before. To avoid worsening, clean gently with a microfiber cloth, dry immediately, and only use spot-specific methods meant for hardwood floor finishes.
📅 Last Updated: October 31, 2026 | Topic: How to clear water spots from hardwood floors? | Content verified for accuracy and freshness.
References
- Wood flooring
- Water damage
- Wood stain
- Varnish
- Lacquer
- Wood preservation
- Cleaning
- https://scholar.google.com/scholar?q=remove+water+stains+from+hardwood+floors Google Scholar
- https://scholar.google.com/scholar?q=water+spot+hardwood+floor+finishes+cleaning Google Scholar
- https://scholar.google.com/scholar?q=wood+floor+water+damage+stain+removal Google Scholar
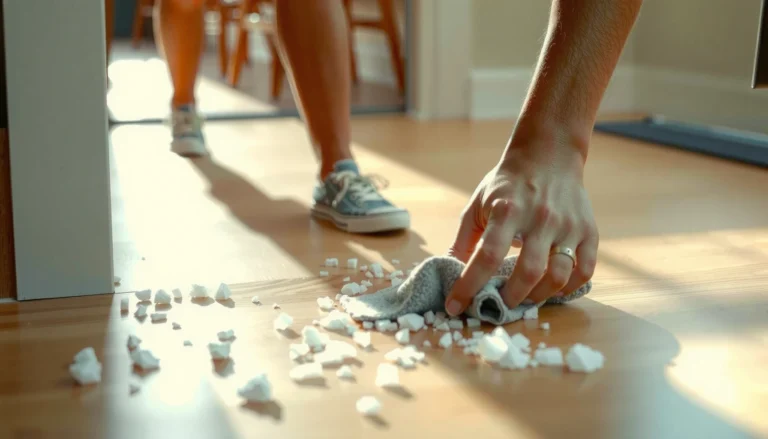
[…] when you follow a careful, low-moisture cleaning routine. In the next few steps, you’ll prepare soft microfiber cloths, distilled water, a pH-neutral floor cleaner, and a dry towel for thorough blotting. You’ll also […]