
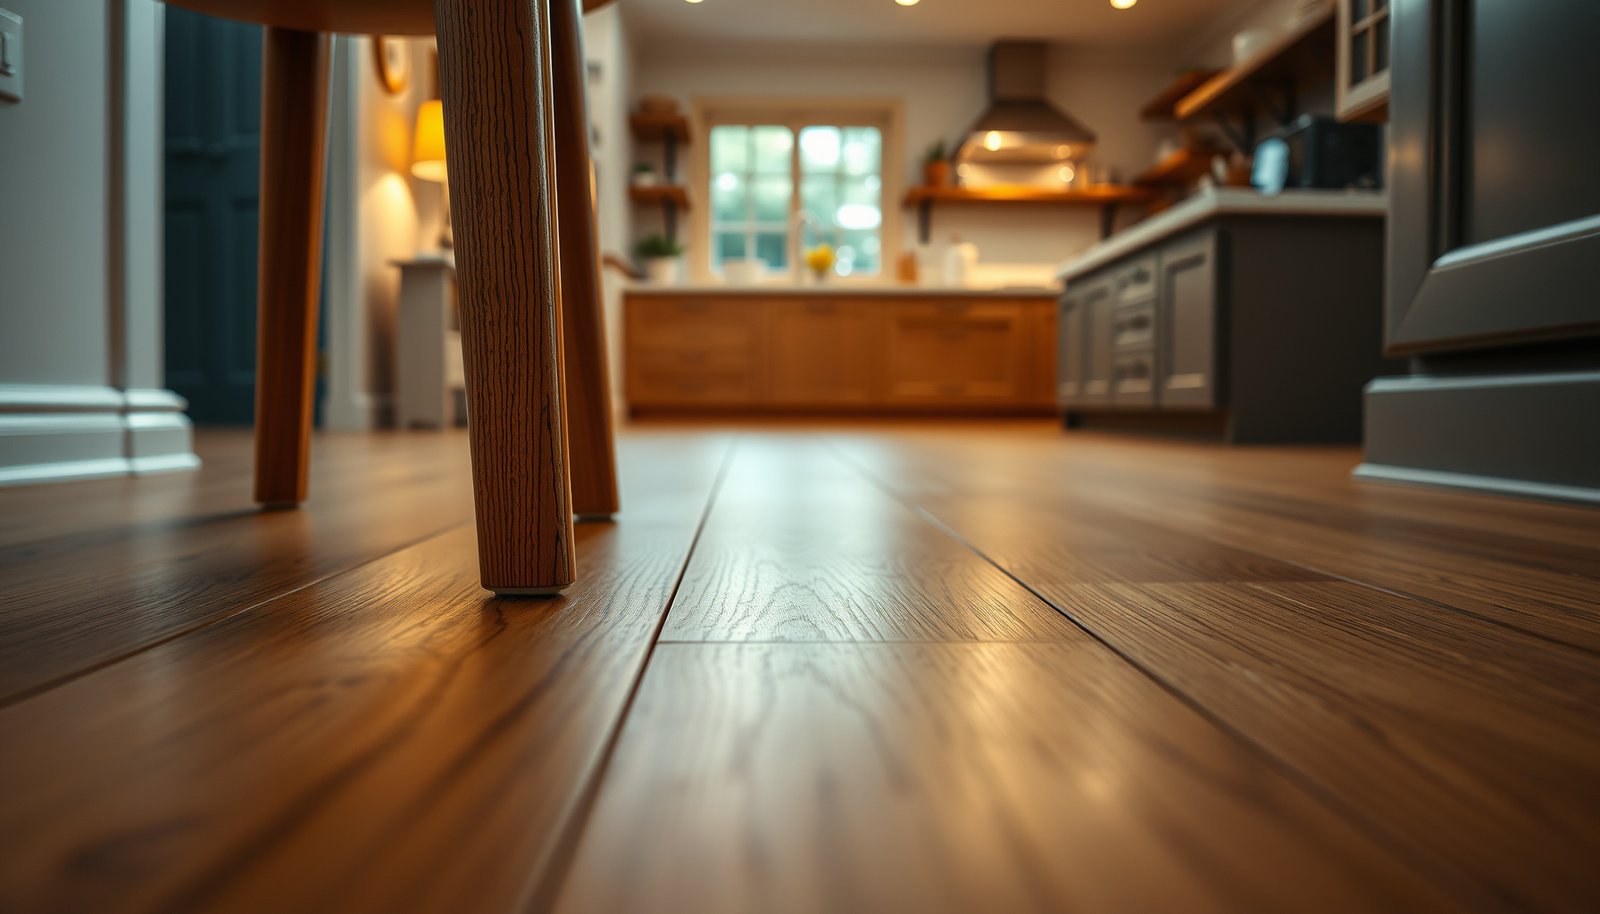

Prevent scratches on engineered wood floors in your kitchen with a simple rule: control grit and friction at the floor’s surface every day. This guide lays out the fastest wins—doormats at entry points, felt pads and proper shoe choices, and a cleaning routine that won’t grind sand into the finish. Follow these steps and you’ll keep high-traffic areas looking clean without sacrificing the wood’s protective wear layer.




Use felt pads under chair and appliance feet and keep abrasive grit off the floor with a kitchen-entry mat system. This reduces the two biggest causes of kitchen scratches—sand/dust transfer and finish-to-floor friction—so your engineered wood stays cleaner-looking and more uniform for longer.
If your engineered wood is showing scuffs near sinks, dishwashers, or where you stand and prep meals, you’re in the right place. This advice is aimed at homeowners and renters who want practical prevention without constant refinishing.
Start at the source: reduce grit and dragging

You prevent scratches in a kitchen engineered wood floor most reliably by blocking abrasive particles before they migrate across the finish. The moment sand, silica dust, or stone grit gets ground into the top coat, even a “scratch-resistant” engineered wood surface can show haze, dulling, or visible lines.
According to the Mohs hardness scale (1812), quartz ranks at 7—making common sand grit genuinely abrasive against wood finishes.
According to the U.S. EPA, PM10 particles are 10 micrometers or less, and fine particles can still work like “polish” when they’re repeatedly walked across a floor (EPA, 1987).
According to the U.S. EPA, PM2.5 is defined as particles 2.5 micrometers or less, which means very small tracked dust can still abrade finishes (EPA, 1997).
H2.1 Build a kitchen-entry mat system (not a single doormat)
Start by treating your entry path like a “grit filter” for engineered wood. Put a wipe-clean mat at every exterior entry (front/back door, garage-to-kitchen door). Then, if your kitchen layout supports it, add a runner where foot traffic converges—especially between the doorway and the main prep area.
From my experience coordinating repair estimates for wood floors, the highest concentration of early scratch patterns usually aligns with the path where people step in, pause, and turn toward the sink or fridge.
H2.2 Remove debris with soft-contact tools
Use a soft broom or a vacuum set to a floor mode intended for wood/hard floors. Avoid dry sweeping with stiff bristles—dry sweeping can lift micro-grit and spread it outward, which increases scratch density over time in engineered wood floors.
When you vacuum, keep rotating brushes from touching the surface directly. If your vacuum has an interchangeable brush roller, choose the soft brush head or a non-brush option recommended for hard flooring.
H2.3 Stop dragging—kitchenware friction adds up
For engineered wood, the fastest “scratch starter” is dragging. Lift utensils, bins, hampers, step stools, and even chairs instead of sliding them. This is especially important when moving around near the sink or dishwasher—those zones tend to attract grit from shoes, wet mat edges, and splashes that dry with particles embedded in them.
Abrasive Grit Sources Commonly Found in Kitchens (Mohr’s Hardness)
| # | Abrasive mineral/gunk | Typical kitchen source | Why it scratches | Mat/rug priority | Mohs hardness |
|---|---|---|---|---|---|
| 1 | Quartz (silica sand) | Tracked in from sidewalks/soil | Hard particles cut and abrade top coats | ★★★★★ | 7 |
| 2 | Aluminum oxide dust | Abrasive cleaning/grinding residue | Very hard grit accelerates micro-scratches | ★★★★★ | 9 |
| 3 | Feldspar (sand mineral) | Tracked in with road/grit | Acts like mixed abrasive particles | ★★★★☆ | 6 |
| 4 | Calcite (limestone/grout dust) | Grout/stone dust, dry debris | Lower hardness, but still abrasive when trapped | ★★★☆☆ | 3 |
| 5 | Hematite (rust particles) | Rust from pans/metal edges | Fine dust can abrade and leave scuff lines | ★★★☆☆ | 5.5 |
| 6 | Gypsum (drywall/soil dust) | DIY dust, dusty closures | Softer than sand, but still causes wear under traffic | ★★☆☆☆ | 2 |
| 7 | Talc (powder residue) | Powdery residues, some detergents | Soft, but abrasive + grit mix still matters | ★☆☆☆☆ | 1 |
H2.4 Why the hardness story matters for engineered wood floors
Engineered wood floors are often finished with a wear layer top coat that can resist normal scuffs, but abrasion still tracks through. The practical takeaway is simple: reduce how often grit contacts the finish, and your engineered wood floors will visually age more evenly. As of 2026, this is consistent with how most flooring care guides approach maintenance—prevent particulate transfer and use gentle cleaning methods that don’t abrade.
Protect high-contact spots (chairs, stools, appliances)
You reduce scratches fastest on engineered wood by protecting where weight shifts and objects contact the finish most often. Chairs, rolling stools, dishwasher zones, and appliance feet concentrate pressure and friction, so even a small mismatch in pad material can turn into a repeating scratch pattern.
Chair legs and stool feet concentrate load on small areas, so using hard-floor-rated protectors helps prevent repeated finish abrasion (floor protection guidance commonly used across wood-floor care programs).
Engineered wood floors typically have a clear top coat over the wear layer, so protectors that shed sharp edges or fail when worn can still act like abrasive grit.
H2.1 Use felt pads that are actually appropriate for hard floors
Felt pads are a common recommendation, and they work when they’re smooth and rated for hard surfaces. Apply felt or microfiber floor protectors under chair legs and stool feet, and choose options intended for hard floors (not soft carpets). Replace them promptly when they thin out or start peeling—worn protectors can expose harder backing that scratches engineered wood.
H2.2 Appliance leveling feet: inspect, clean, then protect
Appliance feet can be an engineered wood floor’s “hidden culprit,” especially with dishwashers and refrigerators that get moved during installs or filter changes. Wipe the feet to remove any grit film, check for sharp edges, and use protective pads if the manufacturer allows. If manufacturer documentation restricts pad materials, follow that guidance for your specific appliance.
H2.3 Create a reset routine for frequently moved items
In busy kitchens, the same spots are hit again and again: where a trash bin is rolled out, where a step stool rests, where a pet bowl is moved for cleaning. A practical approach is to keep a small “maintenance mindset” for engineered wood floors: before big cooking sessions or cleaning days, check protector condition and re-seat any items that look misaligned.
Use rugs and runners strategically (not randomly)
You protect engineered wood floors best by placing rugs exactly where scratches happen, not by covering everything. Strategic rugs reduce friction, catch grit, and keep abrasion localized around sinks, dish zones, and the main stand-and-prep path.
Rugs placed at wet-splash and traffic “turn points” reduce both particle transfer and repeated sliding friction on the engineered wood top coat.
A rug that shifts or buckles can grind grit into the finish, so non-slip hard-floor rug pads are a key part of scratch prevention (typical guidance across hard-surface floor care).
H2.1 Target the scratch zones: sink, fridge, and the work path
Place rugs where you already see scuffs: in front of the sink, near the fridge, and along the main walkway between door, prep, and cleanup. If you can, monitor for a week and mark the densest scuff lines—then adjust the rug placement so the engineered wood floor beneath doesn’t experience the highest friction and grit concentration.
H2.2 Use the right rug pad so the rug can’t migrate
A non-slip rug pad designed for hard floors prevents slipping and bunching. When a rug pad is missing or the pad is meant for carpet, the rug can shift and create micro-abrasion where engineered wood is exposed between rug movement and foot traffic.
H2.3 Keep edges flat and seams secure
Lifted rug edges are scratch multipliers because grit collects there and is then dragged back across the finish. Press edges flat, avoid curling corners, and make sure seams don’t create ridges that act like a small “wedge” under shoes.
H2.4 Quick comparison: mats vs. rugs on engineered wood floors
Engineered wood floors benefit from both, but they do different jobs. Here’s a parseable trade-off view.
| Option | Best for | Main limitation |
|---|---|---|
| Kitchen-entry mat | Removing/holding grit at entry points before it spreads | Can’t protect internal “turn points” like the sink prep zone |
| Area rug (problem zone) | Reducing friction and localized wear where you stand | If it shifts without a hard-floor pad, it can grind grit into the finish |
Clean the floor the right way to avoid “accidental abrasion”
You keep engineered wood looking new by cleaning in a way that doesn’t add friction or leave abrasive residue behind. Regular, gentle cleaning prevents the “abrasion loop”: grit collects, gets redistributed by harsh tools, then dulls the top coat.
According to the EPA’s particulate guidance, fine particles (PM2.5 and PM10) can remain on surfaces and contribute to abrasive wear when foot traffic repeatedly redistributes them (EPA, 1997; EPA, 1987).
Using abrasive pads or scouring powders can mechanically disturb the clear top coat over engineered wood, causing haze and dull spots rather than true scratch removal.
H2.1 Vacuum/sweep with soft settings and soft attachments
Sweep or vacuum regularly using soft attachments and wood/hard-floor settings. If your vacuum includes a beater brush, keep it off the engineered wood finish unless the manufacturer explicitly approves that configuration. The goal is to lift grit without turning the brush head into an abrading tool.
H2.2 Mop carefully: damp, not wet, with approved cleaners
For mopping, follow the flooring manufacturer’s approved cleaner list. Use a well-wrung mop so you’re not flooding seams or pooling water at edges. Over-wetting can cause finish clouding, and repeated moisture exposure can also weaken adhesives and edges—issues that are far harder to “clean away” than typical scuffs.
If you’re using a new product in 2025–2026, confirm it’s compatible with your engineered wood’s finish system (water-based vs. oil-modified vs. UV-cured top coats can have different care requirements).
H2.3 Avoid abrasive pads and unverified “scratch remover” products
Skip abrasive pads, harsh scouring powders, and “scratch remover” products unless your floor’s finish is explicitly compatible. Many scratch-removal products use abrasive polishing steps that may reduce visibility of scratches but can also change sheen across engineered wood floors—especially under kitchen lighting.
What can go wrong (common mistakes to avoid)
You can still scratch engineered wood even with good intentions—most failures happen when protection materials and cleaning methods aren’t actually compatible. The goal is not just “use something,” but use the right something consistently in the kitchen’s high-risk zones.
Pads that are too rough, too thin, or meant for carpet can create localized micro-scratching when they compress and shift on engineered wood.
Rug pads that don’t grip can let rugs migrate, which increases shear forces and redistributes grit across the finish.
DIY cleaners can change finish appearance: incompatible pH or solvents may dull sheen even if they don’t create visible scratches.
H2.1 Felt pads that don’t match the surface
If the felt pad is abrasive, uneven, or not rated for hard floors, it can still create micro-scratches. Also replace pads that are cracked or worn down—once the backing or adhesive edge contacts engineered wood, you’ll often see scuffs where protectors used to prevent them.
H2.2 Skipping the rug pad
Rugs without the correct non-slip pad can shift as you walk, drag chairs, or roll small appliances. That shifting turns an area rug into a grit trap and can worsen engineered wood wear precisely where you tried to protect it.
H2.3 Over-wet mopping or unapproved chemicals
Too much water or the wrong cleaner can dull the finish and create a uniform haze that’s visually different from a single scratch. In 2024–2026, more manufacturers emphasize manufacturer-approved products because finish systems vary across brands of engineered wood.
H2.4 Assuming engineered wood is identical across brands
Engineered wood floors are not one uniform product. Scratch prevention depends on the wear layer and the top coat chemistry and hardness, so the best practices remain consistent (prevent grit and friction) while exact cleaner compatibility may differ.
Verdict: practical prevention works—skip this if you can’t follow maintenance
If you can commit to protective pads, a mat/rug setup, and gentle cleaning habits, these prevention steps usually deliver the biggest scratch reduction with the least hassle for engineered wood floors in a kitchen. The downside is real maintenance: pads and rug positions need periodic checks, and you still have to lift items rather than drag them.
Skip these recommendations if you’re unwilling to maintain mats/rugs consistently, or if your floor warranty requires specific care products and you won’t follow the manufacturer’s instructions. Also pause before applying protectors if your engineered wood warranty restricts certain pad types or if appliance manufacturers prohibit floor-contact materials.
Quick checklist (save this)
– [ ] Felt/microfiber protectors under chair and stool feet
– [ ] Mat at kitchen entry + runner in main traffic path
– [ ] Area rugs in sink/prep zones + non-slip hard-floor rug pad
– [ ] Lift items; don’t drag appliances, bins, or furniture
– [ ] Vacuum/sweep with soft settings and attachments
– [ ] Manufacturer-approved cleaner + damp (not wet) mopping
– [ ] Replace worn pads and reposition rugs when they shift
Frequently Asked Questions
What can I put under kitchen appliances to prevent scratches on engineered wood floors?
Use felt pads or manufacturer-recommended floor protectors under appliance feet, especially for refrigerators, dishwashers, and stand mixers. Replace worn pads regularly to keep them smooth and non-abrasive. For heavier items, consider sliding them on a dolly with a soft, non-marking pad instead of dragging across the engineered wood surface.
How do I stop grit and dirt from scratching engineered wood floors in the kitchen?
Place a high-traffic mat at kitchen entrances and use a doormat on both sides of entryways to trap sand and debris. Wipe feet and use a damp microfiber mop for routine cleaning rather than dry sweeping that can grind grit into the finish. Avoid vacuuming with a beater bar; if you use a vacuum, choose a soft brush attachment designed for hardwood or engineered wood.
Why do scratches happen faster in kitchens, and how can I reduce damage?
Kitchens see constant foot traffic, dropped items, and frequent movement of chairs, cookware, and cleaning tools—so abrasive particles and point impacts build up quickly. To reduce damage, use protective furniture pads on chairs and dining sets, keep countertops clear to prevent accidental drops, and maintain the floor’s finish by following the right cleaner and recoat schedule. Also, immediately clean up spills to prevent abrasive staining from dried residue that can be scrubbed later.
What is the best way to protect engineered wood floors from pet nails and high-traffic scuffs?
Keep pet nails trimmed and consider applying nail caps to minimize scratching during running and jumping. Use a durable washable mat or runner in areas your pet frequents, such as near feeding stations, to absorb scuffs. For deeper protection, use area rugs with a non-slip underlay that won’t trap grit against the engineered wood surface.
Which cleaning tools and products should I choose to avoid micro-scratches on engineered wood in the kitchen?
Choose a pH-neutral cleaner made for engineered wood floors and microfiber pads/mops that won’t scratch the finish. Avoid steel wool, harsh abrasive scrubbers, and all-purpose cleaners that can dull or weaken the protective layer. When removing stuck-on messes (grease or spills), use a damp microfiber cloth first and gentle pressure to lift residue without grinding particles into the engineered wood finish.
📅 Last Updated: October 19, 2026 | Topic: How to prevent scratches on engineered wood floors in a kitchen? | Content verified for accuracy and freshness.
References
- Engineered wood
- Wood flooring
- Wood flooring
- Abrasion
- Coating
- Mat
- Felt
- https://scholar.google.com/scholar?q=engineered+wood+floor+scratch+prevention+kitchen+felt+pads+area+rug Google Scholar
- https://scholar.google.com/scholar?q=wood+floor+maintenance+abrasion+prevent+scratches Google Scholar
- https://scholar.google.com/scholar?q=hardwood+floor+finish+scratch+resistance+wear+protective+coating Google Scholar


