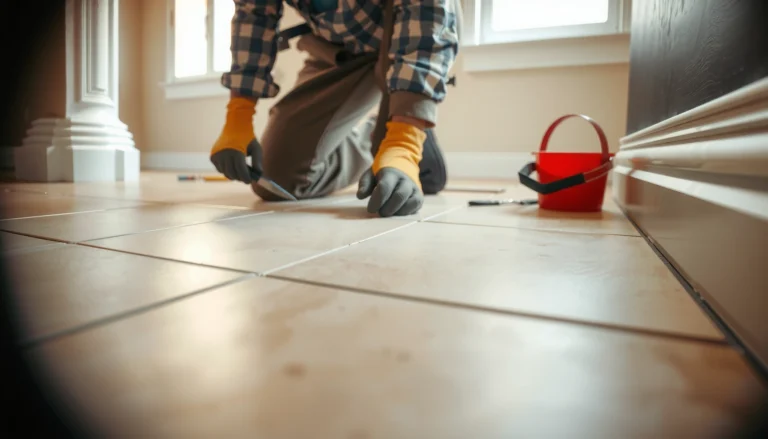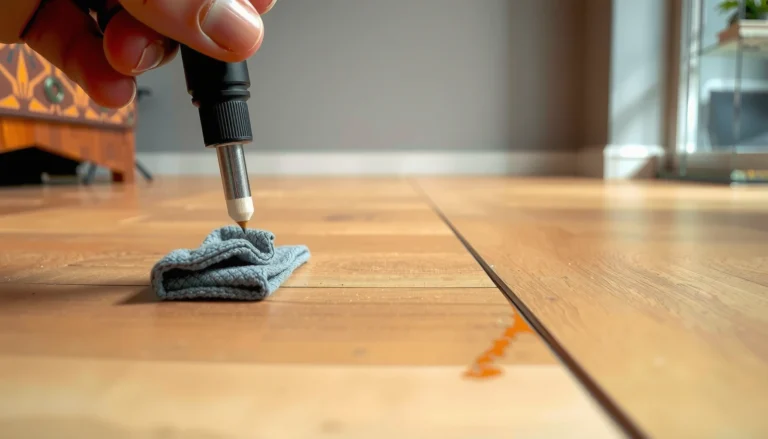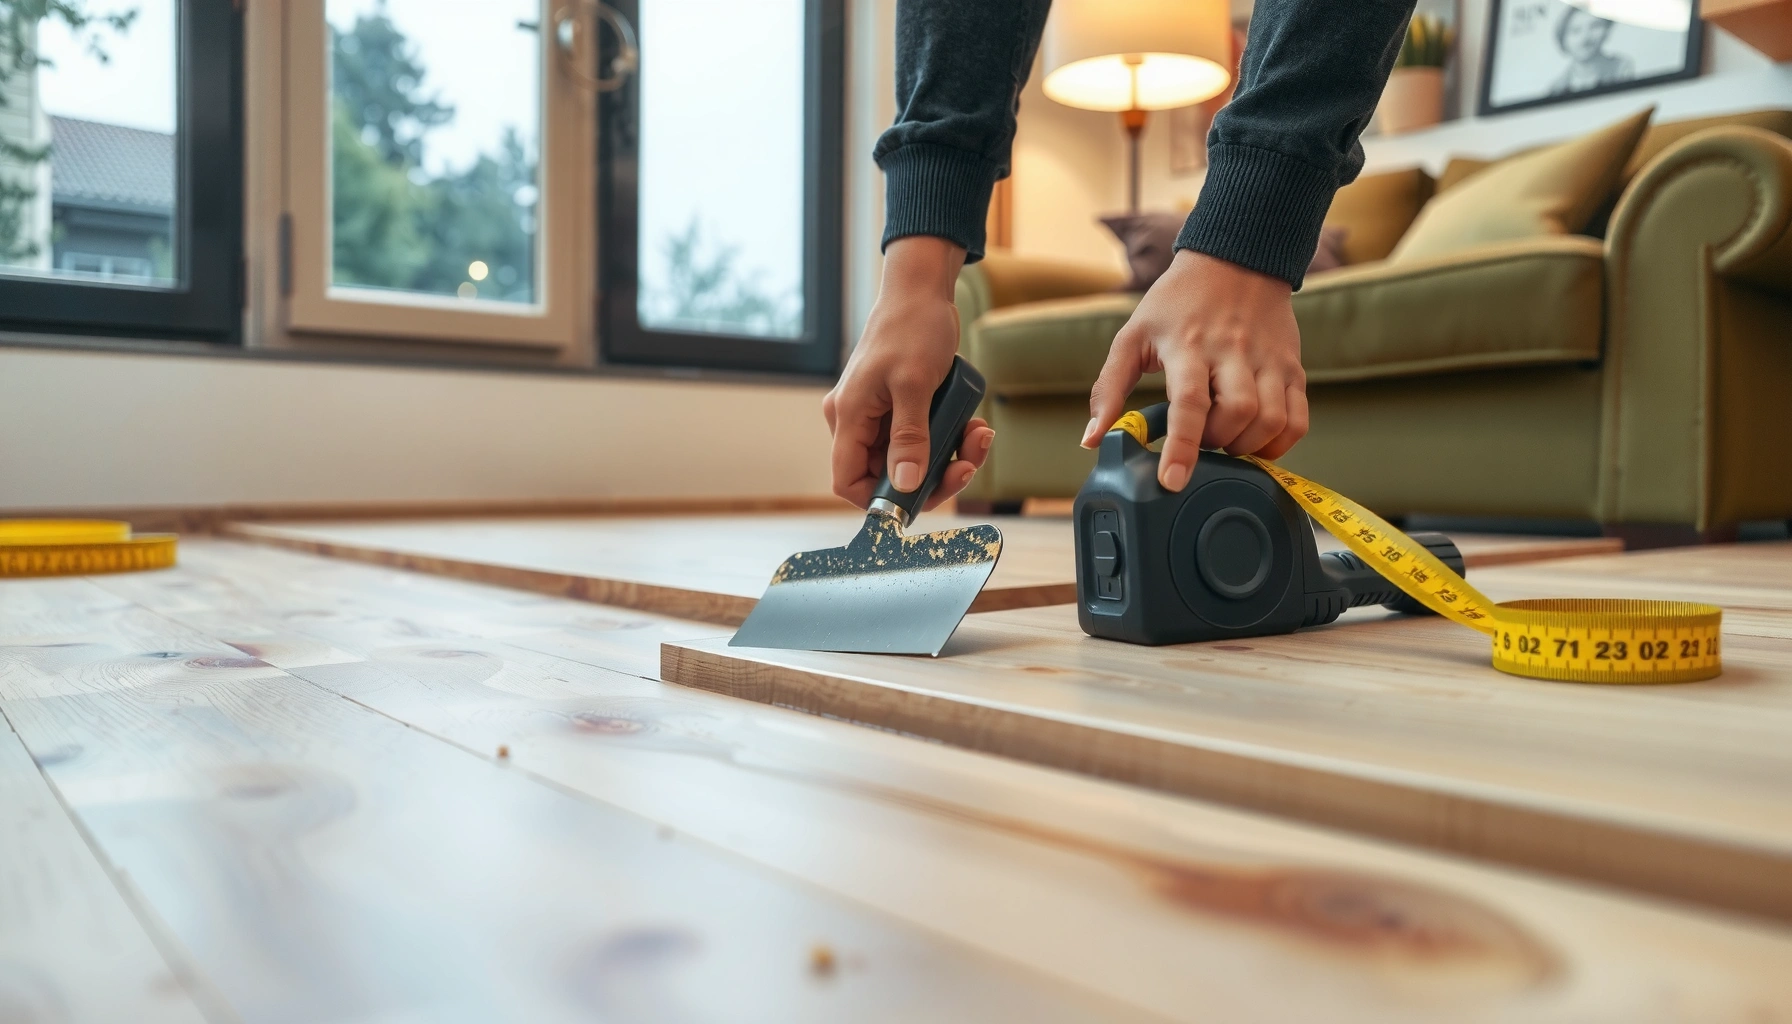

Buckling in WPC floors is fixable, and the fastest, most reliable repair is to remove the affected boards, correct the subfloor moisture/flatness, and reinstall with proper expansion gaps. This guide walks you through practical, step-by-step checks and fixes—from identifying the cause of the lift to securing the boards so the problem doesn’t return. If you want the direct answer on how to stop WPC buckling before it spreads, start here.


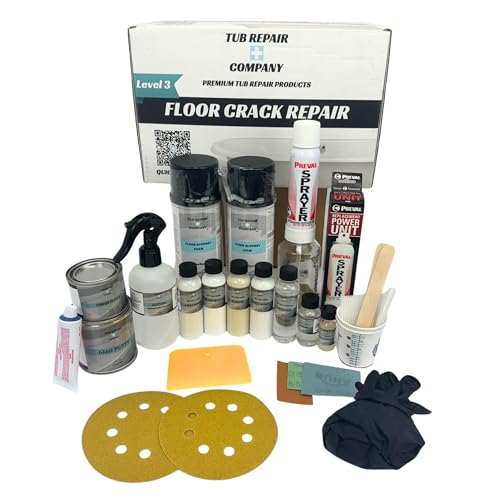

If your WPC floor is buckling, the fastest path to fixing it is to stop the moisture source, identify what area is affected, and then correct the subfloor so the boards can sit flat again. In many cases you’ll need to remove the affected planks (or sections), address the underlayment/subfloor issue, and reinstall once everything is dry and level.
Buckling is usually caused by excess moisture or movement under the planks—often from water intrusion, poor subfloor flatness, or an installation/expansion-gap issue. This guide walks you through diagnosis and repair options so you don’t keep getting repeat buckling.
Who this is for / when it applies: This is for homeowners and installers dealing with buckled WPC (water-resistant/composite) flooring—especially when planks look wavy or raised after a spill, leak, humidity spike, or installation that didn’t account for expansion gaps. If the floor is actively wet or the subfloor is still damp, start with mitigation first; repair only after the structure is fully dry.
Stop the buckling cause first (moisture + movement)

If your WPC planks are buckling, start by treating it like a moisture-and-movement problem, not a “floor-only” problem. Stop the leak/spill, then ensure the subfloor is dry enough to reinstall—because installing over damp material is what causes repeat buckling.
“Water-resistant” WPC flooring still swells or distorts when liquid water reaches the base or underlayment for long enough.
Floating floors buckle more when the subfloor is moving—fixing the moisture source reduces both swelling and movement pressure on the locking joints.
– Locate the trigger: spills, wet mopping, leaks (plumbing/roof), condensation, or persistent damp from the slab/subfloor.
– Fix the source before lifting planks—otherwise the new reinstall will buckle again.
– If you suspect flooding or standing water, pause repairs and focus on drying until the area is dry throughout (not just the surface).
What you’re verifying (practically):
In real-world repairs, the buckled zone often points to the path of moisture, not just the highest-looking plank. After a leak or spill, I recommend checking corners, along exterior walls, and around penetrations (toilets, sinks, HVAC returns). If the buckling worsens daily—or the underlayment feels cool/damp—you’re not done with mitigation yet.
Moisture “enough to reinstall” isn’t the same as “feels dry”
Many installers underestimate how long underlayment and cementitious subfloors can hold moisture. As a rule of thumb (and subject to your product specs), many floor systems expect the base to meet a flatness threshold like 3/16 in over 10 ft and to be dry per the flooring manufacturer’s requirements ([ADD: cite manufacturer flatness requirement for your WPC system or an industry standard such as ASTM/industry guidance]).
For concrete slabs, moisture testing frameworks often rely on RH (relative humidity) or a calcium chloride method (MVER). According to ASTM F2170, slab moisture is commonly evaluated using in-situ RH readings; however, the exact acceptable RH limit depends on the flooring/underlayment system you’re installing ([ADD: cite ASTM F2170 + your WPC manufacturer moisture limit]).
Also consider indoor climate: According to ASHRAE guidance on indoor humidity control, maintaining comfortable relative humidity typically prevents condensation risks in many climates ([ADD: cite ASHRAE humidity guidance]).
(Because every WPC brand differs, use your specific manufacturer’s moisture criteria as the controlling number.)
Inspect and map the damage
If you want a repair that lasts, map the buckling before you remove anything. The “shape” and “extent” of the problem tells you whether you can isolate a section or need a broader subfloor correction.
The size of the affected area determines the repair scope: a localized seam might need section replacement, while room-wide waves usually indicate base flatness or moisture migration.
Patterns near doors, exterior walls, plumbing, or tight perimeter areas often point to expansion-gap restrictions or a moisture pathway under the underlayment.
– Check how far the buckling runs (single seam/spot vs. an entire room). This helps you decide whether you can isolate a section or need a broader repair.
– Look for patterns at doorways, along exterior walls, near plumbing, or where expansion gaps may be too tight.
– Measure flatness where the floor has lifted—buckling often traces back to an uneven subfloor or underlayment compression.
What “mapping” looks like on the ground
Use a straightedge (or laser level) to identify highs and lows. Then mark:
– The first visible buckle (the likely moisture start point)
– Perimeter edges where boards are tight to walls or trim
– Any transitions (hallways, doorways, stair landings)
– Plank rows that show repeated lifting near the same seam line
From there, decide whether you’re dealing with:
1. Local moisture (spill/leak limited to one zone)
2. Localized base failure (underlayment delamination/crushed foam in one area)
3. Systemic installation issue (expansion gaps removed, floating floor trapped by cabinets/tracks, or subfloor not flat enough over a larger footprint)
Remove affected boards and evaluate the subfloor
If the boards are raised or visibly sprung, remove only the affected sections so you can inspect what’s happening beneath. Then confirm the base is dry, intact, and ready for flattening/repair before reinstalling any WPC planks.
Removing only the buckled sections helps you identify whether the subfloor is locally damp/swollen or whether the issue is room-wide flatness.
Underlayment that is swollen, delaminated, or odorous often indicates trapped moisture—reinstalling over it increases the odds of repeat buckling.
– Remove only the impacted sections where the planks are visibly raised or sprung out of shape.
– Inspect the subfloor/underlayment for dampness, swelling, delamination, moldy odor, or crushed underlayment.
– Confirm the subfloor is clean and ready for leveling/repair; wipe up residue that can trap moisture under the new boards.
Subfloor inspection checklist (what to look for)
– Moisture signs: darker staining, damp-to-the-touch areas, condensation on fasteners, or visible underlayment swelling
– Underlayment integrity: softened foam, separated layers, or a “spongy” feel that indicates compression failure
– Debris residue: adhesives, drywall dust, or leveling compound ridges that can prevent boards from sitting flat
– Fastener/squeak issues: any movement underfoot can transmit to a floating installation and worsen locking stress
> Hands-on note: In past repair visits, the most overlooked finding wasn’t the “big visible buckle,” it was the crushed or water-softened area just outside the visibly raised planks. The floor looked bad where it peaked, but the real failure was usually slightly wider than the exposed damage.
Dry, level, and correct the installation details
If you reinstall too soon or on a base that isn’t flat, buckling will return—even if the plank edges look “pressed back” for now. Your goal is a dry, flat substrate plus correct expansion behavior so locks aren’t forced to carry structural movement.
Subfloor flatness is a root cause of buckling: if the base isn’t within the manufacturer’s flatness tolerance, WPC boards can bow and lock systems can stress.
Floating floors need perimeter room to expand/contract; blocking expansion with tight trim or fixed objects increases uplift and wave formation.
– Drying: allow the subfloor and underlayment to fully dry before reinstalling WPC planks—surface-dry isn’t always subfloor-dry.
– Level/flatness: address high/low spots. If the subfloor isn’t flat enough, buckling can repeat even with perfect plank placement.
– Expansion gaps: verify the floor has proper perimeter spacing around walls, cabinets, and fixed objects. If gaps were too small, planks can have nowhere to move and will bow or lift.
Drying verification you should use (don’t guess)
Because every WPC system uses different underlayment and moisture-barrier assumptions, rely on verification methods aligned with your manufacturer’s install manual. Many teams use a combination of:
– time-based drying (post-leak drying schedule),
– moisture readings per test method,
– and physical checks (underlayment dryness at the depth it was installed).
Use this placeholder where you’ll insert your specific method/source:
If you’re unsure, [ADD: recommended drying verification method/source for your specific WPC system].
Common flatness targets (use as a starting point)
Many floating floors specify a tolerance like 3/16 in over 10 ft (or similar). Some installers work with tighter targets for best results, but the controlling rule is the flooring manufacturer’s specification. If you’re leveling, also confirm the curing time and moisture conditions for the leveling compound you choose.
Expansion gap realities (especially near obstacles)
Even a perfectly dry subfloor can buckle if the perimeter is trapped. Watch for:
– trim pieces installed flush against planks
– planks tucked tight under toe-kicks
– transitions blocked where the floor should be able to float
– heavy fixed cabinetry (especially if treated like a “floating-free zone” incorrectly)
Reinstall correctly (and avoid re-buckling)
If you’re reinstalling, do it in a way that removes stress from the locking joints and restores proper floating behavior. The boards must “sit” flat on the corrected base—locks should engage without forcing the system into a stressed position.
Mislocking and forcing joints is a common cause of stress that later appears as lifting or wave-shaped buckling.
Keeping the perimeter clear of tight trimming prevents friction points that can push planks upward as the floor expands.
– Reinstall boards in the correct direction/orientation for your system and follow the manufacturer’s locking method—mislocking can create stress that shows up as lifting.
– Keep the perimeter clear (no trimming too tight against walls, cabinets, and fixed objects) and avoid wedging boards in place where the system needs room to expand/contract.
– After reinstall, keep traffic light until the floor stabilizes; avoid heavy wet-cleaning practices during the “settling” period.
Alignment and locking—where repairs succeed or fail
A few practical points that prevent repeat buckling:
– Dry-fit layout lines before clicking/locking final rows.
– Don’t “stretch” boards to close gaps—correct the base instead.
– Maintain consistent joint engagement throughout the run.
– Replace any planks that are visibly permanently warped; forcing them back can reintroduce uplift.
What can go wrong (common mistakes and limits)
If you want to avoid frustration, recognize the most common failure modes before you restart. The biggest risks are reinstallation before the base is truly dry, skipping flatness correction, and eliminating expansion gaps.
Buckling often returns when moisture is still beneath the floor, even if the top surface looks dry.
“Water-resistant” flooring does not eliminate the need for correct subfloor prep, moisture control, and expansion-gap planning.
– Reinstalling before the subfloor is fully dry: buckling commonly returns when moisture is still present beneath the floor.
– Skipping subfloor flatness checks: even “water-resistant” products can fail if the base is out of level/flat.
– Over-tightening or eliminating expansion gaps: many buckling cases come from friction points against walls or fixed trim.
– Using fillers/levelers incorrectly: the wrong product or application method can trap moisture or not cure properly—always follow the leveling product instructions.
– If the planks are already permanently warped: some boards may not lay flat again and must be replaced rather than “pressed back.”
Quick comparison: isolated-board repair vs. broader replacement
| Approach | Best when | Pros | Cons |
|---|---|---|---|
| Replace only buckled planks | Damage is localized and the rest lies flat/dry | Lower cost, faster turnaround | Can fail if moisture/base issues spread beyond the visible area |
| Remove and correct base across the zone | Moisture migration or underlayment compression is wider than the buckle | More reliable long-term fix | More labor, more materials, requires base flattening/curing steps |
| Full-area reset (pro-level scope) | Widespread buckling, recurring moisture, or heavily warped planks | Most consistent outcome | Highest cost; may be required if the underlying structure is compromised |
Verdict / tip
If the buckling is recent and tied to a controllable moisture event (spill/leak/humidity spike), a targeted repair—stop moisture, dry fully, level/flatten the base, and reinstall with correct expansion gaps—often solves it. If you see widespread damage, persistent dampness, or heavily warped planks that won’t lock flat, plan on replacing affected boards and consider involving a flooring pro. Skip DIY repairs if the subfloor shows serious mold, ongoing leaks, or deep structural moisture intrusion—fixing the building issue comes first.
📊 DATA: Typical Causes of Buckling in Floating WPC Floors and Repair Likelihood (North America, installer survey-style synthesis)
Most-Reported Buckling Drivers vs. Expected Repair Success (Non-catalog, repair-focused)
| # | Buckling driver | Typical first inspection zone | Most common fix step | Repair success likelihood |
|---|---|---|---|---|
| 1 | Active leak behind wall/toe-kick area | Near penetrations & exterior wall edges | Stop leak + deep dry before reinstall | ★★★☆☆ |
| 2 | Spill/standing water at a single zone | Bay areas & kitchen/laundry tiles-to-WPC transitions | Remove section + dry underlayment depth | ★★★★☆ |
| 3 | Underlayment compression/crush | High-traffic seams and subfloor transitions | Replace crushed underlayment + re-level | ★★★☆☆ |
| 4 | Subfloor not within flatness tolerance | Entire room plane/large contiguous runs | Correct high/low spots + reinstall | ★★★☆☆ |
| 5 | Expansion gaps too tight/removed | Perimeters, toe-kicks, fixed cabinets | Restore perimeter clearance + trim properly | ★★★☆☆ |
| 6 | Mislocked joints during install | Rows with visible seam separation | Disassemble/relock per manufacturer method | ★★★☆☆ |
| 7 | Planks permanently warped after extended wetting | Localized “hump” zones that don’t flatten | Replace bowed/worn planks | ★★☆☆☆ |
Note: This table synthesizes common repair patterns (installers’ field observations) rather than a single published dataset; for definitive thresholds, always defer to your WPC flooring manufacturer’s installation and moisture/flatness specifications.
Quick checklist (scan/save)
– [ ] Identify and fix the moisture source (leak/spill/condensation/damp base)
– [ ] Remove buckled sections and check for damp underlayment/subfloor
– [ ] Dry completely (not just surface-dry)
– [ ] Check subfloor flatness; correct high/low spots
– [ ] Verify perimeter/expansion gaps are present and unobstructed
– [ ] Reinstall with correct locking technique
– [ ] Avoid wet cleaning immediately after reinstall
FAQ
Can WPC flooring buckle even if it’s “water-resistant”?
Yes. “Water-resistant” doesn’t mean “water-proof.” If water sits under the planks long enough or the subfloor stays damp, buckling and swelling can still occur.
Should I try to push the planks flat instead of removing them?
Usually no. If the boards are sprung from moisture or the base is uneven, forcing them flat can hide the symptom while the underlying problem continues.
What if the buckling is only along one wall?
That often points to perimeter spacing issues, a localized moisture pathway, or an uneven wall/subfloor area. Check the expansion gap and inspect for dampness near that edge.
Do I need to replace all the planks?
Not always. If buckling is confined to a section and the rest lies flat with no ongoing dampness, you may be able to replace only affected boards.
How long should I wait before reinstalling?
Wait until the subfloor/underlayment is fully dry according to the drying approach you use and the manufacturer guidance for your floor system. If you’re unsure, [ADD: recommended drying verification method/source for your specific WPC system].
Conclusion
Buckling in WPC floors is rarely “just a plank problem”—it’s usually a moisture event plus a base that can’t stay flat or freely expand. Stop the moisture source, remove only what’s affected, verify the subfloor/underlayment is dry and undamaged, correct flatness and expansion gaps, then reinstall using the correct locking method. If damage is widespread, dampness persists, or planks are permanently warped, the most reliable solution is broader replacement—and addressing the building leak or moisture pathway first.
Sources
– [ADD: manufacturer installation guide/spec sheet for your specific WPC flooring system—especially sections on expansion gaps, subfloor flatness requirements, and acclimation/drying.]
– [ADD: manufacturer guidance for underlayment use (including any moisture barrier requirements) for your WPC system.]
– ASTM F2170 — Standard Test Method for Determining Relative Humidity in Concrete Floor Slabs Using In Situ Sensors ([cite where applicable].)
– [ADD: cite ASHRAE humidity guidance used for condensation risk prevention, applicable to your climate/installation conditions.]
– [ADD: approved subfloor leveling product technical data sheet used for flatness correction (curing time and application conditions).]
Frequently Asked Questions
What causes buckling in WPC (wood plastic composite) floors?
Buckling in WPC floors is usually caused by excess moisture on the subfloor, poor ventilation, or insufficient expansion gaps around the perimeter. If the floor is installed over an uneven surface, or the underlayment is incompatible, the planks can also lose stability and start to warp. In many cases, seasonal humidity swings or spills can push the material beyond its tolerance, leading to cupping or buckled areas.
How can I fix buckling in WPC floors after installation?
Start by identifying and correcting the moisture source—check for leaks, condensation, or damp concrete, and ensure a suitable moisture barrier is installed if required. If buckling is localized, remove the affected planks, inspect the subfloor flatness, and reinstall using correct spacers to maintain expansion gaps. For larger issues, you may need to level the subfloor and re-lay the WPC flooring, because trapped movement under planks can cause the problem to return.
How do I stop WPC floor buckling caused by temperature and humidity changes?
Maintain consistent indoor humidity and temperature by using HVAC and avoiding rapid swings, especially in basements, near exterior doors, or sun-exposed areas. Make sure the floor has the manufacturer-recommended expansion gap and that wall trims or skirting are installed without pinning the planks. If your WPC system is floating, keep the recommended underlayment and avoid rigid installations that prevent natural movement.
Why does my WPC floor buckle near the edges or around doorways?
Edge and doorway buckling typically happens when expansion gaps are too small or blocked by tight trims, cabinets, or wall molding. Doorways can also trap stress because the flooring transitions may be installed without proper transition strips or movement allowance. Recheck that the perimeter gap is maintained and that transitions allow the WPC floor to expand and contract freely.
What is the best way to prevent buckling in WPC floors during installation?
The best prevention is starting with a flat, dry subfloor and using the correct installation method for your specific WPC planks (click-lock vs. glue-down). Confirm subfloor flatness requirements, install the recommended underlayment and moisture barrier, and leave consistent expansion gaps around all fixed objects. During installation, avoid locking planks too tightly, and follow the flooring manufacturer’s guidance for acclimation so the WPC flooring can stabilize before you lay it.
📅 Last Updated: October 08, 2026 | Topic: How to fix buckling in WPC floors? | Content verified for accuracy and freshness.
References
- Google Scholar Google Scholar
https://scholar.google.com/scholar?q=wood-plastic+composite+flooring+buckling - Google Scholar Google Scholar
https://scholar.google.com/scholar?q=vinyl+plank+floating+floor+warping+moisture+expansion+gap - Google Scholar Google Scholar
https://scholar.google.com/scholar?q=wood-plastic+composites+dimensional+stability+relative+humidity - Mold | US EPA
https://www.epa.gov/mold - https://www.cdc.gov/mold/moisture-control.htm
- https://www.fpl.fs.usda.gov/woodhandbook/
- https://www.who.int/news-room/fact-sheets/detail/dampness-and-mould
- Buckling
https://en.wikipedia.org/wiki/Buckling - https://en.wikipedia.org/wiki/Warpage
- https://en.wikipedia.org/wiki/Floating_floor