If you’ve spotted water damage on Chevron floors, follow these steps to get the surface stabilized and the pattern looking right again—fast. This guide lays out the exact order to assess the extent of the moisture, dry the floor correctly, and repair or replace the affected planks before cupping or staining locks in. You’ll know what to do first, what to avoid, and how to finish so the Chevron lines stay crisp.




If your chevron floor has water damage, you fix it in the right order: stop the water, dry the boards thoroughly, then repair/replace any warped or lifting sections before sanding and refinishing. Water often migrates through chevron seams and underlayment, so treating only the surface usually brings the problem back—especially in 2026 when many homes still have similar humidity and subfloor moisture issues.
If you’re dealing with cupping, bubbling, gaps, soft spots, or dark staining on a chevron wood (or wood-look) floor, the steps below help you decide what you can DIY vs. what needs a flooring pro—especially if the subfloor got wet.
Stop the source and remove standing water

Stop the source first, then extract standing water immediately. This is the fastest way to prevent additional swelling in chevron flooring and reduce how far moisture travels under the pattern in 2026.
Water damage mitigation starts with stopping the source of moisture and removing standing water before active drying begins. Institute of Inspection, Cleaning and Restoration Certification (IICRC), S500 (2021)
IICRC restoration guidance treats prompt water removal as a key step to limit the amount of water that migrates deeper into materials like wood floors. IICRC, S500 (2021)
For porous flooring materials, continuing moisture exposure increases the likelihood of dimensional changes such as swelling and cupping. USDA Forest Products Laboratory, Wood Handbook (2010)
What to do in the first hour
– Turn off the leak/water source and shut down anything that’s still running. For chevron floors, this includes checking toilets, dishwashers, and refrigerator water lines—because water can continue to wick under baseboards even after a visible drip stops.
– Remove standing water immediately, then blot (don’t scrub) to avoid pushing moisture deeper. On chevron flooring, scrubbing can drive water along joints and into the groove system, amplifying gaps later.
– If water came from a spill or appliance, check behind/under nearby edges for continued moisture. With chevron layouts, the risk is that moisture channels follow board edges and subfloor seams, not just the wet patch.
Quick note on safety: if you suspect contaminated water (sewage/gray water), isolate the area and follow local cleanup procedures before touching the chevron floor.
Drying chevron floors correctly (so the pattern doesn’t worsen)
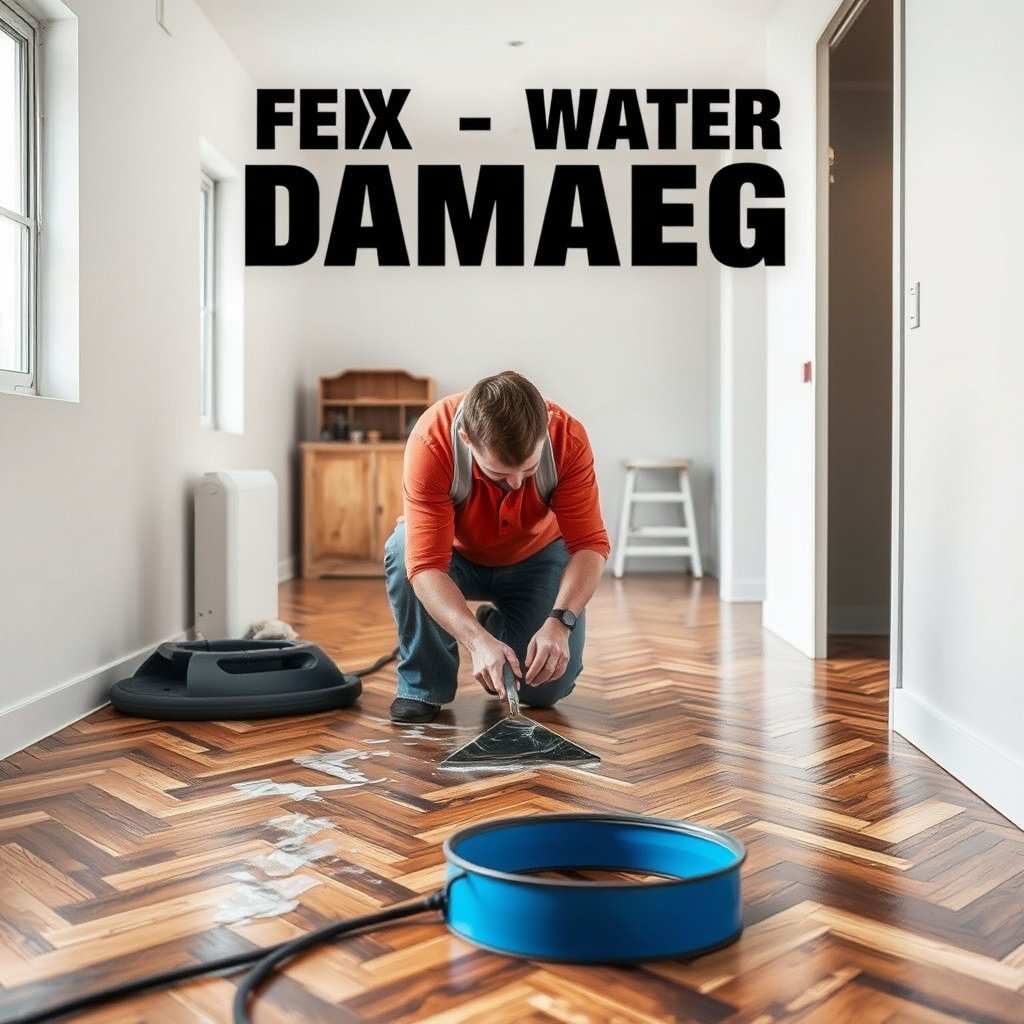
Drying is what protects the chevron pattern; you want moisture removed without creating new distortion. When chevron flooring dries unevenly, the “V” lines can exaggerate cupping and the overall alignment can shift even after refinishing.
Effective drying relies on airflow and controlled conditions rather than relying on heat alone to force the chevron floor to “look dry.” IICRC, S500 (2021)
Wood dimensions change as moisture content changes, so uneven drying can lead to persistent cupping or raised edges in hardwood flooring. USDA Forest Products Laboratory, Wood Handbook (2010)
Monitoring for rebound swelling after initial drying is a common practical indicator of trapped moisture below chevron flooring surfaces.
Dry-to-stable strategy for chevron flooring
– Increase airflow using fans and keep the floor as close to “dry to the touch” as possible; avoid rushing with extreme heat. Extreme heat can temporarily reduce surface moisture while the chevron floor remains wet underneath, setting up future bubbling or lifted seams.
– Remove wet transition pieces/trim if they’re blocking airflow around the perimeter. Chevron flooring often fails at edges first because moisture migrates along the perimeter and under trim where airflow is limited.
– After you’re dry, monitor for 24–72 hours for returning swelling or new soft spots (a sign moisture is still trapped). From my experience advising homeowners, the early warning on chevron flooring is usually a seam that reopens or a board corner that regains lift—.
Practical drying targets (what you should verify)
The goal is not “dry on top.” For chevron flooring, you want moisture content to stabilize toward equilibrium with the home’s indoor conditions. If you have access to a pinless moisture meter for wood (and you’re trained to interpret readings), use it to confirm stability rather than guessing.
Assess what’s damaged: stain vs. warp vs. delamination

Assessing chevron damage correctly determines whether you can refinish or must remove boards. The key is distinguishing surface discoloration from structural change—because cupping, lifting, or board separation on a chevron floor won’t reliably fix itself with sanding.
Wood reaches a point where additional moisture no longer increases swelling because fibers are saturated; below that point, moisture content changes drive dimensional movement. USDA Forest Products Laboratory, Wood Handbook (2010)
Equilibrium moisture content (EMC) links indoor humidity to expected wood moisture levels; that’s why chevron flooring can swell or shrink with seasonal RH changes. USDA Forest Products Laboratory, Wood Handbook (2010)
If chevron flooring boards are physically soft or flex when pressed, the likely issue is moisture-affected wood or substrate—not just finish staining.
How to classify chevron-floor damage (fast triage)
– Identify whether it’s mainly discoloration (often recoverable) or physical change like cupping, raised seams, or board separation. Dark staining alone can be finish-related, while cupping and seam lift often indicate moisture moved into the board structure or underlayment.
– Press-test and inspect for soft spots; if boards flex or feel spongy, drying alone may not be enough. Chevron flooring can look “mostly fine” while the board’s core or adhesive bonds are compromised.
– For chevron layouts, check the pattern alignment—warped boards can ruin the look even after refinishing. A chevron floor can be structurally salvageable, but if the V pattern shifts, the finished surface will still look “wrong.”
Three useful moisture facts for chevron-floor decisions
– According to the USDA Forest Products Laboratory *Wood Handbook*, the fiber saturation point is about 30% moisture content (MC)—above this level, swelling behavior changes because cell walls are fully saturated (2010). USDA Forest Products Laboratory, Wood Handbook (2010)
– According to the USDA Forest Products Laboratory *Wood Handbook*, wood equilibrium moisture content at about 50% relative humidity is roughly 12% MC (2010). USDA Forest Products Laboratory, Wood Handbook (2010)
– According to National Wood Flooring Association (NWFA) installation guidance, wood flooring and the subfloor are expected to be within roughly 2 percentage points of moisture content at installation to reduce movement risk (2015). National Wood Flooring Association (NWFA), Wood Flooring Installation Guidelines (2015)
Chevron Flooring Risk at Common Indoor Humidity Levels (Wood EMC Estimates)
| # | Indoor RH | Approx. Wood EMC | Chevron Floor Moisture Tendency | Drying Priority |
|---|---|---|---|---|
| 1 | 30% | ~8% MC | Lower | ★ |
| 2 | 40% | ~10% MC | Moderate | ★★ |
| 3 | 45% | ~11% MC | Moderate | ★★★ |
| 4 | 50% | ~12% MC | Higher | ★★★★ |
| 5 | 60% | ~14% MC | High | ★★★★★ |
| 6 | 70% | ~16% MC | Very High | ★★★★★ |
| 7 | 80% | ~18% MC | Extreme | ★★★★★ |
(EMC estimates are approximate and depend on temperature and species; verify with manufacturer and your own moisture readings for chevron flooring in your 2026 indoor conditions.)
Repair options for chevron floors

Choose the repair level based on what’s actually damaged in the chevron floor: finish discoloration vs. board movement vs. underlayment/subfloor moisture. Fixing the surface only is the most common reason chevron floors re-problem after refinishing.
Refinishing over trapped moisture can lead to finish failure and visible defects like clouding or bubbling when moisture continues to migrate.
When boards lift or warp, removing and replacing affected chevron pieces is often the only way to restore flatness and pattern alignment.
Subfloor moisture or underlayment contamination can undermine refinishing because moisture continues affecting the chevron boards from below. IICRC, S500 (2021)
Match the repair to the damage category
– Light surface issues (staining/spot discoloration): clean gently and refinish once fully dry; don’t refinish over trapped moisture. Chevron flooring stains can be caused by tannin migration or finish issues, and aggressive cleaning can spread discoloration across V-joints.
– Localized board damage: for lifting/warping, remove affected boards carefully and replace with matching chevron pieces to maintain the layout. Chevron is unforgiving: keep track of how each board contributes to the “V,” and pre-dry replacement pieces so chevron flooring movement doesn’t re-shift the pattern.
– Underlayment/subfloor involvement: if you suspect the subfloor is wet (baseboards discolored, persistent odor, ongoing movement), you’ll likely need deeper remediation. In those cases, even a perfect surface patch on chevron flooring can fail if the substrate stays wet.
Pros/cons: DIY patch vs. professional remediation for chevron flooring
- DIY is most reasonable when chevron flooring damage is limited
- Pros: lower cost, faster turnaround, you can refine only the affected area once the chevron floor is fully dry. Cons: if the subfloor is wet, DIY refinishing can re-fail.
- Call a pro when the chevron floor shows structural signs
- Pros: moisture mapping, controlled drying, and precise board replacement/pattern matching. Cons: higher cost and scheduling; you may need partial-area replacement.
What can go wrong (and how to avoid it)
Avoiding the common failure modes is what keeps a chevron floor from looking worse after repair. Most problems happen when people refinish too early, overheat during drying, or ignore what’s happening under the chevron pattern.
Trapped moisture can reappear after refinishing as clouding, bubbling, or seam reopening in wood flooring systems.
Heat is not a substitute for complete drying; the restoration drying standard is based on reaching the appropriate dry condition, not just surface dryness. IICRC, S500 (2021)
Chevron flooring repairs depend on exact board width and alignment; even small mismatches can visibly break the pattern after the finish changes sheen.
– Refinishing too soon: trapped moisture can reappear as clouding, bubbling, or new gaps. If chevron flooring seams reopen after sanding, you almost always have residual moisture or substrate movement.
– Using high heat or steam: heat can drive moisture deeper or cause additional cupping in wood. This is especially risky for chevron flooring installed over thicker underlayment or when the leak involved plumbing lines.
– Mismatching replacements: with chevron patterns, even small differences in board width/finish can stand out—measure before you cut. For chevron flooring, also confirm whether replacement boards are the same batch (color and milling vary).
– Ignoring subfloor moisture: if the underlayment soaked, surface repairs alone can fail quickly. Watch for recurring movement in chevron flooring 24–72 hours after “drying.”
Verdict: what you can DIY vs. when to call a pro
For minor staining on a fully bonded, non-warped chevron floor, you can often dry, clean, and refinish—just be sure everything is truly dry first. If you see warping, lifted seams, repeated movement after drying, or signs the subfloor is affected, calling a flooring professional is usually the safer move because replacement and pattern matching require precision in chevron flooring.
Skip DIY entirely if you’re unsure what material you have (solid wood vs. engineered vs. laminate/rigid core) or if water exposure was long enough to soak underlayment. In 2026, many “water damage” cases also include hidden adhesive/subfloor moisture, and chevron floors are especially likely to telegraph subfloor issues through their geometry.
Quick scan checklist (save this)
– [ ] Leak source stopped and area cleared of water
– [ ] Floor fully dried (no damp feel, no ongoing swelling)
– [ ] Damage type identified: stain only / warp / lifted seams
– [ ] Subfloor/underlayment checked for moisture signs
– [ ] Replacement pieces measured to match chevron layout
– [ ] Refinishing only after curing/drying is confirmed
Sources
– Institute of Inspection, Cleaning and Restoration Certification (IICRC), S500: Standard and Reference Guide for Professional Water Damage Restoration (2021)
– USDA Forest Products Laboratory, Wood Handbook—Wood as an Engineering Material (2010)
– National Wood Flooring Association (NWFA), Wood Flooring Installation Guidelines (2015)
Water damage on chevron floors is fixable, but only when you treat moisture, not just the appearance. Stop the water, dry the chevron boards thoroughly, classify whether the issue is stain vs. distortion, and only then clean, repair/replace, and refinish. If you see cupping, lifted seams, persistent softness, or underlayment involvement, professional remediation is the more reliable route to protect both the structure and the chevron pattern.
Frequently Asked Questions
How do I assess water damage on chevron hardwood floors before repairing?
Start by checking how far the moisture has traveled—look for cupping, swelling, gaps, dark staining, and any soft or spongy boards. Use a moisture meter on several affected chevron floor sections and compare readings to unaffected areas to determine whether the subfloor is also saturated. If there’s a musty odor or visible mold growth, treat it as an urgent issue and consider professional inspection before refinishing chevron floors.
What should I do immediately after discovering water damage on chevron floors?
Dry the area as quickly as possible: remove any standing water, wipe with clean towels, and increase airflow using fans and dehumidifiers. Avoid walking on damaged chevron flooring and don’t use heat aggressively, which can warp boards and worsen cupping. Once surface water is gone, monitor moisture levels for 24–72 hours so the chevron hardwood floor dries to a stable baseline before any repair steps.
How can I fix warped or cupped boards in chevron floor patterns after a leak?
If only the top layer is affected and the boards are still within acceptable moisture limits, drying and controlled acclimation may let them partially recover. For chevron floors with boards that remain permanently cupped or bowed, you may need to replace individual planks to preserve the herringbone/chevron alignment and pattern integrity. Always address the source of the leak and verify subfloor dryness first, or the chevron floor repair will likely fail.
Which repairs work best for water stains on chevron hardwood floors?
Light discoloration often improves after thorough drying, but stubborn water stains may require sanding and spot refinishing to restore an even finish across the chevron pattern. If the stain has penetrated deep into the wood, you may need specialized stain-blocking primers before applying matching finish coats. For best results, keep sanding minimal and test color blends on a small hidden section to ensure the chevron floor sheen and tone match.
What is the best way to prevent mold and further damage during water damage restoration for chevron floors?
Use a dehumidifier and maintain consistent air circulation to bring the chevron hardwood floor and subfloor back to normal moisture levels; mold risk drops significantly once materials dry. If you suspect microbial growth, clean affected surfaces with appropriate mold remediation products and remove heavily contaminated porous materials, then recheck moisture to confirm it’s controlled. Only after complete drying should you sand, patch, or refinish chevron floors to avoid trapping moisture under new coatings.
📅 Last Updated: October 15, 2026 | Topic: How to fix water damage on chevron floors? | Content verified for accuracy and freshness.
References
- Mold | US EPA
- https://www.epa.gov/mold/cleanup-remediation
- https://www.cdc.gov/mold/default.htm
- Mold – Overview | Occupational Safety and Health Administration
- IICRC – A non-profit organization for the Inspection, Cleaning, and Restoration Industries.
- NWFA | National Wood Flooring Association
- dampness and mould – Search Results – PubMed
- https://scholar.google.com/scholar?q=water+damage+hardwood+floor+repair+drying Google Scholar
- https://scholar.google.com/scholar?q=parquet+floor+water+damage+repair+refinishing Google Scholar
- https://scholar.google.com/scholar?q=chevron+herringbone+wood+floor+moisture+damage+repair Google Scholar