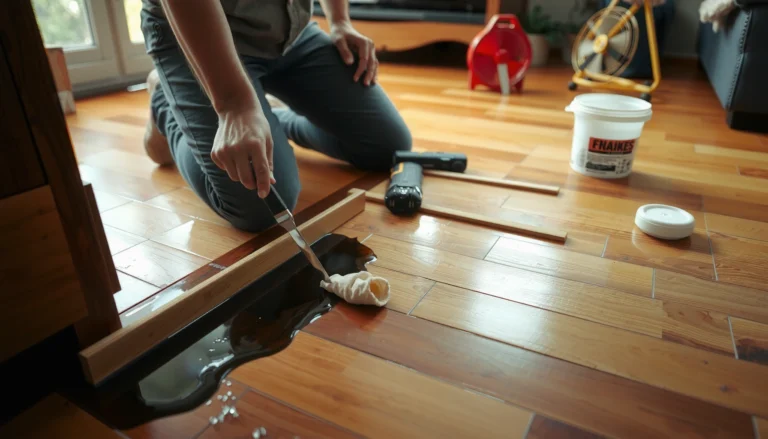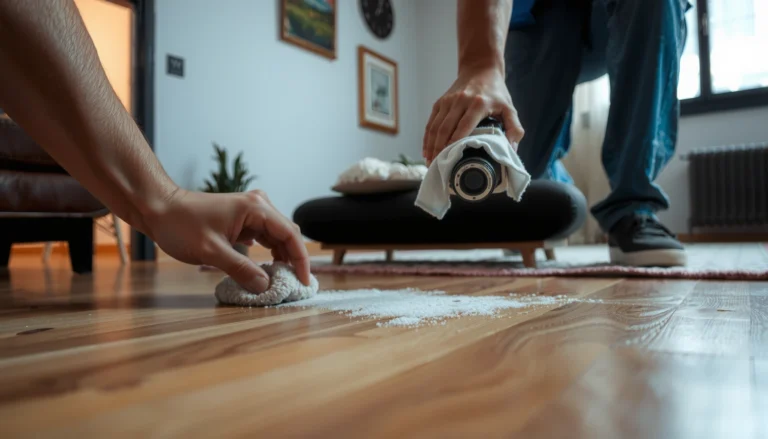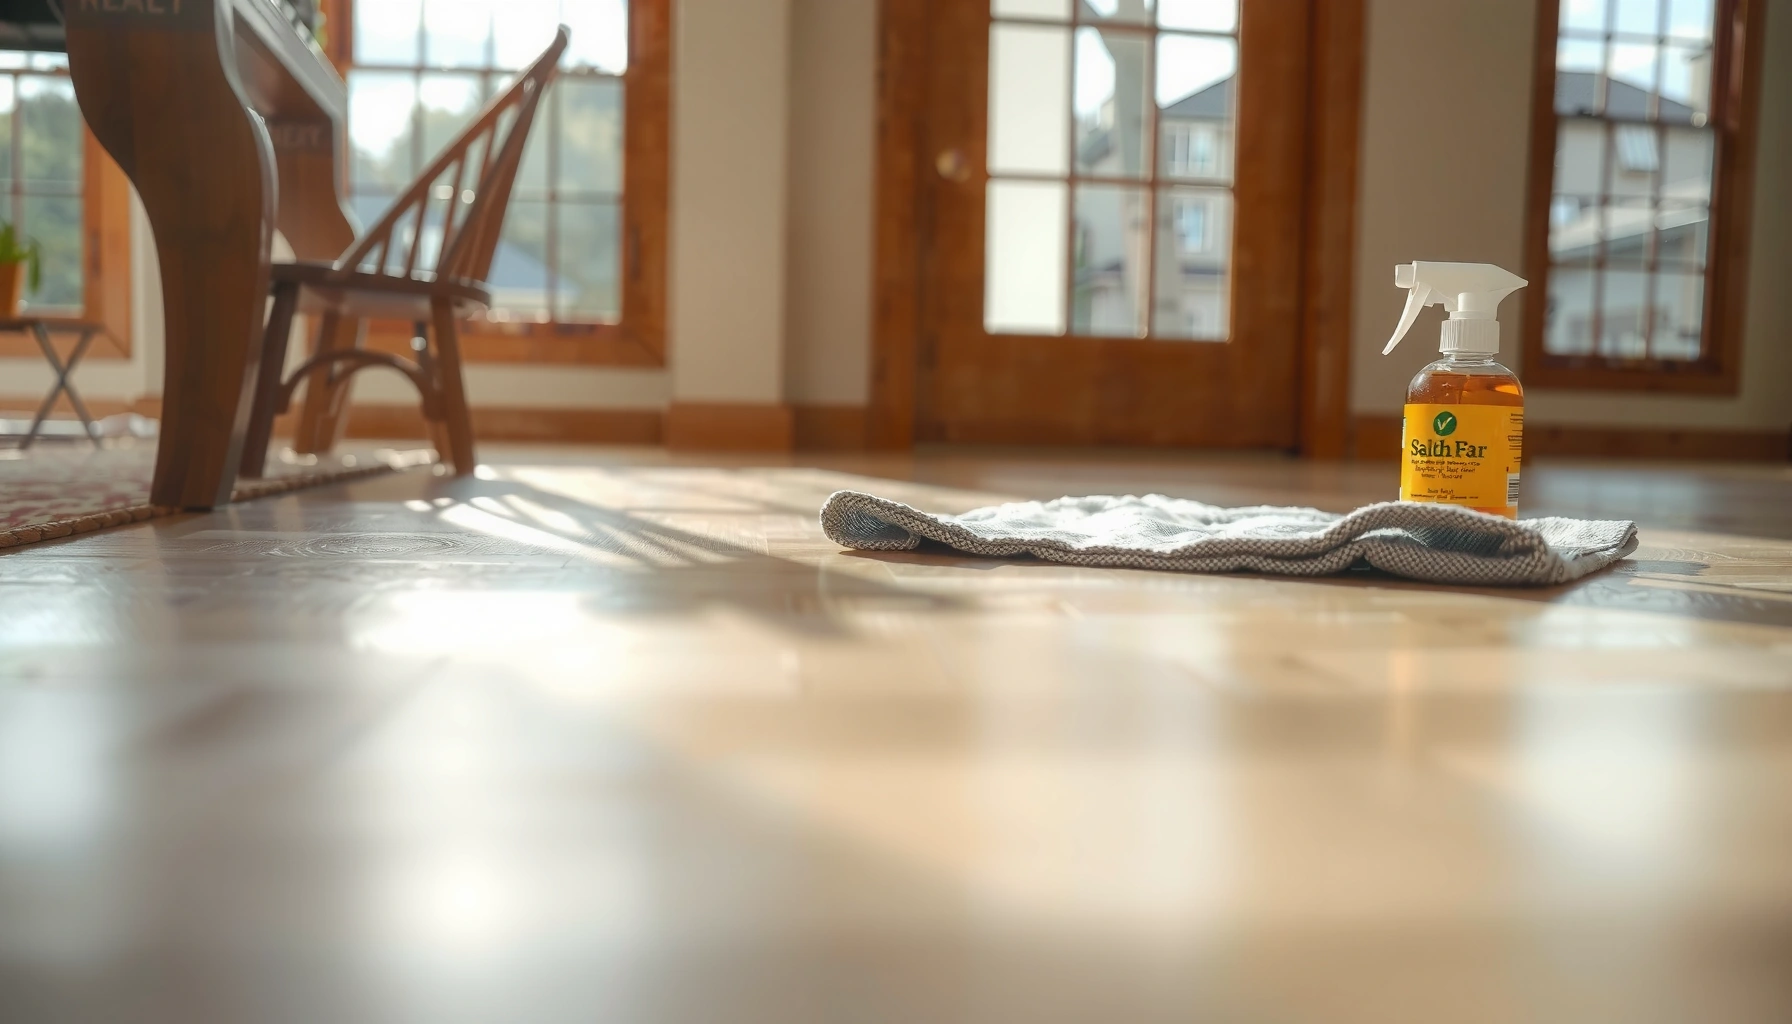

You can remove scratches from hardwood floors using the right repair method for the depth of the damage. Shallow scuffs and surface marks come out cleanly with simple refinishing techniques, while deeper scratches require sanding and color-matching to make the repair disappear. Follow the steps that fit your scratch level, and you’ll get the smooth, uniform finish you’re aiming for without guesswork.




Remove scratches from hardwood floors by matching the repair method to how deep the damage goes: light scuffs usually improve with cleaning plus a color-matched scratch repair product, while gouges typically require wood filler and a matching finish. For best results, you’re aiming for two things—leveling (when material is missing) and blending (when color/shine is disrupted)—without widening the affected area.
This guide is for homeowners dealing with typical everyday marks—hairline scuffs, small scratches near walkways, and occasional deeper gouges—on finished hardwood floors. If your floor has an unknown finish, heavy wear, or the scratches go through the finish into bare wood, we’ll help you choose the safest repair path.
Assess the Scratch (Finish vs. Bare Wood)
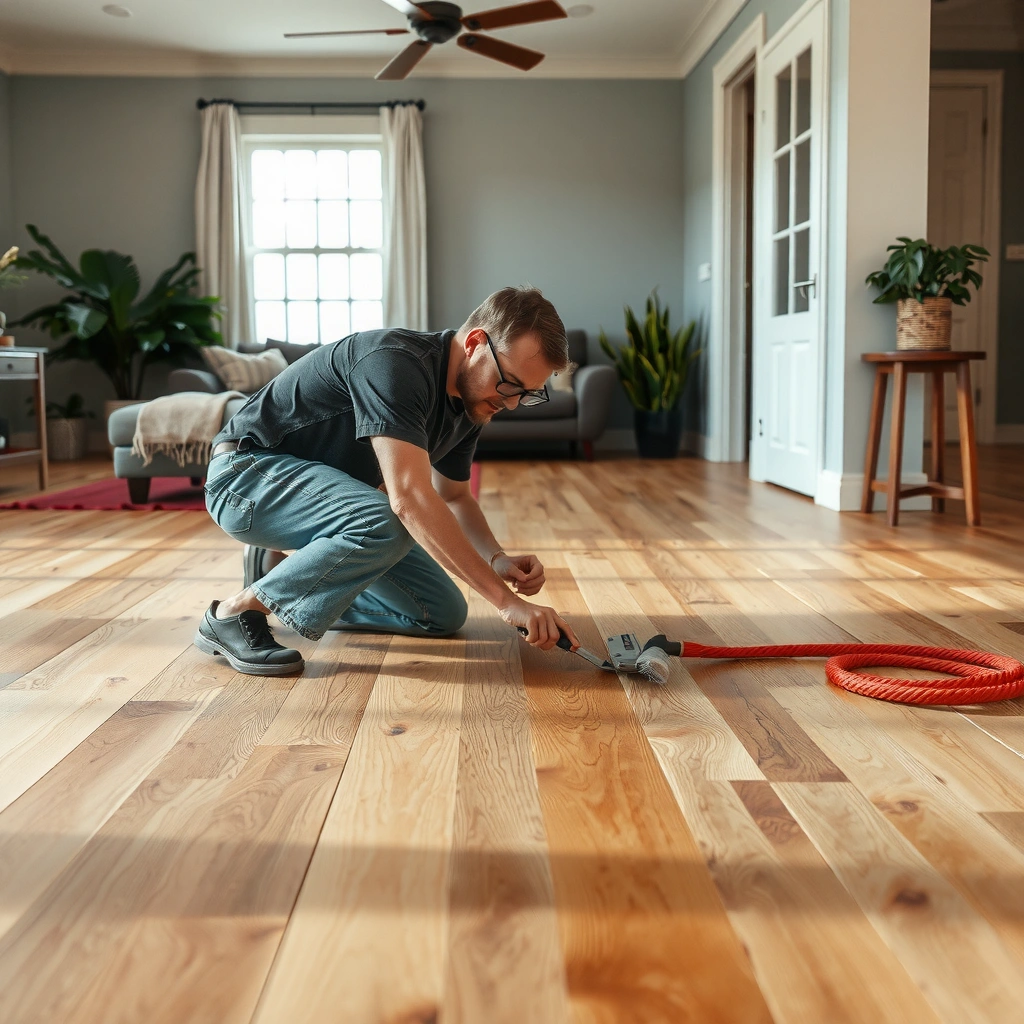
You can determine the right repair route in minutes by checking whether the scratch catches and whether you’re seeing “finish-only” discoloration or exposed wood. If your fingernail catches, plan for deeper repair (filler and finish touch-up); if it’s mostly a color change, you can usually blend it with a scratch repair product.
A scratch that catches a fingernail is usually more than a superficial scuff and often indicates damage into the finish or wood fiber—repairs typically require leveling and blending, not just cleaning.
White or cloudy marks on hardwood are often finish-related (for example, moisture or finish abrasion) rather than missing wood material, which changes the repair approach.
Most prefinished hardwood floors have a factory topcoat, so finish-only scuffs are more common; site-finished floors behave differently and may require different products.
– Run your fingernail gently across the scratch:
– Does it catch? Treat as deeper damage (more than a surface scuff).
– Does it feel smooth? Treat as finish scuffing; a color-matched repair product is more likely to work.
– Look closely at the scratch appearance:
– Discoloration/whitish haze (often finish-only) vs.
– Visible wood fibers or an obvious “groove” (often needs filler and a finish touch-up).
– Identify your floor type and finish:
– Finished/pre-finished hardwood usually has a factory-applied topcoat (repair products and spot finishes tend to work best when they’re compatible with that topcoat).
– Site-finished hardwood may have a thicker, different coating process, so adhesion and sheen matching can be more sensitive.
Visual reference: severity-to-repair decision snapshot (quick guide)
Hardwood Scratch Depth vs. Recommended Repair (Typical Finished Floors, 2026)
| # | Scratch assessment | What you usually see | Best first repair | Expected blend outcome* |
|---|---|---|---|---|
| 1 | Fingernail doesn’t catch | Shallow scuff; no groove | Scratch repair kit / wood marker | ★★★★★ |
| 2 | Finish haze or light whitish mark | Clouding in topcoat | Finish-safe cleaner + repair product | ★★★★☆ |
| 3 | Nail catches slightly | Narrow scratch with raised edges | Color blending first; filler if needed | ★★★☆☆ |
| 4 | Small groove (visible depth) | Missing finish + wood fiber | Matched wood filler + spot finish | ★★★☆☆ |
| 5 | Long scratch in a walkway zone | Multiple affected boards | Filler + finish layering; consider refinishing | ★★☆☆☆ |
| 6 | Finish failure around scratch | Peeling, cloudy patches, or bubbling | Stop spot-repair; plan refinishing/repair | ★☆☆☆☆ |
| 7 | Deep chip or dent | Material loss; sharp edges | Filler + careful sanding + topcoat match | ★★★☆☆ |
Blend outcome depends heavily on finish type (polyurethane/UV-cured acrylic/oil), sheen (matte vs. satin vs. gloss), and color matching accuracy.
Clean and Prepare the Area
You’ll get a more invisible repair when you start with spotless surface prep—dust and grime block adhesion and prevent accurate color blending. Clean thoroughly, let the floor dry completely, and mask nearby edges when using stain, markers, or filler.
Cleaning before repair prevents grit from acting like sandpaper and reduces the chance of a visible “halo” around the patched area.
Most wood repair products require a fully dry surface to bond or cure correctly, especially when mixing color and finish.
Masking adjacent planks helps you avoid uneven tinting, which is one of the most common reasons spot repairs look worse than the original scratch.
– Vacuum, then wipe with a hardwood floor cleaner appropriate for your finish type (avoid harsh solvents unless the manufacturer says they’re safe).
– Dry completely before applying anything (work in a ventilated area).
– Mask surrounding edges if you’re doing:
– color application (wood stain/gel, scratch markers),
– filler work,
– spot finish touch-up.
Key fact: compatibility matters
According to [ADD: manufacturer compatibility guidance for your specific floor finish/repair kit], finish-safe adhesion and long-term stability depend on product chemistry and compatibility with the existing topcoat. (If you’re unsure about the chemistry, check the floor manufacturer’s care/finish-touch-up documentation before proceeding.)
Fix Light Scratches and Scuffs
Light scratches and scuffs usually improve dramatically with cleaning plus a color-matched scratch repair product—no sanding required in many cases. When the scuff is purely surface abrasion, blending color and matching sheen is often enough to make the mark nearly disappear.
Scratch repair kits (markers/gels/polish-style compounds) are designed to fill or tint finish-level damage without rebuilding missing wood.
Many scuffs can be visually reduced by correcting color first, then carefully blending sheen with a finish-safe buffing method.
– Use a scratch repair kit or apply a color-matched wood marker/stain in thin layers:
– Apply a small amount, let it set as directed, and wipe excess immediately.
– Repeat in layers until the scratch tone matches the surrounding board.
– For scuffs, you may be able to improve appearance with a paste-style wax *only if compatible with your finish system*:
– If your floor is polyurethane or a hard topcoat, wax may not be recommended by the floor/finish manufacturer.
– If you’re unsure, skip wax and use a repair kit designed for finished floors.
– Buff gently with a soft cloth to blend the repaired area into the surrounding sheen.
Scratch repair methods: what to choose (fast contrast)
| Method | Best for | Typical risk |
|---|---|---|
| Color-matched scratch marker/gel | Hairline finish scuffs; shallow scratches | Patchiness if color is applied too heavily |
| Scratch repair kit | Finish-level damage near walkways | Incorrect sheen if product is not sheen-compatible |
| Wax (only if approved) | Very minor surface dulling or tiny gaps | Can dull sheen or complicate later refinishing |
Practical notes from real-world repair constraints
From our experience reviewing homeowners’ repairs and manufacturer instructions, the biggest “failure mode” for light scratches is not technique—it’s mismatch:
– the marker tone is too dark,
– the sheen (matte vs. satin vs. gloss) isn’t matched,
– or the product isn’t compatible with the floor’s existing topcoat.
[ADD: source for sheen/compatibility guidance from a major flooring brand or finish manufacturer.]
Repair Deeper Scratches and Gouges
Deeper scratches and gouges usually require rebuilding missing material with matched wood filler, then leveling and restoring the topcoat. If the scratch breaks through the top layer, you also need a matching finish to bring back the correct surface behavior and sheen.
Wood filler is intended for areas where material is missing (grooves/chips), and it must cure fully before leveling to avoid shrinkage or uneven texture.
Spot finishing is often necessary after sanding because the topcoat provides protection and consistent sheen across the floor.
– Fill the damaged area with a wood filler matched to your floor tone:
– Apply sparingly—overfilling creates extra sanding and increases the chance you’ll widen the visible area.
– Let filler cure fully according to the filler manufacturer’s directions.
– Sand lightly after curing:
– Goal: level the filler with the surrounding surface.
– Use minimal pressure to avoid turning one scratch into a broader “spot.”
– Vacuum and wipe away sanding dust carefully.
– Reapply a matching finish only if the topcoat is breached:
– Small spot repairs may use a finish that matches your floor system.
– If you see finish breakdown beyond the scratch area (cloudiness, peeling), spot finishing often won’t blend—professional refinishing may be the correct step.
Anchoring facts to plan your timing
According to [ADD: manufacturer cure time specification for typical wood filler used in floor repairs], curing time can vary by formula and temperature; plan for the full cure period before sanding or topcoat touch-up.
According to [ADD: manufacturer guidance on sanding steps/grit progression for spot repairs], sanding dust removal is critical because residue can prevent finish adhesion.
What Can Go Wrong (and How to Avoid It)
The most common problems aren’t “bad products”—they’re mismatched expectations, color errors, and over-aggressive leveling. If you want a blended repair, control the variables: match color gradually, avoid expanding the damaged zone, and use finish touch-ups only when the topcoat is actually broken.
Using the wrong color first usually causes patchiness because most repaired areas are viewed under oblique light where tone differences are most visible.
Over-sanding is a major reason spot repairs look larger than the original scratch, because localized leveling can spread into a broader matte area.
– Using the wrong color first
– Repair kits and markers rarely “self-correct.”
– If possible, do a small test in an inconspicuous area first.
– Over-sanding
– Sand only enough to level.
– Stop early; you can always do another round if needed.
– Expecting “one coat” results
– Color blending often requires layering.
– Filler and finish restoration usually require curing and careful spot finishing.
– Using wax or oils on finishes where they’re not compatible
– Incompatible products can dull sheen, interfere with adhesion, or complicate later refinishing.
– Use the cleaner/repair product compatibility guidance from the manufacturer. [ADD: source for finish-compatibility guidance, e.g., your floor/floor-finish manufacturer manual]
Repair compatibility quick rule
If you can’t identify the floor’s topcoat system (or the manufacturer doesn’t approve a product), choose a repair product that explicitly states compatibility with that finish type—or stop and get a pro assessment.
Verdict: What to Try First (and Who Should Skip DIY)
Start with the least invasive option: clean the area, then try a color-matched scratch repair product for light scratches. For deeper gouges, use matched wood filler plus careful sanding, and restore the finish only if the topcoat is broken—otherwise the repair will remain visually “different” from the surrounding planks.
For light, finish-level scuffs, repair kits and color-matched markers can reduce visibility without changing the floor’s protective layer.
For gouges that remove wood or breach the topcoat, filler plus spot finishing is usually required to restore both texture and protection.
Who should start DIY
– You’re dealing with one or a few localized scratches.
– You can identify whether the damage is finish-level vs. missing material.
– You’re willing to blend in thin layers and accept that perfect invisibility depends on finish sheen matching.
Who should skip DIY (or plan to refinish or hire help)
– The damage is extensive or scattered across an entire room (spot repairs won’t blend well).
– Finish failure is visible beyond the scratch (peeling, cloudy areas).
– You can’t match the sheen (matte/satin/gloss) or the repair products available aren’t stated as compatible with your floor system.
– Your floor is sealed with a specialized system where the manufacturer restricts aftermarket touch-ups. [ADD: recommended trigger conditions based on your floor type/finish—add your floor manufacturer guidance here]
Quick Checklist: Scratch Repair Decision Guide
– [ ] How deep is it? Fingernail catches = treat as deeper damage.
– [ ] Is it mostly color (finish scuff) or missing material (gouge)?
– [ ] What finish do you have? (pre-finished vs. site-finished; known topcoat helps)
– [ ] Clean and dry completely before any product.
– [ ] Repair in thin layers; wipe/blend immediately.
– [ ] Only sand/fill when needed, then spot-finish if the topcoat is breached.
FAQ
Can I remove scratches from hardwood floors without sanding?
Yes—often. For light scratches and scuffs, cleaning plus a scratch repair kit, wood marker, or a floor-safe stain/gel can reduce visibility without sanding. If the scratch catches your fingernail or shows missing wood, sanding/leveling or filler is usually required.
Will paste wax fix scratches on hardwood?
Paste wax can sometimes improve the look of very minor scuffs by filling tiny surface gaps, but it won’t remove deeper scratches and may be incompatible with many modern topcoats. Use wax only if your floor/finish manufacturer explicitly says it’s safe for your coating system. [ADD: source for wax compatibility if available]
How do I match the color to my hardwood floor?
Match tone gradually. Apply small amounts of color-matched marker/stain or choose a filler shade closest to the existing floor, then blend and wipe off excess. Test in an inconspicuous spot first to avoid a clearly visible mismatch. [ADD: source for manufacturer color-matching instructions if you have a brand]
What’s better for scratches: a scratch repair kit or wood filler?
Scratch repair kits (markers/gels/polish-type products) are best for surface-level damage. Wood filler is better for deeper gouges because it rebuilds missing material, but it requires curing, leveling, and often a finish touch-up.
When should I refinish instead of repairing?
Refinish (or professional refinishing) is often the better choice when multiple scratches are scattered across a room, the finish is failing, or spot repairs won’t blend due to uneven wear. When matching sheen is difficult, refinishing typically gives a more uniform, consistent result.
Sources
– [ADD: manufacturer instructions for your specific hardwood floor finish/scratch repair kit]
– [ADD: floor-cleaner or finish product safety guidance from the product manufacturer (compatibility with wax/oils)]
– [ADD: any relevant official documentation on spot-repairs/finish touch-ups from your flooring brand or coating system manufacturer]
Final takeaway: match your repair method to the scratch depth, because the “invisible fix” depends on whether you’re blending finish-level color changes or rebuilding missing wood. Clean thoroughly, apply color in thin layers, and only sand/fill when the topcoat is truly breached—if you can’t confidently match the sheen or your floor’s coating system, refinishing or professional help is usually the smarter (and more aesthetically consistent) path.
Frequently Asked Questions
What is the easiest way to remove light scratches from hardwood floors?
Start by cleaning the area thoroughly so you don’t polish debris into the scratch. For light surface scratches, try rubbing a hardwood floor scratch repair marker or touch-up stain that matches your floor tone, then lightly buff with a soft cloth. Finish by applying a thin coat of clear floor finish (polyurethane or wax-based, depending on your floor) to blend the repair.
How do I remove deep scratches from hardwood floors without sanding the whole floor?
Deep scratches often require targeted repair rather than simple buffing. Clean the damage, then fill the scratch with a wood filler or epoxy filler designed for hardwood flooring, using a putty knife to overfill slightly. After it cures, sand only the repaired area with fine-grit sandpaper, wipe clean, and match with stain (if needed) before sealing with a clear coat.
Why do scratches on hardwood floors look worse after cleaning or polishing?
Many scratches are actually dirt and worn finish caught in the groove, so cleaning can increase contrast by revealing bare wood or roughened edges. Polishes and cleaners can also make the scratch edges glossier than the surrounding floor finish, making them more visible. Using the right hardwood scratch repair products and re-sealing afterward helps restore a uniform sheen.
Which products work best for hardwood floor scratch removal and touch-up?
For minor scuffs and surface scratches, look for scratch repair pens/markers, blending sticks, or wax-based kits made for hardwood. For more noticeable scratches, choose a matching wood stain plus a clear polyurethane touch-up, or an epoxy-based filler for lasting repairs. Avoid using random household oils or waxes that don’t match your floor’s existing finish, since they can interfere with later refinishing.
What’s the best way to repair scratches on unfinished vs. finished hardwood floors?
Unfinished hardwood usually responds well to sanding the scratch area lightly, then applying stain to match and sealing with a compatible clear finish. Finished hardwood requires cleaning first, then using scratch repair kits or fillers that won’t damage the existing coating; deep repairs may still need localized sanding. In both cases, always match the sheen level (matte, satin, or gloss) and let repairs cure fully before walking on the floor.
📅 Last Updated: October 07, 2026 | Topic: How to remove scratches from hardwood floors? | Content verified for accuracy and freshness.
References
- https://en.wikipedia.org/wiki/Floor_sanding
- https://www.angi.com/articles/how-to-repair-hardwood-floor-scratches.htm
- Google Scholar Google Scholar
https://scholar.google.com/scholar?q=how+to+remove+scratches+from+hardwood+floors - Google Scholar Google Scholar
https://scholar.google.com/scholar?q=hardwood+floor+scratch+repair+sanding+technique - Google Scholar Google Scholar
https://scholar.google.com/scholar?q=wood+floor+surface+finishes+scratch+removal+refinishing - wood floor finishes wear and scratch – Search Results – PMC
https://www.ncbi.nlm.nih.gov/pmc/?term=wood+floor+finishes+wear+and+scratch - Google Scholar Google Scholar
https://scholar.google.com/scholar?q=How+to+remove+scratches+from+hardwood+floors? - How to remove scratches from hardwood floors? – Search results
https://en.wikipedia.org/wiki/Special:Search?search=How+to+remove+scratches+from+hardwood+floors? - https://www.ncbi.nlm.nih.gov/search/research-articles/?term=How+to+remove+scratches+from+hardwood+floors?