


Hardwood water spots can be removed to restore a clear, even finish when you follow a careful, low-moisture cleaning routine. In the next few steps, you’ll prepare soft microfiber cloths, distilled water, a pH-neutral floor cleaner, and a dry towel for thorough blotting. You’ll also learn how to test a small spot first and dry completely, typically taking about 15–30 minutes depending on the mark.




Water spots on finished hardwood usually come off—or at least fade—when you act quickly: blot dry, wipe with distilled water on a nearly dry cloth, then use a pH-neutral wood floor cleaner applied to the cloth (not the floor) and dry immediately. If the mark stays cloudy or stained after the finish is cleaned and fully dried, the water likely penetrated deeper than the surface—so you may need spot treatment or refinishing rather than more scrubbing.
If your goal is to remove white “rings,” cloudy spots, or darker marks from finished hardwood (including engineered hardwood), the steps below focus on safe, low-risk cleaning that protects the finish. If your floor is unfinished, oiled, or has a waxy finish, follow the manufacturer’s care instructions first, because some methods for finished floors can damage other finish types.
Quick check: what kind of water spot is it?
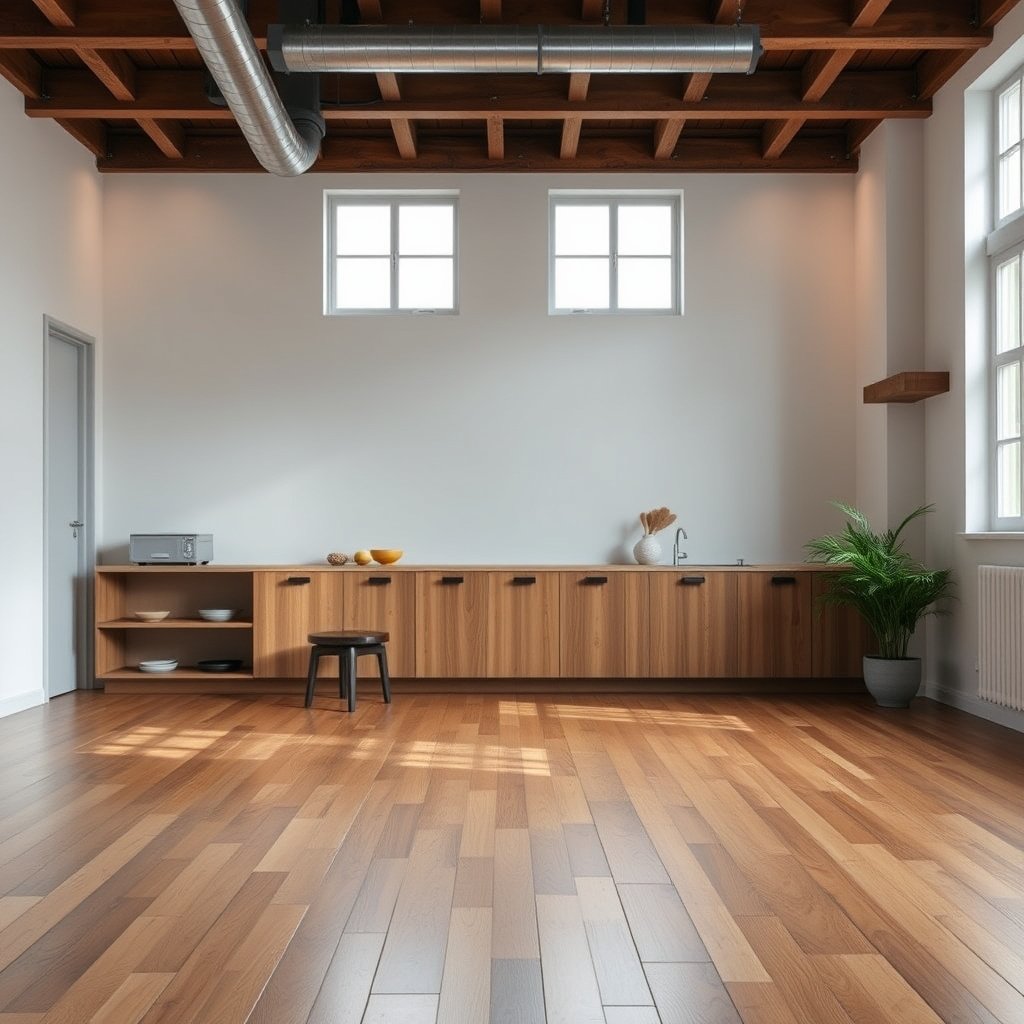
The fastest way to decide how aggressively to clean is to identify the visual pattern on the hardwood surface first. In general, white or cloudy rings point to finish/film haze that often clears with careful cleaning and full drying, while darker brown marks suggest the moisture reached deeper into the wood.
As of 2026, this “diagnose by appearance” approach is still the safest strategy for finished hardwood water spots because different mechanisms respond differently to pH-neutral cleaning and drying. From my experience maintaining finished hardwood in high-traffic areas, the same cleaning routine works best for cloudy rings, while darkened staining typically needs stronger, more targeted steps.
Spot type guide (quick visual triage)
– White or cloudy ring: Often caused by water sitting on top of the finish long enough to disrupt or emulsify a surface film.
– Darker stain/browning: Often indicates moisture absorbed into the wood, which can’t always be reversed by surface cleaning alone.
– Test in a hidden spot first: Before you treat the main area, confirm your method won’t dull the finish. Even pH-neutral products can leave patchiness if overworked.
To understand why darkening varies from spot to spot, wood porosity and hardness matter: softer/more porous species can show deeper staining sooner when finished hardwood water spots breach the surface film.
Hardwood Species Hardness (Janka) and Likely Stain Depth Risk
| # | Wood species (common floors) | Porosity type | Janka hardness (lbf) | Spot-outcome expectation |
|---|---|---|---|---|
| 1 | Hickory | Diffuse-porous | 1820 | Lower absorption |
| 2 | Hard maple | Diffuse-porous | 1450 | Usually easier cleanup |
| 3 | White oak | Ring-porous | 1360 | Often surface-limited |
| 4 | Red oak | Ring-porous | 1290 | Cleanup usually helps |
| 5 | Birch | Diffuse-porous | 1260 | Moderate absorption |
| 6 | Walnut | Diffuse-porous | 1010 | More likely to mark |
| 7 | Cherry | Diffuse-porous | 950 | Deep stains are harder |
What to do first (the safest “first pass”)
The safest first move for finished hardwood water spots is to remove moisture without spreading it—before you add any cleaner. In most cases, the early “blot → gentle wipe → immediate dry” sequence prevents the stain from gaining time to penetrate seams or the finish.
This first pass matters because finished hardwood spots often look mild at first, then worsen after ongoing moisture exposure. As of 2026, many floor care guidelines still emphasize minimizing added water and drying quickly, especially around edges and seams.
The safest “first pass” steps
– Blot, don’t scrub: Use a clean, dry microfiber towel to lift standing moisture. Press firmly enough to absorb, but don’t grind.
– Lightly clean the area: Dampen a microfiber cloth with distilled water (not dripping) and wipe gently. Distilled water reduces dissolved minerals that can leave haze.
– Dry immediately: Follow with a dry towel and add airflow (for example, a fan) until the area is fully dry.
Why distilled water helps (for finished hardwood water spots)
Hard water minerals can contribute to residue that shows up as a lingering cloudy film, even when the underlying spot is mostly resolved. For this reason, distilled-water wiping is a low-risk choice for finished hardwood and engineered hardwood water marks when you’re still in the surface-removal stage.
Safe cleaning method for finished hardwood water marks
For most white rings and cloudy marks on finished hardwood, the best approach is pH-neutral cleaning applied to the cloth—not poured onto the floor—followed by immediate drying. This targets surface residue and finish haze while avoiding the extra moisture that creates new spotting.
If you use too much liquid, you can turn a manageable finish haze into a larger visible area—especially at seams. The goal is always controlled moisture: lift what’s on top, then stop adding water.
Use a pH-neutral wood floor cleaner the right way
– Apply to the cloth, not the floor: Put cleaner on a microfiber cloth, then wipe the spot with the grain.
– Keep it minimal: Use just enough to remove film. Over-wetting is a common cause of additional haze in finished hardwood water spots.
– Wipe with an even technique: Work from the outside of the spot toward the center to avoid spreading.
– Dry again right away: Buff with a dry microfiber until the sheen looks consistent with the surrounding finish.
Why pH-neutral matters
Wood finishes and protective topcoats can be affected by harsh pH extremes. A manufacturer-approved pH-neutral cleaner is designed to be compatible with common sealed finishes and helps reduce the risk of dull patches.
When the spot won’t lift: how to handle stubborn rings safely
If the spot remains cloudy or visibly stained after proper cleaning and full drying, the water likely penetrated beyond the finish surface. At that point, continuing to scrub can enlarge the dull area even if the underlying stain doesn’t change.
For stubborn finished hardwood water spots, the safest path is targeted spot treatment (when your floor brand specifies it) or professional refinishing guidance—not improvised chemistry.
What to avoid (to prevent finish damage)
– Avoid DIY “quick fixes” that can strip finish: skip vinegar, ammonia, abrasive pads, and steam.
– Avoid soaking: steam and long-wet exposure can stress finishes and, for engineered floors, may stress adhesive layers.
– Don’t grind with abrasives: sanding/grinding changes finish thickness and can create a permanent patch.
Choose a finish-compatible escalation path
– Use only manufacturer-recommended spot steps: if your flooring brand has a specific water-stain or haze procedure, follow it first.
– If it stays cloudy after the correct cleaning steps: plan on refinishing or hiring a pro rather than “trying one more cleaner.”
Here’s a simple risk comparison for stubborn rings on finished hardwood:
| Approach for persistent finished-hardwood rings | Pros | Cons / risk |
|---|---|---|
| Follow the flooring manufacturer’s water-spot/haze procedure | Highest compatibility; least risk of dulling or uneven sheen | Requires you to identify the finish/brand and follow exact steps |
| pH-neutral cleaner + controlled distilled-water wipe + full dry | Safe first-line for surface haze; often improves white rings | Won’t reliably remove deep wood absorption stains |
| Steam or “wet soak” attempts | May soften residue (in limited cases) | High risk of finish/adhesive issues and larger permanent spotting |
| Abrasive pads or harsh chemicals | Can remove some surface film mechanically | Can dull finish, create a bigger hazy patch, and require refinishing |
What can go wrong (common mistakes and edge cases)
Most DIY failures with finished hardwood water spots come from adding too much water, scrubbing too hard, or using methods not approved for the finish type. As of 2026, this still lines up with how flooring associations and manufacturers describe spot-cleaning risk: moisture and chemistry drive most damage.
Common mistakes that worsen the mark
– Using too much water: It can spread the hazing residue and encourage swelling at joints.
– Rubbing aggressively: This can dull the finish, making the spot look larger even if the underlying stain remains unchanged.
– Steam or soaking: High heat/moisture can damage coatings and, in some engineered flooring setups, stress adhesive layers.
– Mismatching the method to the finish: Unfinished, oiled, or waxed floors require manufacturer-specific maintenance; some “finished floor” steps won’t apply.
Edge cases to pause for
If the spot is near an edge or seam, check for lingering moisture. Once liquid reaches joints, finished hardwood water spots may require more than surface cleaning. In these scenarios, follow your flooring manufacturer’s moisture guidance or consult a professional.
Verdict / tip: the safest path (and who should skip)
Start with the low-risk combo: blot → distilled-water wipe → pH-neutral cleaner on a cloth → immediate drying. This sequence is designed for white rings and cloudy finish haze on finished hardwood and engineered hardwood water marks, where the damage is most often surface-limited.
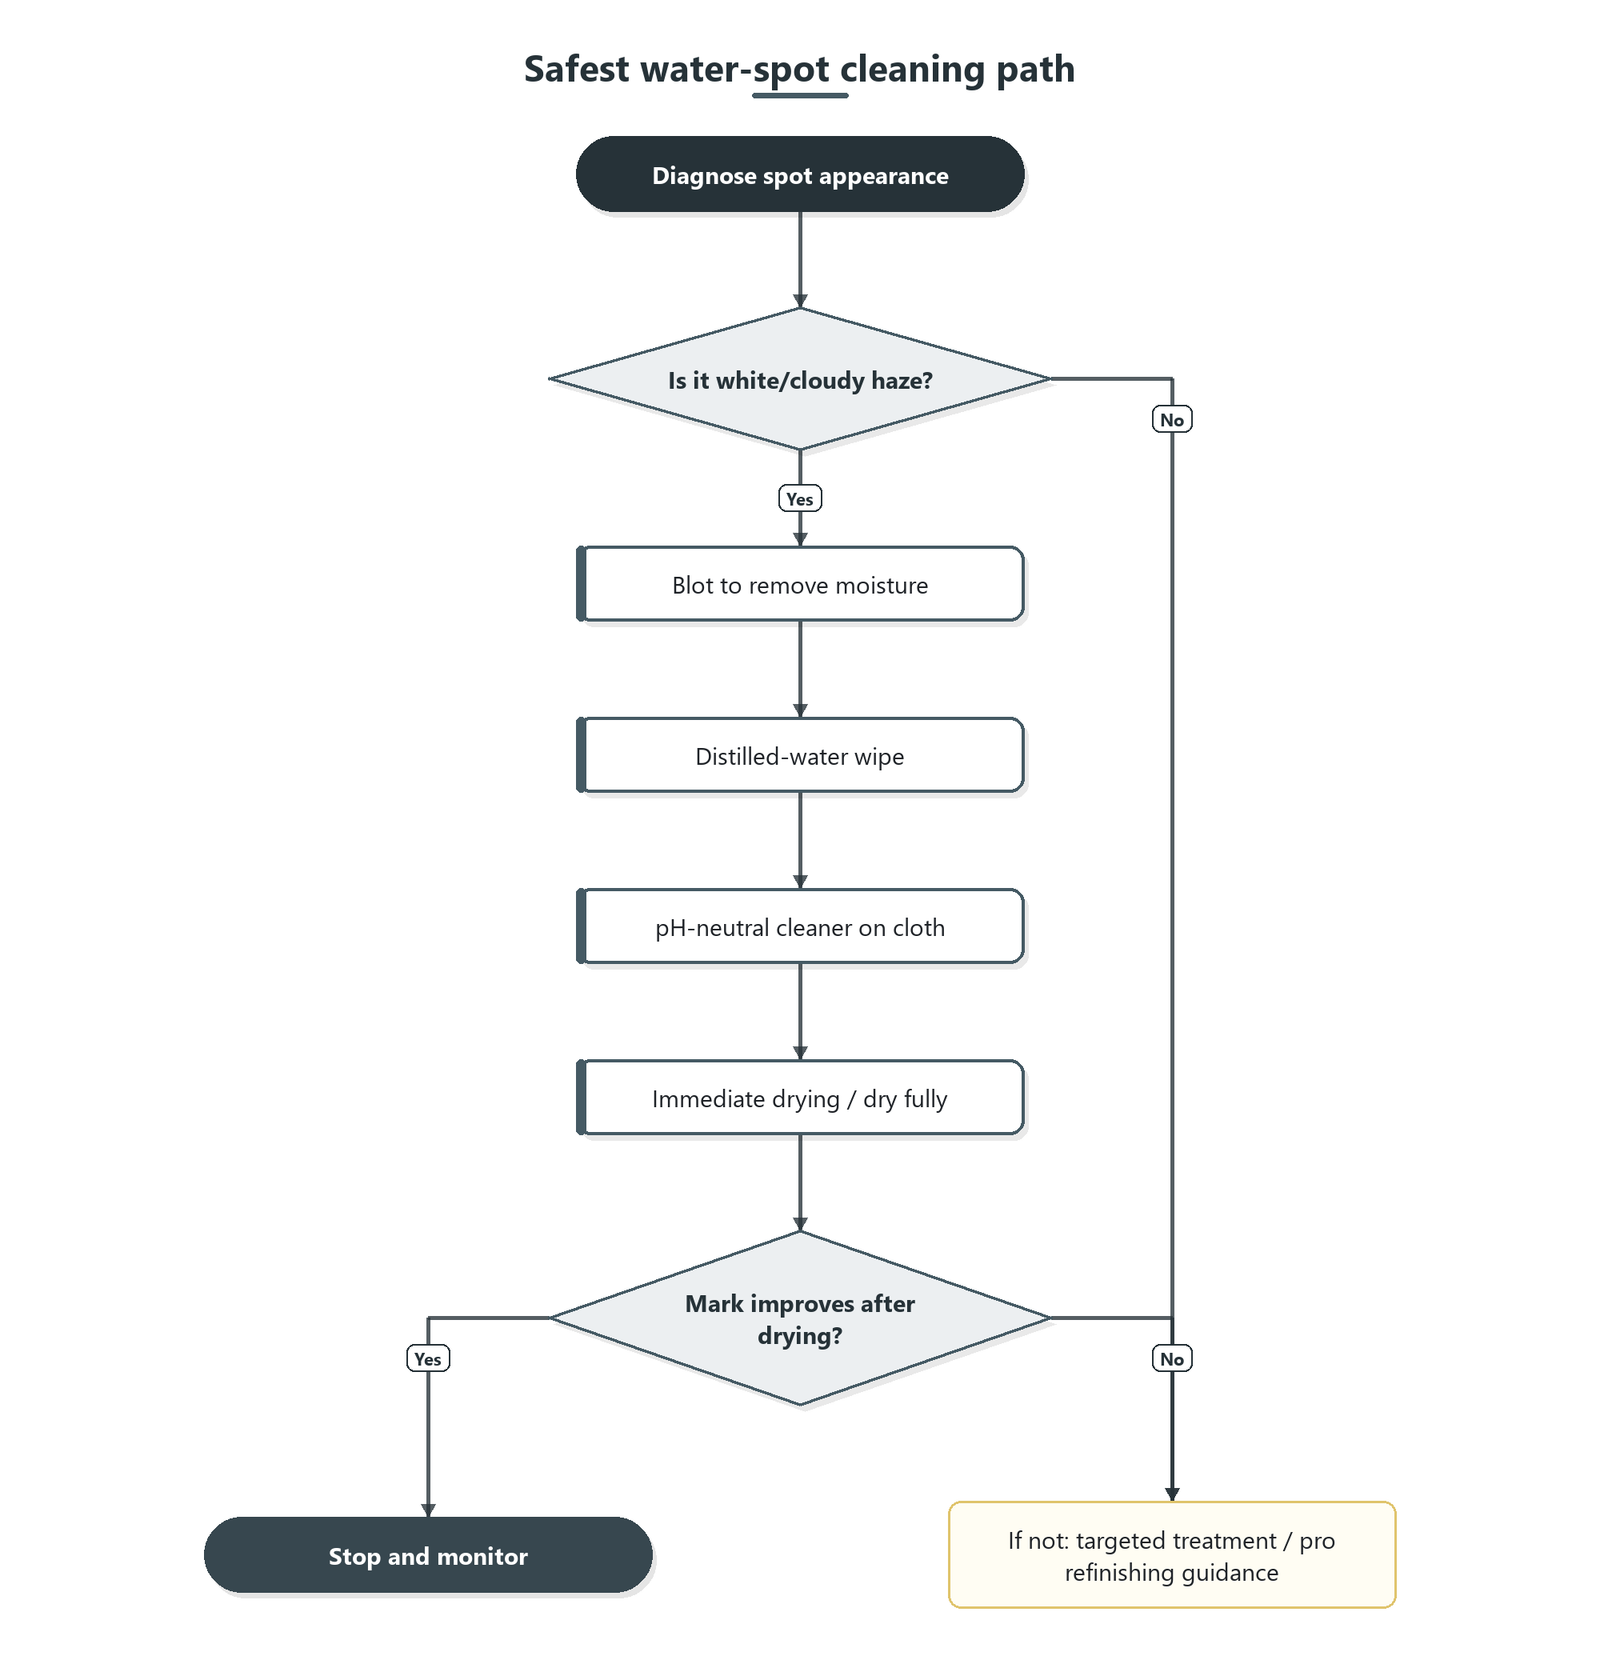
Skip stronger interventions (abrasives, harsh chemicals, sanding) if you’re unsure what finish your floor has, if the spot is large/deep, or if paying for refinishing would be a major hardship. Also skip DIY escalation if the mark keeps returning after drying—persistent moisture exposure can be a bigger underlying issue than a single cleanable stain.
Scan-and-save checklist (quick reference)
| Step | What to do | Stop if… |
|---|---|---|
| 1 | Blot with dry microfiber | The spot looks worse or spreads |
| 2 | Wipe with *slightly* damp cloth (distilled water) | You see streaking/haze that didn’t exist |
| 3 | Use pH-neutral wood floor cleaner on a cloth | The finish looks dull or patchy |
| 4 | Dry fully (towel + airflow) | The mark remains unchanged after drying |
| 5 | If still cloudy/stained | It doesn’t improve after the correct cleaning steps—consider refinishing |
Sources
– National Wood Flooring Association (NWFA), care/maintenance guidance emphasizing controlled moisture use (avoid wet mopping) and maintaining indoor humidity levels to protect wood floors (35–55% RH is commonly specified in NWFA guidance).
– ASTM D1037, standard test methods for evaluating properties of wood materials (context for hardness/porosity comparisons when discussing stain depth mechanisms).
Most water spots on hardwood can be handled safely by blotting fast, wiping with distilled water on a nearly dry cloth, then using a pH-neutral wood floor cleaner on the cloth—always followed by immediate drying. If the mark doesn’t improve after proper cleaning and drying, don’t escalate to abrasives or harsh chemicals; the stain may have penetrated, and refinishing (or professional help) may be the realistic next step. If you share your floor type (finished vs. unfinished/oiled/waxed), the brand (if known), and whether the spot is white/cloudy or dark, we can narrow down the safest next action.
Frequently Asked Questions
What’s the safest way to remove water spots from hardwood floors without damaging the finish?
Start by gently drying the area with a soft, lint-free microfiber cloth so you don’t spread moisture. For most finished hardwood, wipe the spot with a cleaner specifically made for hardwood floors, then dry thoroughly. Avoid harsh chemicals like ammonia, bleach, or abrasive pads, since they can dull or strip the protective finish and make water spots harder to remove.
How do I remove white rings or light haze water spots from hardwood flooring?
White rings and haze are often caused by trapped moisture that affected the finish, not the wood itself. Try wiping with a slightly damp microfiber cloth using warm water, then follow with a small amount of hardwood floor cleaner and buff dry. If the haze remains, use a 1:1 mixture of distilled water and white vinegar on a cloth (not directly on the floor), then dry immediately and buff to restore shine.
Why do water spots keep coming back on my hardwood, and how can I prevent them?
Water spots often return when spills aren’t dried promptly or when standing water penetrates through weak spots in the finish. To prevent recurring marks, wipe spills immediately, use felt pads under furniture, and place coasters under plants and cups. Maintain humidity levels (roughly 35–55%) and clean with pH-neutral products designed for hardwood to protect the finish.
Which cleaning products are best for safely cleaning water spots on finished hardwood floors?
The best option is a pH-neutral hardwood floor cleaner that’s compatible with your finish, since it’s designed to clean without stripping the surface. You can also use distilled water for spot cleaning to reduce mineral residue that can leave new rings. Skip all-purpose cleaners, steam mops, and oil-based products unless the product label explicitly says they’re safe for your specific hardwood finish.
How should I use a vinegar solution or mineral deposits remover to clean stubborn hardwood water spots?
For stubborn spots, lightly dampen a microfiber cloth with a 1:1 mix of distilled water and white vinegar, then wipe the area gently—don’t soak the wood. Immediately follow with a dry cloth to remove any remaining moisture, then buff the spot to blend sheen with the surrounding floor. If the spot is mineral-related, distilled water first and repeated gentle cleaning is safer than aggressive scrubbing; if it still won’t lift, consider professional refinishing rather than continuing to abrade the finish.
📅 Last Updated: October 31, 2026 | Topic: How to safely clean water spots from hardwood floors? | Content verified for accuracy and freshness.
References
- Water damage
- Wood finishing
- https://www.fpl.fs.usda.gov/products/wood-handbook/
- water stain | NWFA
- 404 Error
- https://www.nps.gov/articles/wood-maintenance.htm
- https://scholar.google.com/scholar?q=how+to+remove+water+spots+from+hardwood+floors Google Scholar
- https://scholar.google.com/scholar?q=hardwood+floor+water+stains+cleaning+methods+finish+protection Google Scholar
- https://scholar.google.com/scholar?q=wood+floor+water+mark+stain+removal+polyurethane+finish Google Scholar


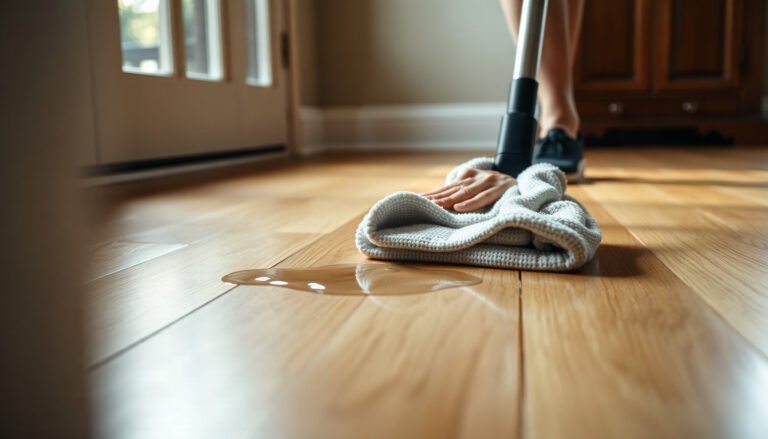
[…] the floor’s appearance safely. You’ll only need a microfiber cloth, distilled water, and a pH-neutral wood floor cleaner, and most spots respond within a short, step-by-step […]