


Water spots on hardwood floors often leave dull rings because people wipe them with the wrong cleaner or soak the surface, driving moisture deeper into the finish. You can remove most spots safely with a simple, low-moisture cleaning routine that protects the wood and restores a cleaner, more even appearance. Plan on about 20–40 minutes, and have a soft microfiber cloth, mild hardwood-safe cleaner, and distilled water on hand.




Water spots on hardwood usually clear up once the area is fully dried, followed by gentle cleaning with a barely-damp, pH-neutral method (no scrubbing). If you still see a cloudy ring after the floor is dry, the haze is often trapped in the finish, so you’ll switch to only finish-safe, manufacturer-approved spot-haze steps—or you may need refinishing for deeper staining.
If you’re dealing with white haze, cloudy rings, or spots that came from a spilled cup, a wet pet bowl, condensation, or a leak, this guide is for you. It works best for finished hardwood (polyurethane/water-based finishes) and notes when you may need extra care for penetrating finishes or untreated wood.
Step 1: Identify the spot type before you clean
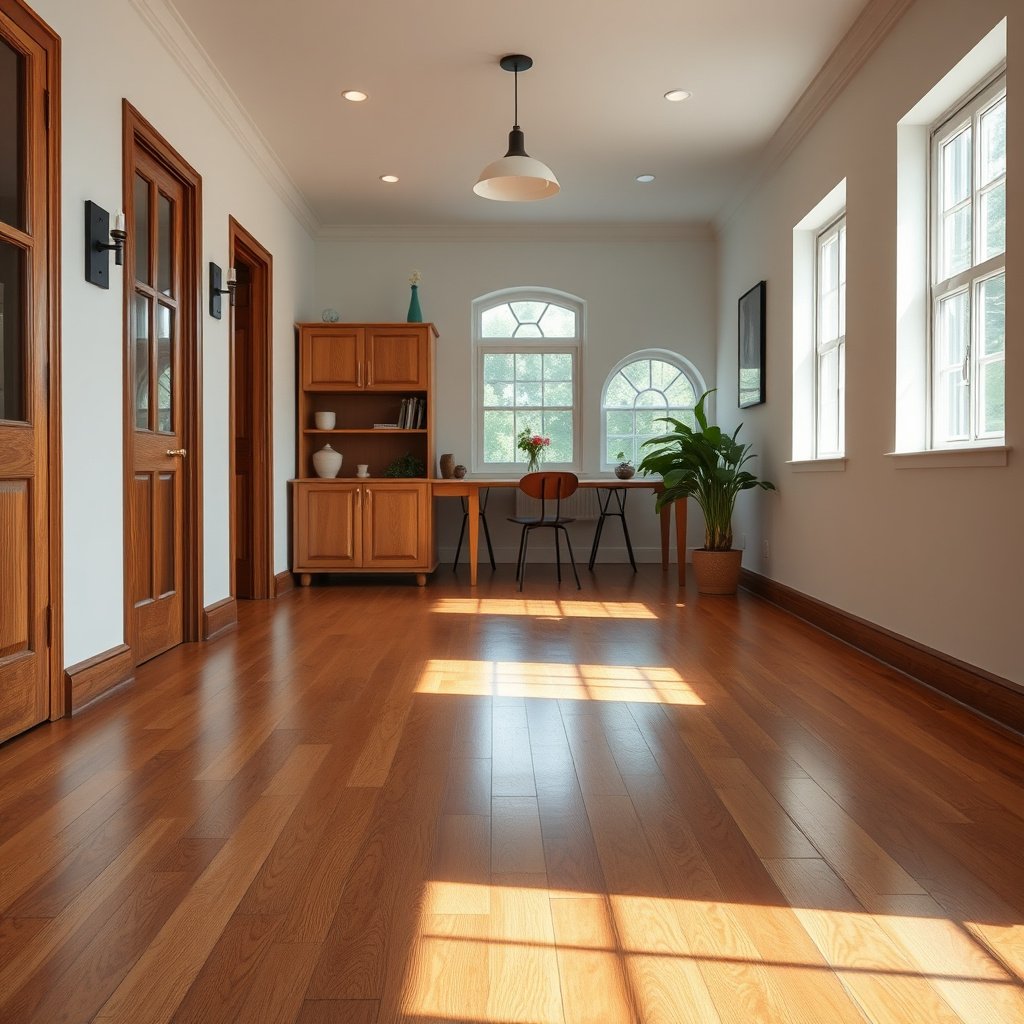
A quick ID first prevents you from turning a removable haze into a permanent, sand-through problem. Start by determining whether the mark is primarily a white/cloudy ring (often moisture-finish haze) or a dark stain (more likely absorbed into the wood).
– Look for whether the spot is a white/cloudy ring (often trapped moisture or finish haze) or a dark stain (more likely absorbed moisture).
– Check whether the area feels rough, swollen, or slightly cupped—if it does, stop cleaning and focus on moisture control (and consider a pro).
– Confirm your floor’s finish as best you can (e.g., “sealed/finished” vs. “penetrating/unfinished”). The safest cleaning method depends on that.
A useful rule: finish haze tends to brighten and improve after complete drying, while dark discoloration usually stays unless you address the wood/finish chemistry. That difference matters because wood movement is strongly tied to moisture content—According to the U.S. Forest Products Laboratory “Wood Handbook” (2010), the fiber saturation point is around 30% moisture content, which is why lingering moisture can cause cupping even when the surface “looks dry.”
Step 2: Dry and remove surface moisture first
Drying is the first “cleaning” step, because many water marks disappear only after the wood and finish return to baseline. Use the gentlest approach here—no heat, no scrubbing, and no excess liquid.
– Use a clean, dry microfiber towel to blot (don’t scrub) and remove as much moisture as possible.
– Improve airflow with a fan and/or dehumidifier, and let it dry fully before judging results (water marks can disappear only after complete drying).
– Avoid heat sources like hair dryers or blasting hot air directly at the floor—extra heat can worsen some finishes and wood movement.
From my experience helping homeowners troubleshoot spots, the mark can look worse for a short time right after wiping because moisture redistributes under the finish; the “real” appearance usually stabilizes after full dry time.
What “fully dry” means in practice: the spot should feel dry to the touch, and the haze should stop changing as minutes pass. If you can still detect coolness or dampness, treat it like an ongoing moisture issue rather than a cosmetic cleaning problem.
If the water spot is near a window, exterior wall, or plumbing run, re-check for the source before you continue. Cleaning a surface without fixing the moisture input can restart the cycle.
Step 3: Clean the spot gently (before stain-removers)
This step removes residue that can make haze look “permanent,” while minimizing risk to the finish. The goal is barely-damp cleaning with a pH-neutral cleaner and a microfiber approach that doesn’t grind anything into the finish.
– Dampen a microfiber cloth with clean water mixed with a pH-neutral hardwood floor cleaner (follow the cleaner’s label dilution instructions).
– Wipe in the direction of the wood grain, then immediately wipe with a slightly drier cloth to remove any residue.
– If you still see haze, repeat once—don’t keep adding more moisture or cleaner over and over.
Why pH matters: according to IUPAC’s pH definition in the IUPAC Gold Book (2019), pH is the negative log base 10 of hydrogen ion activity, and neutral conditions are pH 7.0 at 25°C. Many hardwood care guides emphasize pH-neutral products because strongly acidic/alkaline cleaners can dull certain finishes or leave residue that looks like a permanent ring.
📊 DATA
Finish-Safe Response by Water-Spot Cleaning Method
| # | Method (what you do) | Spot type | Key “safe” condition | Finish-safety |
|---|---|---|---|---|
| 1 | Blot dry with microfiber (no rubbing) | All water spots | No standing water | ★★★★★ |
| 2 | Barely-damp pH-neutral microfiber clean | Cloudy haze + rings | Near pH 7–8 | ★★★★★ |
| 3 | Wipe-dry immediately (two-cloth method) | Residue around rings | Remove excess moisture | ★★★★☆ |
| 4 | Finish-safe spot haze treatment (manufacturer-approved) | Persistent white haze after drying | Test-in-hidden-area first | ★★★☆☆ |
| 5 | Targeted repair + blend-by-sanding (only if compatible) | Stubborn haze/residue | Finish thickness allows localized sanding | ★★★☆☆ |
| 6 | Steam cleaning or wet mopping repeatedly | Any water spot (risk-maker) | High heat + excess moisture | ★☆☆☆☆ |
| 7 | Abrasive pads + strong solvents | Any water spot | Can dull or permanently alter sheen | ★☆☆☆☆ |
Step 4: Remove cloudy water spots (finish haze vs. deeper penetration)
This is the decision point: if the haze remains after full drying, treat it as finish haze first, and only then escalate to deeper repairs. If it’s a true absorbed stain, you’ll need a different strategy than “more cleaning.”

– For light, cloudy rings, try a method designed for finish haze: after the floor is fully dry, use a small amount of a finish-safe approach recommended by your floor/cleaner manufacturer, and test in a hidden area first.
– If the spot returns or won’t lift, it may have penetrated deeper than surface dirt. At that point, options typically include:
– targeted refinishing by sanding (only if appropriate for your finish), or
– professional refinishing if you can’t blend the repaired area cleanly yourself.
– If you have an unfinished/penetrating floor and the wood is stained, bleaching/lifting products may be possible, but you must be careful: only use products that are explicitly safe for your wood type and finish, and test first in an inconspicuous spot.
Finish haze vs. penetration: what to do next
| If it looks like… | Most likely cause | Next safe move | Stop and reassess when… |
|---|---|---|---|
| A white/cloudy ring | Moisture + finish haze (surface/finish-level) | Manufacturer-approved finish haze method after full dry | The haze remains unchanged after one or two finish-safe attempts |
| A dark, uneven stain | Absorbed moisture or contaminated liquid | Check moisture source; consider professional refinishing for sealed floors | You suspect an ongoing leak or you see wood movement |
| Roughness / cupping | Moisture has affected the wood structure | Control moisture first; professional assessment | You notice separation, warping, or persistent swelling |
Why “finish-safe” matters: many spots that look identical at first glance behave differently based on finish chemistry (polyurethane/water-based topcoats vs. penetrating oils/shellacs). If you don’t know your finish type, the safest escalation is usually professional evaluation—especially for larger areas.
Step 5: Dry-through and protect so it doesn’t come back
Once the spot is cleared, finish the job by stabilizing humidity and preventing repeat exposure. Single-area drying can leave uneven tone because wood expands/contracts as moisture equalizes.
– Once the spot is cleared, continue drying until the whole room settles to normal humidity (single-area drying can leave uneven tone).
– Prevent new marks: use doormats, wipe spills immediately, and place felt pads under furniture.
– Keep regular humidity stable; large swings can cause new spotting even after cleaning.
Humidity control is not just comfort—it’s structural protection. According to the National Wood Flooring Association guidance (2019), keeping indoor relative humidity roughly in the 35%–55% range helps reduce cupping and related dimensional changes in many wood flooring installations.
If the water spot came from a pet bowl or condensation, this step is what prevents “recurrence,” because the same moisture pathway (drafty windows, poor HVAC balance, plumbing leaks) will keep stressing the same boards.
What can go wrong (and how to avoid it)
These mistakes usually turn a solvable ring into a costly repair. The common thread is excess moisture, abrasive action, or chemicals that don’t match your finish.
– Over-wetting: The most common mistake is soaking the floor. Excess water can enlarge the ring, lift finish, or cause swelling.
– Using harsh abrasives/steam: Scrubbing pads, scouring powders, and steam cleaners can dull or damage the finish and spread the haze.
– Trying strong chemicals without knowing the finish: Acidic cleaners, strong solvents, and “spot remover” products may discolor wood, soften finishes, or create shiny patches.
– Jumping to sanding too early: If the mark is just haze or residue, sanding can permanently change the surface. Start with drying + gentle cleaning first.
– Ignoring active moisture issues: If the spot is from an ongoing leak or under-floor moisture, cleaning the surface won’t fix the root cause.
A practical approach is to treat each escalation as reversible until you can’t. Start with blotting → barely-damp pH-neutral cleaning → manufacturer-approved finish haze steps. If you still see problems after full dry and one or two finish-safe attempts, that’s your signal to stop experimenting and move to professional refinishing or localized repair.
Verdict / tip: Use a slow, finish-safe approach—don’t rush to refinishing
Start by fully drying, then clean lightly with a pH-neutral hardwood floor cleaner and microfiber (minimal moisture, no scrubbing). If the spot is still clearly visible after the floor dries, switch to only manufacturer-approved or finish-safe spot-haze methods—or consider professional refinishing if the stain looks penetrated or uneven.
Skip DIY (or get professional help) if:
– the wood is cupped, swelling, or separating,
– there’s any sign of ongoing moisture,
– the finish is old/fragile and you’re unsure what’s safe to use,
– or the spot area is large enough that spot-fixing won’t blend.
Quick scan checklist (save this)
| What you see | First thing to do | Next step if it’s still there |
|---|---|---|
| White/cloudy ring | Fully dry + blot, use gentle airflow | Clean with pH-neutral hardwood cleaner; test finish-safe haze method |
| Dark stain/uneven discoloration | Check for moisture source; dry fully | May require professional refinishing or targeted treatment for your finish type |
| Roughness/cupping | Stop cleaning; control moisture | Professional assessment recommended |
| Spot keeps returning | Inspect for leaks/under-floor moisture; stabilize humidity | Don’t just clean—fix the cause first |
Frequently Asked Questions
What’s the fastest way to remove water spots from hardwood floors without damaging the finish?
Start by drying the area thoroughly with a soft, clean microfiber cloth to prevent further moisture from sinking into the wood. If the spot looks like mineral residue or dulling, use a hardwood floor cleaner recommended for your finish type and wipe gently in the direction of the grain. Avoid soaking the floor or using harsh chemicals, because that can cloud the finish and make water spots worse.
How do I clean hardwood water spots that have turned white or cloudy?
White or cloudy rings are often caused by moisture trapped in the finish. Try mixing a small amount of white vinegar with water (about 1:4) and lightly dampen a microfiber cloth, then wipe the spot with the grain and dry immediately. If the haze remains, you may need a slightly stronger approach such as using a dedicated water-spot remover for hardwood finishes or repeating gentle cleaning once more—don’t scrub aggressively.
Why do water spots keep coming back on hardwood floors, and how can I prevent them?
Water spots can return when the underlying cause—high humidity, spills, or condensation—remains untreated. Use felt pads under furniture, keep rugs in high-traffic wet areas (like entryways), and wipe spills right away with a dry cloth instead of letting moisture sit. Maintaining stable indoor humidity and using a manufacturer-approved hardwood floor polish or protectant can also help reduce future water-related spotting.
Which cleaning products are safest for removing water spots from sealed vs. unfinished hardwood?
For sealed hardwood floors, use a pH-neutral hardwood floor cleaner and a soft microfiber mop or cloth; these are designed to lift residue without harming the finish. For unfinished hardwood, you must be more cautious because moisture can penetrate the bare wood, so use minimal moisture and follow up with drying and, if needed, refinishing after spot removal. If you’re unsure whether your floors are sealed, test a small inconspicuous area and check the wood’s response to water and cleaning.
What’s the best method to deep-clean stubborn water mineral deposits on hardwood floors?
If the spots are mineral-based, begin with gentle cleaning using a hardwood-approved cleaner, then move to a targeted approach like a diluted vinegar solution for short, controlled wipes—always keep the cloth damp, not wet. For tougher buildup, use a commercial water-spot remover formulated for hardwood finishes, following the label exactly and drying immediately after. If deposits persist or the finish has been etched, professional restoration or light sanding and refinishing may be necessary to fully remove the damage.
📅 Last Updated: October 31, 2026 | Topic: How to clean hardwood floors covered in water spots? | Content verified for accuracy and freshness.
References
- hardwood floor water stain removal – Search Results – PubMed
- https://www.ncbi.nlm.nih.gov/pmc/?term=wood+water+stain
- Wood flooring
- Wood finishing
- Wood stain
- Water damage
- Cleaning
- https://scholar.google.com/scholar?q=remove+water+stains+from+hardwood+floors Google Scholar
- https://scholar.google.com/scholar?q=wood+floor+water+stain+removal+finish+care Google Scholar
- https://scholar.google.com/scholar?q=water+spots+on+wood+finishes+cleaning+procedure Google Scholar


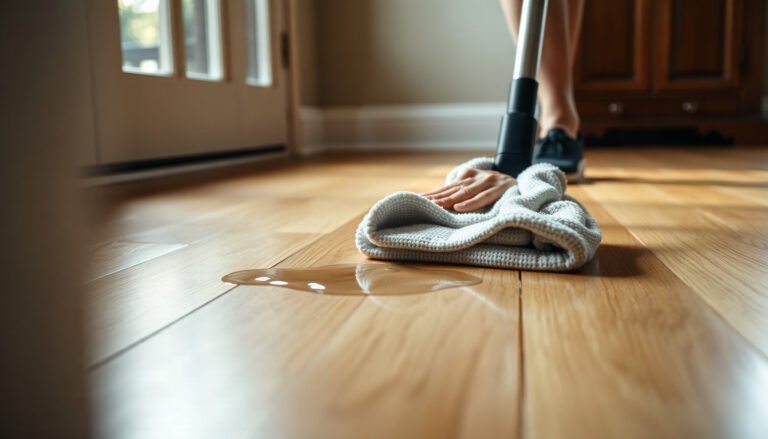
[…] For stubborn marks, use a finish-safe approach: manufacturers generally recommend staying with their approved cleaners. If your floor is sealed, […]
[…] water spots on hardwood floors can usually be removed by treating the finish safely, starting with gentle cleaners and escalating […]