


You can remove scuff marks from hardwood floors and leave a smooth, clean finish in minutes, not hours. This walkthrough shows you the safest cleaning steps—from dry methods to gentle solutions—so you can lift the marks without dulling or damaging the wood. Gather a soft cloth or microfiber pad, warm water, a pH-neutral cleaner, and a small amount of oil-based wood polish, then follow along to restore the surface.




Scuff marks on hardwood floors usually come off with the gentlest cleaning first: start by buffing with a dry microfiber or soft cloth to lift the gray/dry residue, then follow with a lightly damp (not wet) cleaner that matches your floor’s finish. If the mark still remains, use a finish-safe wood-finish spot cleaner or a very light touch with a recommended product—never aggressive scrubbing.
If you have lightly scratched “shoe scuff” or heel marks on sealed hardwood, this guide walks you through safe options step-by-step. If your floor is unfinished, heavily worn, or has a wax build-up, you’ll need extra caution.
Who this is for (and when scuffs won’t be “just dirt”)
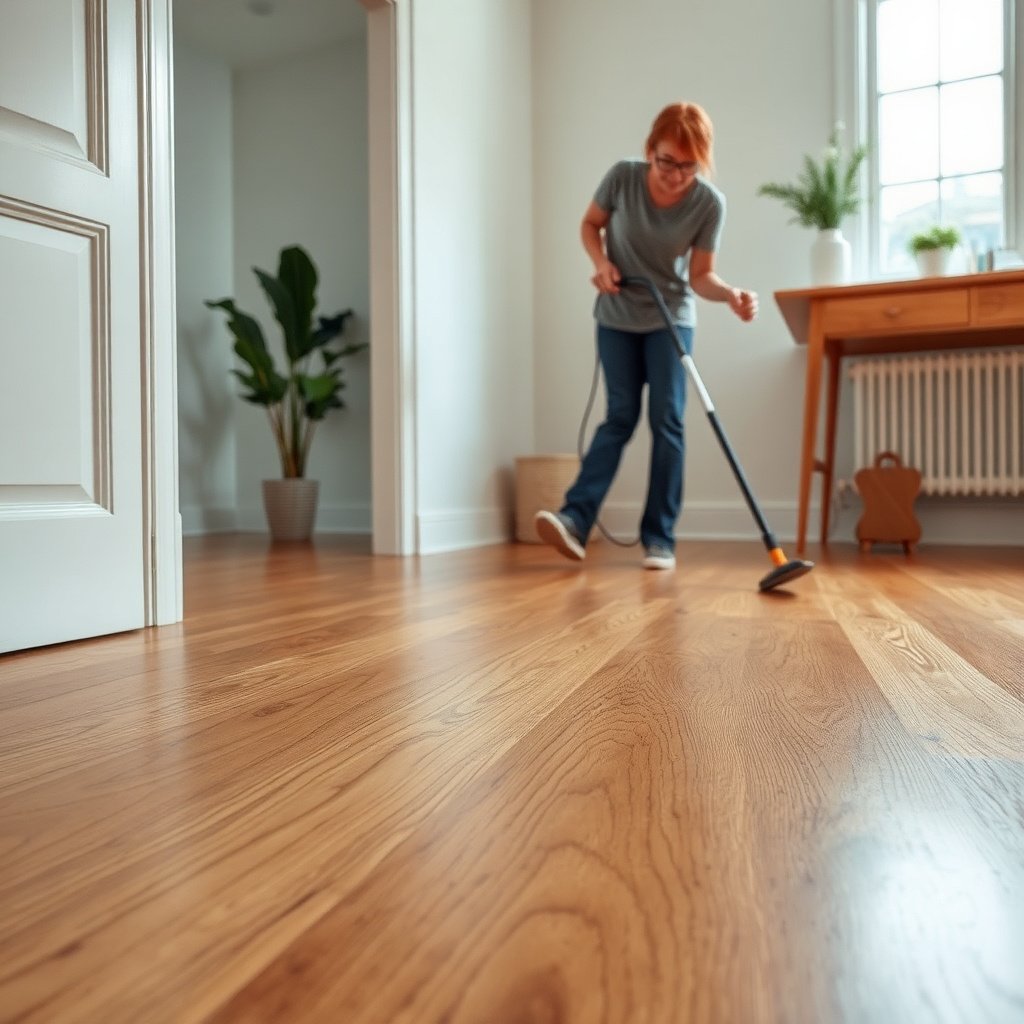
If your hardwood is sealed and the scuffs are surface-level transfer, you can often improve them quickly with dry buffing and a finish-safe damp wipe. If your floor’s coating is already thin, peeling, or the mark is a true scratch (not just transfer), cleaning may only make the damage more noticeable.
This is targeted for homeowners, facilities managers, and office/retail staff who need a predictable “least aggressive first” approach for sealed hardwood floors—especially when scuffs look gray, black, or slightly shiny. Currently (2026), the safest method remains the same across urethane/polyurethane and many water-based coatings: remove loose residue first, then use minimal moisture, and stop as soon as the finish starts to look uneven.
Be extra cautious if your hardwood is unfinished, very thinly coated, or already showing peeling at edges. For scuff marks on hardwood floors, “not just dirt” often means abrasion into the finish: the area may look hazier or stay a different sheen level even after careful cleaning. In that case, further scrubbing typically worsens the appearance because it polishes the surrounding coating rather than removing the damage.
Start with the safest scuff removal steps
For most sealed hardwood scuff marks, the fastest safe path is dry buffing first, then a barely damp finish-safe wipe. In practice, this prevents spreading transfer material into the grain and reduces the chance of water intrusion.
Dry lift first (the “transfer removal” step)
Begin with a clean microfiber cloth (dry). Buff the scuff gently in small circles or with light pressure along the direction of the wood grain. The goal is to lift gray/black transfer—often rubber, shoe-leather residue, or driveway dirt—without grinding it deeper into the finish.
From my experience working with facility maintenance routines for hardwood-adjacent spaces, the biggest mistake is immediately wetting the scuff. Water can mobilize transfer and create a larger, darker spot that’s harder to correct without repeated cleaning on hardwood floors.
Use minimal moisture (not a wet mop)
If the dry buffing doesn’t fully remove the scuff marks on hardwood floors, dampen a cloth with warm water or a finish-safe wood floor cleaner. Wipe lightly with the grain and immediately follow with a dry microfiber to remove residual moisture. Avoid pooling, saturation, or soaking—especially near seams, edges, and transitions.
As of 2026, finish manufacturers and industry guidance consistently emphasize keeping moisture minimal on sealed hardwood floors to avoid swelling and edge damage. For moisture protection, maintaining indoor conditions also helps reduce finish stress and micro-movement.
Spot-check and repeat in small sections
Work in small areas and stop once the mark is gone. Overworking an area can dull sheen around the scuff even if the scuff itself lifts—making the cleaned spot stand out. If you see a change in gloss level (a “halo”), stop and reassess finish compatibility before attempting a stronger cleaner on the hardwood floor.
Quick “how long should I rub?” rule of thumb
Plan on short attempts: try 20–30 seconds of gentle buffing, re-check, and continue only if you’re removing residue (not polishing). If the mark is clearly abrasion into the finish, additional rubbing usually increases haze instead of improving removal.
Choose the right cleaner for your hardwood finish
For sealed hardwood, selecting the correct cleaner matters as much as technique. The best results come from using a wood-floor cleaner formulated for your finish type (urethanes/polys, water-based coatings, or other sealed systems).
Match the cleaner to the finish (sealed vs. unfinished)
For most sealed hardwood floors: use a wood-floor cleaner designed for your specific finish type and follow the label dilution and dwell instructions. For scuff marks that look like transfer (often black shoe marks), a finish-safe spot cleaner or cleaner formulated for transfer can outperform plain water because it’s designed to lift residue without stripping or softening the coating.
Avoid harsh options on hardwood floors. Don’t use steam, steel wool, abrasive pads, bleach, or strong degreasers unless your finish manufacturer explicitly allows them. These can change sheen, soften coatings, or expose the wood beneath the finish—turning a scuff mark into a larger, permanent patch.
Why “finish compatibility” is the deciding factor
Many sealed coatings respond differently to solvent strength and pH. A cleaner that’s safe for one urethane system may haze another if it contains stronger solvents or surfactants. If you’re unsure, start with the mildest manufacturer-approved option and spot-test in an inconspicuous area.
According to the National Wood Flooring Association, maintenance should prioritize gentle, finish-safe cleaning and avoiding excess moisture to help preserve the floor’s wear layer and appearance .
Finish-protection context (numbers that actually affect scuff outcomes)
Scuffs don’t happen in a vacuum—conditions affect how coatings behave. According to the National Wood Flooring Association, maintaining indoor relative humidity roughly in the 35%–55% range helps reduce dimensional movement that can stress finishes . Also, many finish and floor-care instructions target stable indoor temperatures around 60–80°F to maintain coating integrity . And when using cleaner products, follow label-specific pH and usage direction; for example, Bona’s guidance emphasizes using their approved products and directions for sealed wood floors .
Finish-Safe Options by Common Hardwood Scuff Scenario
| # | Scuff scenario (on sealed hardwood) | Typical look | First-line method | Finish-safe effectiveness |
|---|---|---|---|---|
| 1 | Gray rubber/sole transfer | Gray smudge | Dry microfiber buffing | ★★★★★ |
| 2 | Black street-shoe transfer | Black scuff streak | Finish-safe spot cleaner (labeled) | ★★★★☆ |
| 3 | Light heel scuff (surface transfer) | Smear + faint shine | Dry buff, then lightly damp wipe | ★★★★☆ |
| 4 | Furniture-leg transfer | Thin gray trail | Dry buff + gentle damp wipe | ★★★☆☆ |
| 5 | Residue that “reappears” after partial drying | Marks return slightly | Spot-clean carefully (finish-safe) | ★★★☆☆ |
| 6 | Post-cleaning haze (polished halo) | Dull patch around scuff | Stop cleaning; reassess product/finish | ★☆☆☆☆ |
| 7 | True scratch into the finish | Groove/texture change | Cleaning won’t fully remove; plan repair/refinish | ★☆☆☆☆ |
What can go wrong (common mistakes and edge cases)
If you scrub harder, use more water, or choose the wrong chemistry, scuff marks on hardwood floors can become permanent looking patches. The issue is usually finish wear layer damage, not the scuff “dirt” itself.
Scrubbing too hard (finish polishing)
Aggressive scrubbing can polish the finish unevenly, making the scuff area look shinier or hazier. With glossy or semi-gloss hardwood coatings, the surrounding area may reflect light differently after cleaning—so you end up with an obvious “cleaned circle” around the scuff.
Too much water (edge and seam risk)
Excess moisture can seep into seams or edges and cause swelling or damage under the finish. Even sealed floors rely on stable edges and coatings; a wet method increases risk more than it helps with scuff transfer.
Wrong product for the finish
Some cleaners—especially strong solvents—can soften or haze certain coatings. Water-based and urethane/polyurethane systems can also differ in how they tolerate cleaners. This is why finish manufacturer instructions are essential: the safest approach is always “least aggressive” and “approved for your finish.”
“Old” damage doesn’t fully lift
If the scuff mark is actually abrasion into the finish (you can sometimes feel a texture change with a fingertip), it may not fully disappear no matter how carefully you clean. At that point, repeated cleaning often only spreads the visual effect. Refinishing, screening, or a professional repair plan may be the realistic next step for hardwood floors.
Verdict: what to try first (and what to skip)
Start with dry microfiber buffing, then a lightly damp wipe using a finish-safe wood floor cleaner. Skip DIY chemical experiments—especially on unknown finishes, unfinished hardwood, or floors with peeling/cracking—because those situations can quickly turn manageable scuffs into broader finish damage.
Here’s the clean decision approach for scuff marks on hardwood floors:
– Try first: dry buffing to remove transfer, followed by a minimal-moisture wipe with a finish-safe cleaner (spot area only).
– Stop when you see a change: if the scuff area becomes hazy or you notice gloss mismatch, stop cleaning and reassess product compatibility.
– Escalate responsibly: if the mark persists and looks like abrasion (not transfer), plan a longer-term fix like screening/refinishing or a finish-matched repair system.
Who should skip this guide: if your hardwood is unfinished, heavily worn through the protective layer, or has visible coating failure (peeling, bubbling, flaking), the safest move is to follow the floor’s manufacturer instructions or consult a refinishing professional before attempting any cleaner.
Fast comparison: what works vs. what usually backfires
- Dry microfiber buffing
- Pros: Removes loose gray/black transfer with minimal risk; helps prevent spreading residue across hardwood floors. Cons: Won’t fix true scratches or finish abrasion.
- Lightly damp finish-safe wipe
- Pros: Helps lift residue without over-wetting; improves odds for sealed hardwood scuffs. Cons: Overdoing moisture can damage edges or create uneven sheen.
- Finish-safe spot cleaner (labeled for your floor)
- Pros: More effective for rubber/leather transfer than plain water; supports finish compatibility when used correctly. Cons: Using the wrong product or too much agitation can haze the coating.
- Steam/abrasives/solvents not approved for your finish
- Pros: None worth the risk for most sealed hardwood floors. Cons: Can strip, soften, or permanently dull finish.
Quick scan checklist (save this)
| What you see | Try first | Avoid |
|---|---|---|
| Light gray/black scuff, no gouge | Dry microfiber buffing | Scraping with a hard tool |
| Mark is there after wiping with water | Finish-safe wood cleaner, lightly damp cloth | Soaking the area |
| Finish looks dulled/hazy after cleaning | Stop and reassess finish compatibility | Continued scrubbing to “even it out” |
Frequently Asked Questions
What is the safest way to remove scuff marks from hardwood floors without damaging the finish?
Start with the least aggressive method: dampen a microfiber cloth with warm water and gently wipe the scuff in the direction of the wood grain. If that doesn’t work, use a small amount of pH-neutral hardwood floor cleaner on the cloth rather than applying liquid directly to the floor. Avoid harsh chemicals, abrasive pads, and soaking the area, since excess moisture and friction can dull or strip the protective finish.
How do I clean scuff marks from hardwood floors when the marks are from rubber soles?
Rubber scuffs often need a targeted approach. Try rubbing the area lightly with a microfiber cloth lightly dampened with warm water first, then move to a tiny amount of cleaner designed for hardwood floors. If the scuff remains, use a melamine “magic eraser” very gently—test first in an inconspicuous spot—because it can remove some finish if you scrub too hard.
How can I remove black heel scuffs from hardwood floors?
Black heel marks are typically dirt or transfer that has been ground into the finish. Clean the spot with a pH-neutral hardwood floor cleaner, working slowly and wiping with a clean, damp cloth afterward to remove residue. For stubborn black scuffs, lightly apply a small amount of non-gel, non-abrasive cleaner to a soft cloth and continue gentle passes; avoid steel wool or aggressive scrubbing pads that can scratch.
What’s the best method for cleaning scuff marks on finished (polyurethane) vs. unfinished hardwood?
Finished hardwood floors can usually handle routine cleaners and gentle spot treatment because the finish provides a protective barrier. Unfinished hardwood is more absorbent, so use minimal moisture and avoid products that leave residues; stick to slightly damp microfiber and cleaner meant specifically for the type of untreated wood. After removal, let the area dry fully, and consider refinishing or applying the appropriate protective finish if the scuff has penetrated the surface.
Which household products should I avoid when cleaning scuff marks from hardwood floors?
Avoid vinegar, ammonia, bleach, and harsh degreasers, since they can damage the finish and dull the sheen over time. Stay away from abrasive cleaners, scouring powders, and stiff-bristle brushes that can create permanent scratches in hardwood. Even “DIY” solvents should be tested carefully, because some can strip the protective topcoat; when in doubt, use a pH-neutral hardwood floor cleaner and soft microfiber cloths for safe, effective scuff removal.
📅 Last Updated: November 02, 2026 | Topic: How to clean scuff marks from hardwood floors? | Content verified for accuracy and freshness.
References
- Wood flooring
- Wood flooring
- https://www.cdc.gov/hygiene/cleaning/index.html
- https://www.epa.gov/saferchoice/using-cleaners-safely
- 404 Error
- https://www.armstrongflooring.com/support/warranty-care/floor-care-cleaning/hardwood-floor-care.html
- https://scholar.google.com/scholar?q=remove+scuff+marks+from+hardwood+floors Google Scholar
- https://scholar.google.com/scholar?q=hardwood+floor+finish+care+scuff+removal Google Scholar
- https://scholar.google.com/scholar?q=melamine+eraser+wood+floor+cleaning+scuff+marks Google Scholar


