


Need a step-by-step guide for how to remove vinyl floors in a rental property—without wrecking the subfloor or risking landlord issues? This article gives you a clear, practical method that works for most types of vinyl sheet and click-lock vinyl plank, from prep and loosening to safe removal and cleanup. You’ll finish with the fastest workflow that minimizes damage so you can restore the space—or hand it back—ready for inspection.




Remove vinyl floors in a rental property by first identifying whether the flooring is click-lock (floating) or glue-down, then using the matching cut/lift approach to keep the subfloor intact. Do it carefully with dust control and lease-compliant restoration steps, because the fastest way to lose a security deposit is preventable damage from aggressive prying or messy adhesive removal.
If you’re dealing with a rental unit (and need to get your security deposit back), the key is minimizing damage: avoid gouging the subfloor, keep dust under control, and follow any lease requirements before you start. These steps are geared toward homeowners/tenants removing vinyl plank or sheet vinyl when you have owner approval or the lease allows it.
This is for renters and homeowners who already have permission to remove resilient flooring (vinyl plank or sheet vinyl) and want a methodical, rental-friendly process in 2026—especially in units with older underlayments, partially replaced subfloors, or strict deposit restoration clauses.
Check the lease and confirm you have permission
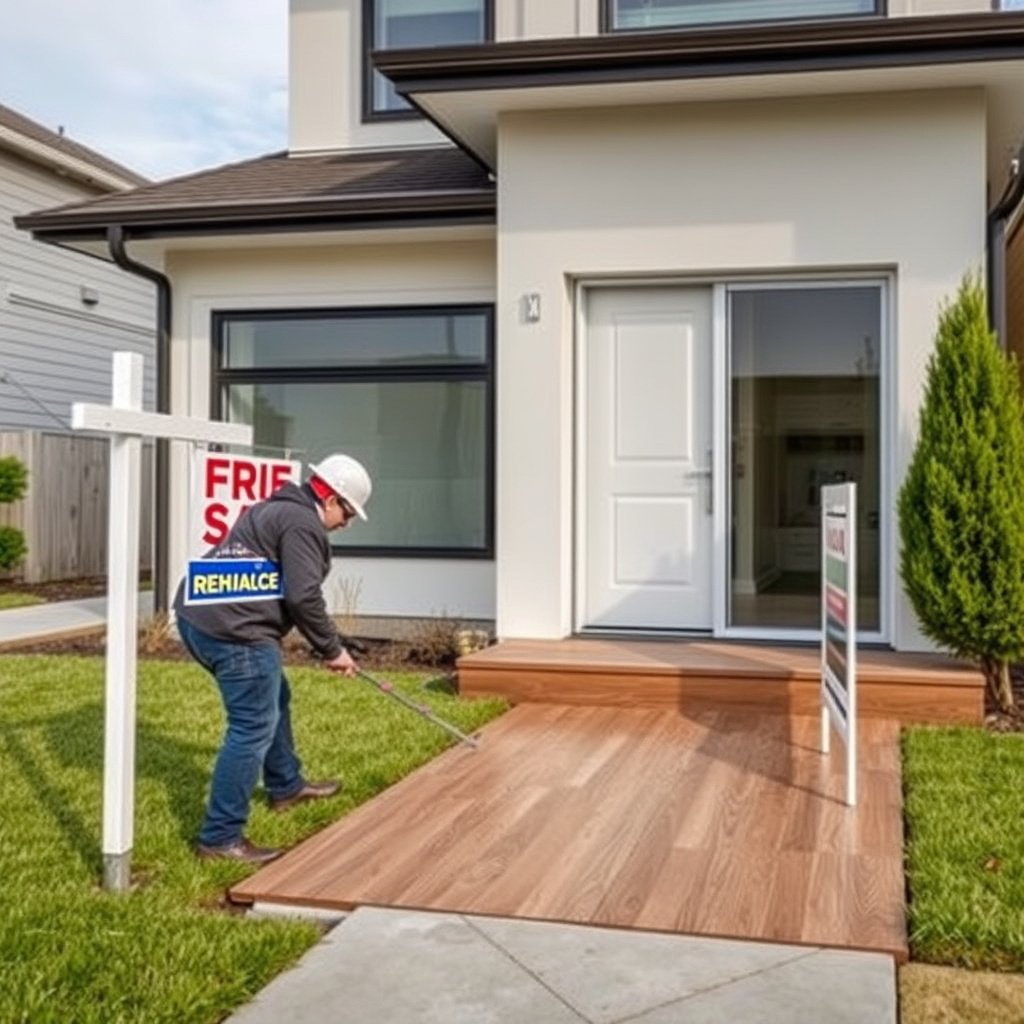
Before you touch the floor, confirm the lease allows removal and restoration to the original condition. This step directly prevents security-deposit disputes and avoids situations where you discover the landlord wanted “like-for-like” replacement rather than an uncovered subfloor.
Start by reading the language around floor modifications, “like-for-like” restoration, and what happens if you remove baseboards or disturb the subfloor. If the landlord requires written approval, get it before work begins—especially if the flooring is tacked, seam-glued, or installed with an adhesive that you can’t identify safely. In older rentals, adhesives can be unknown, and permission matters because it may affect whether you need certified abatement.
“Under OSHA’s asbestos standard, the permissible exposure limit (PEL) for asbestos is 0.1 fibers per cubic centimeter (f/cc) averaged over an 8-hour time-weighted average.” OSHA 29 CFR 1910.1001
“EPA’s National Emission Standards for Hazardous Air Pollutants (NESHAP) include specific regulated thresholds for renovation/demolition involving asbestos-containing materials.” U.S. EPA Asbestos NESHAP (40 CFR Part 61, Subpart M)
From a practical rental perspective, you’re trying to prevent two failure modes: (1) the landlord decides removal wasn’t allowed, and (2) you damage the subfloor and can’t restore it convincingly. If baseboards are painted, caulked, or have tight shoe-molding, removal can also be costly—confirm whether the landlord expects reinstallation or patching.
What “approval” usually needs to cover
Ask for clarity on these points up front (in writing if possible):
– Whether you may remove baseboards/quarter round (and if so, whether you can leave them partially attached)
– Whether the landlord expects you to replace underlayment or adhesives
– Whether cleanup must be completed to a “no residue” standard
– Whether the landlord allows you to use chemical adhesive removers or only mechanical scraping
If any part is unclear, pause. Vinyl flooring removal in a rental is less about the tools and more about compliance—because the deposit is tied to outcomes the lease defines.
Identify the vinyl type (this determines the method)
Removing vinyl correctly depends on one fact: is it click-lock (floating) or glue-down? Once you identify the type, your safest method follows automatically.
Click-lock / floating vinyl usually lifts in planks or rows by releasing a tongue-and-groove seam. Glue-down vinyl (sheet vinyl, or vinyl plank/tiles installed with adhesive) typically requires cutting the top surface, then scraping off both vinyl and adhesive residue to restore a flat subfloor.
“If the flooring is click-lock (floating), removal generally starts at a perimeter edge/transition where you can access expansion gaps and lift rows without scraping.”
“Glue-down resilient flooring commonly requires removal of both the vinyl material and any remaining adhesive residue for a flat, bondable substrate.”
“A practical identification test is lifting a small hidden corner: if it lifts as a discrete board with minimal adhesive transfer, it’s likely click-lock; if it tears or leaves a sticky residue layer, plan for glue-down adhesive removal.”
Click-lock vs glue-down at a glance
Below is a rental-focused comparison that helps you choose the right removal workflow for vinyl flooring removal in a rental.
| Feature | Click-lock / Floating Vinyl | Glue-down Vinyl |
|---|---|---|
| How it’s attached | Interlocking seams; relies on underlayment/flatness, not full adhesive bond | Top vinyl is bonded to subfloor with adhesive |
| Typical start point | Perimeter edge or transition where boards can lift | Cut into sections to control tearing |
| Risk to subfloor | Lower—less scraping pressure needed | Higher—scraping can gouge plywood/underlayment |
| Adhesive residue | Usually minimal to none if truly floating | Common—often the slowest part |
| Dust level during removal | Generally lower if you avoid grinding | Higher—scraping and cutting generate debris |
| Tool emphasis | Pull bar, tapping block, utility knife (for trimming) | Heavy-duty floor scraper, scoring/cutting tools, containment setup |
| Baseboard impact | Sometimes removable without fully pulling baseboards, depending on trim plan | Perimeter trim often needs careful removal/trim to free edges cleanly |
| Best workflow strategy | Row-by-row lifting to prevent cracks and stuck seams | Cut into controlled sections; scrape residue progressively |
| Restoration friendliness | Usually better for keeping subfloor appearance consistent | More sensitive—flatness and residue removal determine what comes next |
| Time predictability (rental) | More predictable if seams release | Less predictable—adhesive type and age change the outcome |
| Best For | Tenants who need the lowest-subfloor-risk removal path | Owners/restorers prepared for adhesive scraping and flattening |
If you’re unsure, don’t force it. Vinyl flooring removal in a rental becomes expensive when you pry through seams and turn intact boards into fragments that stick to adhesive.
Prep the room to avoid damage and keep dust down
The fastest way to protect a rental is to prep like a containment project, not a renovation. You’re preventing wall scuffs, baseboard chips, and airborne debris that can settle into vents and corners.
Remove or protect furniture, cover vents if allowed, and tape off walls/baseboards with painter’s tape to reduce edge damage. Take clear photos of the floor before removal begins—especially around transitions, under cabinets, and at doorways—so you can document condition. Plan your workflow: bag vinyl fragments as you go, and keep scraping debris contained rather than letting it spread across the unit.
“HEPA filters are designed to capture particles down to about 0.3 microns with 99.97% efficiency at the most penetrating particle size.”
“When dust is unavoidable, controlling it at the source (containment, careful cutting, vacuuming with appropriate filtration) reduces cleanup time and limits cross-room tracking.”
Dust and older-building caution (2026 reality check)
As of 2026, many rental disputes happen after tenants “did everything right” but underestimated what adhesive can contain in older units. If the property is older and the adhesive type looks suspicious, you should pause and confirm what’s installed before proceeding with mechanical scraping.
To make that decision grounded, here are regulatory benchmarks that matter when you’re dealing with older resilient flooring and potentially regulated materials:
U.S. Safety Benchmarks for Older Resilient Flooring Work
| # | Benchmark | Agency/Standard | Limit / Threshold | Type |
|---|---|---|---|---|
| 1 | Asbestos PEL (8-hr TWA) | OSHA (29 CFR 1910.1001) | 0.1 f/cc | Exposure limit |
| 2 | Asbestos excursion limit | OSHA (29 CFR 1910.1001) | 1.0 f/cc | Short-term limit |
| 3 | Asbestos action level | OSHA (29 CFR 1910.1001) | 0.1 f/cc | Trigger level |
| 4 | HEPA filtration efficiency definition | HEPA spec definition (industry) | 99.97% @ 0.3 µm | Filtration performance |
| 5 | NESHAP renovation threshold (linear) | U.S. EPA (40 CFR Part 61) | 260 linear ft | Notice threshold |
| 6 | NESHAP renovation threshold (area) | U.S. EPA (40 CFR Part 61) | 160 sq ft | Notice threshold |
| 7 | NESHAP renovation threshold (volume) | U.S. EPA (40 CFR Part 61) | 35 cu ft | Notice threshold |
Use this as a decision aid, not a substitute for testing. If you’re unsure whether the adhesive or backing contains asbestos, vinyl flooring removal in a rental can become a regulated job—especially in units built before modern resilient flooring material standards.
Remove the vinyl (click-lock vs. glue-down)
Remove vinyl in a rental by matching your technique to the vinyl type—lifting boards for click-lock and section-cutting plus scraping for glue-down. This prevents unnecessary damage and reduces time spent repairing or flattening the subfloor afterward.
For rental-friendly outcomes, move slowly, keep your blade/scraper angle controlled, and remove in manageable sections. If you hit resistance with glue-down vinyl, don’t “force it open”; instead, adjust the cut pattern and continue residue removal using methods consistent with the adhesive and flooring manufacturer guidance.
“For click-lock resilient flooring, the low-damage approach is to lift from a perimeter edge and release seams methodically rather than prying randomly in the field.”
“For glue-down resilient flooring, controlled section removal reduces tearing and makes adhesive cleanup more manageable than trying to lift large areas at once.”
VS: click-lock vs glue-down (rental risk & effort)
This table helps you choose the removal method for vinyl flooring removal in a rental with a clear “tradeoff” view.
| Criteria | Click-lock / Floating | Glue-down |
|---|---|---|
| Primary attachment | Interlocking seams | Adhesive bond |
| Typical removal pattern | Row-by-row lifting | Cut → remove sections |
| Subfloor gouge risk | Lower | Higher (scraping) |
| Adhesive residue workload | Usually minimal | Common and time-consuming |
| Dust/debris generation | Lower if avoided grinding | Higher (cutting + scraping) |
| Tool “must-haves” | Pull bar, tapping block | Heavy-duty floor scraper, blade/scoring tool |
| Best time to attempt | When you can protect perimeter edges | When you can commit to cleanup/flattening |
| Common failure mode | Cracking boards by over-prying seams | Tearing sheets/large pieces and spreading adhesive |
| How you “know” you’re on track | Planks lift without sticky transfer | Residual adhesive reduces without gouging subfloor |
| Outcome for restoration | Often cleaner handoff | Requires flatness + residue control |
| Verdict | Best for deposit-friendly, lower-damage removal | Best when you accept scraping + careful residue cleanup |
Step-by-step for click-lock (floating) removal
1. Start at a perimeter edge/transition and locate the seam gap where boards can release.
2. Lift the first row carefully; avoid using excessive force that can chip board edges.
3. Work row-by-row so you keep control of seam alignment and prevent board breaks that make removal messier.
4. Trim around door jambs or obstacles with a utility knife, but keep blade depth shallow to protect underlayment.
Step-by-step for glue-down removal
1. Cut the vinyl into manageable sections so you can control tearing and limit adhesive spread.
2. Score along seams and borders first, then remove sections gradually rather than pulling a large sheet.
3. Use a heavy-duty floor scraper with controlled pressure and angle; your goal is residue removal without gouging.
4. If adhesive won’t release, follow adhesive-manufacturer or flooring-manufacturer guidance for safe softening—avoid random chemical mixing.
A key rental lesson: vinyl flooring removal in a rental is usually judged by the condition of the subfloor, not by how quickly the top layer comes up.
Clean the subfloor and prep for what comes next
Clean-up determines whether the next flooring (or restoration) looks professional and whether the landlord sees the work as “like-for-like.” After removal, you’re aiming for a surface that’s flat enough and free of debris that could create future bumps or squeaks.
Scrape off leftover adhesive until the surface is flat enough for the next layer. You usually don’t want high ridges; they can telegraph through new flooring or prevent proper bonding. Then sweep and vacuum thoroughly—especially along edges, corners, and under transitions—because grit left behind can interfere with underlayment or patch compounds.
“OSHA requires specific controls when workers are exposed to asbestos at or above regulated limits; mechanical grinding or uncontrolled dust can increase airborne concentrations.” OSHA 29 CFR 1910.1001
“When subfloors are left uneven or contaminated with residue, new floor coverings can fail prematurely due to poor contact and localized stress.”
If you find damaged subfloor spots, document them with photos before repair, since landlords often want approval for patch methods. Keep patch and smoothing compounds compatible with the subfloor material (plywood vs. concrete) and whatever flooring will go down next.
Subfloor “quality check” before you stop
– Run your hand over the surface (carefully) for ridges and sharp residue points.
– Vacuum edges and perimeter lines where adhesive can remain.
– Verify that removed vinyl hasn’t lifted or delaminated underlayment layers.
Vinyl flooring removal in a rental ends when the floor underneath is ready for whatever the lease expects.
What can go wrong (common mistakes in rentals)
Vinyl removal goes wrong most often when someone prioritizes speed over subfloor integrity. The most common issues—gouges, torn vinyl fragments, and unsafe residue handling—can quickly turn a DIY job into an expensive restoration problem.
Damaging the subfloor happens when prying or scraping becomes aggressive, especially on plywood underlayment or softer composite layers. Breaking vinyl into pieces that spread debris also increases cleanup time and can leave adhesive behind in irregular spots. Adhesive surprises are another risk in older properties: some adhesives may be hazardous, and if you suspect asbestos-containing materials, you should pause and get guidance rather than continuing with mechanical scraping.
“For asbestos, OSHA regulates worker exposure and requires controls to prevent exposures above the PEL (0.1 f/cc as an 8-hour TWA).” OSHA 29 CFR 1910.1001
“EPA’s Asbestos NESHAP sets renovation/demolition notice thresholds for regulated asbestos-containing material quantities.” U.S. EPA Asbestos NESHAP (40 CFR Part 61, Subpart M)
Common rental mistakes to avoid
– Damaging the subfloor: Aggressive scraping can gouge wood or underlayment, leaving visible repair work.
– Tearing large sections: Pulling big sheets can stretch or fracture them, spreading debris and adhesive.
– Chemical improvisation: Avoid mixing random solvents/adhesive removers; follow guidance for safe softening.
– Ignoring underlayment/baseboards: Yanking baseboards can chip wall edges; remove/trim carefully if you plan to restore them.
One practical limitation: vinyl flooring removal in a rental can be “easy” until you encounter hidden glue seams, patched subfloor transitions, or mixed-install areas. If you notice seams that don’t match your initial identification test, reassess rather than pushing through.
Verdict / tip + quick checklist
If your vinyl is click-lock, removal is usually more predictable and lower risk for subfloor damage. If it’s glue-down, expect more time and residue cleanup—and consider pausing if you suspect hazardous adhesives in older units.
Skip DIY (or ask the landlord for help) if:
– The lease prohibits removal or requires professional restoration.
– You suspect hazardous materials in the adhesive/subfloor and can’t confirm what’s installed.
– You can’t commit to careful scraping, flattening, and thorough cleanup.
Scan/save checklist (rental-friendly)
– [ ] Permission/lease approval confirmed
– [ ] Vinyl type identified: click-lock vs. glue-down
– [ ] Photos taken before removal
– [ ] Baseboards/protection planned (no wall damage)
– [ ] Vinyl removed in controlled sections/rows
– [ ] Subfloor scraped flat enough for restoration
– [ ] Dust/debris cleaned before any handoff
Sources
– U.S. EPA guidance on asbestos in buildings/removal precautions (use if you suspect older flooring adhesives may be hazardous): U.S. EPA Asbestos NESHAP (40 CFR Part 61, Subpart M)
– OSHA asbestos exposure limits and controls: OSHA 29 CFR 1910.1001 Asbestos
– HEPA filtration efficiency definition:
Removing vinyl flooring in a rental property is mostly a process choice: identify click-lock vs. glue-down, then remove with the least aggressive method that still controls residue and protects the subfloor. If you follow the prep, keep dust contained, and stop when adhesive risk is unclear, you’ll have a much stronger chance of returning the unit in the condition your lease requires—especially in 2026 and beyond.
Frequently Asked Questions
How do you remove vinyl flooring from a rental property without damaging the subfloor?
Start by removing baseboards and any transition strips so you can lift vinyl sheets or planks cleanly. For peel-and-stick or click-lock vinyl, work slowly and use a heat gun or hair dryer to loosen adhesive and reduce tearing. If it’s glued down, pull up the vinyl in sections and scrape residue with a plastic floor scraper first, then use a manufacturer-approved adhesive remover if needed. After removal, vacuum thoroughly and check for remaining glue or low spots before re-installing new flooring or preparing the subfloor.
What’s the safest way to remove vinyl plank or vinyl sheet flooring to meet typical rental inspection standards?
Protect the area by covering walls and vents, wearing gloves and eye protection, and using drop cloths to catch debris. Keep the process controlled—lift gently, avoid gouging with metal tools, and stop if you encounter unexpected damage like wet subfloor or soft spots. Many landlords expect a clean, flat subfloor with no adhesive “humps,” so plan to remove leftover residue and sand high spots lightly. If the vinyl contains asbestos (older vinyl tiles can), pause and test before scraping or demolition.
Why is adhesive residue removal the hardest part of removing vinyl floors, and how should you handle it?
Vinyl floors often leave a sticky layer of glue that can interfere with new flooring adhesion, cause bumps, and trap dirt. After pulling up the vinyl, use warm water and a plastic scraper for light residue, then switch to a citrus-based adhesive remover or a product labeled for vinyl glue if scraping alone isn’t enough. Always follow dwell times and manufacturer directions, then clean the subfloor thoroughly so no chemical film remains. Let the subfloor dry completely before installing replacement flooring.
Which tools and products work best for removing glued-down vinyl flooring and leftover glue?
For most rental situations, you’ll want a utility knife, floor scraper (preferably plastic for residue), putty knives, and a heat gun or hair dryer to soften adhesives. For glued-down vinyl, an adhesive remover made for floor glue, plus a shop vacuum for constant cleanup, typically speeds up the job and reduces mess. Avoid harsh solvents on unknown subfloors and never grind aggressively, which can damage plywood or concrete. If the area is large, a handheld steamer can also help loosen stubborn vinyl without excessive gouging.
Best practices: How do you remove vinyl flooring while minimizing damage to surrounding flooring and walls?
Tape off doorways, cover nearby surfaces, and remove trim carefully to prevent wall paint chips and gaps around baseboards. Cut vinyl into manageable sections to reduce force, and use heat to lift corners and seams instead of prying hard. For areas next to carpet, hardwood, or tile, keep your blade tight to the vinyl seam and use a thin putty knife to separate edges. Finish by cleaning the subfloor, vacuuming thoroughly, and patching small holes or divots so the space is inspection-ready.
📅 Last Updated: October 26, 2026 | Topic: How to remove vinyl floors from a rental property? | Content verified for accuracy and freshness.
References
- Vinyl flooring
- Asbestos | US EPA
- Lead Renovation, Repair and Painting Program | US EPA
- Renovate Right: Important Lead Hazard Information for Families, Child Care Providers and Schools …
- Asbestos – Overview | Occupational Safety and Health Administration
- https://www.hud.gov/program_offices/healthy_homes/lead
- https://www.cdc.gov/nceh/lead/default.htm
- https://scholar.google.com/scholar?q=vinyl+floor+removal+rental+property Google Scholar
- https://scholar.google.com/scholar?q=asbestos+resilient+floor+coverings+removal+guidelines Google Scholar
- https://scholar.google.com/scholar?q=lead-safe+work+practices+flooring+removal Google Scholar
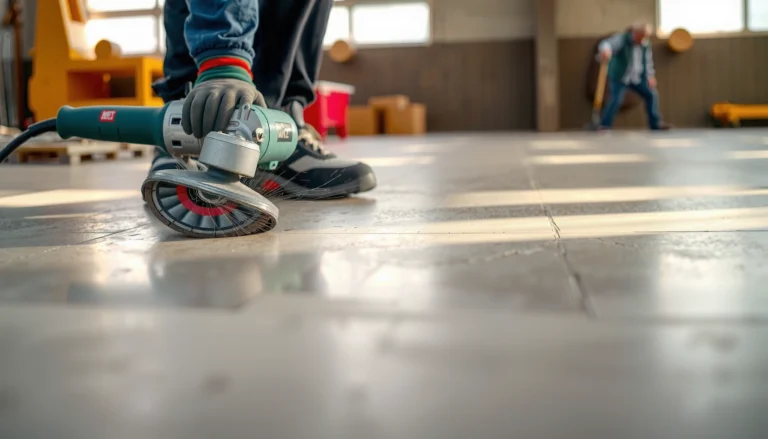
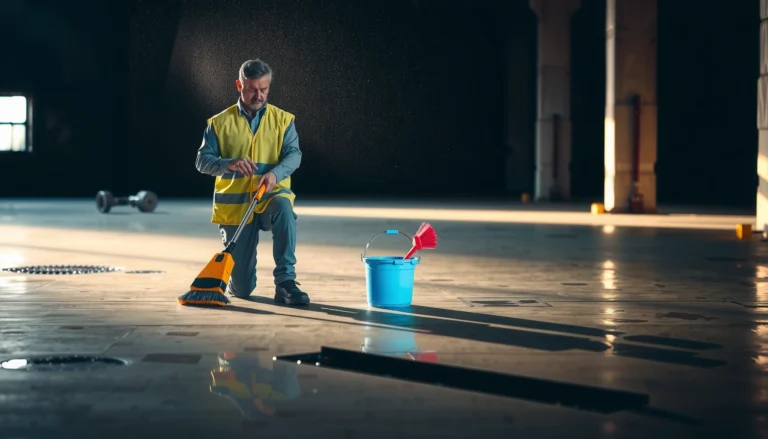
[…] and high spots can reduce contact for click-lock flooring and can weaken bond performance for glue-down vinyl. Removing tack strips, peeling layers, and residue that create bumps is a core resilient-floor […]
[…] and include extra for expansion gaps and fitting around edges, baseboards, and door frames. For glue-down vinyl flooring, focus on accurate coverage because you may have less flexibility to adjust layouts after […]