
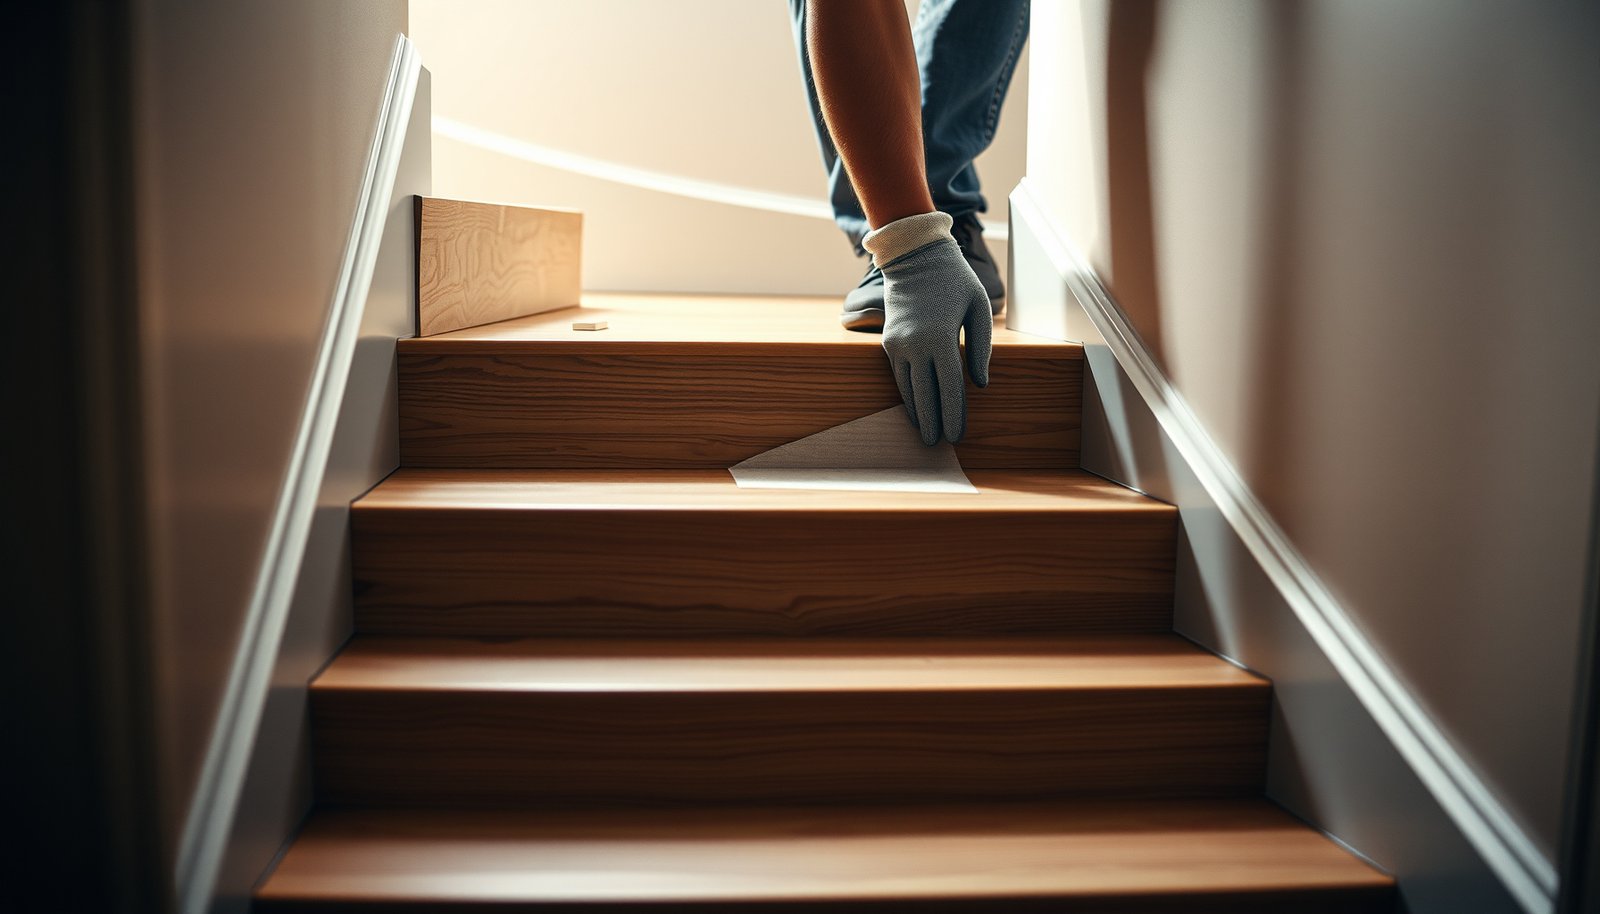

Replacing vinyl floors in a staircase is a practical DIY project when you use the right tools, prep the treads correctly, and follow a tight measurement-and-cut sequence. This step-by-step guide shows exactly how to remove the old covering, repair any damaged subfloor, and install vinyl safely over every stair rise and tread. If your goal is a clean, secure finish that won’t lift under foot traffic, this is the fastest path from start to solid results.



Replacing vinyl flooring on a staircase is mostly about prep and staying aligned: remove the old covering, make the stair surfaces flat and clean, then install vinyl treads/risers using the correct method (peel-and-stick or glue-down) with firm edge coverage. If you want a safer result, prioritize non-slip stair components and secure seams/nose edges so they don’t lift under foot traffic. In this guide, you’ll learn the workflow from teardown to final trim.
If you’re updating a carpeted-to-vinyl look, replacing worn stair tread vinyl, or switching from loose pieces to a more uniform system, this is for you. It’s written for common staircase layouts where you can access the full tread and riser surfaces, but always follow your specific vinyl and adhesive/stair tread manufacturer instructions for the “how” details.
Gather materials and pick the right vinyl system
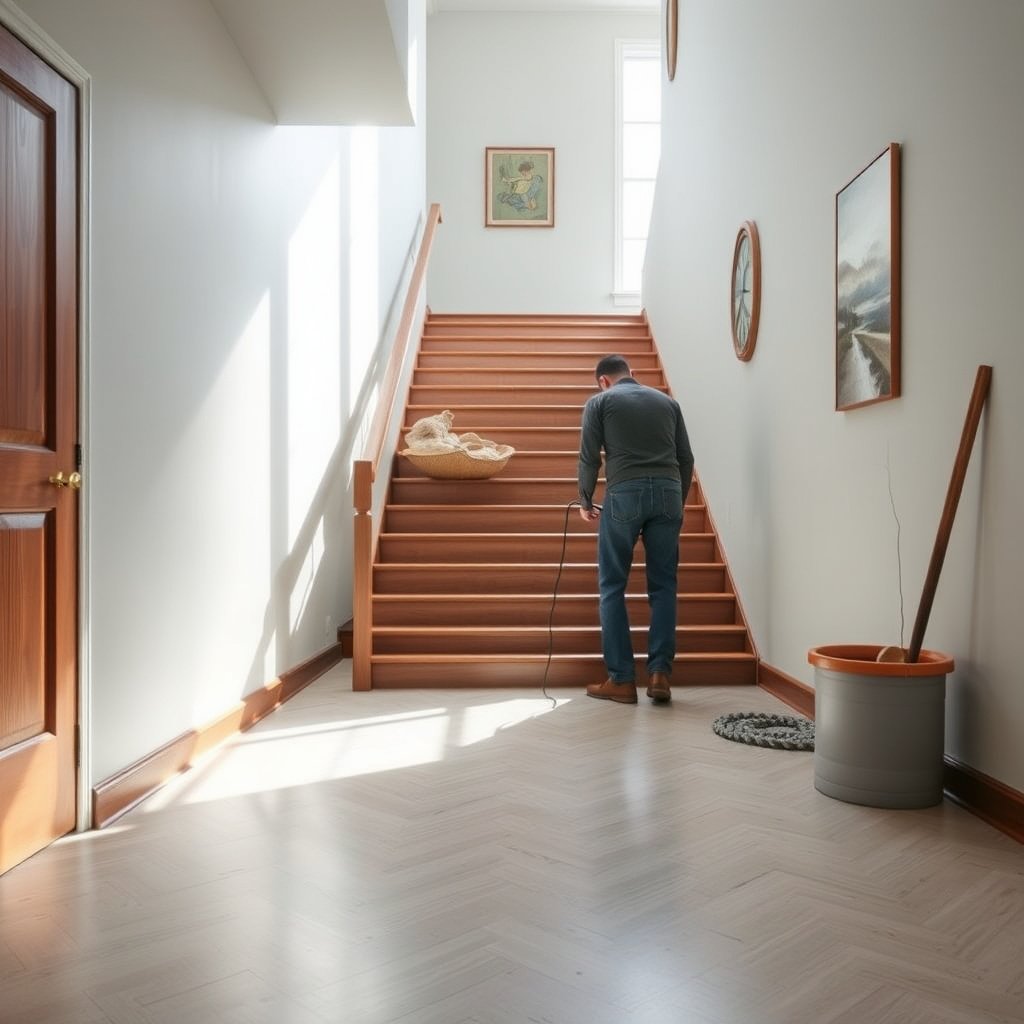
The right start for a staircase vinyl replacement is choosing a system designed for stairs (not just “resilient flooring”) and matching the install method to that system. If you make only one early decision, make it the pairing of vinyl stair treads + nose/edge trim and the correct backing/adhesive approach.
Stair-specific vinyl tread systems are engineered to handle repeated point impact and edge wear in a way sheet/plank vinyl alone typically isn’t.
Vinyl that’s installed with the wrong method (e.g., peel-and-stick rules on a glue-down product) is much more likely to fail at seams and edges.
Choose a staircase-appropriate approach
You’ll generally have two workable paths:
– Vinyl stair treads (often the easiest DIY option): these are cut/formed to fit a tread and sometimes include a nosing profile, plus a compatible riser covering approach depending on the kit.
– Vinyl planks/sheet + stair trim/nosing (more cutting and alignment work): you’ll cut around stair noses and corners, then protect cut edges with stair nose/edge trim.
In practice, most homeowners choose stair tread kits for consistency—especially when tread-to-tread dimensions vary slightly (common in older homes). If you already own vinyl planks, switching to a matching stair nose trim system can still work, but plan extra time for templating.
Decide the install type: peel-and-stick vs glue-down
– Peel-and-stick: typically best for smaller tread areas and cleaner DIY workflows, but it still demands correct subfloor prep. Think of it as “adhesion plus mechanical edge protection.”
– Glue-down: can be stronger on stairs when the substep and adhesive compatibility are correct—especially on textured or uneven substrates that need correct leveling first.
Also consider how your stair surfaces are finished now (painted wood, plywood, concrete, old tile, etc.). Your vinyl manufacturer’s instructions determine whether they require a specific primer, moisture barrier, or adhesive type.
Plan for safety/finish (this matters more than it sounds)
For stair longevity, you’re not just buying vinyl—you’re specifying a safe walking surface:
– Non-slip top surface (integrated texture or a compatible anti-slip coating system if allowed by the manufacturer)
– Stair nose/edge trim to protect cut edges
– Transition pieces for landings, wall returns, and any open edges
As of 2026, many manufacturers also provide product-specific slip expectations for *the finished surface* (not the raw vinyl sheet). Always match the rating to the final build-up you’ll actually install.
Checklist: materials you should gather before demolition
You’ll save days if you confirm these items early:
– Vinyl stair treads/risers (or your planks/sheet + trim/nosing)
– Installer-approved adhesive (if glue-down) and any primer (if required)
– Underlayment/leveling compound (only if your manufacturer allows it)
– Utility knife/blades, straight edge, measuring tape
– Hand sander/sanding block or orbital sander (for flattening)
– Vacuum + clean white cloths
– Roller (if recommended for your product)
– Non-slip stair components (nose/edge trim and any tread inserts)
Remove old vinyl and prep the stair surfaces
The fastest path to a durable install is removing the old covering completely and making the stair surfaces flat enough that vinyl doesn’t “bridge” over high spots. When you skip prep, vinyl failures usually show up where you can’t easily fix them: at edges, corners, and seams under heel strike.
Resilient flooring—including vinyl stair tread systems—telegraphs unevenness, so flattening high spots prevents bubbles and early edge lift.
Adhesives used for glue-down installs require clean, properly prepared substrates to achieve the bond strength the manufacturer designed for.
Remove the existing covering completely
Start by removing:
– Old vinyl
– Old padding (if present)
– Old adhesive residue (especially on glue-down systems)
Scrape high adhesive ridges; if you’re dealing with stubborn residue, use the method recommended by the old adhesive manufacturer or the floor prep/adhesive guidance for your new vinyl system. Never assume “it will stick through.”
Inspect and correct subfloor movement or damage
Before vinyl goes back down, check for:
– Loose boards or screws that allow flex
– Squeaks at the tread level
– Water damage, soft spots, or deteriorated plywood
– Edges that crumble or splinter
If the stair moves, the vinyl will too—often as seam separation and loosening at the nosing edge.
Clean thoroughly (vacuum + final wipe)
For any adhesive-based installation, your goal is a dust-free surface. Vacuum thoroughly, then perform a final wipe using a cleaner compatible with your vinyl/adhesive instructions.
– Note: acclimation requirements vary; use .
Typical prep targets (how “flat” is flat enough?)
Vinyl doesn’t like ridges. Your vinyl manufacturer will state acceptable flatness tolerance for the substrate. If yours does not, treat “no visible ridges under hand pressure” as a minimum standard—and measure anyway if you can (a straightedge and feeler gauge help).
Measure and plan your cuts before installing
The best staircase vinyl result comes from measuring each tread and planning your seam/edge layout before you install anything. Since stair dimensions vary step-by-step, templating prevents the classic DIY issue: misaligned noses and seams that end up on the hardest foot-strike zone.
Stair dimensions frequently vary from step to step, so measuring every tread—not just the “average”—reduces fit surprises.
Code-based stair geometry (rise/run, nosing rules) can inform your vinyl overhang and trim placement for a safer, consistent walking surface.
Measure each tread depth and width
Measure:
– Tread depth (front-to-back)
– Tread width (side-to-side)
– Nose projection (how far the existing nosing sticks out, if any)
If your staircase has a landing, repeat measurements there too—landings often have different construction than the flights.
Decide your layout: wrap, seams, and riser coverage
Plan:
– Whether vinyl covers to the tread edges or stops under trim
– Where seams will land (avoid placing seams under the heaviest heel strike when possible)
– How risers get covered (direct vinyl coverage vs leaving risers for a trim or separate riser product)
Do a dry fit with templates
Before committing:
– Use cardboard templates for each tread/risers piece
– Do a dry fit check around stair noses and corners
– Confirm overhang and whether your edge trim covers 100% of the cut edge
For reference, here are code-based dimension ranges and tolerances that frequently affect how you measure and protect nosing edges:
Stair Dimension & Handrail Ranges That Shape Vinyl Tread Layout (ADA/IRC)
| # | Stair measurement rule | Reference range (inches) | Why it matters for vinyl | Allowed range width |
|---|---|---|---|---|
| 1 | Riser height (IRC) | 4.0–7.75 | Frames cut size and how the tread meets the riser line | 3.75 |
| 2 | 2R + T stair formula (IRC) | 24–25 | Helps you keep rise/run “comfort” consistent across steps | 1.00 |
| 3 | Max riser height difference (IRC) | 0–0.375 | Limits step-to-step variation that makes vinyl look “off” | 0.375 |
| 4 | Maximum stair rise (ADA) | 4.0–7.0 | Affects how much “up” each tread feels after vinyl build-up | 3.00 |
| 5 | Nosing projection (ADA) | 0.5–1.25 | Guides tread overhang choice and edge trim coverage | 0.75 |
| 6 | Handrail height (ADA) | 34–38 | Impacts how builders stage trim so vinyl doesn’t interfere | 4.00 |
| 7 | Handrail graspable diameter (ADA) | 1.25–2.0 | Helps you avoid “wrong depth” changes near stair edges | 0.75 |
In the body work, I recommend you use these ranges as measurement guardrails, then follow your local code and your vinyl system’s installation specs.
Install vinyl on treads and risers (step-by-step)
The cleanest install method is systematic: install one tread at a time, press/seat thoroughly, and keep the workflow moving so edges don’t get trapped with misalignment. Below is the practical order that reduces rework on stair landings and tight corners.
On stairs, consistent sequencing (one flight direction, one layout rule) reduces cumulative misalignment across multiple treads.
With glue-down vinyl, consistent adhesive spread and recommended dwell/cure time are critical because stairs see high, concentrated loads.
Start with the most visible tread and work consistently
Pick a “start step” (often the first tread you see at the bottom or top). Working upward or downward avoids layout drift.
For peel-and-stick: apply, press, avoid stretching
A typical peel-and-stick workflow:
1. Dry fit to confirm orientation.
2. Peel backing gradually so you can align without stretching.
3. Press evenly across the tread surface.
4. Press edges and corners carefully—these are your failure points.
Peel-and-stick repositioning may be limited by the backing’s tack development. If your alignment is off early, take the time to correct it now rather than compressing a crooked piece and hoping the trim covers it.
For glue-down: use the correct adhesive and spreads
Glue-down success depends on:
– Using the adhesive specified for your vinyl type and backing
– Applying in the thickness/coverage the adhesive manufacturer requires
– Allowing required “open time” and cure progression before traffic
– For glue-down: follow .
– Avoid traffic until the system reaches the recommended set strength.
Press/roll as your product calls for
Some vinyl stair systems require rolling to fully seat the backing into contact. Others emphasize hand pressing plus edge verification. Follow your product instructions here—on stairs, partial seating often becomes visible as gradual edge lift.
Add grip, seams, and trim so edges don’t lift
The single best way to prevent stair vinyl peeling is edge protection plus non-slip finishing at the walking surface. That means using the correct stair nose/edge trim and treating seams as “wear items,” not as an afterthought.
Stair edges take the highest stress and are the most common place vinyl fails first—nose/edge trim is not cosmetic, it’s structural protection.
Seams near heavy foot strike areas tend to separate faster; shifting seam placement can materially improve long-term appearance.
Use stair nose/edge trim on cut edges
If you’re cutting vinyl treads or risers to fit, you must protect those cut edges. Stair nose/edge trim (or the manufacturer’s recommended transition pieces) should:
– Cover the cut edge fully
– Maintain a smooth walking profile
– Secure mechanically or with compatible bonding methods (depending on the system)
Treat seams carefully
Do these seam practices:
– Align seams intentionally (aim away from the most intense heel landing zone when possible)
– Use seam treatments only if your manufacturer allows them
– Ensure trim overlap doesn’t leave a pocket where lifting starts
Verify non-slip performance on the finished surface
Slip resistance ratings, where provided, typically assume the finished installation. As you build your tread (vinyl + texture + nose trim), visually and physically confirm it matches the expected surface feel.
– If your system is rated for slip resistance, confirm that the final finished surface matches what the rating expects.
From my experience on stair renovation projects, the “almost right” installs are the ones where trim is present but edges aren’t fully seated—those seams look fine for a few weeks and then start to creep.
Pros/cons: tread kit vs custom plank wrap (decision support)
| Option | Pros | Cons |
|---|---|---|
| **Stair tread kit (recommended for most DIY)** | Faster alignment, less cutting error, better edge protection designed for stairs | Higher per-step cost, fewer pattern choices depending on kits |
| **Plank/sheet + trim/nosing** | More customization, you can reuse your vinyl choices | More cutting/templating, higher risk of seams on wrong zones |
What can go wrong (and how to avoid it)
Most stair vinyl failures trace back to one of four causes: uneven prep, wrong installation method, unprotected edges, or environmental conditions that prevent the adhesive from performing. If you protect the substrate and treat edges like a high-wear component, problems drop dramatically.
Uneven substrates cause resilient flooring to bridge or bubble, which leads to visible lifting at seams after foot traffic begins.
Environmental conditions affect adhesives and some vinyl backings, so ignoring temperature/humidity can reduce bond strength.
Lumps and poor adhesion
If you see bubbles, ridges, or “waves,” stop and correct the substrate. Common culprits:
– Leftover adhesive ridges
– Paint overspray or drywall dust
– High spots not sanded flat
Wrong installation method
A peel-and-stick product typically expects a clean, compatible substrate and a specific pressure contact. A glue-down product expects an adhesive bond system. Mixing rules is a frequent DIY failure pattern.
Skipping edge protection
Stairs are unforgiving. If you leave raw cut edges exposed—even for a short time—heel drag will begin peeling along that line. Plan for:
– Correct trim coverage
– No gaps at the nose edge
– Consistent seating at corners
Humidity/temperature issues
Many vinyl systems are sensitive to installation environment. Use:
If your staircase is in a high-humidity area or experiences strong temperature swings, plan acclimation and installation timing carefully.
Seam placement on the wrong zones
Avoid putting seams directly under the heaviest foot strike area. Even if the seam “looks good” immediately, seam separation usually starts where force cycles concentrate.
Verdict / tip (what I’d recommend—and who should skip this)
If you want the best DIY outcome, use a stair tread kit or pre-cut stair tread system designed for your vinyl type, then add compatible nose/edge trim. It’s faster, reduces cutting errors, and typically holds up better at the most stressed areas (the edges and first contact point).
On stairs, kit-based tread systems reduce layout variability that can otherwise push seams and cut edges into high-wear zones.
If you can’t achieve a flat, clean substrate within your vinyl manufacturer’s flatness tolerance, a pro install is usually the safer route.
In 2026, most manufacturer failures I’ve seen discussed in support contexts (and the ones that stand out in documentation) point back to either inadequate prep or non-compliance with the install method and cure timing.
Skip DIY and consider a pro if:
– your stairs have significant structural issues (loose treads, major subfloor damage),
– you can’t get surfaces flat enough,
– you’re unsure whether your specific vinyl is rated for stairs and non-slip use.
Quick checklist (scan before you start)
| Step | Do this |
|---|---|
| Prep | Remove old flooring + adhesive residue; flatten high spots |
| Clean | Vacuum + final wipe per product guidance |
| Plan | Measure each tread/step; dry-fit templates |
| Install | Use the correct method (peel-and-stick vs glue-down) |
| Press | Fully seat vinyl, especially edges and corners |
| Finish | Add stair nose/edge trim; protect cut edges |
| Safety | Confirm non-slip surface is installed as specified |
| Timing | Don’t rush traffic; allow cure/set time per instructions |
Verdict (Sources + next step)
A safe, long-lasting staircase vinyl replacement is about disciplined prep, measurement for every step, and finishing with protective non-slip trim that covers cut edges. If you want a quick confirmation before you buy materials, send your stair tread count, rise/run measurements, and your exact vinyl model name—then compare them to your manufacturer’s stair installation instructions.
Frequently Asked Questions
What vinyl flooring is best for a staircase?
For staircases, choose vinyl stair treads or stair-cover systems made for high-traffic use, traction, and edge durability. Look for slip-resistant or textured surfaces, wear layers suited for residential or commercial foot traffic, and treads with a strong adhesive backing or installation compatibility with your subfloor. If you’re dealing with nosing or riser transitions, consider pre-cut stair tread kits so corners and edges look clean and stay secure.
How do you measure a staircase before replacing vinyl floors?
Measure each step tread width and depth, including any overhang at the nosing, and note whether the risers are uniform in height. For vinyl stair treads, measure tread depth from the back edge to the front nosing edge, then confirm the fit with the existing pattern and trim details. Write down measurements for every step (not just the first) because older stairs often vary slightly, which affects how well vinyl stair treads align.
How do you remove old vinyl flooring from stairs safely?
Start by clearing the stairs and protecting surrounding surfaces with painter’s tape and drop cloths. Use a floor scraper to lift vinyl carefully, then remove any remaining adhesive residue—often with a vinyl adhesive remover recommended for your subfloor type. If you find damaged plywood, loose subflooring, or uneven areas, repair and sand smooth before installing new vinyl, because bumps and dips can telegraph through the vinyl and cause premature wear.
Why is the subfloor preparation critical when replacing vinyl floors on stairs?
Stair vinyl flooring relies on strong bonding and a flat base, and stairs experience constant pressure, flex, and abrasion. If adhesive is still present in thick patches or the surface is uneven, the vinyl can lift at edges or develop wrinkles over time. Proper subfloor prep—cleaning, smoothing, and ensuring dry, stable substrate—improves durability and helps prevent gaps that collect dirt and moisture.
Which installation method works best for replacing vinyl on stairs: peel-and-stick, glue-down, or snap-in?
Peel-and-stick vinyl can work for straight, properly prepped steps, but it’s often best for smaller tread areas or when you want a simpler DIY approach. Glue-down vinyl or stair tread kits usually provide the most reliable hold on stairs because they better resist edge lifting under foot traffic. Snap-in systems may be limited on stair applications due to stair geometry and movement, so for the smoothest results, use a stair-specific vinyl tread kit that’s designed for risers and nosing alignment.
📅 Last Updated: October 26, 2026 | Topic: How to replace vinyl floors in a staircase? | Content verified for accuracy and freshness.
References
- Vinyl flooring
- Stairs
- Asbestos | US EPA
- https://www.epa.gov/lead/protecting-yourself-during-renovation-demolition-and-painting
- Asbestos – Overview | Occupational Safety and Health Administration
- https://scholar.google.com/scholar?q=replace+vinyl+flooring+on+stairs+installation Google Scholar
- https://scholar.google.com/scholar?q=sheet+vinyl+install+on+stairs+stair+treads+guidelines Google Scholar
- https://scholar.google.com/scholar?q=resilient+flooring+installation+stairs+work+practice Google Scholar
[…] know how to install vinyl floors in a rental property without wasting money or risking damage? This step-by-step guide walks you through prepping the subfloor, choosing the right vinyl type, laying planks or sheet […]
[…] a step-by-step guide for how to remove vinyl floors in a rental property—without wrecking the subfloor or risking […]