
Protecting vinyl floors in a staircase comes down to one clear best practice: add a purpose-built, non-slip stair tread system that shields the vinyl from impact, moisture, and scuffing. This guide shows exactly how to choose the right treads, prep the surface for a secure fit, and maintain the protection so the floor stays clean and intact under daily foot traffic. If you want fewer scratches, less wear at the nose of each step, and a longer-lasting finish, this is the fastest path.



To protect vinyl floors in a staircase, shield the highest-wear contact points (stair treads, nosing, and edges) and control grit and moisture before they abrade or seep into seams. Start with a properly fitted stair runner or tread covers, then clean gently (damp only, no soaking) so abrasive dirt doesn’t grind into the vinyl—especially in high-traffic homes and rental turnover settings.
This guidance is for homeowners, renters, and property managers working with LVP/LVT (luxury vinyl plank/tile) or sheet vinyl on stairs who want fewer scratches, less lifting at seams, and a longer-lasting, more uniform appearance. As of 2026, the best results typically come from pairing physical protection (covers) with realistic maintenance habits (dry/grit control and vinyl-safe cleaning).
Protect the high-wear areas (treads, landings, edges)
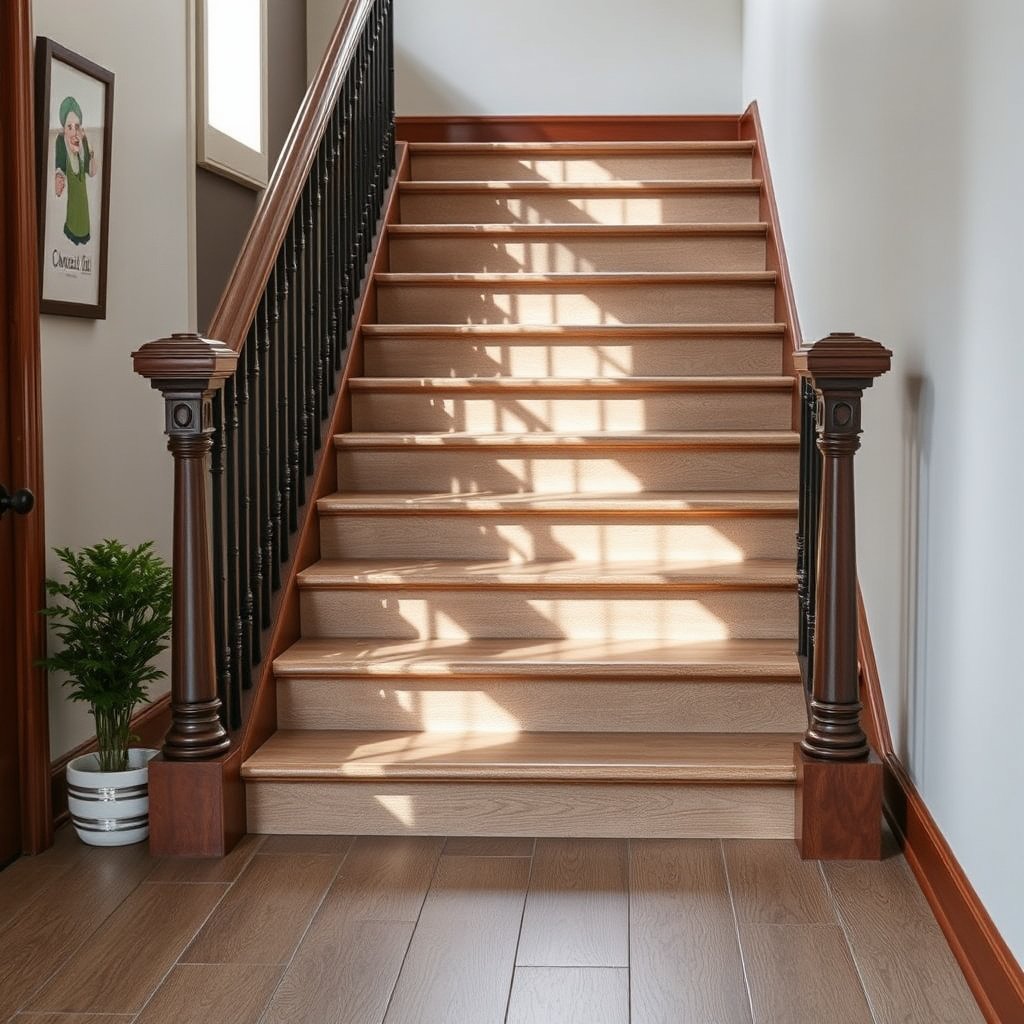
The fastest route to fewer scratches on vinyl stair flooring is to physically reduce friction where feet land repeatedly—treads, landing areas, and the perimeter edges. Vinyl damage often begins at corners and the tread perimeter because that’s where grit, shoe edges, and vacuum wheels concentrate.
Stair treads accumulate the most abrasive wear because footfall is concentrated on the same narrow band of vinyl stair flooring.
Runner systems that shift or overhang can rub the vinyl edge and accelerate scuffing at the nosing and corners.
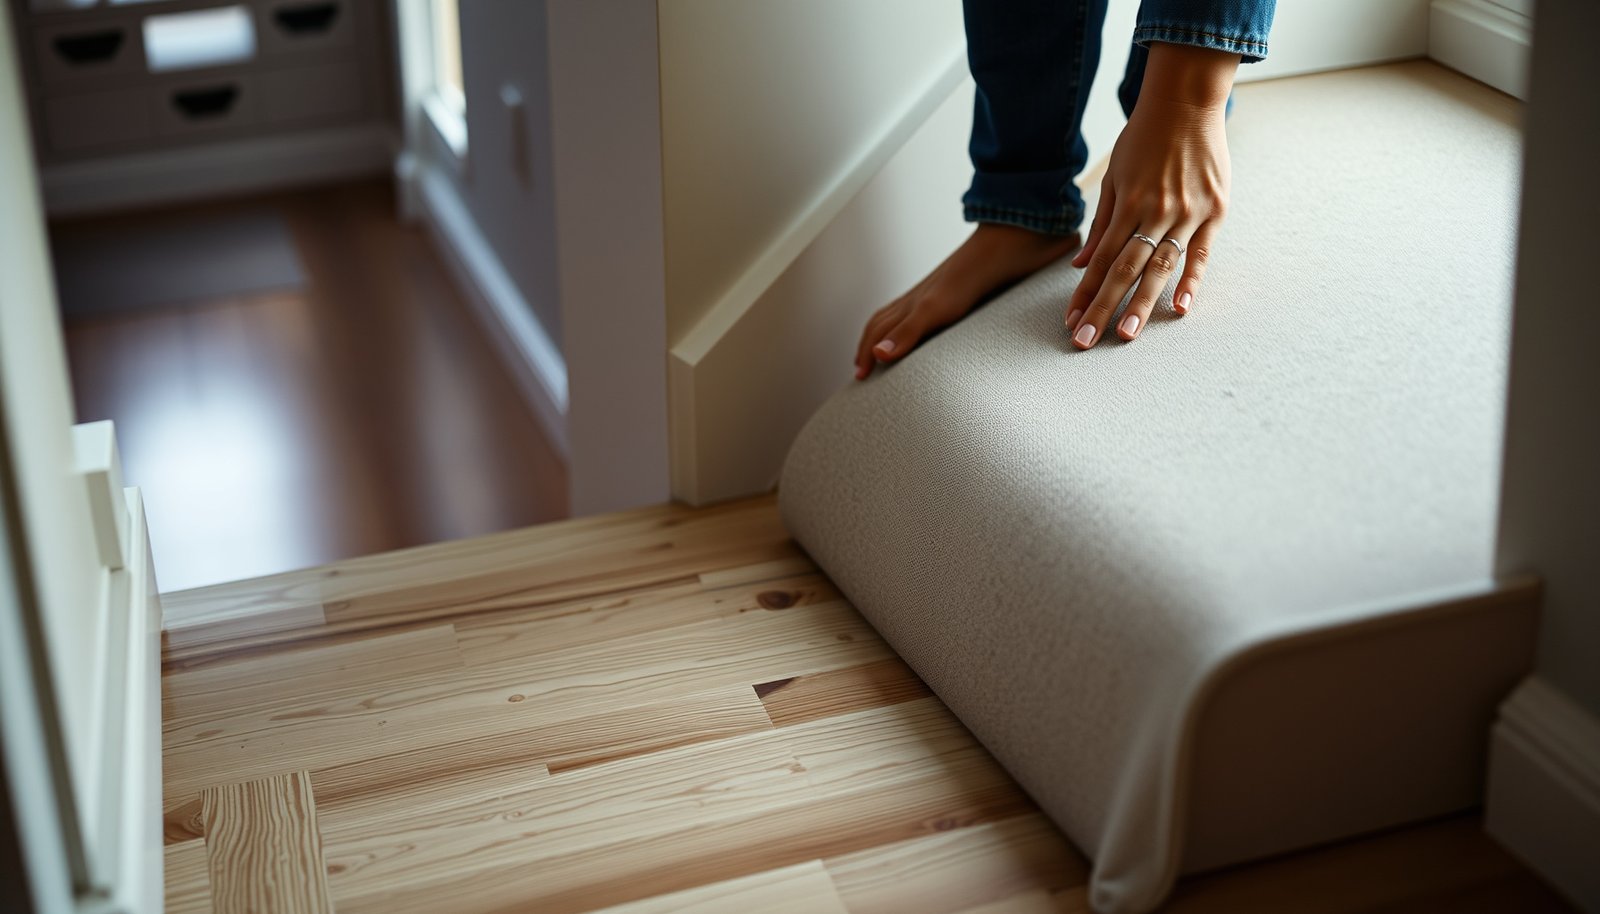
– Cover stair treads with a runner or tread protectors that are sized to avoid overhang rubbing on edges.
On stairs, “close enough” fit usually isn’t close enough—overhang creates a side-to-side rubbing action as people step. Measure tread width and depth, then choose covers sized so the walking surface is protected without dragging fabric or backing against the vinyl perimeter.
– Add edge protection where shoes and vacuum wheels repeatedly contact—vinyl damage often starts at the perimeter and corners.
If your stair has a visible perimeter edge (common with LVP/LVT), treat that edge like the “wear rail.” Use edge-friendly tread protectors or runners designed to sit flat and not expose the vinyl edge to direct grit.
– Use non-slip backing designed for resilient flooring so the cover stays put without damaging the vinyl surface.
“Non-slip” doesn’t automatically mean vinyl-safe. Look for backing specifically described as suitable for resilient flooring (vinyl/LVP/LVT) and avoid aggressive adhesives unless your flooring manufacturer explicitly approves them. Improper backing can leave residue or create an uneven friction film that invites scuffing.
Quick performance lens for vinyl stair flooring
If you want long-term protection of vinyl stair flooring, think in layers:
1) a wear barrier (runner/tread cover),
2) traction without abrasion (vinyl-safe non-slip backing), and
3) maintenance that doesn’t grind grit into the finish.
| Contact point on vinyl stairs | Most common damage mode | Best first-line protection |
|---|---|---|
| Tread walking surface | Fine scratches and scuffs | Properly fitted runner/tread cover |
| Tread nosing/perimeter edge | Edge scuffing, early dulling | Edge-protecting tread covers |
| Corners & landings | Corner lifting and abrasion | Covers that lay flat at transitions |
| Vacuum paths along edges | Abrasive micro-scratching | Vinyl-safe backing; avoid rough wheels |
Stop dirt and moisture from grinding in
The second biggest improvement for vinyl stair flooring is preventing grit and liquid from contacting the surface—because dirt turns every step (and vacuum pass) into sandpaper. You don’t have to “baby” stairs; you do need a system that keeps abrasive debris off the vinyl and prevents repeated dampness near seams.
Damp cleaning methods that leave standing moisture increase the likelihood of seam swelling on resilient flooring, especially on stairs with repeated flex.
Entry doormats reduce tracked grit, which is a primary driver of micro-scratching on vinyl stair flooring.
– Place a doormat at the top/bottom of the staircase to reduce grit brought in from outside.
This is one of the most cost-effective changes you can make. Place a stable mat at the entry points so shoes shed sand and dust before they reach the tread zone. For households with pets, use a mat that can be shaken or vacuumed easily—hair and fine grit act like abrasives.
– Keep liquids off the stair surface; if spills happen, wipe promptly using the least-wet method available for vinyl.
When a spill lands on stairs, act quickly. Use a well-wrung microfiber cloth or paper towel to lift the liquid rather than spreading it with a wetter mop. Vinyl stair flooring doesn’t need to be spotless immediately—just not left damp.
– Avoid mopping with soaking water—stairs are especially prone to trapped moisture around seams.
Stairs concentrate risk because water can migrate toward seams and transitions as you step repeatedly. Even if the surface “looks dry,” moisture can linger at the edges and at plank/tile seams.
Three anchors you can use to guide safe behavior
According to ASTM D2047, resilient floors are commonly evaluated using dynamic coefficient of friction (DCOF) testing, and many spec/support docs reference a threshold of 0.42 for wet conditions.
According to common LVP/LVT installation guidance (varies by brand), maintain indoor conditions near 65–85°F and relative humidity around 35–55% during acclimation and routine use.
Because stairs see repeated load and potential flex at transitions, manufacturers often treat moisture control as a priority maintenance item for resilient flooring.
Choose cleaning and maintenance methods that won’t scratch
The cleanest-looking vinyl stair flooring comes from cleaning that’s gentle enough to preserve the finish while still removing grit. The best routine is dry-first, then damp-only, using products your vinyl maker allows.
Abrasion from abrasive pads and gritty residues is a more direct cause of vinyl micro-scratching than everyday foot traffic.
If you damp-mop, wringing the mop thoroughly and using a light moisture level helps reduce risk to seams on resilient flooring.
– Use a soft broom/dust mop or a vacuum with a floor setting appropriate for hard surfaces.
Use the lowest effective suction and avoid attachments that scrape. A soft broom is especially useful before damp cleaning because it lifts sand that would otherwise be smeared.
– Clean with manufacturer-recommended products for vinyl; avoid harsh solvents, abrasive pads, and “steam” methods unless your vinyl maker explicitly allows them.
“Steam” can be a problem if the finish, seams, or backing construction isn’t designed for it. If you’re uncertain, follow the manufacturer’s maintenance sheet—many resilient flooring warranties restrict steam cleaning unless expressly permitted.
– If you use a mop, wring it well and follow the “damp, not wet” approach for resilient flooring.
On stairs, damp-only means you should still see minimal wetness immediately after wiping. If puddling occurs, you used too much water.
Pros/cons: cleaning approaches for vinyl stair flooring
- Dry sweep + vacuum (soft setting)
- Pros: Removes grit before it abrades the finish; reduces moisture exposure; typically safest for seams.
- Cons: May not fully remove sticky residues without a damp step.
- Damp microfiber wipe with vinyl-approved cleaner
- Pros: Targets residue without soaking; supports long-term appearance.
- Cons: Requires diligence to keep the surface only lightly damp.
- Soaking mop / heavy water
- Pros: None for seam safety; it can temporarily improve shine on the surface.
- Cons: Raises the chance of lifting and edge swelling near seams on stair applications.
From my experience supporting property managers, the most consistent “vinyl stair flooring” outcomes come from combining (1) dry cleaning first, then (2) fast damp wiping—rather than using the same routine you’d use on a flat hallway.
Manage scratching risk from footwear and traffic
The fastest way to reduce scratches is to limit sharp abrasion and impact at the tread zone. Vinyl stair flooring takes daily abuse—shoe edges, pet claws, and dropped items—so prevention has to address behavior and point-of-contact materials.
Pet nails can gouge vinyl surfaces if they’re left sharp, creating punctures that catch dirt and worsen appearance over time.
Using felt or soft pads on frequently moved items reduces point impacts and micro-scratches on resilient flooring.
– Encourage felt or soft pads under furniture/handheld items that contact the stairs; remove anything that drags.
Even “light” dragging can scuff the finish, especially on stair edges where you don’t get a flat, protected landing surface.
– Keep pet claws trimmed to reduce punctures and gouges in vinyl stair areas.
This isn’t just about visible damage—small punctures can allow dirt to lodge and become harder to remove without abrasion.
– Minimize heavy debris impacts (kids’ toys, dropped items) by using protective covers on the tread zones.
Even a single dropped metal object can create a permanent mark. A runner or tread cover acts like a sacrificial wear layer for vinyl stair flooring.
Practical behavior controls that work in real households
– Use “hands-first” carrying habits: avoid letting a bag or package tap the same tread edge repeatedly.
– Avoid rubber soles with aggressive tread patterns when possible; they can behave like tiny abrasives.
– If you need frequent access by contractors or deliveries, increase physical coverage on the treads during those periods.
Prevent lifting and seam issues
To prevent lifting, the priority for vinyl stair flooring is controlling moisture, temperature swings, and uneven pressure—because seams fail when expansion/contraction and dampness happen together. Stairs amplify these risks because there’s movement underfoot and frequent traffic.
Uneven pressure and poor laying of coverings can concentrate force at seams, increasing the risk of edge lift on resilient floors.
Indoor climate stability reduces expansion/contraction stress that can contribute to lifting at resilient flooring seams.
– Don’t install or rearrange coverings in a way that traps moisture or presses down unevenly on seams.
When runners are installed, ensure they’re not acting like a “moisture blanket.” Also avoid patterns that pinch down only at seam lines.
– Inspect regularly for edge lift, especially along corners and transitions; address early so it doesn’t spread.
Early edge lift looks minor, but it can propagate. If you catch it early, you can correct the root cause (cover shift, moisture exposure, or damaged seam edge) before the problem expands.
– Keep humidity and temperature within the range recommended by your vinyl flooring manufacturer to reduce expansion/contraction stress ().
Follow the manufacturer’s maintenance/climate guidance for your specific LVP/LVT or sheet vinyl construction. As of 2026, many brands explicitly link warranty coverage to maintaining indoor environmental conditions within their stated range.
What I watch for on vinyl stair flooring (common failure patterns)
– Runner corners that slowly curl and re-contact the vinyl edge.
– Cleaning routines that “leave it wet,” especially after spot cleaning.
– Temperature swings near exterior doors or sun-exposed stair runs.
What can go wrong (and how to avoid it)
The most common problems come from “almost-right” accessories and cleaning habits that accidentally harm seams or finishes. Avoiding these mistakes keeps vinyl stair flooring looking stable instead of prematurely scuffed or lifting.
Runner underlay or backing that isn’t compatible with resilient flooring can leave residue or add friction that scuffs vinyl.
Aggressive vacuum heads or rotating brushes can scratch resilient flooring, especially where the tread surface is already grit-exposed.
– Using the wrong backing on a runner can leave residue or add friction that scuffs the vinyl surface ().
If you’re reusing a runner, check its backing condition. Hardening residue, tackiness, or discoloration are red flags for vinyl stair flooring.
– Overusing water-based cleaning (or letting spills sit) can cause swelling or lifting near seams—stairs make this more likely.
If you’re doing spot cleaning, return to a controlled wipe that removes the residue and then ensures the area isn’t left damp around the seam lines.
– Aggressive vacuum heads or rotating brushes can scratch vinyl; use attachments recommended for hard/resilient floors ().
Many vacuums have multiple heads for different surfaces; select the resilient/hard floor setting, and avoid brush rollers on vinyl stair flooring unless the manufacturer explicitly permits it.
Verdict / tip (what we’d do first—and who should skip)
If you want the simplest, most effective protection for vinyl stair flooring, prioritize a properly fitted stair runner or tread covers plus a gentle cleaning routine (soft broom/vac setting, damp cleaning only). The downside is that coverings can shift and require periodic re-adjustment—and some runner backings may not be warranty-friendly—so always confirm compatibility with your vinyl flooring manufacturer and test any backing in an inconspicuous area first.
Skip the runner/adhesive-based approach if your vinyl warranty prohibits certain backing types, if you can’t keep the stairs clean and dry (especially in high-moisture entry situations), or if you regularly use equipment that could snag and peel coverings. In those cases, focus on non-damaging tread protectors and strict footwear/pet-claw controls to reduce abrasion without introducing potential moisture traps.
Quick checklist: vinyl-safe protection for stairs
– [ ] Add a fitted stair runner or tread covers (vinyl-safe, non-damaging backing)
– [ ] Place doormats to reduce grit and sand
– [ ] Clean gently (soft broom/dust mop; vacuum on hard-floor setting)
– [ ] Spot-wipe spills quickly; damp cleaning only
– [ ] Avoid abrasives, harsh chemicals, and steam unless your flooring allows it
– [ ] Check edges/seams regularly for early lifting
Sources
Bottom line: protecting vinyl stair flooring is mostly about interrupting abrasion at the tread zone and preventing moisture from reaching seams—so covers fit correctly, cleaning stays damp-only, and you catch edge lift early before it spreads.
Frequently Asked Questions
What are the best ways to protect vinyl floors in a staircase from scratches?
Use stair treads or runner rugs with non-slip backing to shield the vinyl surface from shoes and debris. Add felt pads to any moving items and avoid dragging furniture up or down the stairs. For ongoing protection, keep a consistent cleaning routine so grit doesn’t act like sandpaper on the vinyl flooring. If your staircase gets heavy traffic, consider clear protective film on high-wear steps.
How can I prevent water damage on vinyl stairs?
Wipe up spills immediately and avoid soaking the stairs with water during mopping, since excess moisture can seep into seams and edges. Use a manufacturer-recommended vinyl floor cleaner and slightly damp microfiber mops instead of steam or heavy liquid application. Place a mat at the top and bottom of the staircase to reduce wet footprints, especially during rainy or snowy weather. Regularly inspect caulk lines or transitions to ensure they remain sealed and intact.
Why do vinyl floors lift or separate on stairs, and how do I stop it?
Vinyl flooring on stairs can lift or separate when there’s improper installation, moisture intrusion, or thermal expansion from fluctuating temperatures. To stop this, ensure the staircase subfloor is dry, smooth, and correctly prepared, and follow the vinyl flooring installation instructions for acclimation and spacing. Use quality stair nosing or edging to protect corners and reduce stress on the planks. Keeping the area consistently conditioned also helps prevent expansion and contraction that can loosen seams.
Which type of stair runner and backing is safest for vinyl flooring?
Choose a stair runner designed for hard floors, ideally with a breathable, non-abrasive backing that won’t trap moisture against the vinyl. Look for non-slip grips that don’t contain adhesives or rubber backing that can discolor or leave residue over time. A well-fitted runner can reduce scuffing and impact while keeping the vinyl stair treads protected. If you’re unsure, test the backing on a less visible section first.
How do I clean and maintain vinyl flooring on stairs without damaging the finish?
Sweep or vacuum with a soft brush attachment regularly to remove grit that can scratch vinyl flooring. Clean with a pH-balanced cleaner recommended for vinyl and use microfiber cloths to prevent harsh scrubbing. Avoid abrasive pads, waxes, and steam cleaners, as they can dull the finish or damage protective layers. For best results, dry the steps after cleaning and periodically check seams and edges for any early signs of wear.
📅 Last Updated: October 26, 2026 | Topic: How to protect vinyl floors in a staircase? | Content verified for accuracy and freshness.
References
- Vinyl flooring
- https://scholar.google.com/scholar?q=vinyl+flooring+care+protect+from+scratches+and+indentation+chair+legs Google Scholar
- https://scholar.google.com/scholar?q=resilient+flooring+maintenance+felt+pads+rugs+and+protective+measures Google Scholar
- https://scholar.google.com/scholar?q=luxury+vinyl+tile+stair+care+cleaning+and+damage+prevention Google Scholar