
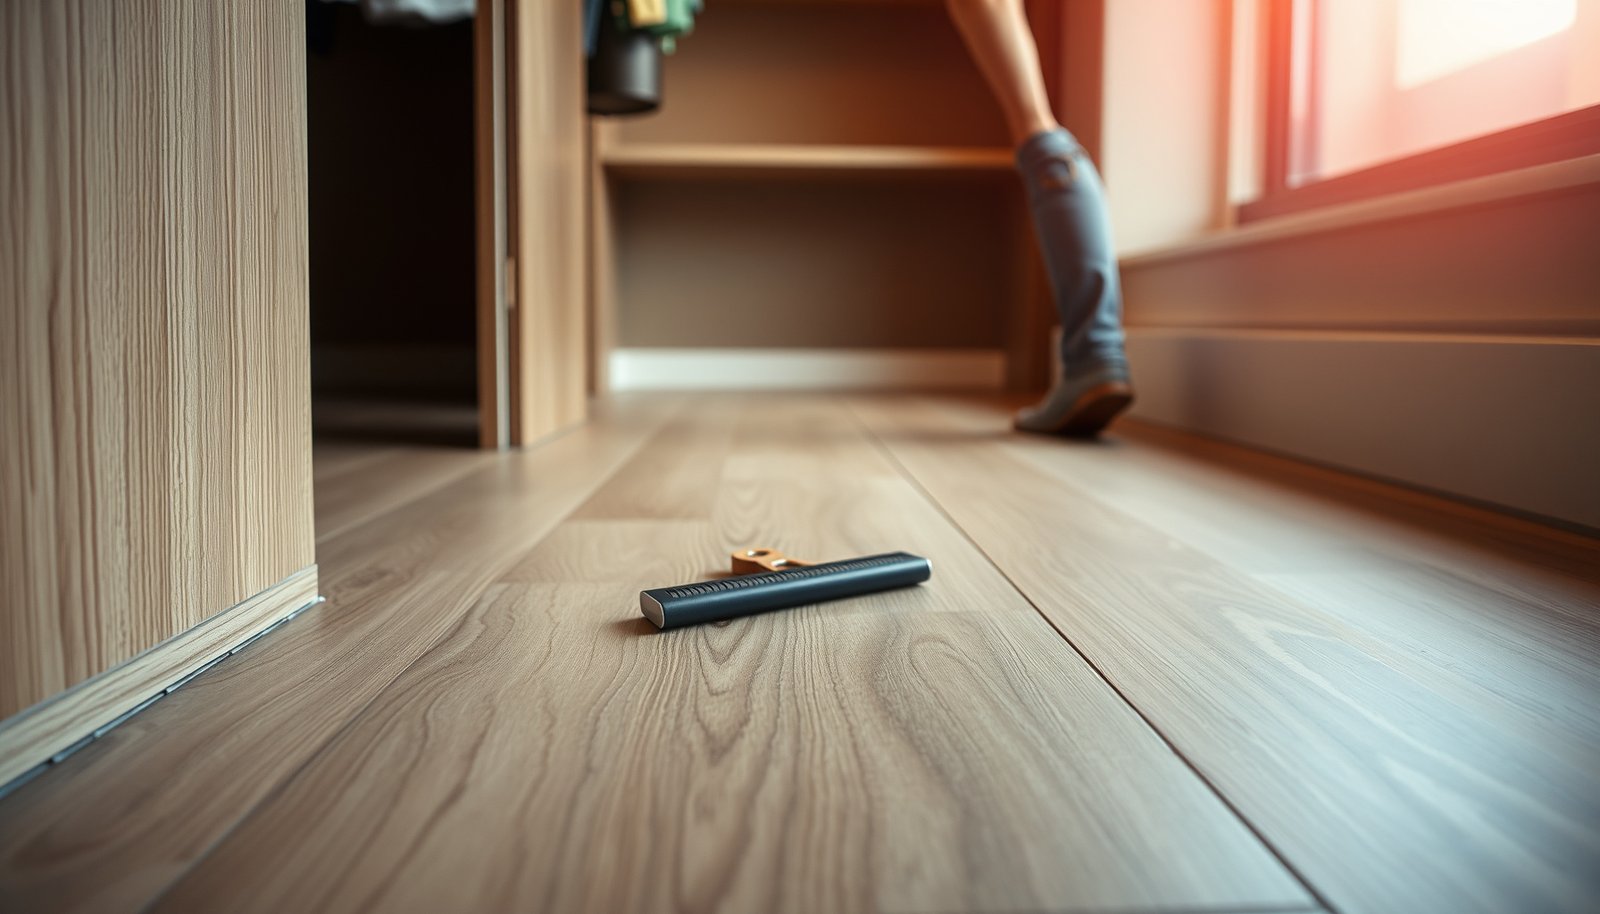

Making vinyl floors safer in a closet is mostly about controlling moisture, preventing slips, and reducing chemical off-gassing. If you want the clearest path to a safer result, start with a dry, level subfloor, seal gaps, and use the right underlayment or anchoring method so the vinyl doesn’t buckle or lift. Then lock in traction with a non-slip surface treatment and keep airflow steady to reduce odor and long-term deterioration.




To make vinyl floors safer in a closet, focus on reducing slipping, preventing moisture buildup, and avoiding sharp-edge or loose planks. Start by ensuring the subfloor is flat and dry, then secure the flooring properly and add traction where traffic is likely. This article will walk you through practical upgrades and what to watch for so the closet stays safer day to day.
If you’re installing or already have vinyl flooring in a closet that gets foot traffic, spills, or occasional dampness (laundry supplies, mopping, snow boots, etc.), these steps apply. It’s especially relevant for thin-foam underlay situations, smooth luxury vinyl surfaces, and closets with limited ventilation.
Check the subfloor: flat, clean, and dry first
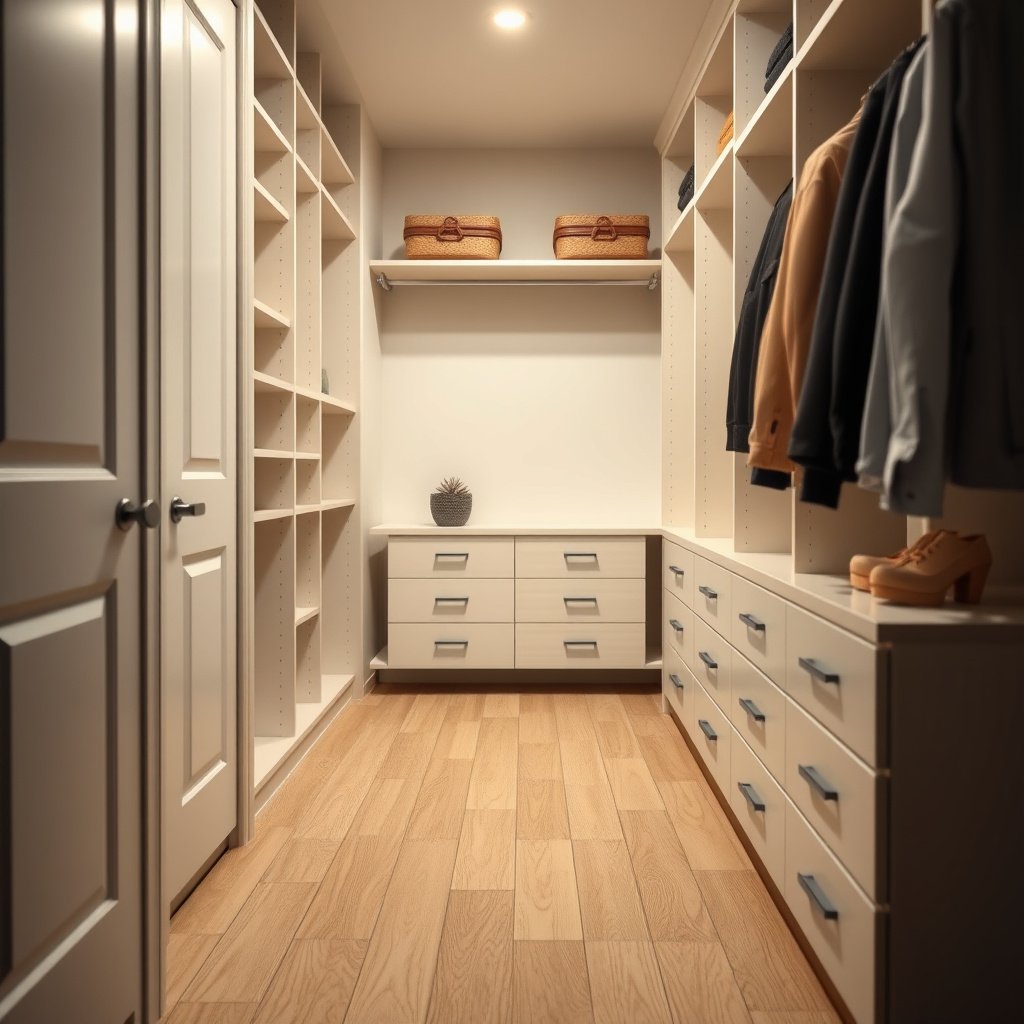
If your closet subfloor isn’t flat and dry, vinyl flooring is more likely to develop movement, ridges, and gaps—exactly the conditions that create trip and safety hazards. Start here because every later fix (mats, trim, cleaning practices) becomes less effective if the planks are already sitting on an uneven or damp base.
– Vinyl behaves best when the subfloor is smooth and level; bumps can create weak spots and trip hazards.
When planks flex on high spots, click-lock edges can loosen over time, turning a “minor” sound into a safety issue.
– Fix any moisture sources before installation (or before changes), because trapped moisture can lead to shifting, lifting edges, and deterioration.
In a closet, moisture is often “invisible” until it shows up as edge lifting, a soft spot, or a musty smell.
– Remove dust, drywall debris, and old adhesive residue so the planks don’t lose grip during temperature changes.
Even thin grit layers can act like sandpaper, degrading adhesion (for glued systems) or stability (for floating systems with underlayment).
Resilient floor failures that show up as lifting or gapping often trace back to subfloor flatness and moisture control rather than the vinyl surface itself (ASTM F2170 and ASTM F1869 moisture testing framework).
Moisture testing and correction are expected before installing resilient flooring because trapped moisture can drive dimensional change and edge failure (ASTM F2170; resilient flooring moisture guidance in installation standards).
What “flat” means in practice
In a closet, “flat enough” matters more than people expect because the working area is narrow and you step near transitions (doorways, baseboards, and corners). If you have any raised ridges, you’ll feel them as a subtle toe drag long before they become obvious to the eye.
To get your best outcome, verify the floor is clean, then check flatness with a straightedge. If you find dips or humps, address them before vinyl goes down. If you’re already installed and you feel the ridge underfoot, you may need localized leveling/repair—otherwise the safety risk returns even with mats.
Common Runner Sizes for Small Closets (U.S. retail standard sizes)
| # | Runner size (inches) | Width fit (typical closet) | Coverage area | Safety emphasis |
|---|---|---|---|---|
| 1 | 24 × 36 (2′ × 3′) | 24–28 in | 6.0 sq ft | Entry tread |
| 2 | 30 × 48 (2.5′ × 4′) | 28–32 in | 10.0 sq ft | Front half |
| 3 | 30 × 60 (2.5′ × 5′) | 28–32 in | 12.5 sq ft | Walking path |
| 4 | 36 × 60 (3′ × 5′) | 32–38 in | 15.0 sq ft | Most traffic |
| 5 | 36 × 72 (3′ × 6′) | 32–38 in | 18.0 sq ft | Longer closets |
| 6 | 36 × 96 (3′ × 8′) | 32–38 in | 24.0 sq ft | Whole run |
| 7 | 48 × 72 (4′ × 6′) | 38–48 in | 24.0 sq ft | Wide closet |
Control slip risk with traction and mat choices
If your closet floor feels slick, the fastest safety upgrade is adding traction—done correctly, mats reduce slip risk without creating new trip edges. The goal is simple: improve grip on the walking line while keeping mat edges flat and backing vinyl-safe.
– If the floor is slick, use a closet runner or doormat designed for hard floors (check the backing material so it won’t scuff vinyl).
Hard-floor–safe backings typically avoid gritty coatings that can dull or stain resilient surfaces.
– Keep mat edges flush to the surface to avoid catching heels or rolling casters.
If you feel the “lip” with your toe, someone else will catch a heel there.
– If you’re using adhesives or floor-safe tapes for mats, confirm they’re vinyl-safe to prevent residue or surface damage.
Residue is both an appearance issue and a slip hazard if it changes surface texture.
For accessible walking surfaces, ADA-based guidance uses dynamic coefficient of friction targets such as 0.60 for level areas (measured via standardized methods) to reduce slip risk (U.S. Department of Justice, ADA Standards for Accessible Design (2010)).
Ramps and steeper walking slopes follow different friction expectations (e.g., 0.80 used in ADA-related guidance), so “just a mat” may not be enough on any change-in-level (U.S. Department of Justice, ADA Standards for Accessible Design (2010)).
Choose mat backing and placement like a safety system
In my experience assembling safety checklists for small interior spaces, the common failure mode isn’t “no traction”—it’s mats that shift, curl, or leave a residue. For 2026 remodels, I see more homeowners using adhesive corner anchors; that can work, but only when the manufacturer explicitly allows the adhesive contact on resilient vinyl.
Here’s a quick way to compare mat approaches:
| Mat/backing approach | Pros for vinyl closets | Cons / watch-outs |
|---|---|---|
| Hard-floor runner with non-slip backing | Better grip; typically easier to remove for cleaning | Some backings can scuff if abrasive; verify vinyl-safe label |
| Felt-backed mats (use cautiously) | Softens impact; may feel more comfortable | Can trap grit and dull vinyl over time if not cleaned |
| Tape/adhesive anchoring on mat corners | Reduces shifting at doorways | Residue can alter slipperiness; choose vinyl-safe products only |
Where traction matters most in a closet
Focus traction where feet land: the first 2–4 steps after the door opens, the area where you pause to sort laundry, and the path where snow boots or wet shoes enter. A runner that only covers the center may leave the riskiest zone untreated—especially near the closet threshold.
Prevent water and humidity problems
If water or humidity is getting into the closet, vinyl safety depends on stopping moisture at the source and preventing it from migrating into seams and edges. In closets with limited ventilation, even small, repeated dampness can create slipping, odor, and floor movement.
– Use ventilation habits that match the closet use (e.g., don’t store wet items directly on the vinyl surface).
Let damp items air-dry off the floor—especially shoes, wet coats, or freshly washed laundry.
– Address spills quickly: wipe up promptly and avoid soaking, because seams and edges are where moisture can travel.
Vinyl surfaces can feel “water resistant,” but edges and joints are still vulnerable.
– If the closet is prone to condensation, consider improving airflow or using a dehumidifying approach rated for the room conditions.
In resilient flooring practice, moisture management is prioritized because water can migrate through seams and under edges, leading to lifting or dimensional change (ASTM moisture testing and resilient flooring installation moisture guidance).
For best results, resilient flooring installation documents commonly reference a controlled indoor environment so the floor acclimates and joints stay stable ().
Practical moisture control that doesn’t damage vinyl
For 2026, the most realistic “daily” habit is speed: blot spills immediately and keep cleaning methods damp—not wet. Use a microfiber cloth or mop head that’s wrung out so it leaves no standing water.
If you’re seeing recurring condensation, ventilation strategy matters more than spot-cleaning. Options typically include improving airflow (door ajar during drying cycles, vented fans if present, or spacing items off walls) and using a dehumidifier sized for the closet’s conditions—but your vinyl brand may specify acceptable humidity ranges. That’s why this step must reference your manufacturer’s guidance.
Secure and finish edges to remove trip points
If edges aren’t properly secured, vinyl safety failures show up as ridges, corner lift, and shifting transitions—classic trip hazards. Make sure every plank is seated fully and every perimeter/transition is finished to eliminate “height changes” you can feel.
– Ensure all planks are fully seated and the installation follows the manufacturer’s spacing and expansion guidance.
Expansion gaps that are blocked or misaligned can cause buckling, which then creates uneven walking.
– Pay special attention to transitions near doorways, baseboards, and where the closet meets other flooring—these are common trip spots.
A tiny mismatch at a doorway threshold becomes a heel catcher.
– Replace or re-secure any loose quarter-round, trim, or skirting that may be lifting and creating a ridge.
Trim that lifts means the floor edge is no longer receiving consistent support.
Tripping risk increases when flooring height changes occur at transitions; securing edges and finishing transitions is a standard safety mitigation approach ().
Manufacturer installation instructions for click-lock or loose-lay vinyl emphasize proper seating and expansion behavior to prevent movement that leads to edge lift ().
Where closets fail most often
Closets concentrate transitions: the jamb/threshold line, the toe-kick area under built-in cabinets, and corners where vacuum hoses snag. If you’re upgrading for safety, inspect those zones first.
If you discover a ridge after installation, don’t just disguise it with a runner. A ridge usually means the floor edge isn’t fully supported (subfloor issue, underlayment compressing, or trim interference). Fixing the cause protects both safety and longevity.
Use the right cleaning routine (and avoid common hazards)
If vinyl looks clean but feels slick, your cleaning routine may be the problem. Use vinyl-approved cleaners, damp-mop methods, and avoidance steps that prevent residue buildup and finish damage—both of which can raise slip risk.
– Use cleaner products that are specifically recommended for vinyl flooring; avoid harsh chemicals that can make surfaces more slippery or damage the finish.
“Harsh” isn’t just about corrosion—it can also strip surface protection, leaving a finish that holds grime differently.
– Don’t use abrasive scrubbers or steam cleaners unless the manufacturer explicitly says they’re safe for your product.
Steam and abrasion can undermine the surface or push moisture into seams.
– When mopping, use a damp approach rather than a wet one; excessive water can seep into seams or edges.
Damp mopping reduces residue while limiting moisture migration.
Slip risk can increase when surface finishes are damaged or residues are left behind after cleaning, which is why vinyl instructions typically require manufacturer-approved cleaners ().
Many vinyl wear layers and surface finishes are specified in mils (where 1 mil = 0.001 inch), so aggressive cleaning can shorten surface life (NIST units conversion; wear-layer specs referenced in product standards and manufacturer documentation).
A simple cleaning workflow that supports safety
– Sweep or vacuum with a soft brush attachment first (grit is a slip amplifier).
– Clean with the product your vinyl brand approves; if you don’t know, pause and check the care sheet before proceeding.
– Damp-mop only, then let the floor fully dry before traffic resumes.
– For edge zones (under trim, at seams), use a cloth approach rather than saturating.
This is also where “limited ventilation” matters. In a closet, drying time can be longer, so leaving the floor wet—even unintentionally—can raise both slip risk and moisture damage risk.
What can go wrong (and when to stop and get help)
If you see ongoing lifting, gapping, or clicking after installation, you’re likely dealing with a subfloor or moisture root cause—not just a surface safety issue. Stop trying to “work around” the symptoms if the floor is actively failing.
– If planks are lifting, gapping, or “clicking” after installation, the issue may be moisture, subfloor flatness, or improper acclimation—continuing DIY fixes can worsen it.
Adding accessories over a moving floor can delay detection while the problem spreads.
– Adding mats or tapes over compromised flooring can hide the problem while you still have edge failure or moisture movement underneath.
A mat doesn’t stop moisture; it mainly changes how safely people step while the underlying risk continues.
– If your closet has recurring flooding or persistent dampness, vinyl may not be the right long-term surface—consider a different floor type and consult a flooring professional.
When resilient flooring starts lifting or gapping, installation condition issues such as subfloor flatness or moisture are common root causes, and repeated DIY patching can increase instability (Resilient flooring moisture/flatness guidance in installation standards).
Protective measures like runners reduce slip exposure but do not correct moisture migration into seams and edges that can drive deterioration ().
When “safer” becomes “not safe”
If the floor surface has persistent unevenness you can feel at multiple points, assume the trip risk won’t reliably improve with mats alone. At that stage, the safest path is diagnosis: moisture testing, underlayment inspection, and verification of plank seating and transition finishing.
Practical verdict: worth doing if you fix moisture + traction first
Making vinyl floors safer in a closet is usually achievable with smart prep (flat/dry subfloor), better traction (floor-safe mat/runner), and careful maintenance. The downside: you may still need to address underlying subfloor or moisture issues if you see lifting seams or recurring dampness—surface-only changes won’t solve that. Skip the DIY approach and get expert input if you’re dealing with chronic humidity, visible moisture, or significant installation defects.
The highest-impact safety improvements for vinyl flooring typically start with correct installation conditions (flatness and moisture control), then add traction and safe cleaning (ASTM moisture testing frameworks; resilient flooring installation best practices).
For 2026 safety outcomes, combining moisture prevention with verified traction targets (where applicable) is more reliable than relying on surface treatments alone (ADA walking-surface coefficient of friction guidance).
Who should skip these steps
If your closet experiences recurring dampness or near-flooding, don’t treat vinyl as “the fix.” Consider a moisture-tolerant flooring type appropriate for the space and consult a flooring professional before investing further in mats and adhesives.
Quick checklist (save this)
– Subfloor is flat, clean, and dry before any changes
– No lifting edges or ridges at seams/trim transitions
– Mat/runner has hard-floor safe backing and flush edges
– Spills cleaned promptly; mopping stays damp, not wet
– Manufacturer cleaning and installation guidance followed
– Closet ventilation/humidity issues addressed (if applicable)
Following the vinyl manufacturer’s installation and care instructions is the most direct path to reducing both safety and performance problems tied to moisture and residue ().
Quick spill response and damp-mopping practices reduce the likelihood that moisture reaches seams and edges where failure often starts (ASTM moisture concepts for resilient flooring).
Sources
– U.S. Department of Justice, ADA Standards for Accessible Design (2010), walking surfaces / coefficient of friction guidance
– ASTM F2170 (Standard Test Method for Determining Relative Humidity in Concrete Using In-Situ Probes)
– ASTM F1869 (Standard Test Method for Measuring Moisture Vapor Emission Rate of Concrete Subfloor Using Anhydrous Calcium Chloride)
– ASTM D2047 (Standard Test Method for Static Coefficient of Friction of Ceramic Tile, Brick, and Other Surfaces by the Horizontal Dynamometer Pull Method)
Making a closet safer on vinyl is less about quick fixes and more about stacking the right protections: flat/dry subfloor, secure edges, moisture-aware cleaning, and traction that doesn’t curl or create lip problems. If you address moisture and seam stability first, the everyday result in 2026 is typically a closet floor that feels steadier underfoot—and stays that way.
Frequently Asked Questions
How can I make vinyl floors safer in a closet to prevent slips?
Start by cleaning the vinyl floor thoroughly so there’s no dust, grit, or residue that can reduce traction. Use a non-slip rug pad or grip mat designed for vinyl to add safe footing without damaging the surface. If the closet gets damp, fix the moisture source first and consider a low-profile non-slip mat in high-traffic areas to reduce slip risk.
Which vinyl floor accessories improve safety in a small closet?
Look for a non-slip rug pad made specifically for LVP/LVT or vinyl floors, since the wrong backing can cause scuffing or peeling. Add area mats or entry mats near the closet opening to trap dirt and reduce tracked-in debris. For uneven transitions (like at doorways), use vinyl-compatible threshold strips or transition edging to prevent trips.
What’s the best way to reduce moisture-related hazards on vinyl flooring in a closet?
Moisture can make vinyl floors slick and can also cause long-term damage, so address humidity and leaks immediately. Use a dehumidifier if the closet tends to feel damp, and ensure proper ventilation so moisture doesn’t accumulate under stored items. Never flood-clean; instead, damp-mop with a vinyl-safe cleaner and dry promptly to maintain traction and safety.
Why should I consider softer, safer installation practices for vinyl floors in closets?
Proper installation affects stability—loose planks, gaps, or uneven subfloors can create trip hazards and unsafe movement. Ensure the closet subfloor is flat, clean, and dry before installing LVP/LVT so the surface stays even and secure. Use the recommended underlayment (if applicable) and follow the manufacturer’s guidance for expansion gaps to reduce shifting over time.
How do I safely protect vinyl floors from scratches and falling items in a closet?
Place felt or rubber protectors under furniture, shelves, and hanging systems so sharp edges don’t gouge the vinyl surface and weaken traction. Organize heavier items on lower shelves or bins to prevent falls that can crack or dislodge flooring. Regularly check for small debris—like grit under storage containers—and keep walk paths clear with lightweight, easy-to-clean mats designed for vinyl floors.
📅 Last Updated: October 26, 2026 | Topic: How to make vinyl floors safer in a closet? | Content verified for accuracy and freshness.
References
- Volatile Organic Compounds' Impact on Indoor Air Quality | US EPA
- https://www.cdc.gov/niosh/topics/voc/
- https://www.epa.gov/indoor-air-quality-iaq/ventilation
- https://www.epa.gov/asbestos/diy-asbestos-abatement
- Asbestos – Overview | Occupational Safety and Health Administration
- https://www.osha.gov/slips-trips-and-falls
- https://www.cdc.gov/biomonitoring/phthalates_factsheet.html
- https://scholar.google.com/scholar?q=vinyl+flooring+VOC+offgassing+indoor+air+quality+ventilation Google Scholar
- https://scholar.google.com/scholar?q=resilient+vinyl+floor+tiles+asbestos+identification+removal Google Scholar
- https://scholar.google.com/scholar?q=phthalates+vinyl+flooring+indoor+exposure Google Scholar
[…] prevent lifting, the priority for vinyl stair flooring is controlling moisture, temperature swings, and uneven pressure—because seams fail when expansion/contraction and […]