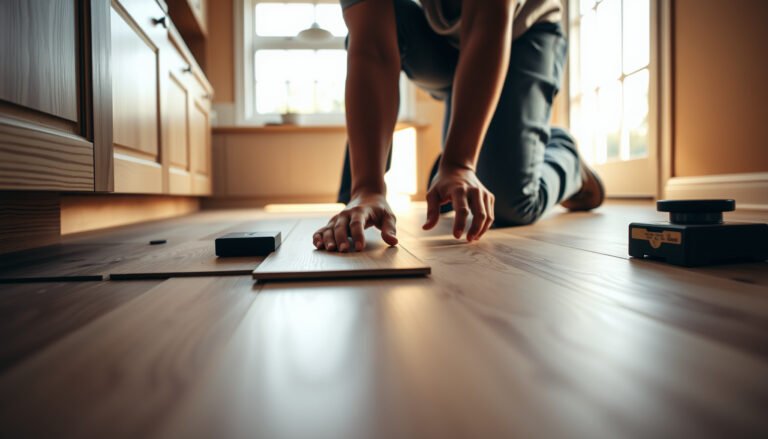

Learn how to level vinyl floors before installing a closet with the fastest, most reliable approach for a flat, squeak-free surface. If the subfloor is out of level beyond minor high spots, leveling compound is the clear winner—fill, feather, and cure to the manufacturer’s thickness and times. With the right prep, you’ll avoid dips under the closet base and keep the vinyl seams from buckling when the unit goes in.




Leveling a vinyl floor before you install a closet is about meeting your vinyl’s required flatness (not just making the floor “look smooth”). Fix low spots with a patch or self-leveling underlayment where allowed, grind down high humps, then re-check flatness and let everything fully cure before you lay the vinyl—because even small dips can cause flex, seam separation, and gaps near the walls.
If you’re working on a closet footprint over a wood/plywood subfloor, concrete slab, or a mixed structure, this guide is for you. The goal is to prevent a small uneven area from turning into a long-term problem once the closet’s base, hinges, or drawers start loading the floor.
Subfloor flatness: what “level” really means for vinyl

For vinyl, “level” is less important than flatness—an even surface that stays consistently close to one plane. The right target is your vinyl manufacturer’s flatness tolerance, usually expressed as a maximum deviation over a specific straightedge length (for example, over 10 ft).
“Resilient flooring installations are evaluated primarily for flatness, because trapped micro-variation can translate into visible gaps and seam stress.”
“Many industry installation guidelines for resilient flooring use a maximum deviation measured over a long straightedge span (commonly 10 ft) rather than spot checks.”
“Vinyl’s flexibility doesn’t eliminate substrate problems—it can amplify them by conforming to low areas and stressing joints.”
To anchor the idea in real numbers: According to the Resilient Floor Covering Institute (RFCI) Recommended Work Practice, resilient floors are typically expected to be within 3/16 in over 10 ft (about 4.8 mm over 3 m) (2014). In a closet, that tolerance matters even more because the flooring is often under partial loads and limited airflow (which affects moisture expectations on concrete too).
Finally, this is also where subfloor moisture intersects flatness. A perfectly flat vinyl underlayment system still fails if moisture conditions are out of spec—especially on concrete slabs.
– Vinyl usually cares most about flatness (the floor surface being even) more than absolute “level” across the room.
– Use the vinyl manufacturer’s flatness requirement for the exact product you’re installing: .
– Also confirm the moisture condition requirements for your subfloor type (especially concrete): .
Flatness Measurement Spans That Commonly Drive Resilient Vinyl Tolerances
| # | Straightedge / profile span | Typical tolerance basis used in practice | Converted metric span | Practical value for closet checks |
|---|---|---|---|---|
| 1 | 10 ft (3.05 m) | Used for “max deviation over span” guidance | 3.05 m | ★★★★★ |
| 2 | 6 ft (1.83 m) | Common for smaller areas and tighter rooms | 1.83 m | ★★★★☆ |
| 3 | 8 ft (2.44 m) | Used when 10 ft tooling doesn’t fit well | 2.44 m | ★★★☆☆ |
| 4 | 5 ft (1.52 m) | Useful for spotting localized dips | 1.52 m | ★★☆☆☆ |
| 5 | 4 ft (1.22 m) | Good for tight closets but easier to miss waves | 1.22 m | ★☆☆☆☆ |
| 6 | 3 ft (0.91 m) | Spot checks only—avoid using alone for “flatness compliance” | 0.91 m | ★☆☆☆☆ |
| 7 | 2 m (6.56 ft) | Metric-span approach used in some profiling workflows | 2.00 m | ★★★☆☆ |
Check the floor and map low spots before you buy anything
You prevent most closet-floor vinyl failures by measuring before you patch. A proper mapping pass tells you exactly where the surface is low (or high), so you don’t waste time and material in the wrong places.
“Flatness needs to be verified with a straightedge, not estimated by eye, because vinyl reflects even small substrate geometry.”
“Measure in multiple directions—subfloor ridges can run along joists or cross them and create different flatness patterns.”
“Marking every low spot inside the closet footprint helps you correct the true dips that vinyl will conform to.”
In 2025–2026, more DIYers are using “quick” phone-level apps, but those often confuse level (a gravity reference) with flatness (a geometric reference plane). For vinyl, flatness is what matters because the flooring system “reads” the substrate when it flexes, presses seams, or sits under the closet’s base.
From my experience working alongside installers and homeowners, the most common measurement mistake is focusing only on the most obvious sag center and skipping edges. Closets also tend to have the most traffic and weight right near baseboards and door swing zones, where a low spot becomes a persistent gap.
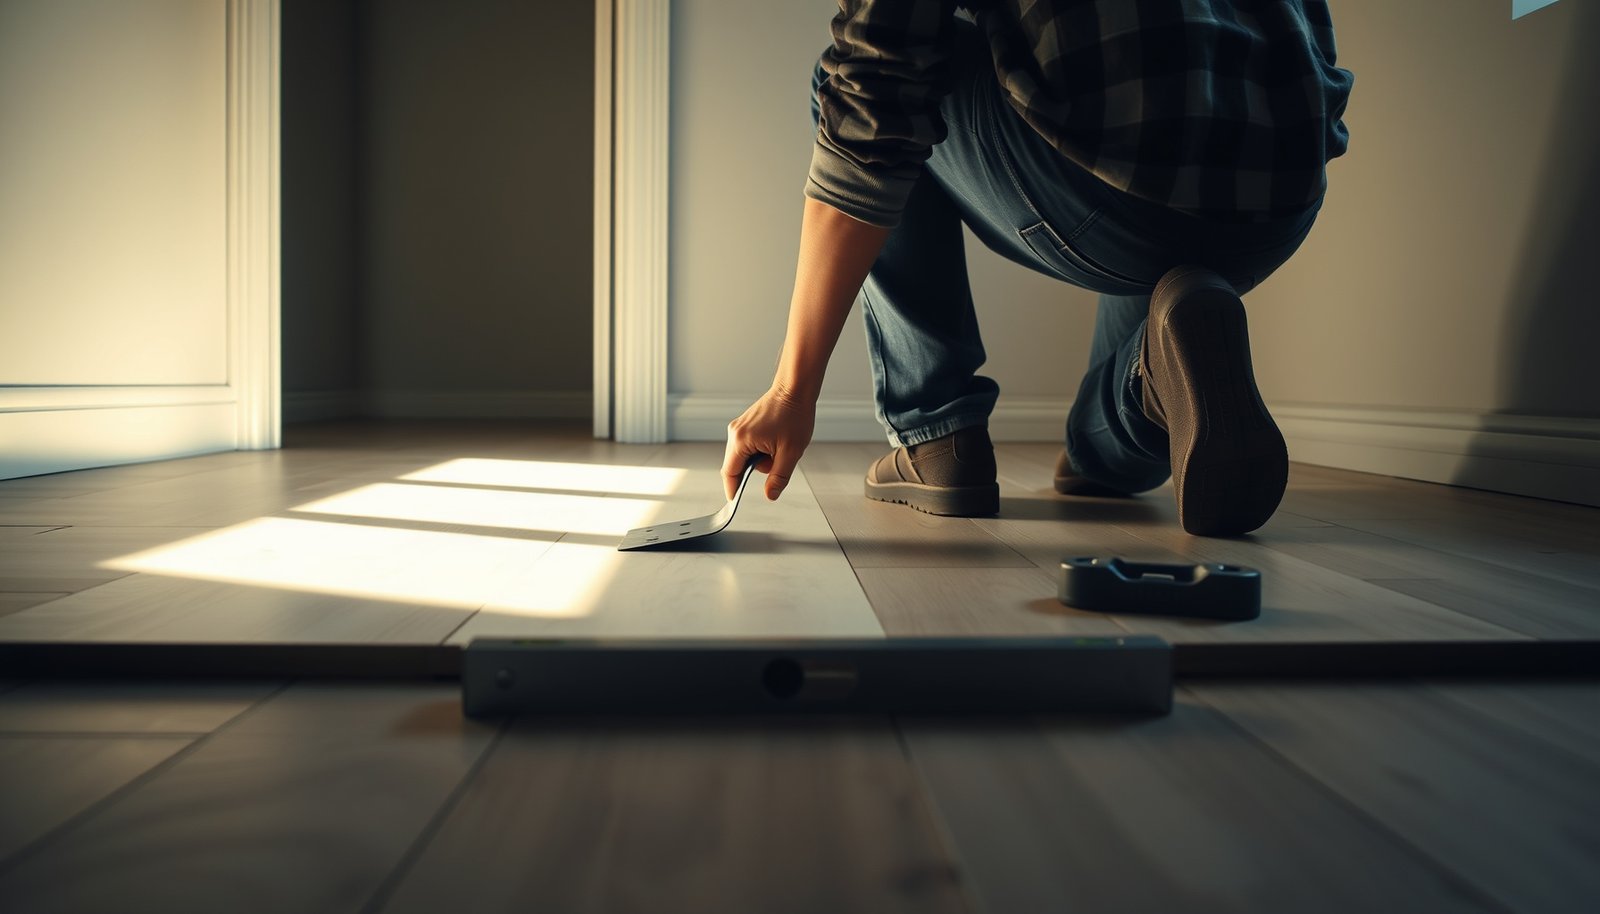
– Clean the area and use a straightedge/level to measure unevenness; mark every low spot you find so you don’t miss anything under the closet footprint.
– Photograph your measurements and create a quick “map” (low spot locations + rough size) to decide between patching vs self-leveler.
– Re-check at multiple directions (along and across joists if you’re on wood) because vinyl can telegraph unevenness both ways.
Key measurement approach for vinyl (simple and reliable): move a straightedge across the closet footprint, note the largest visible gap under the straightedge at each location, and record it. If your closet floor span is close to a long straightedge length (like 6–10 ft), you’ll find broad waves faster. If space is tight, combine short-span checks (to localize dips) with longer checks whenever possible.
Also don’t ignore the moisture side. If you’re on concrete, flatness work won’t solve moisture intrusion. According to ASTM F1869, calcium-chloride moisture tests report results in pounds of moisture vapor per 1,000 square feet per 24 hours (2019). That unit matters because vinyl products specify moisture limits in those terms, not “dry to the touch” language.
Choose the right leveling method for closets
Choose your leveling method based on the scale of the problem, not convenience. Small localized dips usually call for a feather-finish patch, while bigger unevenness may require a self-leveling underlayment (SLC/SLU) if the flooring system and substrate are compatible.
“Adding more material over a high spot can worsen flatness and create a ‘washboard’ profile that vinyl will mirror.”
“Feather-finish patch systems are easier to control around closet walls and trims because you can taper thin edges.”
“Self-leveling underlayment works best when used within its intended thickness range and with correct priming.”
The “right” leveling method is also the method that stays inside the manufacturer’s thickness and bonding window. In 2026, many SLC products have strict rules about maximum pour thickness per lift, minimum application thickness, and primer type—so your closet may look DIY-friendly but still require product-specific discipline.
Patch vs SLC vs grinding (how to decide quickly)
A practical rule of thumb for vinyl closet floors is: local dip = patch, broad unevenness = SLC (if allowed), high hump = grind.
- Feather-finish patch/skim coat
- Best for: isolated low spots and blended transitions near baseboards.
- Why it works: you can taper to near-zero edges so vinyl doesn’t hit a hard ridge.
- Self-leveling underlayment (SLC/SLU)
- Best for: wider, wave-like flatness issues where patching would require many thin feather edges.
- Guardrail: only use if your vinyl and subfloor type are explicitly compatible with that SLC/primer system.
- Grinding/shaving high spots
- Best for: humps or ridges that would force you to “build up” everywhere else.
- Why it matters: vinyl flatness is about geometry—building up over highs can create new lows and stresses at seams.
– Small low spots: use a feather-finish patch/skim coat to blend smooth; it’s easier to control around closet walls and door trims.
– Wider uneven areas: use self-leveling underlayment (SLC/SLU) if manufacturer allows it for your subfloor and flooring system.
– High spots/humps: don’t “fix” them with more compound—grind/sand/shave them down, then vacuum thoroughly before leveling.
Prep steps that make leveling actually work
Prep is where DIY leveling wins or fails, because leveling compounds bond to what’s underneath—not to dust, loose paint chips, or adhesive residue. If you get prep wrong, you can create a delamination risk that later shows up as hollow sound, cracks, or seam stress in vinyl.
“Before any leveling compound, the substrate must be clean, sound, and free of anything that prevents bonding (dust, paint overspray, loose material).”
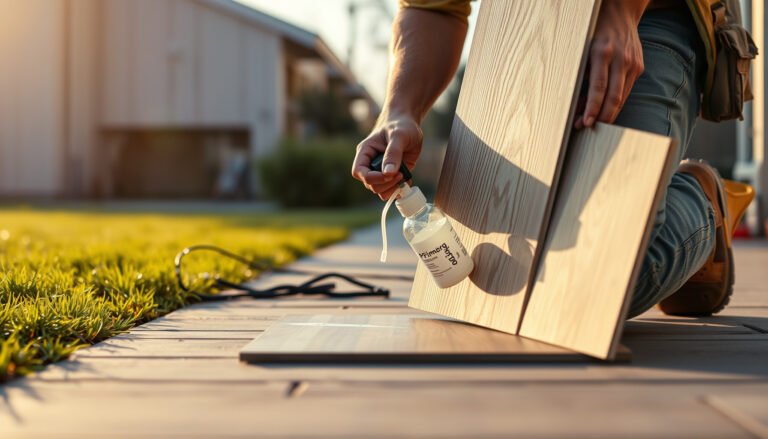
“Primer is not optional for many self-leveling underlayments; it controls absorption and bond strength.”
“Don’t accidentally cover perimeter gap areas—vinyl expansion requirements still apply after leveling.”
On wood/plywood/OSB: scrape or mechanically remove anything that compromises adhesion. On concrete: the goal is usually a stable, porous-to-appropriate-surface condition for primer (not a glossy, contaminated surface). In my experience, the biggest “invisible” prep failure is not vacuuming edges and corners—those areas are where levelers can bridge while hiding low spots that vinyl later reveals.
– Remove debris, old adhesive residue, loose paint/chips, and anything that would prevent bonding; then vacuum well (especially along edges).
– Prime/condition as required: if you’re using SLC on porous/non-porous surfaces, follow the primer requirements in the SLC and vinyl installation instructions ().
– Plan expansion gaps and transitions before you level: some vinyl systems require perimeter gaps—don’t cover those areas with leveling material unless the instructions say you can.
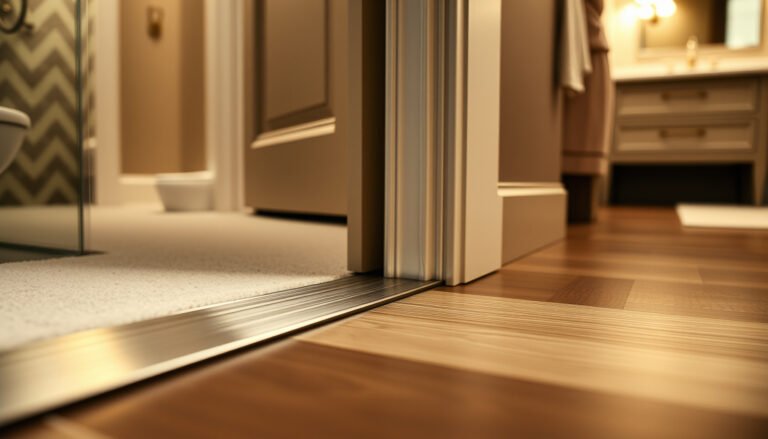
Also consider transitions. If your closet sits between rooms with different flooring heights, you need a plan for transitions before you pour or skim. Once compound cures, changing thickness later is far more work than designing the seam layout up front.
Level, cure, and verify flatness again
Leveling isn’t complete until the compound is fully cured and you pass another flatness check. Vinyl installed over partially cured patch/SLC can telegraph movement, create seam edge stress, and leave a “soft” feel under foot where the substrate continues to change.
“Self-leveling underlayment performance depends on correct mixing, correct pour technique, and full curing under the specified conditions.”
“A ‘dry to the touch’ surface is not the same as a cured leveling layer for resilient flooring installations.”
“Verify flatness after curing—don’t rely on the first measurement pass.”
From a process standpoint, treat curing like the most important “installation step.” In 2026, many compound failures show up because DIYers rush the vinyl install window, especially in small closets where airflow is reduced. If the product instructions specify temperature and humidity conditions, follow them—don’t assume the closet’s interior air will match the rest of the house.
– Mix and apply per the product instructions; for SLC, pay attention to mix ratio, pour plan, and surface spread so you don’t create ridges.
– Let it cure fully before installing vinyl—follow the compound’s cure time and conditions (temperature/humidity) from the manufacturer: .
– After curing, repeat the straightedge check and re-mark any remaining low/high spots; correct only what’s outside the vinyl manufacturer’s flatness limit ().
If you’re on a wood subfloor, also re-check for deflection (movement) separately from flatness. Flatness correction can’t fix structural sag. Vinyl may conform to flatness while still showing issues if the framing or subfloor panels flex under load.
What can go wrong (and when you should stop)
You should stop and reassess when the issue isn’t just geometry—it’s moisture, movement, or widespread structural instability. If you proceed anyway, vinyl can fail early even if your “patches” look smooth.
“Leveling can’t correct ongoing subfloor movement; if the structure flexes, vinyl seams and edges can stress regardless of flatness.”
“Skipping flatness verification after curing is how small ridges and dips become visible or feelable under vinyl.”
“Moisture out of spec can create adhesive and bond failures that leveling can’t reverse.”
Common mistakes and edge cases
– Trying to level over high spots: if the center is high, SLC/patch can make the surface worse or create a “washboard” effect.
– Rushing cure time: installing vinyl over uncured compound can lead to movement, seam issues, or an uneven feel under traffic.
– Skipping flatness verification: even if it “looks good,” vinyl can reveal tiny ridges—always re-check with the straightedge.
– Moisture problems: if your subfloor is too damp (common with concrete), leveling won’t solve the root issue—use the required moisture control approach: .
Closet-specific edge cases: if the closet area has a different floor build-up under a base cabinet or a previous subfloor patch, you can get localized height differences that are invisible before vinyl. Also watch for transitions at doorways—vinyl can bridge gaps differently than homeowners expect, and a micro-step at the jamb area is where seam stress commonly concentrates.
Finally, be realistic about coverage. Many SLC products have strict minimum/maximum thickness rules. If your closet needs corrections beyond what the product can legally achieve in one application, you may need multiple pours (with waiting windows) or a different approach. If you can’t meet the requirements, the correct “stop” point is to revise the plan rather than forcing compound usage.
Verdict / tip
If your closet area has measurable low spots, leveling is absolutely worth doing—but only if you can meet the vinyl’s flatness tolerance and follow the leveling compound’s prep + full cure rules. Skip DIY leveling (or at least pause and ask a pro) if you discover widespread structural movement, chronic moisture, or you can’t confidently hit the required flatness after re-checking ().
The upside is straightforward: a properly leveled closet floor reduces seam stress, minimizes gaps near the walls, and helps the vinyl installation lay flatter for the long haul. The downside is also real: prep, priming, and cure timing are not optional—especially with self-levelers in small spaces.
Scan/save checklist (quick)
| Step | What to do | Done? |
|---|---|---|
| 1 | Confirm vinyl flatness requirement from your product guide | ☐ |
| 2 | Straightedge the closet footprint; mark low/high spots | ☐ |
| 3 | Grind high humps; patch small dips | ☐ |
| 4 | Use SLC only where allowed; prime if required | ☐ |
| 5 | Follow exact mix + apply instructions | ☐ |
| 6 | Cure fully per product instructions; verify again | ☐ |
| 7 | Install vinyl with required perimeter gaps | ☐ |
Frequently Asked Questions
How do I check if my subfloor is level before installing vinyl flooring in a closet?
Use a 6–10 ft level or a straightedge and measure how much the subfloor varies from floor to floor in the closet area. Mark any high spots and low spots with painter’s tape, then re-check around doorways, corners, and under where closet doors or shelves will sit. If your vinyl flooring is click-lock or sheet vinyl, leveling needs can differ, but most installs require the subfloor to be flat within the manufacturer’s tolerance. Always confirm the specific flattening/leveling requirements listed for your vinyl flooring brand.
What’s the best way to level a vinyl floor before installing closet flooring?
For small low areas, use a self-leveling underlayment or a patch compound designed for floor leveling, applied according to the product’s thickness limits. For larger dips or uneven boards, you may need to prep first by grinding high spots and then feathering patch areas outward. If the closet has significant unevenness, you can also use plywood underlayment or shimming methods, then finish by smoothing with patch or leveling compound. Proper prep—cleaning, priming if required, and letting compounds cure fully—is key to preventing vinyl from telegraphing imperfections.
How do I level low spots and smooth high spots in a closet before laying vinyl?
Start by scraping debris, removing old adhesive residue, and vacuuming thoroughly so leveling materials bond correctly. Grind down any high spots, then use a leveling compound to fill the low areas, feathering the edges so the surface transitions are gradual. After curing, sand or re-smooth the patch areas until the closet subfloor feels uniformly flat underfoot. Recheck with a straightedge after sanding because even small ridges can show through thin vinyl planks.
Why is leveling the subfloor important before installing vinyl flooring in a closet?
Vinyl flooring—especially click-lock vinyl plank—can shift, flex, or create visible seams if the subfloor isn’t flat, leading to gaps and a shortened lifespan. In closets, the surface is often impacted by heavy storage and concentrated foot traffic, which can exaggerate unevenness. Leveling also helps the flooring lay tight, improves locking performance (if applicable), and reduces the chance of squeaks or lifting over time. Following manufacturer flatness specs is the best way to avoid future issues.
Which underlayment or leveling compound should I use for closet vinyl installation?
The right choice depends on your floor type (concrete slab vs. plywood), the size of the uneven areas, and the thickness you need to correct. Self-leveling underlayment is typically best for broad, shallow dips, while patch or floor repair compound works well for localized low spots and spot leveling. If you’re working over concrete, choose a product suitable for that substrate and apply the recommended primer to improve bonding. For best results, always match the compound and primer to your subfloor material and confirm compatibility with your specific vinyl flooring installation method.
📅 Last Updated: October 26, 2026 | Topic: How to level a vinyl floors before installing closet? | Content verified for accuracy and freshness.
References
- F710 Standard Practice for Preparing Concrete Floors to Receive Resilient Flooring
- F1869 Standard Test Method for Measuring Moisture Vapor Emission Rate of Concrete Subfloor Using …
- https://www.astm.org/Standards/F2170.htm
- Self-leveling concrete
- https://en.wikipedia.org/wiki/Floor_screed
- Floor
- Vinyl flooring
- https://scholar.google.com/scholar?q=vinyl+flooring+subfloor+flatness+leveling+compound Google Scholar
- https://scholar.google.com/scholar?q=self-leveling+underlayment+resilient+flooring+installation+flatness Google Scholar
- https://scholar.google.com/scholar?q=ASTM+F710+resilient+flooring+preparation+subfloor+flatness Google Scholar