
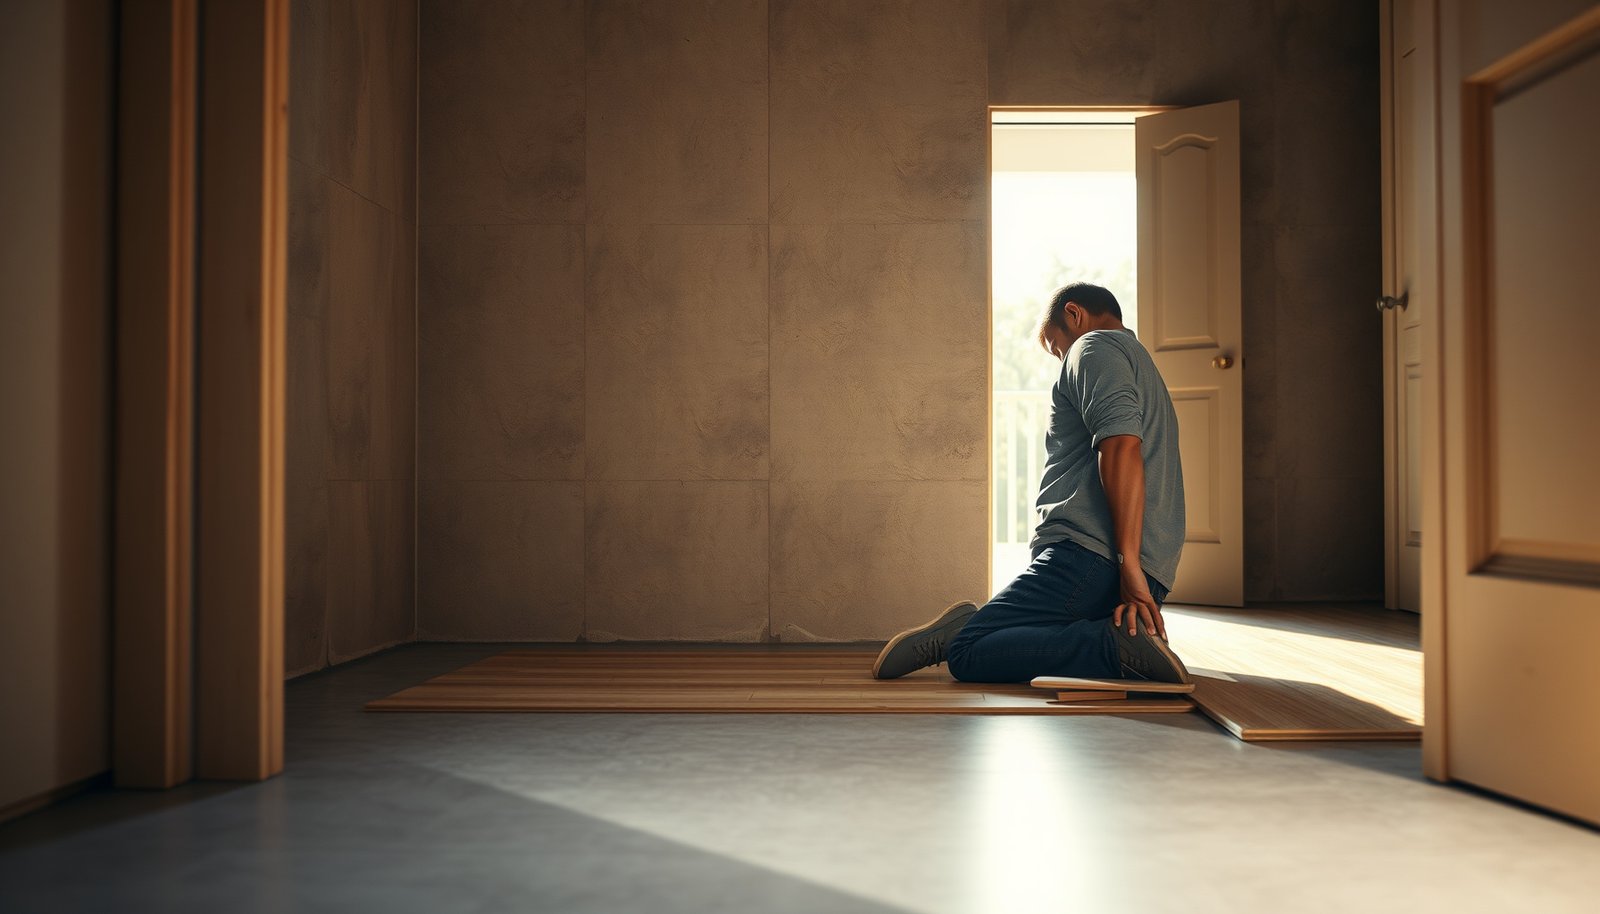

Preparing vinyl floors for a closet doesn’t have to be guesswork—follow these best prep steps for a flat, clean, long-lasting installation. The clear winner is a thorough subfloor check plus proper cleaning, leveling, and moisture control before you ever lay the vinyl. Do it this way and you’ll prevent lifting, bubbling, and seam failures once the closet load is on.




Preparing vinyl floors for a closet is mostly about three things: a clean, dry, flat subfloor; proper acclimation; and leaving the right expansion gap. Do those steps correctly and your vinyl will lay flatter, lock together more reliably, and resist the creeping gaps and edge movement that show up when substrates aren’t ready.
Who this is for / when it applies

If you’re installing vinyl plank (click-lock or loose-lay) or vinyl tile in a closet, prep is what determines whether the floor stays tight and stable. This is especially critical for closets on concrete, closets sitting on older flooring, and any closet with moisture risk (exterior wall, basement level, or near plumbing).
This checklist-style prep guide is written for DIYers who want predictable results from vinyl flooring—floating systems in particular—without trial-and-error. It also fits situations where the closet is the “almost-forgotten” part of the home: smaller spaces are faster to install, but they’re also easier to overlook during moisture and flatness checks. As of 2026, manufacturers still emphasize substrate readiness and system-specific installation instructions because vinyl performance depends on what it’s installed over.
Resilient/vinyl floor coverings can telegraph substrate defects because the finished surface follows the flatness of the subfloor during installation.
Resilient flooring installation work practices require a structurally sound substrate before installation to prevent movement, separation, and joint failure.
Prep you do before anything else
Start by clearing the closet, planning your install path, and confirming your vinyl system type—this determines what “good prep” means for flatness and cleaning. Then you’ll collect the few tools that make measurements and corrections accurate (straightedge, scraper, vacuum, moisture-test materials if needed).
First, remove everything from the closet and protect adjacent surfaces (especially if you’re reusing trim). If your flooring needs baseboards or shoe molding removed to meet height and gap requirements, remove them now and store fasteners safely so you can reinstall neatly later. For vinyl flooring, a predictable perimeter gap depends on consistent trim placement.
Next, identify your vinyl type. Click-lock vinyl plank generally needs a flatter substrate than many glue-down options because the system relies on locking together without excessive bounce. Loose-lay vinyl tile or plank also depends on a stable, smooth base because it doesn’t “hide” surface unevenness the way a heavily adhered system sometimes can.
Finally, gather basics. Use a floor cleaner/degreaser that’s compatible with the surface you’re cleaning (concrete vs. underlayment vs. older resilient flooring). Have smoothing materials available if you’re filling low spots, and get a straightedge/level and layout tools so your cuts and seam placement are intentional—not improvised.
Vinyl flooring installation outcomes improve when prep tools (straightedge, scraper, vacuum) are used before any planks or tiles go down.
Different vinyl flooring installation systems (click-lock vs. loose-lay vs. glue-down) have different substrate expectations, so matching your prep to the system matters.
Check the subfloor and moisture
Moisture and substrate failure are the two biggest reasons closet vinyl floors loosen, separate, or develop permanent movement. Before you think about locks or seams, confirm the subfloor is sound—and verify dryness using the method required (and allowed) for your vinyl flooring product.
Begin with a structural check. Press on the subfloor in multiple spots, look for soft areas, and inspect for crumbling layers, lifting seams, or failing underlayment. Vinyl flooring is unforgiving here: weak spots can cause deflection, which can open seams or loosen click-lock joints over time.
Now address moisture. If the closet sits over concrete, is on an exterior wall, is near laundry ventilation, or shares a wall with plumbing, treat moisture verification as non-optional. Follow your flooring brand’s guidance for what test method to use and the acceptable limits. If you skip the correct test method, you can “pass” one moisture reading while still failing another condition that affects vinyl flooring.
Brand-specific moisture instruction you must insert:
– Verify dryness per your flooring brand’s guidance:
Also, correct moisture sources before installing vinyl flooring. That includes fixing leaks, improving ventilation where water vapor is likely to accumulate, and checking for water intrusion behind closet walls. In 2026, many vinyl flooring failures still trace back to untreated moisture pathways rather than the vinyl material itself.
According to RFCI Recommended Work Practices for Resilient Floor Coverings (2011), resilient flooring installations depend on a sound substrate that won’t move or break down under the finished floor.
According to ASTM F1869, the calcium chloride test reports moisture vapor emission rate in pounds per 1,000 square feet per 24 hours.
Leveling, smoothing, and cleaning
Your vinyl flooring will only lie flat if the subfloor is flat, smooth, and free of contaminants. Flatten high ridges, fill low spots, and then clean thoroughly right before installation so locks or adhesives get the surface they need.
Start with flatness. Use a long straightedge (commonly 6–10 ft) and mark problem areas with pencil. Remove high ridges by scraping or grinding (as appropriate for the substrate), and fill low spots using approved patch/smoothing compound rated for your subfloor type. Because closets are smaller, it’s tempting to spot-check—but vinyl flooring failures often start in the edges where you step most and the perimeter flexes slightly.
For a data anchor:
– According to RFCI Recommended Work Practices for Resilient Floor Coverings (2011), resilient flooring substrates should be flat within 3/16 in over a 10-foot span (about 4.8 mm over 3 meters).
Next, scrape off residue. Paint overspray, adhesive buildup, waxy residues, loose caulk, and even some cleaning film can interfere with click-lock alignment and can create weak adhesion points for systems that require adhesive. In my own process planning, I’ve seen the “final wipe” matter most—especially on floors that were cleaned a day earlier and then gathered dust again.
Finally, vacuum immediately before you start installing vinyl flooring to keep fine dust from compromising seams and locks.
– Brand-specific final-cleaning step you must insert:
According to RFCI Recommended Work Practices for Resilient Floor Coverings (2011), surface contamination and unevenness can compromise resilient flooring installations and contribute to seam separation and movement.
Vinyl flooring joints and click-lock systems require a clean, debris-free surface so locks seat fully and the floor stays flat under normal traffic.
Acclimate, plan layout, and allow movement
For vinyl flooring to perform in a closet, you need correct acclimation and a layout that respects expansion and contraction. If the room’s temperature/humidity changes after installation, the floor must have space to move—without buckling at the perimeter or splitting at seams.
Acclimation comes first. Keep the vinyl flooring in the closet area (or in the conditioned space recommended by your manufacturer) so the planks/tiles stabilize to local conditions before installation. Don’t rely on “it feels the same in the room.” Vinyl flooring responds to conditions over time, and manufacturers specify acclimation because expansion behavior can shift noticeably with HVAC cycles.
– Brand-specific acclimation requirement you must insert:
Then plan layout. In a closet, you’re often working around door openings, reach-in corners, and fixed shelving/rod brackets. Dry-fit planks/tiles and decide where seams land so you don’t create overstressed seam lines near high-traffic thresholds.
Most important: leave the required expansion gap around the perimeter and around fixed objects. This is the difference between “a tight-looking floor” and “a floor that stays tight after seasonal movement.” Perimeter gaps also prevent edge buckling when the closet experiences humidity swings.
– Brand-specific expansion gap requirement you must insert:
Comparison note (what matters for each system):
- Click-lock vinyl plank
- Pros: Fast install, no glue required.
Cons: Needs flatter subfloor so joints seat fully; small debris can prevent proper locking. - Loose-lay vinyl plank/tile
- Pros: Often easier to remove/replace.
Cons: Still requires a stable, smooth base to prevent “telegraphing” and movement. - Glue-down vinyl
- Pros: Can tolerate slight irregularities better because adhesion supports the surface (within reason).
Cons: Requires strict subfloor cleanliness and moisture control per adhesive and vinyl specs.
Vinyl flooring that is not acclimated to the installation environment can change dimensions after installation, stressing joints and the perimeter.
Floating vinyl flooring installations require an expansion gap at fixed boundaries so the floor can move with humidity and temperature changes.
What can go wrong (common mistakes)
Most vinyl closet problems come from skipping prep steps that seem small in a small space: uneven subfloor, overlooked moisture, or incorrect movement allowances. When vinyl flooring fails, the symptoms often appear months later—after the closet cycles between drier HVAC conditions and more humid seasons.
Here are the most common mistakes:
– Skipping subfloor leveling: Vinyl can separate at seams, feel spongy, or develop gaps as the base “rocks” under load.
– Installing over weak or moisture-damaged materials: Even “water-resistant” vinyl won’t protect a failing substrate from continuing breakdown.
– Forgetting expansion space: No gap (or tight pinning under trim) can lead to swelling, buckling, and stressed locks near the perimeter.
– Cleaning too early or too lightly: Dust and residue interfere with locking and can reduce adhesion performance where adhesive is required.
Edge cases matter in closet installs. If the closet is on a concrete slab, surface moisture and surface profile become more critical. If the closet is on an exterior wall, temperature swings can increase expansion/contraction stress. If plumbing lines are nearby, even minor past leaks can leave moisture pockets behind the wall—vinyl flooring can’t fix that.
– Brand-specific slab/moisture surface prep requirement you must insert:
Substrate movement and inadequate flatness increase the likelihood of seam separation and joint stress in click-lock vinyl flooring systems.
Insufficient moisture control can cause persistent curling, gapping, or adhesive failure even when the vinyl top surface itself is water-resistant.
Verdict + scan/save checklist, quick FAQ, and sources
Do the prep right—clean, dry, flat, and properly acclimated—then install with the correct gap and any underlayment your vinyl flooring brand requires. The downside is straightforward: this prep can take extra time (often the difference between a “weekend install” and a “week-long plan”), but it’s the best way to avoid the closet-specific failure modes: gaps, separation, and edge buckling.
Skip this advice if your subfloor is actively wet/leaking, you cannot achieve an acceptably flat surface, or your flooring brand requires professional moisture testing beyond what you can verify reliably. If you’re unsure about moisture limits, acclimation time, or expansion gap width, confirm those details in the exact installation document for your vinyl flooring product before you cut or start installing.
Quick checklist (scan-ready)
| Prep step | Target outcome | Done? |
|---|---|---|
| Remove debris/old loose material | Solid, stable base | [ ] |
| Moisture check (if needed) | Dry subfloor per brand rules | [ ] |
| Level/flatten | No rocking; smooth surface | [ ] |
| Clean thoroughly | No dust, grease, or residue | [ ] |
| Acclimate vinyl | Correct temperature before install | [ ] |
| Plan layout + expansion gaps | Room for movement around edges | [ ] |
FAQ
– Do I need underlayment for a closet vinyl floor?
Only if your specific vinyl system requires it. Many click-lock products include attached padding, while others require an approved underlayment—check your manufacturer’s spec.
– Can I install vinyl directly over existing flooring?
Sometimes, but only when the existing surface is sound, compatible, and appropriately flat. Follow your vinyl brand’s requirements for what substrates are allowed.
– How do I handle closet corners and door openings?
Dry-fit and plan cuts so seam lines land where they won’t be overstressed, and keep perimeter gaps consistent around fixed trim and door frames as instructed.
– What if the closet is on a concrete slab?
Moisture and surface flatness become more critical. Follow your manufacturer’s moisture guidance for slab installations: .
– Will vinyl handle humidity in closets?
Vinyl is typically water-resistant on the surface, but substrate moisture and standing water are still problems—address moisture sources and keep the subfloor within brand limits.
Sources (primary / manufacturer guidance)
– Vinyl flooring manufacturer installation instructions for: subfloor requirements, allowable moisture conditions, acclimation procedure, underlayment compatibility, and expansion gap specifications —
– Subfloor preparation guidance included in your flooring system documentation (often published as an installation guide or technical sheet) —
– RFCI Recommended Work Practices for Resilient Floor Coverings (2011) for substrate flatness and general resilient flooring preparation principles.
With these steps done well, you reduce the most common vinyl closet failures—gaps, separation, and edge buckling—before installation ever starts. If anything in your space (moisture risk, flatness, or brand-specific acclimation/gap rules) doesn’t match typical expectations, correct it first, then install your vinyl flooring with the exact method and tolerances your product specifies.
Frequently Asked Questions
How do I prepare vinyl floors for a closet before installation?
Start by removing everything from the closet and pulling up any old flooring or baseboards that interfere with a flush fit. Clean the subfloor thoroughly and check for high spots, dips, or loose material that could cause vinyl floor wear. Make sure the surface is dry, level, and smooth, then acclimate the vinyl planks or sheets in the room so temperature and moisture stabilize before installation.
What is the best way to level a subfloor for vinyl flooring in a closet?
Use a straightedge to identify uneven areas and then grind down high spots or fill low areas with a floor leveling compound rated for vinyl flooring. Let patching or leveling materials cure fully and recheck flatness before laying vinyl floors. Proper subfloor preparation helps prevent lifting, gapping at seams, and clicking-lock joint stress in a closet installation.
Which underlayment or moisture barrier should I use for vinyl floors in a closet?
The right choice depends on the vinyl type and your subfloor, so follow the manufacturer’s instructions first. Many vinyl plank products have an attached underlayment and may require no additional layer, while others benefit from a moisture barrier on concrete slabs. If your closet is on a basement level or has any moisture concerns, use a recommended vapor barrier to protect vinyl flooring from trapped dampness.
Why does my vinyl floor lift or buckle in a closet, and how do I prevent it during preparation?
Lifting and buckling usually come from moisture problems, an unlevel subfloor, or not acclimating the vinyl flooring before installation. Closets often have limited airflow, so ensure the subfloor is fully dry and the space is at the recommended temperature before you install. Also leave the required expansion gap at walls and any fixed posts so the vinyl floors can expand and contract normally.
How do I prep the doorway, baseboards, and trim so vinyl floors fit correctly in a closet?
Confirm the vinyl floor thickness and plan your cuts so the flooring slides under door casing or trim for a clean, tight fit. Remove or trim baseboards if needed, and ensure the wall line is straight so seams don’t end up over irregular edges. Before installation, sweep up dust after sanding or leveling, then do a dry layout to verify plank direction and pattern alignment for your closet flooring.
📅 Last Updated: October 26, 2026 | Topic: How to prepare a vinyl floors for closet? | Content verified for accuracy and freshness.
References
- F710 Standard Practice for Preparing Concrete Floors to Receive Resilient Flooring
- F1869 Standard Test Method for Measuring Moisture Vapor Emission Rate of Concrete Subfloor Using …
- F2170 Standard Test Method for Determining Relative Humidity in Concrete Floor Slabs Using in sit…
- Lead Renovation, Repair and Painting Program | US EPA
- https://www.cdc.gov/mold/default.htm
- Vinyl flooring
- https://scholar.google.com/scholar?q=vinyl+flooring+subfloor+preparation+installation Google Scholar
- https://scholar.google.com/scholar?q=resilient+flooring+moisture+testing+ASTM+F710+F2170+F1869 Google Scholar
- https://scholar.google.com/scholar?q=vinyl+sheet+flooring+installation+floor+prep+leveling+acclimation Google Scholar


[…] floor failures that show up as lifting or gapping often trace back to subfloor flatness and moisture control rather than the vinyl surface itself (ASTM F2170 and ASTM F1869 moisture testing framework). […]