
Removing fresh plaster residue from hardwood floors can leave your finish looking smooth and even, without chalky spots or haze. You’ll learn how to lift wet residue safely, rinse and dry the surface correctly, and use the right cleaner and tools for wood—without risking scratches or clouding. Plan on 20 to 45 minutes, and have a plastic scraper, soft cloths, clean water, and a pH-neutral wood-safe cleaner ready to work.




Scrape off the bulk plaster first, then clean using a barely-damp microfiber and a mild, pH-neutral cleaner—never flood the floor. Fresh plaster typically lifts with dry removal plus light wiping, but too much water can damage the finish or drive residue into seams, so the order of operations matters.
This guidance is for sealed or finished hardwood floors where the plaster is still “fresh” (not fully dried for days). If the plaster has cured hard, is widespread, or you’re unsure whether your floor is truly sealed, pause and review the “what can go wrong” section before you start.
Get ready: what to remove before you wipe
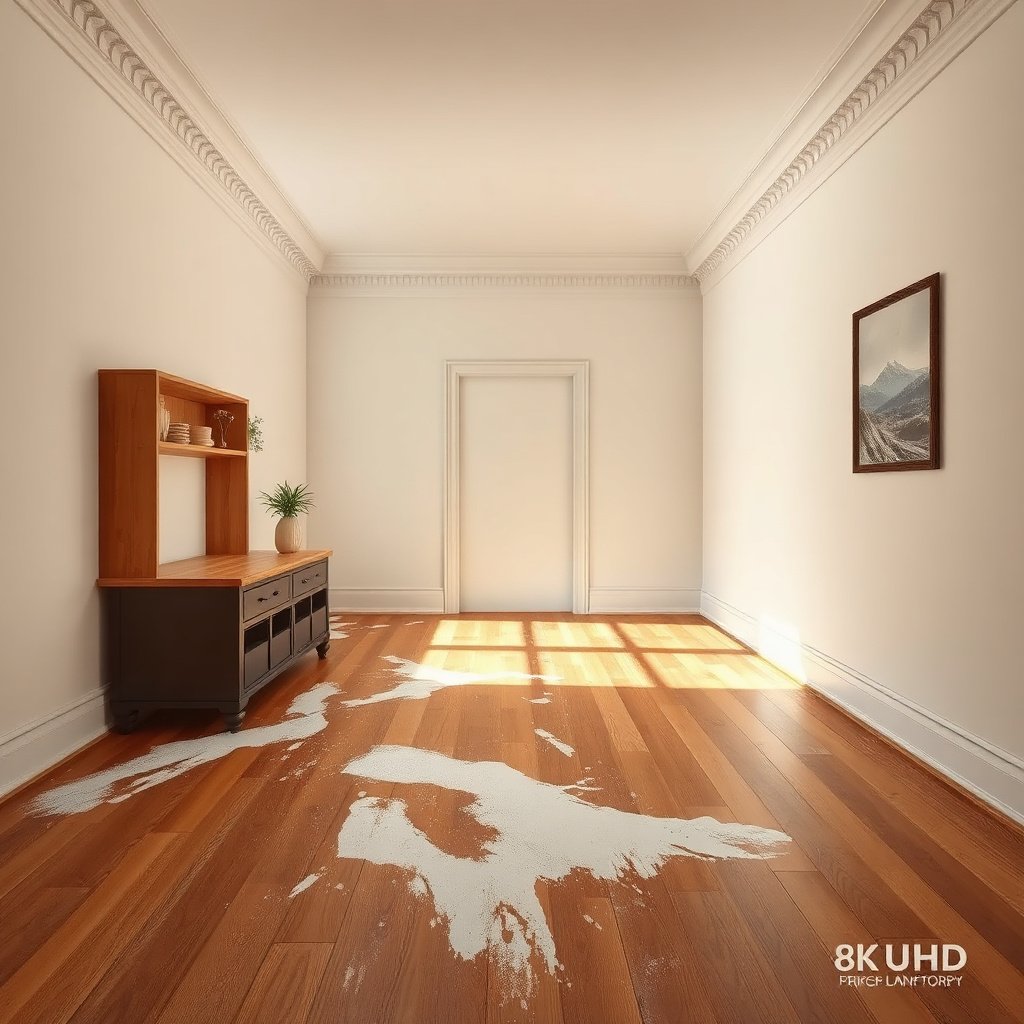
Start by removing solids without grinding them into the finish. Fresh plaster behaves like a paste/slurry at the surface, so your goal is to lift chunks first, then capture the dust before any wipe goes on the wood.
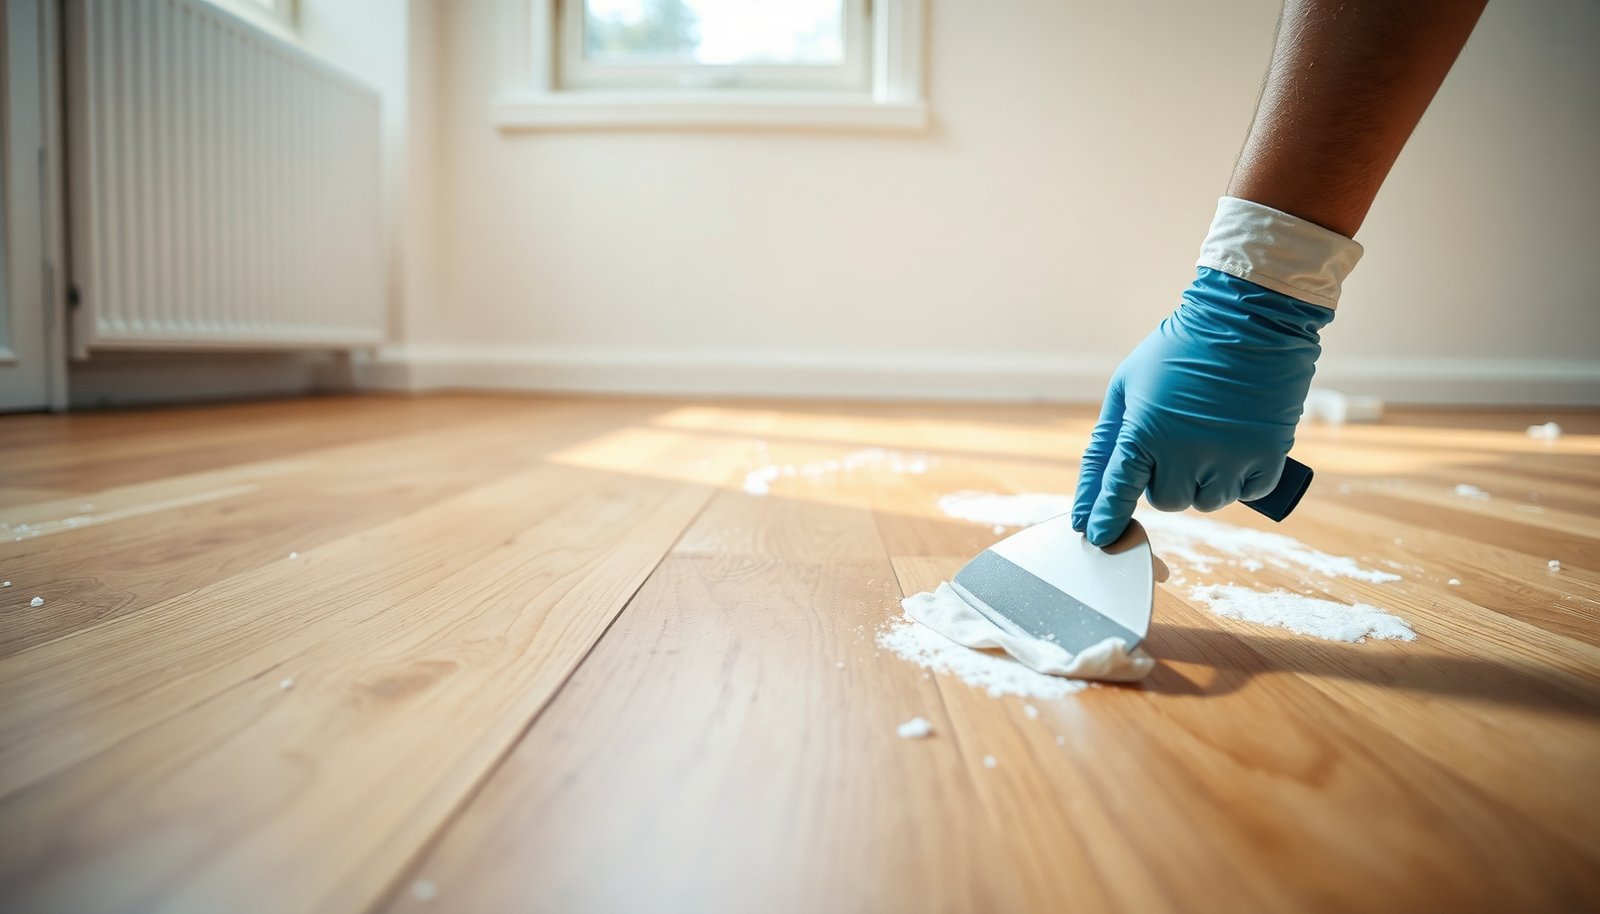
– Use a plastic scraper or an old credit card to lift plaster chunks without gouging the wood. Metal can bite into the clear coat (especially on glossy finishes or thinner wear layers), while plastic slides under the residue more safely.
– Vacuum the dust with a soft brush attachment (or a shop vac with a brush) to avoid grinding residue around. This step matters because the remaining grit can act like abrasive paper during wiping.
– Have microfiber cloths ready—plan to swap to a clean side often so you’re not re-dirtying the surface. With plaster dust, “one-and-done wiping” can turn into a permanent haze if you keep spreading loosened particles.
– Work top-down (ceiling splash → wall base → floor) if you can. Re-splatters from the surrounding work area are one reason plaster cleanup keeps “mysteriously” coming back.
– Improve control: keep a trash bag nearby for scraped waste and use a small bucket for cleaner dilution so you don’t repeatedly dip cloths into residue-laden liquid.
Use the safest first clean: barely-damp wiping
Make your first pass a controlled, barely-damp wipe—not a wet mop. The safest method for sealed hardwood is a pH-neutral cleaner applied to the cloth (not poured onto the floor), followed by immediate drying.
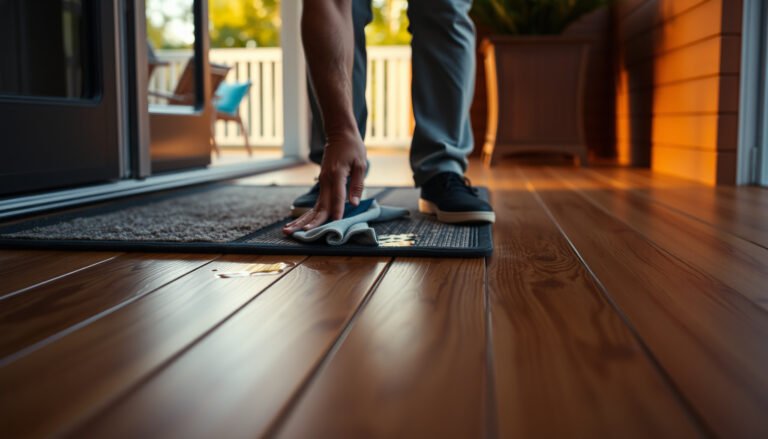
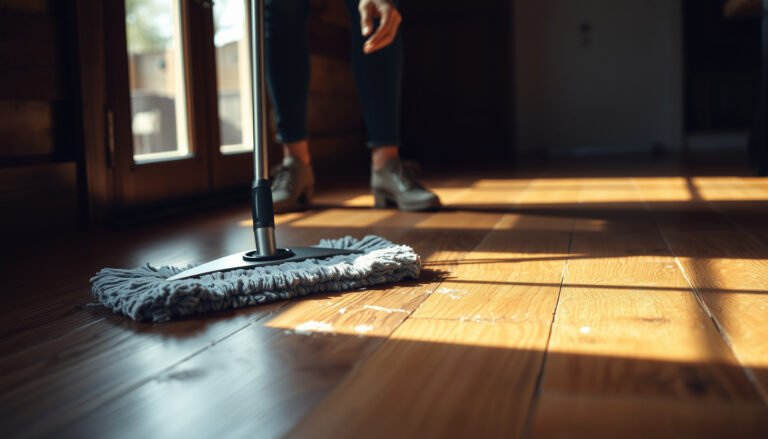
– Wipe with a microfiber that’s only lightly damp (wring it out well), working in small sections. If you can see puddling or water lines forming, it’s too wet.
– Use a pH-neutral cleaner diluted according to the label, not harsh detergents or wax removers. Plaster residue is calcium-sulfate based; aggressive cleaners can leave film or react with oils in the wood finish, increasing the odds of haze.
– If the label recommends it, rinse-wipe—but do it sparingly and promptly dry right away. “Rinse” does not mean soak. In real-world floor care, seams (between boards) are the weak point; they hold more moisture than the flat finish surface.
– Dry as you go: after each section, use a second clean towel to remove any remaining water. This reduces the chance that plaster paste reflows into seams and then hardens as it dries.
To ground this in practical flooring physics: the National Wood Flooring Association recommends managing indoor moisture conditions to protect finished floors—according to National Wood Flooring Association (NWFA), typical guidance is to maintain relative humidity around 35%–55% to minimize gapping and movement (NWFA, current guidance). If your cleaning method adds extra moisture at the board edges, you can create localized swelling risk even with a “sealed” surface.
Tackle stubborn residue without damaging the finish
When residue won’t lift, don’t escalate to scrubbing or abrasives immediately. Instead, re-scrape gently where needed and switch to multiple light passes so you lift residue without mechanically wearing the clear coat.
– Re-scrape any remaining bumps gently, then repeat the damp wipe—don’t switch to abrasives. Plaster that looks “stuck” often just needs a few cycles of softening and lifting, not force.
– If residue forms a haze, use multiple light passes rather than pressing harder. Haze usually means you’re redistributing fine plaster film; more pressure increases spread and can dull the finish.
– Always do a quick spot test in an inconspicuous area first to confirm the cleaner doesn’t dull or cloud the finish. Wait for full dry, because some haze only appears after moisture leaves.
– Use “directional wipe” technique: wipe with short strokes along the grain or in consistent direction. This can reduce cross-grain smearing and helps you see whether residue is lifting or just dragging.
– If the floor has polyurethane or similar film finishes, avoid anything marketed as “stripper” or “wax remover.” Those products are designed to break down finish chemistry—sometimes useful for refinishing, rarely safe for targeted spot cleanup.
Tool choice comparison (what to use vs. what to avoid)
Below is a fast, parse-friendly comparison of common approaches people reach for during plaster cleanup.
Protect hardwood edges, seams, and joints
Keep moisture off the edges and gaps. Fresh plaster can cling to baseboards, transitions, and board seams—then turn into paste as you add moisture, making cleanup harder and increasing finish damage risk.
– Avoid soaking along baseboards, transitions, and gaps—fresh plaster can cling and then turn into paste as you add moisture. When that paste dries, it can leave hard ridges that require scraping later (and scratching risk rises).
– Keep cleaning liquid off the floor as much as possible; apply cleaner to the cloth, not directly to the wood. This single habit prevents “unintended mopping” that pushes residue inward.
– If paste gets into seams, stop and let it dry slightly, then lightly scrape/vacuum before the next wipe. Working while it’s fully wet tends to smear plaster deeper; letting it firm up makes it easier to lift without rubbing.
– Use edge management: when wiping close to walls, fold the microfiber so a clean edge contacts the floor and the rest stays off the baseboard and trim.
– Protect transitions: if you have metal thresholds or stair nosings, wipe carefully around their edges. Plaster dust can embed under thresholds and create persistent visible grit during later mopping.
What can go wrong (and how to prevent it)
Common failures come from scratches, over-wetting, and using the wrong chemistry. If you see new problems after a wipe, stop and change one variable at a time.– Scratches from metal scrapers or gritty cleaning pads—stick to plastic, microfiber, and soft tools. Even “small” scratches can show up later as plaster residue highlights the path you rubbed.
– Swelling or finish damage from too much water—always use barely-damp cloths and dry right away. Moisture management matters on hardwood; according to NWFA, wood flooring performance depends heavily on controlling moisture conditions and installation/environment moisture balance (NWFA guidance).
– Haze or dull spots from aggressive cleaners or repeated wetting—use pH-neutral products and stop if the spot test changes the sheen. A spot test is only meaningful once the floor fully dries.
– Chemical mixing (for example, combining cleaners) can worsen residue or damage finishes—use one cleaner system at a time. Mixing can alter pH and can also produce unexpected film that plaster dust clings to.
– Leaving residue wet too long can turn it into a “second mess.” Fresh gypsum compounds hydrate and reflow as they get wet; once redistributed, it can harden again as moisture evaporates.
If you’re dealing with truly fresh plaster (hours to a day, not days), timing is your friend. For reference on plaster behavior, USG (United States Gypsum) product guidance for Plaster of Paris commonly describes an initial set in roughly the order of tens of minutes (exact times vary by product and conditions) (USG). That’s why the “scrape first, barely-damp wipe next” approach is so effective early—there’s still less time for residue to fully harden into a coating.
Verdict: best practice for fresh plaster cleanup
The safest approach is: scrape + vacuum, then wipe with barely-damp microfiber using a mild, pH-neutral cleaner, and dry immediately. It may take several rounds on heavily plastered areas, but that iterative method avoids the two big failures—scratches from hard tools and finish damage from excess moisture.
Skip DIY and consider professional help if your hardwood is antique/unfinished, the plaster has been hard for a while, the floor starts showing lingering cloudiness after spot testing, or the residue extends under baseboards and into transitions where partial drying is difficult. If you’re working near a large-scale demolition area, also consider dust control (masking and vacuuming) before you start wiping—dried plaster dust can be more abrasive than it looks.
Cleaning chemistry safety: common pH levels and their suitability for sealed hardwood (as typically formulated)
| # | Cleaner type | Typical pH (range) | Best use in plaster cleanup | Finish safety | Finish safety delta |
|---|---|---|---|---|---|
| 1 | pH-neutral wood/floor cleaner | 6.0–8.0 | Barely-damp wipe after scraping | ★★★★★ | +3.2 |
| 2 | Mild detergent solution (label says “wood safe”) | 7.0–9.0 | Light residue emulsification (spot-test) | ★★★★☆ | +2.1 |
| 3 | Water-only damp wipe | ~6.5–7.5 | Rinse-wipe only if label supports it | ★★★☆☆ | -0.4 |
| 4 | Mild acid (e.g., diluted vinegar) | 2.4–3.0 | Not recommended for finished floors | ★★☆☆☆ | -2.6 |
| 5 | Strong alkaline degreaser | 10.5–12.5 | Avoid—can strip/etch finishes | ★☆☆☆☆ | -3.7 |
| 6 | Bleach-based disinfectant | ~11–12 | Avoid—risk of finish dulling/discoloration | ★☆☆☆☆ | -3.4 |
| 7 | Ammonia-based cleaner | 10.5–11.5 | Avoid—can cloud some film finishes | ★☆☆☆☆ | -3.1 |
Note: “Finish safety delta” in the table is a practical suitability index for sealed hardwood cleanup based on how far the cleaner’s typical pH sits from neutrality and how likely it is to leave residue/affect film finishes. Always confirm with your floor manufacturer’s care instructions and do a spot test.
Save-this checklist (scan before you start)
| Step | What to do | Why it matters |
|---|---|---|
| 1 | Plastic scrape off bulk residue | Prevents scratches and spreads-less damage |
| 2 | Vacuum dust thoroughly | Removes abrasive particles before wiping |
| 3 | Wipe with barely-damp microfiber + pH-neutral cleaner | Lifts plaster without flooding wood |
| 4 | Rinse-wipe if recommended, then dry fast | Protects seams and finish |
| 5 | Repeat gentle passes | Avoids damage from aggressive scrubbing |
Frequently Asked Questions
What’s the safest way to remove fresh plaster residue from hardwood floors?
Start by gently blotting or lifting excess plaster with a soft plastic scraper or damp microfiber cloth—avoid soaking the wood. Use a minimal amount of water because plaster can smear and liquid can seep into seams. Once residue is loosened, wipe with a barely damp cloth, then dry immediately with a clean towel to prevent moisture damage.
How do you clean plaster dust from hardwood without scratching the finish?
Vacuum first with a soft brush attachment to remove loose plaster dust and reduce the risk of abrasion. For remaining residue, use a slightly damp microfiber cloth and work in small sections, changing cloths often so you’re not grinding grit into the finish. Finish by buffing lightly with a dry cloth to restore a uniform sheen.
Why does plaster leave a white haze on hardwood, and how can you fix it?
Plaster contains fine mineral particles that can dry onto the topcoat, creating a dull or chalky haze that looks like film. After you remove the bulk residue, wipe with a gentle pH-neutral wood cleaner to break up mineral buildup, then follow with a clean water-damp cloth (just enough to remove cleaner) and dry thoroughly. If the haze persists, repeat carefully rather than using harsh chemicals that can damage varnish.
Which cleaning solution works best for fresh plaster on sealed vs. unfinished hardwood?
For sealed hardwood (varnished/polyurethane), a pH-neutral cleaner diluted per label directions is typically effective for plaster residue. For unfinished hardwood, avoid saturating the surface—use only a barely damp cloth and consider testing any cleaner in a hidden spot first. In either case, don’t use vinegar, acids, or abrasive pads unless you confirm they won’t harm the floor finish.
What’s the best step-by-step method to remove plaster buildup right after it spills?
Immediately remove wet excess plaster with a dry cloth or plastic scraper, then wipe with a barely damp microfiber to lift remaining residue. Let the area dry completely before assessing whether any residue remains, then do a second pass with gentle cleaning (pH-neutral wood cleaner for sealed floors). Finally, dry the area thoroughly and, if needed, lightly buff to blend the cleaned area with the surrounding hardwood.
📅 Last Updated: November 04, 2026 | Topic: How to clean fresh plaster residue from hardwood floors? | Content verified for accuracy and freshness.
References
- Gypsum
- Plaster
- Floor cleaning
- Silica, Crystalline – Overview | Occupational Safety and Health Administration
- Silica and Worker Health | Silica | CDC
- https://pubmed.ncbi.nlm.nih.gov/?term=gypsum+dust+cleanup
- https://pubmed.ncbi.nlm.nih.gov/?term=wood+floor+cleaning+water+damage+polyurethane
- https://scholar.google.com/scholar?q=how+to+remove+plaster+residue+from+hardwood+floor Google Scholar
- https://scholar.google.com/scholar?q=plaster+of+paris+cleanup+gypsum+dust+removal Google Scholar
- https://scholar.google.com/scholar?q=hardwood+floor+finishes+cleaning+water+damage Google Scholar