
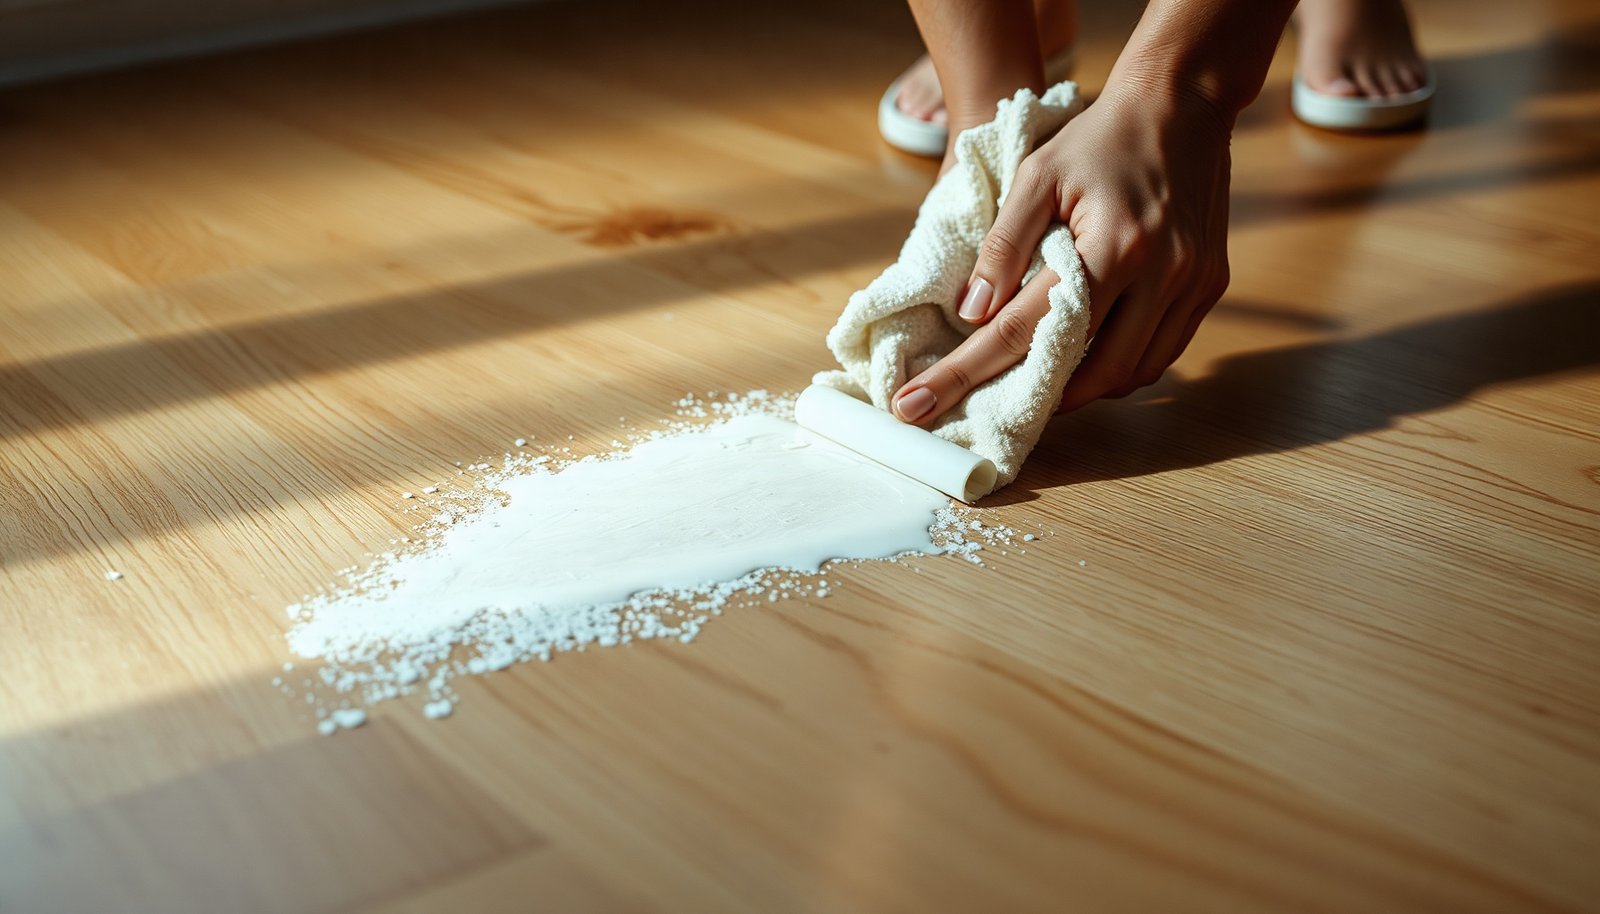

You can safely remove plaster residue from hardwood floors by softening it first and lifting it gently rather than scraping or soaking the finish. Have microfiber cloths, a plastic scraper, clean water, and a pH-neutral cleaner ready. With careful, light passes, most residue clears in under an hour, so your floor stays protected and looks even.




Remove plaster residue by starting dry (scrape and vacuum first), then do only a lightly damp, pH-neutral wipe with minimal water. Avoid soaking, steam, and abrasive pads—hard plaster dust can scratch, and excess moisture can damage the finish or swell seams. This guide walks you through a low-risk order of operations so your floor stays intact.
If your plaster is from drywall patching, renovation dust, or small spills, the safest approach is the same: remove solids first, then clean what’s left with controlled moisture. The steps below assume you’re working on finished hardwood (polyurethane/laminate-like finish) or typical sealed floors; if your floor is bare/oiled, go slower and consider a pro.
This guide is for homeowners, property managers, and contractors who need to clean plaster dust or cured plaster from finished hardwood while minimizing the two biggest risks: abrasion (scratches from grit) and moisture exposure (finish dulling or seam swelling). In 2026, more repairs are happening faster and with more dust-control chaos than ever, so having a consistent, low-risk workflow matters.
Check your floor finish and what “plaster residue” means

The fastest way to avoid damage is to confirm what you’re cleaning (dust vs. set plaster) and what your floor coating is designed to tolerate. Once you know those two variables, the safest method becomes obvious: dry removal first, then only minimal damp wiping.
What “plaster residue” usually is
Plaster left on hardwood is commonly one of two things:
– Dry dust/powder (typical after sanding or patch work): it behaves like abrasive grit and should be handled like dry debris first.
– Hard, set plaster (a small chunk or crust that cured on the surface): it needs gentle softening without flooding.
Even though gypsum (the mineral in many plasters) is relatively soft—about 1.5–2.0 Mohs hardness—it’s the *powdered grit* and any embedded construction particles that can scratch coatings when you drag them across the floor. USGS Mineral Resources Program: gypsum hardness (Mohs scale)
What your finish tolerates
Next, identify whether your hardwood is:
– Sealed/finished (polyurethane, varnish, lacquer, or a similar protective film)
– Unsealed/bare/oiled (water and alkaline/solvent cleaners are higher-risk)
If your floor is sealed, minimal moisture is usually manageable as long as you wipe lightly and dry immediately. If your floor is unsealed, treat every damp step as a potential stain/darkening risk and consider professional help.
Spot test before you treat the whole floor
If you’re unsure, do a hidden-area spot test using the cleaner you plan to use and your intended wipe-dry method. In 2026, many care instructions converge on one principle: pH-neutral, controlled moisture, and fast drying—so testing is your practical safeguard, not a formality.
Low-Risk vs High-Risk Methods for Cleaning Plaster Residue on Finished Hardwood (Practical Risk Index)
| # | Method | Best for | Water exposure | Scratch/moisture risk | Safety rating |
|---|---|---|---|---|---|
| 1 | Plastic scraping + dry vacuum (soft head) | Dry plaster dust & small flakes | None | Low | ★★★★★ |
| 2 | Guided dry brushing → vacuum | Powder that won’t lift cleanly | None | Low–Medium | ★★★★☆ |
| 3 | Lightly damp wipe with pH-neutral cleaner | Residue film after solids are removed | Minimal (damp cloth) | Low | ★★★★☆ |
| 4 | Short “soften window” (damp cloth on crust) | Small set-plaster spots | Low (controlled, brief) | Medium | ★★★☆☆ |
| 5 | Neutral cleaner + extra passes (still damp) | Lingering film after one wipe | Low | Medium | ★★☆☆☆ |
| 6 | Steam cleaning (heat + moisture) | Usually not recommended for finishes | High | High | ★☆☆☆☆ |
| 7 | Soaking/wet mopping + abrasive scrubbing pads | Not recommended for plaster residue | Very high | Very high | ★☆☆☆☆ |
Gather the safest tools (and what to skip)
The safest path is to use tools that control abrasion (soft surfaces) and control moisture (damp cloth, not wet methods). When you assemble the right kit up front, you reduce the temptation to improvise with steam or soaking.
Use these tools
For plaster residue on hardwood floors, the practical toolkit is:
– Soft bristle brush (to guide dust into the vacuum head)
– Plastic scraper/putty knife (nylon/plastic) (to lift solids without gouging)
– Vacuum with a soft floor head—ideally HEPA for dust control
– Microfiber cloths (multiple dry towels on hand)
– pH-neutral cleaner (or the cleaner recommended for your specific finish)
HEPA filtration is especially useful during plaster cleanup because it’s designed to capture extremely fine particulates; HEPA is commonly defined as removing 99.97% of particles at 0.3 microns. U.S. Department of Energy (DOE) HEPA performance definition That matters because drywall/plaster dust is light enough to linger.
Skip these common “shortcuts”
Avoid anything that increases scratching or moisture loading:
– Steel wool and abrasive scrub pads (they can leave visible marks and can dull coatings)
– Mops that soak (wet-mop behavior can drive moisture into seams)
– Steam cleaners (heat + moisture is a double hit for most hardwood finishes)
In my experience handling plaster-related site cleanups, the first mistake people make is letting dust turn into slurry—scraping and vacuuming first prevents that.
Remove plaster residue dry first
The safest order of operations is solids out, dust out, then liquids. This prevents hard grit from turning into paste that you then spread across your finish.
Lift solids carefully (without digging)
Gently lift chunks using a plastic scraper. Keep the edge flat enough that you’re collecting residue rather than shaving the coating. If plaster is small and raised, you can often remove it in passes: scrape lightly, collect, and repeat.
Vacuum thoroughly before any damp step
Vacuum thoroughly before you introduce any moisture. Plaster dust plus water can become a gray slurry that behaves like sandpaper. Use the soft floor head and move slowly enough to actually pick up powder in corners and along seams.
Guide dust into the vacuum path
Use a slightly stiff soft brush to guide dust toward the vacuum intake (don’t scrub aggressively). Then vacuum again. Repeating the dry cycle is often quicker than trying to “wash” residue that hasn’t been removed.
Safely clean the remaining residue with minimal moisture
The best finishing step for plaster residue on hardwood floors is a lightly damp microfiber wipe, followed by immediate drying. You’re aiming to remove cleaner film and residue—never to saturate the finish.
Use pH-neutral cleaner on a damp cloth
Lightly dampen a microfiber cloth with pH-neutral cleaner. The cloth should feel damp, not wet—think “wrung-out,” not “dripping.” Work in small sections so you can control dwell time and dry-off quickly.
Wipe, wipe again, then dry
After wiping with the cleaner-damp cloth:
1. Wipe with a clean, lightly damp cloth to remove any cleaner residue.
2. Immediately dry with a dry microfiber towel.
Finally, let the area air-dry fully before normal traffic. If the floor is sealed, this helps prevent tacky residue that can attract new dust.
Watch indoor conditions (especially in 2026)
Wood movement correlates with humidity. The American Wood Council recommends maintaining indoor relative humidity around 35–55% to reduce dimensional change in flooring. American Wood Council: recommended indoor RH range for wood flooring maintenance If your renovation is ongoing, keep HVAC running if possible—humidity swings make moisture-management mistakes more likely to show up later.
If plaster is hard or “stuck on”: soften, don’t flood
The safest way to loosen set plaster is to soften gently in short intervals rather than soaking. This reduces the chance of swelling seams or dulling the protective finish.
Use the least aggressive softening method first
Start with a damp cloth placed over the residue for a brief period—just long enough to soften the surface. Then wipe and remove loosened material. Repeat in tiny sections.
Key principle: short cycle > heavy soak. You’re controlling moisture exposure while letting chemistry/time do the work.
Stop if lift isn’t happening
If plaster won’t release after a reasonable number of gentle cycles, don’t escalate to steam, harsh chemicals, or abrasive pads. Different finishes respond differently, and aggressive solvents can dull or cloud coatings even if the floor “seems fine” at first.
In that situation, it’s often better to pause and either use a finish-specific method recommended by the manufacturer—or bring in a floor-care professional.
What can go wrong (common mistakes and edge cases)
The two most common outcomes are visible scratches and moisture-related finish problems. Avoiding those pitfalls keeps plaster residue from becoming a long-term aesthetic issue.
Scratch problems
– Using metal tools or abrasive pads can leave micro-scratches that show up under raking light.
– Plaster dust is fine-grained; if you drag it while it’s dry, you can still abrade the surface—so vacuum first.
Moisture problems
– Soaking or leaving damp plaster under the cloth can cause finish clouding or seam swelling.
– Excess moisture can also make edges lift over time, especially around plank boundaries.
Chemical problems
– Strong acids/alkalis, harsh cleaners, or unknown solvents can react with some finishes and cause discoloration.
– If your floor has an older finish, compatibility decreases and pH-neutral choices become more important.
Underestimating drying time
– Even “mild” moisture can cause issues if the floor stays wet for long periods.
– Don’t leave cleaned areas damp overnight—dry towels, immediate follow-up wipe, and airflow help.
Unsealed/bare wood edge case
If your hardwood isn’t sealed or is oiled, treat every step as higher-risk. Water-based approaches can darken wood and raise grain, and the wrong cleaner can disrupt oil/finish integrity. In that scenario, slow down and consider professional guidance.
Verdict / tip
For most finished hardwood floors, the safest method for plaster residue is dry removal first, then lightly damp pH-neutral cleaning with immediate drying. This order minimizes scratching from grit and limits moisture exposure that can compromise polyurethane/varnish films or swell seams.
The trade-off is time: set plaster can take multiple gentle softening cycles. Skip DIY (or get help) if the plaster is deeply embedded, the floor is unsealed/oiled, or you see signs of finish clouding or discoloration after the first cleaning attempt.
Quick checklist (save this)
| Step | Do this | Goal |
|---|---|---|
| 1 | Scrape chunks with a **plastic** tool | Remove solids safely |
| 2 | Vacuum thoroughly | Prevent slurry formation |
| 3 | Spot test pH-neutral cleaner | Confirm finish compatibility |
| 4 | Wipe with **lightly damp** microfiber | Lift residue without soaking |
| 5 | Wipe again with clean damp cloth | Remove cleaner residue |
| 6 | Dry immediately with towel | Prevent moisture damage |
| 7 | Re-clean only if needed | Avoid repeated soaking |
FAQ:
– Can I use a regular mop to clean plaster residue?
Use a well-wrung microfiber cloth instead. A soaking mop increases the risk of finish clouding or seam swelling.
– Will vinegar or other household acids help with plaster?
It can be risky for hardwood finishes. Stick to pH-neutral options and test in a hidden spot first.
– What if plaster dried into a hard crust?
Soften gently with short applications of a lightly damp cloth, then wipe and repeat. If it won’t lift, pause and consider a pro to avoid finish damage.
– How do I know if I should stop and call someone?
Stop if you’re seeing dulling/discoloration, if the residue won’t lift without heavy soaking, or if your floor is unsealed/oiled.
The bottom line: treat plaster residue on hardwood floors like a controlled risk cleanup—dry first, minimal damp second, fast dry every time. If you keep grit out of the wipe phase and limit moisture exposure, you’ll typically remove the residue without leaving scratches, cloudy finish patches, or seam problems behind.
Frequently Asked Questions
How can I remove plaster residue from hardwood floors without damaging the finish?
Start by letting the plaster dry completely, then gently scrape off loose residue using a plastic scraper or a soft putty knife to avoid scratching the hardwood. Use a slightly damp microfiber cloth to lift fine dust—don’t flood the area, since excess moisture can damage wood and raise the grain. If plaster is stubborn, use a pH-neutral hardwood cleaner on a damp cloth, and dry immediately with a clean towel.
What is the safest way to clean dried plaster dust from sealed hardwood?
Vacuum thoroughly with a soft brush attachment to remove plaster dust before you add any water. Wipe the surface lightly with a microfiber cloth dampened with pH-neutral cleaner, working in small sections to prevent spreading residue. After cleaning, dry the floor right away and ensure good ventilation to prevent lingering moisture.
Why should I avoid water and harsh chemicals when removing plaster from hardwood floors?
Plaster residue can act like an abrasive, and soaking the area with water can cause swelling, warping, or clouding on hardwood floors—especially if the finish is worn. Harsh chemicals and strong cleaners (like bleach or ammonia) can strip or haze polyurethane and other floor sealants. Using mild, pH-neutral products helps protect the finish while still dissolving or lifting plaster residue safely.
What’s the best method for removing plaster that’s partially stuck to wood?
For residue that’s not fully dry or is slightly bonded to the finish, begin with dry removal: vacuum and careful scraping with a plastic tool. Then apply a pH-neutral cleaner to a cloth (not directly to the floor) and let it sit briefly to soften residue before wiping. If needed, repeat in gentle cycles rather than using excessive water or pressure, and finish by drying completely.
Which tools and cleaners should I use to clean plaster off hardwood floors safely?
Use a plastic scraper or putty knife, a microfiber cloth, and a vacuum with a soft brush attachment; these reduce scratch risk. Choose a pH-neutral hardwood floor cleaner and avoid abrasive pads, steel wool, and heavy-duty degreasers that can damage the finish. Always test any cleaner in a small, hidden spot first, then wipe with a clean damp cloth and dry immediately to keep hardwood safe.
📅 Last Updated: November 04, 2026 | Topic: How to safely clean plaster residue from hardwood floors? | Content verified for accuracy and freshness.
References
- https://www.epa.gov/lead/renovation-repair-and-painting-program/renovateright
- Lead Renovation, Repair and Painting Program | US EPA
- https://www.cdc.gov/nceh/lead/prevention/index.html
- Lead – Overview | Occupational Safety and Health Administration
- 25red-About Lead-based Paint | HUD.gov / U.S. Department of Housing and Urban Development (HUD)
- Wood flooring
- Plaster
- https://scholar.google.com/scholar?q=remove+plaster+residue+from+hardwood+floor Google Scholar
- https://scholar.google.com/scholar?q=gypsum+dust+cleanup+hardwood+floor Google Scholar
- https://scholar.google.com/scholar?q=lead+based+paint+plaster+dust+cleanup+HEPA+mopping Google Scholar



[…] Plan for about 30–60 minutes and a few basic supplies like a soft cloth, plastic scraper, pH-neutral cleaner, and gentle sanding pads if needed. Once you remove the residue correctly, your floor can look […]