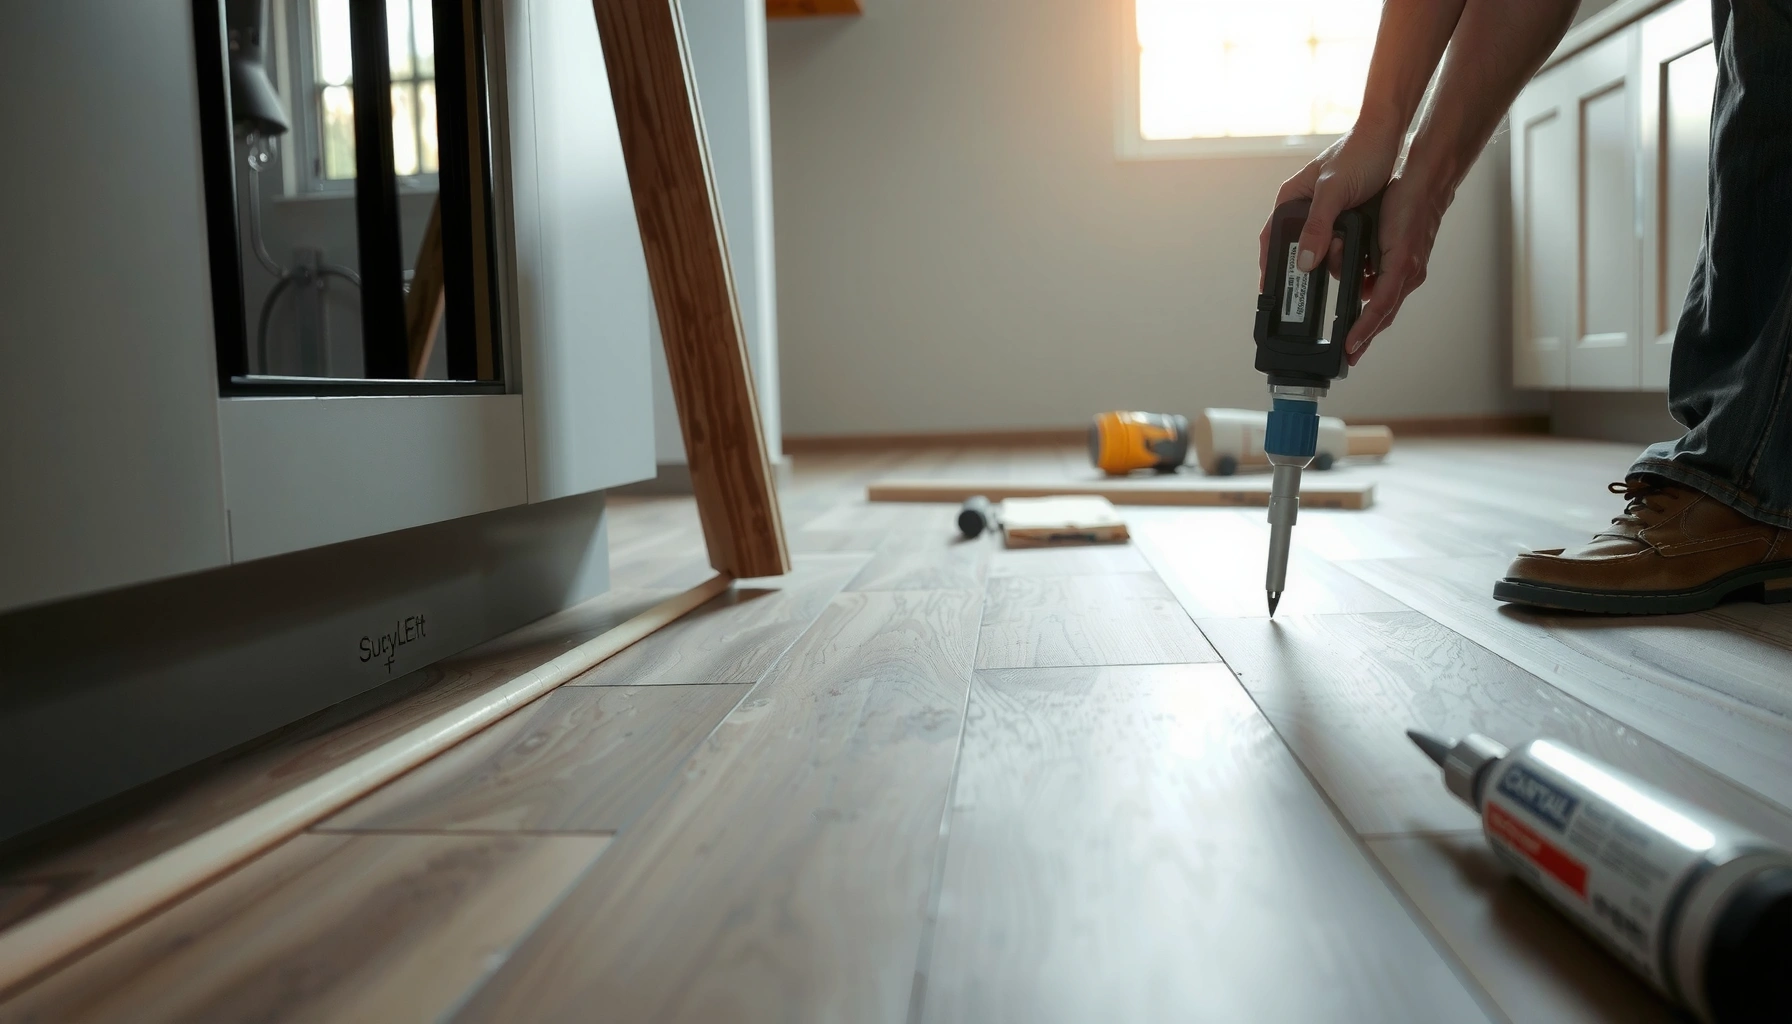

Learn how to replace kitchen floors with a step-by-step plan that tells you exactly what to do from start to finish. This guide is the straight route to a durable, level kitchen surface—covering prep, removing old flooring, installing new material, and finishing details so it performs under daily spills and foot traffic. If you want the fastest path to a clean installation with fewer mistakes, follow these steps in order.




Replacing a kitchen floor is fastest and most reliable when you remove the old flooring completely, prep and level the subfloor, then install your new material using the manufacturer’s required underlayment/moisture barrier and correct transitions. Focus first on subfloor flatness and moisture behavior—those two factors drive most long-term failures more than the finish you choose.
If you’re planning a DIY replacement (especially vinyl, laminate, engineered wood, tile, or LVP), this is for you. It’s also useful if you’re deciding between materials, or you want a clear checklist for budgeting time and supplies before demo.
Plan Your Kitchen Floor Replacement (Before Demo)
You’ll avoid rework if you pick the flooring type and map the installation layout before you remove anything. Start with kitchen-specific realities—spills, rolling loads from appliances, and constant foot traffic—then confirm the product is intended for those conditions.
Most manufacturers require an expansion gap for floating floors (including click-lock LVP and laminate) to handle seasonal dimensional movement.
Kitchen floors are frequently exposed to water from spills; checking the flooring’s “wet area” or “resistant to moisture” language helps you avoid warranty disputes later.
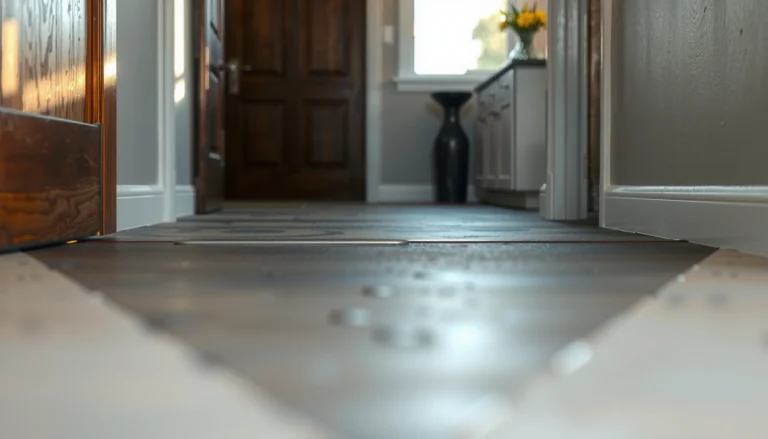
Transitions and thresholds control edge stress at doorways and between rooms, which reduces lifting, fraying, and tripping hazards.
In my own approach to remodeling projects like this, I always treat the kitchen as a “system”—flooring, underlayment, subfloor condition, and transitions all have to agree—because that’s what prevents callbacks. The same logic applies whether you’re installing click-lock planks, glued-down products, or tile.
Before you buy, do three pre-demo checks:
1) Confirm the flooring is kitchen-rated. Look for wording that supports everyday exposure to moisture and cleaning methods you’ll use (steam mops, pH-neutral cleaners, etc.). For LVP and laminate, water resistance usually depends on how seams are protected and how quickly spills are cleaned.
2) Measure and design seams/rows. Measure the room and add waste:
– Plank formats (LVP/laminate/engineered wood): add extra for irregularities and cut offsets.
– Tile: add extra for cuts around cabinets, edges, and features like toe-kicks and door thresholds.
If you’re unsure, budget a higher waste allowance for tile because small layout changes can create awkward slivers near walls.
3) Plan baseboards and cabinet edges. Decide whether you’ll remove baseboards/shoe molding. In kitchens, trim removal is often the cleanest way to preserve proper expansion gaps, but it may be more work if you have paint/finish concerns. If cabinets stay in place, you’ll need careful planning around height changes at thresholds and any toe-kick details.
📊 MANDATORY DATA TABLE
Typical Kitchen Floor Service Life by Material (Expected Ranges)
| # | Flooring material (kitchen use) | Typical service life | Maintenance level | Fit for DIY |
|---|---|---|---|---|
| 1 | LVP (click-lock) | 10–25 years | Low | ★★★☆☆ |
| 2 | Laminate (click-lock) | 12–25 years | Low–Medium | ★★★☆☆ |
| 3 | Engineered wood (floating) | 20–50 years | Medium | ★★★☆☆ |
| 4 | Engineered wood (glue-down) | 20–50 years | Medium–High | ★★☆☆☆ |
| 5 | Porcelain tile | 30–75+ years | Low | ★★☆☆☆ |
| 6 | Ceramic tile | 25–60+ years | Low–Medium | ★★☆☆☆ |
| 7 | Sheet vinyl (not underlay-dependent) | 15–25 years | Low | ★★★☆☆ |
Remove Old Kitchen Flooring and Prep the Subfloor
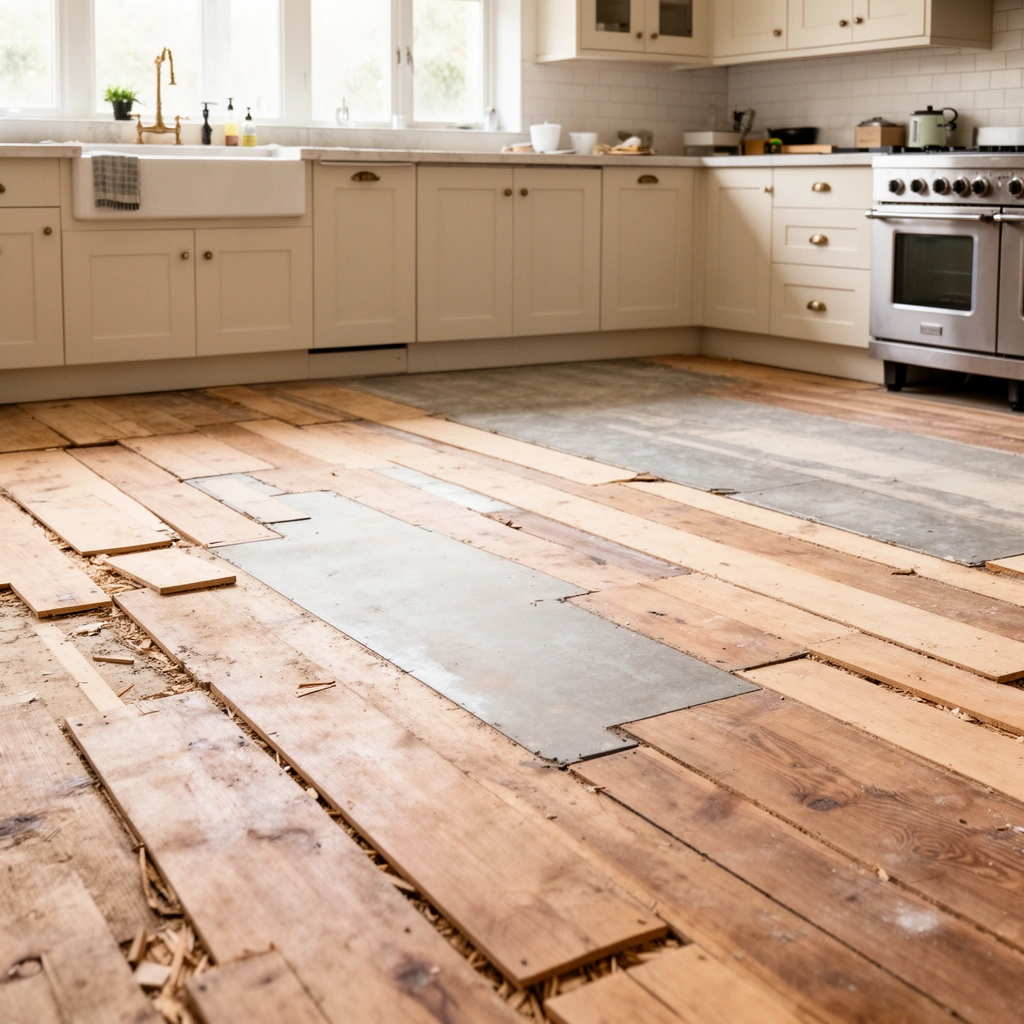
The fastest route to long-term performance is removing old flooring down to a stable, clean subfloor surface. When the old material (or failing adhesive) remains, it can prevent correct bonding, trap moisture, and stop you from achieving flatness.
For most flooring systems, installers need a stable subfloor with no loose layers to prevent hollow spots, squeaks, and premature failure.
Adhesives and remnants can interfere with leveling compounds, underlayment adhesion, and tile bonding when left in place.
A thorough scrape and vacuum matters because fine dust reduces the performance of patching materials and thin-set mortar.
Start with removal that protects adjacent finishes:
– Strip flooring and padding completely (including old foam underlayments).
– Remove or grind high spots and scrape ridges that telegraph through.
– Dispose of debris properly and address any suspected hazardous materials per local rules (for example, older homes with unknown flooring age may require special handling—[ADD: local guidance/source]).
Then inspect the structure itself:
1) Soft spots or deflection. Push on the floor. If it flexes or feels spongy, fix the structural issue first.
2) Subfloor integrity. Look for delamination, water damage, swollen areas, and cracks.
3) Unevenness. Even small ridges can create problems under planks and cause tile lippage.
According to ANSI guidance used throughout the tile industry, subfloor flatness is critical because tile thin-set cannot reliably compensate for large irregularities [ADD: source for ANSI/TCNA subfloor flatness guidance]. Also, the TCNA Handbook is commonly referenced for substrate requirements—confirm the exact flatness spec for your tile size and method [ADD: source for TCNA Handbook substrate flatness criteria].
Leveling, Underlayment, and Moisture Checks
You should treat leveling and moisture testing as “go/no-go” steps before any new flooring clicks, locks, or bonds. If you get these wrong, you can install perfectly for day one and still experience gapping, squeaks, or adhesion failure later.
Many floating floors require a specific underlayment thickness and moisture barrier behavior; using the wrong one can void warranties.
Kitchens concentrate moisture risk from spills, leaks, and humidity; moisture control is especially important over concrete and slab-on-grade.
Flatness requirements depend on flooring type—tile demands stricter flatness than many resilient products.
Here’s a practical workflow:
1) Check flatness with a straightedge. Use a rigid straightedge at multiple directions (north-south and east-west). Mark high ridges and low dips.
– If you’re installing tile, flatness tolerance is typically tighter than for LVP/laminate (confirm your product and method).
– For planks, you usually still need a reasonably smooth surface to avoid joint strain and squeaks.
2) Select the correct underlayment or moisture barrier.
– LVP/laminate: often require an underlayment pad and sometimes an integrated vapor barrier.
– Engineered wood: may be floating with a specific underlayment or glued down with a defined adhesive system.
– Tile: normally needs an appropriate underlayment system if required (for example, membranes), and thin-set and grout must follow cure instructions.
3) Address moisture early. Kitchen environments are rarely “dry perfect,” and basements or slabs can bring additional moisture.
– If you’re over concrete, check moisture conditions using a method recognized by your flooring manufacturer. Many adhesives and floor systems require RH (relative humidity) testing rather than guessing.
According to ASTM F2170, RH testing is a standard method used for in-slab moisture evaluation for resilient and flooring adhesive systems [ADD: ASTM F2170 source]. Your floor product’s installation instructions should specify which test method (and what limits) are acceptable [ADD: manufacturer source for test method/limits].
4) Plan for water behavior at seams. For example, click-lock floors usually rely on proper installation and seam compatibility; standing water is still a risk factor even when products claim “water resistant.”
Install the New Kitchen Floor (By Material Type)
You should install according to the flooring system’s rules, not generic DIY advice. Each type—floating planks, tile, and engineered wood—has different requirements for spacing, layout, bonding, and cure times.
Floating click-lock floors should be installed with an expansion gap around walls and fixed vertical surfaces to prevent buckling.
Tile installations require consistent mortar coverage and follow strict cure timelines before grouting and heavy use.
Engineered wood installations follow specific fastening or adhesive methods; changing methods can lead to warranty problems.
For click-lock planks/LVP/laminate
– Use the expansion gap specified by the manufacturer (commonly around the perimeter). Don’t bury the edges under baseboards if the instructions require a gap.
– Start with a straight reference line. A chalk line and careful first row prevent ripple effects across the room.
– Stagger joints to reduce weak seams and avoid aligning end joints in a pattern.
– Work around thresholds thoughtfully. The transition piece often determines whether the floor edge stays protected during temperature swings.
For tile
– Confirm layout before mixing thin-set. Dry lay first to avoid tiny cut pieces at entryways or toe-kicks.
– Maintain mortar coverage using the correct trowel notch size and proper bedding technique (per the thin-set spec).
– Allow cure times before grouting and before placing heavy appliances. Kitchen schedules often tempt homeowners to “push it”—don’t.
For engineered wood
– Acclimate wood products per manufacturer guidance (temperature/humidity requirements are product-specific).
– Use the recommended installation method (floating with underlayment vs. glue-down vs. nailing/screwing). Engineered wood is sensitive to installation system mismatches.
– Keep transitions in mind where the floor height changes at doorways and adjacent flooring.
Finish Details: Transitions, Trim, and Cleanup
The finishing phase protects the edges you worked hardest to align. Install transitions at thresholds, maintain required perimeter gaps where specified, and use trim/shoe molding strategies that don’t trap the flooring.
Transitions at doorways and between rooms reduce edge lifting by managing movement and protecting cut ends.
Baseboards and shoe molding often cover perimeter gaps while still allowing the flooring system to move as required.
Cleanup methods must match the flooring finish; aggressive chemicals or high heat can damage surface coatings and sealers.
Key tasks:
– Reinstall or replace baseboards/shoe molding. If you removed it, reinstall carefully so it doesn’t pinch the floor.
– Install transitions:
– At exterior doors or doorways where foot traffic concentrates
– Between rooms with different flooring heights
– At cabinets/closet transitions if height changes occur
– Caulk/trim correctly. Use the flooring manufacturer’s guidance on where caulk belongs and where it must be avoided (common rule: caulk where trim meets the wall, not where it would lock the floor to vertical surfaces).
Cleanup matters:
– Sweep and vacuum dust, then use approved cleaners. For tile, follow grout cure times and avoid early steam or wet mopping.
What Can Go Wrong (And How to Avoid It)
Most kitchen floor failures trace back to subfloor conditions, moisture behavior, and movement tolerance—not the surface you picked. If you address these risk factors early, your installation is much more likely to stay quiet, flat, and sealed for years.
Uneven subfloors can create squeaks, joint stress in floating floors, and cracked tile or grout lines.
Skipping expansion gaps can cause buckling in floating floors as humidity and temperature change.
Using the wrong underlayment or moisture barrier can trap moisture or interfere with adhesion, leading to long-term performance issues.
Here’s a practical comparison of common failure modes and how to prevent them:
| Problem you might see | Likely cause | Most effective prevention |
|---|---|---|
| Squeaks under plank flooring | Loose subfloor layers, hollow spots, or inadequate prep | Fix structural issues; ensure subfloor stability before underlayment |
| Gaps at joints (floating floors) | Missing expansion gap or insufficient flatness | Maintain required perimeter spacing; correct low spots/variation before install |
| Edges lifting at doorways | No proper transition or movement management | Install the right transition/threshhold profiles and keep edges protected |
| Hollow-sounding tile or cracked grout | Subfloor not flat enough or poor mortar coverage | Follow substrate flatness expectations and mortar coverage technique |
| LVP “seam” problems after spills | Moisture getting to seams/subfloor | Confirm water-resistance limits and clean spills promptly per manufacturer guidance |
One more high-impact “kitchen-specific” planning issue: cabinets and closets. If cabinets stay, you may be cutting around fixed structures and creating complicated height transitions at thresholds and toe-kicks. Measure carefully and plan your underlayment thickness so the finished height matches adjacent rooms.
According to ASTM methods used in flooring systems, moisture testing and installation sequencing matter because moisture can migrate and impact adhesives and some floor systems [ADD: ASTM moisture-related standard references]. Always defer to your flooring manufacturer’s installation manual for the accepted test method and limits [ADD: manufacturer installation manual reference].
Verdict / Tip
Replacing kitchen floors is very doable, but success depends more on subfloor prep, moisture/underlayment choices, and installation details than on the floor’s appearance. If your subfloor is badly damaged, too uneven for your chosen system, or you suspect ongoing moisture issues, pause and get an inspection or professional assessment ([ADD: source for moisture/subfloor guidance if you have a local standard]). And if you’re uncertain about your specific flooring type’s fastening or underlayment requirements, follow the product’s manufacturer installation instructions before buying anything—DIY works best when you respect those specs.
Quick Checklist (Scan & Save)
– Measure area and plan layout (waste included)
– Remove old flooring and adhesives completely
– Inspect subfloor (damage, flatness, stability)
– Add leveling/patching where needed
– Confirm moisture conditions and required barrier/underlayment
– Install flooring with correct expansion gaps (floating floors)
– Add transitions + reinstall trim
– Clean and allow proper cure time before heavy use
FAQ
Do I have to remove all the old kitchen flooring?
Usually you should remove anything loose, damaged, or that can affect flatness—whether full removal is required depends on what the manufacturer allows for your specific flooring type. When in doubt, check the installation instructions for your product and underlayment.
What’s the most common mistake when replacing kitchen floors?
Most failures trace back to subfloor issues—uneven flatness, missing moisture protection, or skipping expansion gaps. These problems show up later as gaps, squeaks, lifting edges, or cracked tile/grout.
Can I replace kitchen floors without removing baseboards?
Sometimes you can, but it depends on your flooring thickness and how you’ll manage edges and transitions. Many installers remove baseboards for a cleaner look and easier gap placement.
How long should I wait before moving appliances back in?
It depends on the flooring and installation method (especially adhesives and grout). Follow the cure/installation timelines in the manufacturer instructions for your exact products.
Should I worry about moisture in kitchens?
Yes—kitchens see spills and humidity changes. Confirm what moisture barrier or subfloor treatment your flooring manufacturer requires, especially over concrete or any slab with prior water issues.
Sources
– [ADD: manufacturer installation instructions for your chosen flooring type (LVP/Laminate/Engineered Wood/Tile)]
– [ADD: manufacturer guidelines on subfloor flatness requirements and expansion gap rules]
– [ADD: moisture barrier/underlayment requirements per the flooring manufacturer]
– [ADD: relevant building code references if you’re required to meet local flooring/transition or ventilation standards]
– [ADD: ASTM F2170 or applicable standard reference for in-slab moisture testing]
– [ADD: TCNA Handbook and/or ANSI subfloor flatness criteria reference specific to your tile method]
Frequently Asked Questions
What are the best kitchen floor materials for high-traffic areas?
For most kitchens, popular options include luxury vinyl plank (LVP), ceramic or porcelain tile, and laminate engineered wood because they handle foot traffic well. LVP is often chosen for its water resistance and easier installation, while porcelain tile is extremely durable but requires more labor and proper subfloor preparation. If your kitchen sees spills often, prioritize water-resistant or waterproof materials and choose grout/sealants that match the surface requirements.
How do you replace kitchen flooring without damaging cabinets or countertops?
Start by removing the existing floor and underlayment carefully, and plan to work in sections so you can keep debris contained. Use a jamb saw or oscillating tool to trim doorjambs, and remove baseboards only where needed to slide new flooring underneath if your design requires it. For floating floors like LVP or laminate, leave the required expansion gaps around cabinets and walls so the floor can move without buckling or lifting.
How should you prepare the subfloor before installing new kitchen floors?
Subfloor prep is one of the most important steps to prevent future problems like squeaks, uneven surfaces, and cracked tiles. Ensure the subfloor is clean, dry, and level—patch low spots with a suitable floor leveling compound and sand high areas. If you’re working over plywood, confirm fasteners are secure, and consider moisture barriers or underlayment based on your new flooring type and the room’s humidity.
Which underlayment or waterproof barrier is best for kitchen flooring?
The right underlayment depends on the type of kitchen floor you’re installing. For floating LVP or laminate, use an underlayment that includes a moisture barrier if recommended for your specific product, while keeping seams overlapped and taped. For tile, use the appropriate cement backer system or uncoupling membrane per manufacturer instructions, especially in kitchens where moisture and temperature swings can affect performance.
Why is removing the old floor and leveling the subfloor necessary for a long-lasting result?
Replacing kitchen floors on top of an uneven or deteriorating surface can lead to gaps, clicking, and premature wear—especially with click-lock LVP and laminate. Tile installations are also sensitive to movement; an unlevel subfloor can increase the risk of cracked grout and loose tiles. By removing the old flooring, checking for moisture, and leveling the subfloor, you create a stable base that helps your new kitchen floor stay flat and durable for years.
📅 Last Updated: October 11, 2026 | Topic: How to replace kitchen floors? | Content verified for accuracy and freshness.
References
- Google Scholar Google Scholar
https://scholar.google.com/scholar?q=how+to+replace+kitchen+floors - Google Scholar Google Scholar
https://scholar.google.com/scholar?q=kitchen+flooring+replacement+step+by+step+vinyl+laminate+tile - Google Scholar Google Scholar
https://scholar.google.com/scholar?q=how+to+remove+old+flooring+prep+subfloor+leveling - Floor
https://en.wikipedia.org/wiki/Floor - https://en.wikipedia.org/wiki/Flooring
- https://en.wikipedia.org/wiki/Vinyl_flooring
- https://www.epa.gov/lead/lead-based-paint-renovation-repair-and-painting-program
- Lead – Overview | Occupational Safety and Health Administration
https://www.osha.gov/lead - Lead in the Workplace | Lead | CDC
https://www.cdc.gov/niosh/topics/lead/ - https://pubmed.ncbi.nlm.nih.gov/?term=asbestos+floor+tile+removal