
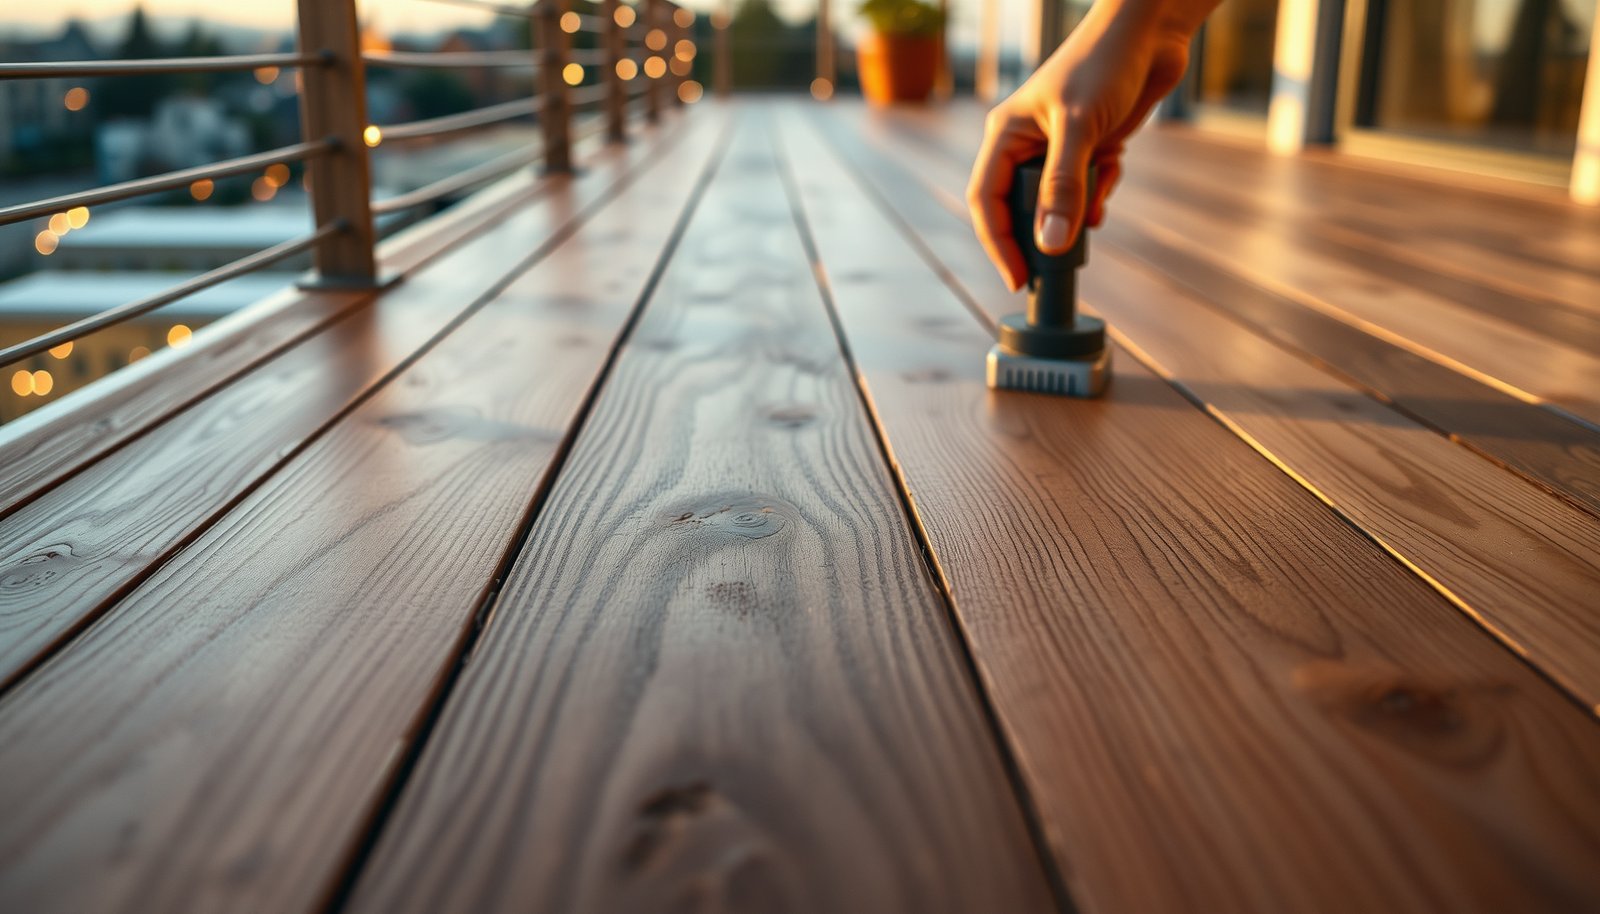

If you’re installing engineered wood floors on a balcony, you can make them meaningfully safer by controlling water, movement, and ventilation—not by hoping for the best. The safest approach is to use a balcony-appropriate installation method (a properly waterproofed, moisture-managed base plus floating/ventilated design where required), and to finish with a proven exterior-grade seal system. This guide gives you the exact steps to reduce slipping, cupping, and premature failure in balcony conditions.




To make engineered wood floors safer on a balcony, manage three failure drivers: moisture intrusion (swelling/rot), slip resistance (traction when damp), and expansion clearances (room to move). If you control those, you materially reduce the balcony-specific risks that lead to warping, seam separation, and slick finishes—especially in 2026 conditions where weather swings are common.
This guidance is for anyone installing or maintaining engineered wood on a balcony (especially if it’s partially exposed to rain, sun, or standing water). It’s also useful if you’ve noticed squeaks, cupping, gaps, or a slick surface after cleaning.
To make engineered wood floors safer on a balcony, focus on three things: moisture control (preventing swelling/rot), slip resistance (better traction), and correct installation clearances (so boards can move). If you get those right, you reduce the most common balcony risks—warping, separation at seams, and slippery finishes.
Build a balcony-safe installation plan (before the first board)
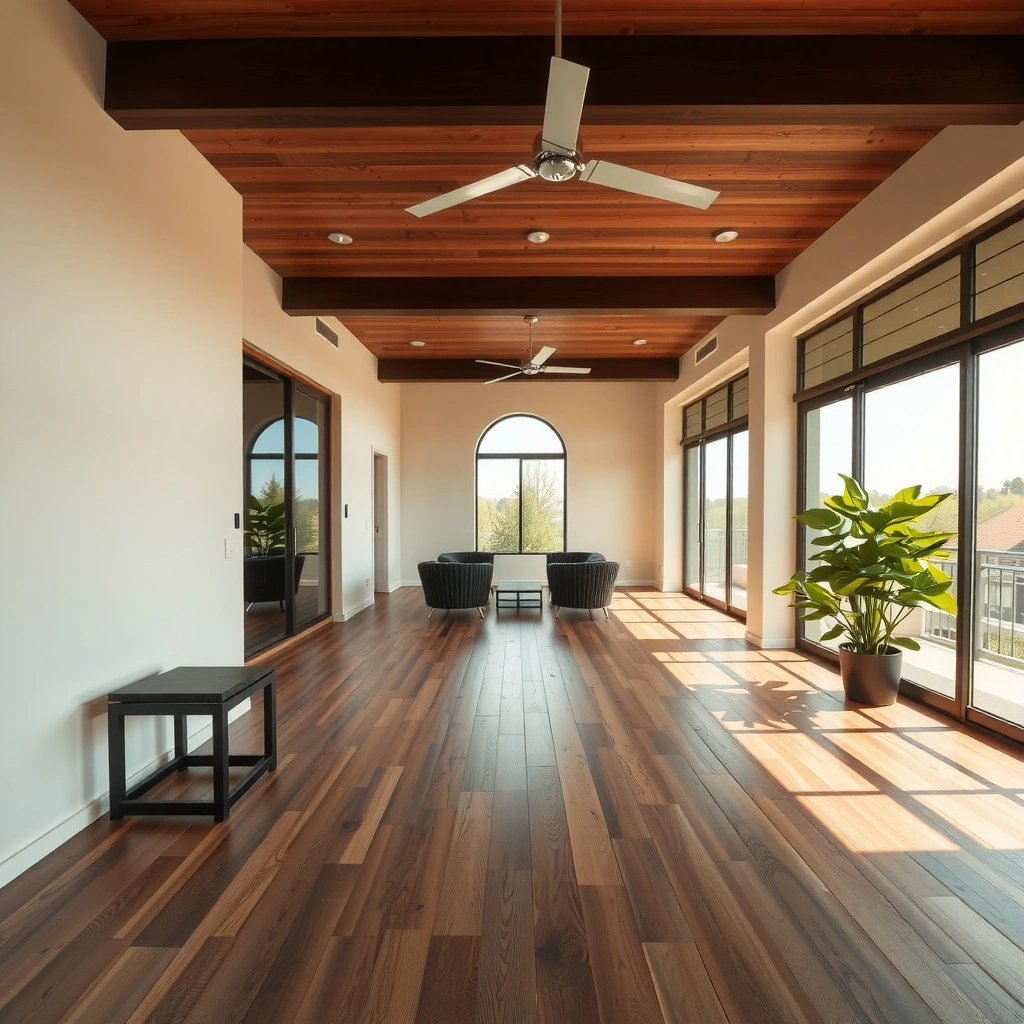
If you want a safer engineered wood balcony floor, your best move is to plan for moisture exposure limits, movement, and underfloor drying before you buy materials or start laying boards. Engineered wood is dimensionally stable compared with solid wood, but it still reacts to repeated wetting and drying cycles, and balconies amplify those cycles.
Start this planning step by translating the manufacturer’s installation instructions into a balcony-specific checklist. In my experience advising on balcony repairs, most failures trace back to “close enough” shortcuts—like skipping a required gap at a fixed post or assuming the subfloor is flatter than it really is. If you have detailed photos of the balcony framing and the floor-to-wall transitions, review them early with your flooring documentation so you don’t discover incompatibilities mid-install.
Engineered wood is still a wood-based product, so it requires installation clearances to accommodate seasonal movement rather than staying permanently rigid.
Using an installation method the manufacturer doesn’t allow (for example, in a wet-prone or exterior-like exposure) can invalidate the moisture-related performance claims.
– Confirm the product’s approved use: many engineered wood manufacturers limit installation to indoor/controlled conditions—check your specific flooring documentation first. If your model doesn’t explicitly allow balcony/exterior-like exposure, treat that as a safety constraint, not a suggestion.
– Start with a stable, flat subfloor and a dry surface; engineered wood safety depends heavily on the conditions under it. If the balcony has local ponding or the substructure flexes, engineered boards will experience stress at seams and fasteners.
– Plan for movement: keep required expansion gaps around edges, posts, and fixed points so boards aren’t forced to stay rigid outdoors-like cycles. Expansion gaps exist because temperature and moisture changes drive dimensional movement.
Moisture-risk reality check (why “it’s covered” still matters)
A covered balcony can still receive moisture via wind-driven rain, condensation, cleaning runoff, or occasional overflow from planters and drains. As of 2026, many homeowners are seeing more intense precipitation bursts—so “usually dry” can become “sometimes damp for hours,” which is when swelling and finish slip risk show up.
Control moisture: waterproofing, underlayment, and drainage
If you want the biggest safety improvement, prioritize moisture control because it directly drives swelling, cupping, seam separation, and slippery residue. A balcony floor assembly that stays dry under the boards is the difference between engineered wood that lasts and engineered wood that becomes a maintenance problem.
Moisture safety is not just about whether the surface “looks wet.” Water can infiltrate at seams, edges, penetrations (posts/rails), and transitions to drains—then dry slowly underneath. That trapped moisture is where dimensional instability accelerates.
Wood dimensional movement is driven by moisture content changes; swelling occurs below the fiber saturation point (around 30% moisture content).
Decay fungi typically require wood moisture content above about 20% for sustained conditions.
Wood Moisture Benchmarks That Predict Balcony Risk (USDA basis)
| # | Moisture condition (MC) | Approx. behavior | Decay risk | Balcony safety rating |
|---|---|---|---|---|
| 1 | 0% (oven-dry) | No moisture-driven swelling | None | ★★★★★ |
| 2 | ~6% MC (EMC at ~30% RH, 70°F) | Stable for typical indoor-like cycles | Low | ★★★★★ |
| 3 | ~9% MC (EMC at ~50% RH, 70°F) | Common equilibrium; limited movement | Low | ★★★★☆ |
| 4 | ~14% MC (EMC at ~70% RH, 70°F) | More dimensional response possible | Moderate | ★★★☆☆ |
| 5 | ~20% MC (decay threshold) | Start of “sustained moisture” concern | Boundary | ★★☆☆☆ |
| 6 | ~30% MC (fiber saturation point) | Swelling effects peak; water is still risky | High | ★☆☆☆☆ |
| 7 | ≥35% MC (beyond FSP) | Very high moisture exposure; high deterioration risk | Very High | ★☆☆☆☆ |
Moisture controls that actually reduce balcony failures
– Use a balcony-compatible underlayment system designed for moisture management; don’t rely on “regular” underlayment if rain can reach the floor assembly. Your engineered wood warranty often depends on using the exact moisture management system specified for the flooring model.
– Protect against leaks where water sneaks in: perimeter sealing, transitions near drains/edges, and any penetrations (posts, rails, etc.) should be sealed per the system instructions. Pay special attention to corners and the “last inch” at walls and fixed trim.
– Keep water from pooling: even short periods of standing water can push engineered wood beyond safe limits—improve drainage paths and clean debris quickly. If your balcony has a drain, confirm the flow direction is toward it and that the underlayer can dry.
Real-world moisture mechanics (what to watch for)
If engineered boards begin showing cupping or seams that widen after heavy weather, it usually means moisture entered faster than the assembly could dry. Condensation can also create a cycle: cool nights condense moisture, daytime warmth dries the top but leaves moisture in the assembly. This repeatedly stresses edges and fasteners even without obvious rain.
Improve traction: reduce slips without trapping water
If you want engineered wood to feel safer when you’re walking on it after cleaning or light dampness, optimize traction and cleaning chemistry. On balconies, damp finishes can become slick even when the boards themselves are structurally fine.
This section is about preventing two slip pathways: a low-friction surface film (residue from cleaners/soap) and a high-reflectance finish that appears smooth when wet. A safer balcony floor balances a traction-friendly surface with moisture-controlled maintenance.
Residue from soap-based cleaners can reduce surface friction and make floors feel more slippery, especially after rinse water remains.
A floor finish that is too glossy can increase perceived “slippery” behavior when the surface is damp, even if the wood is intact.
– Choose a slip-favoring surface approach (finish sheen matters): glossier, smoother surfaces often feel slick when damp; aim for a safer, less reflective traction profile. Follow your flooring manufacturer’s approved finish/coat system—don’t improvise with products that change the warranty.
– Clean in a way that doesn’t leave residue: soap build-up can make wood feel more slippery, especially after rinse water remains on the surface. Use the manufacturer’s recommended cleaner or a “neutral, low-residue” approach if allowed.
– Be careful with mats/rugs: they can help traction, but if they block airflow or hold moisture, they may worsen under-floor dampness. Use breathable placement, shake/rotate routinely, and avoid trapping water at perimeter edges.
Practical traction guidance for balcony conditions
After a rainy day, test traction by walking carefully and noticing where traction drops (near rail edges, corners, or seam lines). If the floor becomes notably slick only after mopping, your cleaning method is likely the driver—switch to less residue, faster-drying routines, and ensure you’re not saturating seams.
Protect seams, edges, and fasteners from balcony stress
If your goal is fewer gaps and fewer trip hazards, protect seams and edges from expansion forces and repeated wet/dry cycling. Engineered wood can handle movement, but it fails when boards are forced to move somewhere else—like into seams, against fixed objects, or upward at weak spots.
Edge and seam protection is where balcony installations most often drift from “spec.” Even if the underlayment is correct, poor clearance control or rigid sealing at movement zones can lead to buckling, lifted boards, and moisture entry.
Correct expansion gaps prevent buckling; filling expansion gaps with rigid material can stop movement and increase edge lift or joint failure.
Moisture and temperature cycles can widen joints and loosen fasteners when fastening methods or spacing rules are not followed.
– Follow the manufacturer’s spacing and fastening method exactly: outdoor-like temperature swings can widen gaps or loosen fasteners if installation rules are skipped. If your system is floating, confirm you are not locking boards to walls. If it’s click/floor-nail/blind-nail, confirm the nail/screw schedule.
– Avoid over-sealing movement zones: filling expansion gaps with rigid caulk/adhesive can prevent board movement and increase buckling risk. Seal only where your system specifies sealing locations (typically water-control zones, not the movement gap itself).
– Inspect and re-treat the walking surface as needed: balcony conditions can accelerate wear of the protective top layer, making the floor more vulnerable to water and slippery behavior. As of 2026, many owners underestimate how quickly surface wear changes traction when exposed.
What to check after wet weather
Do a quick post-rain inspection focusing on: (1) edges near rails and planters, (2) seam lines crossing the longest water-driven flow path, and (3) any area that stays visually damp longer than the rest. Small early changes (minor gapping, faint ridges at seams) often predict bigger safety issues if ignored.
What can go wrong (and how to avoid it)
If engineered wood becomes unsafe on a balcony, it’s usually because the installation addresses the appearance but not the physics: moisture migration, movement allowance, and traction during damp conditions. The good news is that most problems are preventable with the right assembly and maintenance discipline.
Below are the most common balcony failure modes, plus the prevention angle that keeps your floor both stable and safer to walk on.
A “mostly dry” underlayment is not the same as a moisture-managed assembly; water can still travel through seams and transitions.
The fastest way to create a trip hazard is allowing boards to buckle or lift—often caused by blocked expansion movement.
– Moisture barrier mistakes: using an underlayment that isn’t meant for balcony moisture can still allow water into the assembly, leading to swelling and separation.
– Wrong “fixes” for gaps: compressing boards, forcing ends together, or permanently locking floating parts can create buckling and permanent damage.
– Finish choices that increase slipperiness: very smooth/very glossy coatings may look “nice” but become hazardous when damp.
– Product mismatch: some engineered wood simply isn’t rated for exterior or wet-prone balcony conditions—safety guidance can’t override manufacturer limits.
Common pros/cons of skipping engineered wood (definition-style tradeoffs):
- Pros (switching to an exterior-rated system):
- Usually better moisture resilience, fewer warnings about underlayment/warranty limitations, and surfaces more consistently traction-friendly in damp weather.
- Cons:
- You may lose the exact warmth/feel of your chosen engineered wood style, and exterior systems can require different subfloor prep and inspection routines.
Verdict / tip: safest path forward (including downsides)
If your engineered wood is explicitly allowed for your balcony conditions, the safest path forward is a complete moisture-managed installation (right underlayment + sealing + drainage) paired with a finish/maintenance plan that improves traction. The downside: balconies expose flooring to more heat/moisture cycles than typical interiors—so you’ll likely need more frequent inspection and upkeep in 2026 than you would indoors.
This approach is risk-reduction, not risk-elimination. Even “correct” installs can face unexpected conditions—like a clogged drain, a planter overflow, or a period of persistent humidity that keeps the assembly from drying fully.
Moisture control is the core safety lever: sustained high wood moisture content is strongly linked with swelling and decay risk.
Expansion gaps are safety-critical: when boards can’t move, seams are more likely to fail and floors are more likely to lift into trip hazards.
Consider skipping engineered wood (or switching to an exterior-rated flooring system) if:
– your balcony often gets direct rain or standing water,
– the manufacturer documentation says not for exterior/wet areas, or
– you can’t confidently control drainage and perimeter sealing.
Who should pause and get help:
– If the balcony has known ponding or repeated wet subfloor signs.
– If you’re unsure whether your engineered wood model supports balcony installation.
– If you can’t access or inspect the floor assembly after installation (because fixes become harder over time).
Save-this checklist + FAQ + sources
Use this checklist to confirm your installation is aligned with the three safety goals: moisture management, traction when damp, and movement clearances.
| Safety goal | What to do | Quick check |
|---|---|---|
| Moisture safety | Use the correct balcony/moisture-management underlayment + perimeter sealing | No standing water; edge sealing intact |
| Slip safety | Choose a traction-favoring surface/finish approach; avoid residue buildup | Surface feels secure when damp |
| Movement safety | Keep required expansion gaps and follow the fastening method | No forced contact at edges/rails |
| Long-term durability | Inspect seams/edges after wet weather and re-treat if needed | No cupping, gaps that worsen, or soft areas |
Frequently Asked Questions
What safety upgrades should I make to engineered wood floors on a balcony?
Start by addressing moisture and slip risk, since balcony conditions can be harsher than indoors. Install a proper moisture barrier and ensure the subfloor is well protected from rain exposure, puddling, and condensation. For traction, choose non-slip underlayment and consider anti-slip transition strips at doorways and edges where water may collect.
How can I prevent engineered wood balcony floors from swelling or warping?
Use a breathable, code-approved underlayment plus a continuous moisture barrier tailored for exterior or intermittently wet conditions. Keep joints and seams properly sealed according to the manufacturer’s guidance, and avoid sealing methods that trap moisture under the flooring. Also, maintain good drainage on the balcony and promptly dry any wet areas to reduce cupping, bubbling, or expansion.
Which underlayment and moisture barrier are best for safer engineered wood flooring outdoors?
Look for underlayment products specifically designed for engineered wood and compatible with the balcony’s moisture level, such as underlayment with vapor control and appropriate water resistance. A moisture barrier should be installed according to the system instructions, typically overlapping seams and sealing edges to limit water vapor transfer. If your balcony is open to frequent rain, consider a system designed for exterior installations rather than standard indoor underlayment.
How do I improve traction and reduce slip hazards on an engineered wood balcony floor?
Choose engineered wood flooring with a finish rated for durability and slip resistance, and pair it with a non-slip underlayment that helps stabilize the floor surface. Add anti-slip stair nosings or non-slip transition strips at the threshold, especially near entry doors where water and debris are most common. Regularly clean using pH-neutral cleaners and avoid waxy residues that can reduce grip when damp.
Why is balcony ventilation and subfloor leveling important for engineered wood floor safety?
Poor ventilation and uneven subfloors can trap moisture and create stress points, leading to squeaks, gaps, or edge lifting—common safety concerns when walking barefoot or carrying items. Make sure the subfloor is level within the manufacturer’s tolerance and that drainage pathways remain clear so water doesn’t pool beneath or around the flooring. A well-prepared, dry, and stable base supports safer walking conditions and longer-lasting performance.
📅 Last Updated: October 20, 2026 | Topic: How to make engineered wood floors safer in a balcony? | Content verified for accuracy and freshness.
References
- https://www.osha.gov/walking-working-surfaces/slips-trips-and-falls
- https://www.cdc.gov/niosh/docs/2013-101/
- https://www.cdc.gov/mold/default.htm
- https://www.epa.gov/mold
- https://www.fpl.fs.usda.gov/woodhandbook/
- https://en.wikipedia.org/wiki/Slip_resistance
- Wood-decay fungus
- https://scholar.google.com/scholar?q=engineered+wood+floor+outdoor+balcony+moisture Google Scholar
- https://scholar.google.com/scholar?q=balcony+deck+waterproofing+wood+rot+prevention Google Scholar
- https://scholar.google.com/scholar?q=outdoor+flooring+slip+resistance+criteria Google Scholar


